

How To Make A Connected Stars Table Runner Quilt - Free Quilting Tutorial
 Jenny Doan
- Charm Pack
- Traditional
- Table Runner
- Beginner
- Quilt size 18" × 36"
Jenny Doan demonstrates how to make a dazzling little table runner with just one charm pack from Bee Vintage by Lori Holt for Riley Blake. Connected Stars is composed of itty bitty half-square triangles and half-rectangle triangles. But don't you worry! Jenny makes it easy with her signature tips and tricks—and her trusty Bloc Loc squaring rulers!
Instructor
Jenny Doan
Jenny Doan is an American quilter, author, and YouTube personality. Jenny started Missouri Star Quilt Company in 2008 and today it is the largest quilting supply vendor in the United States.
Shop this tutorial
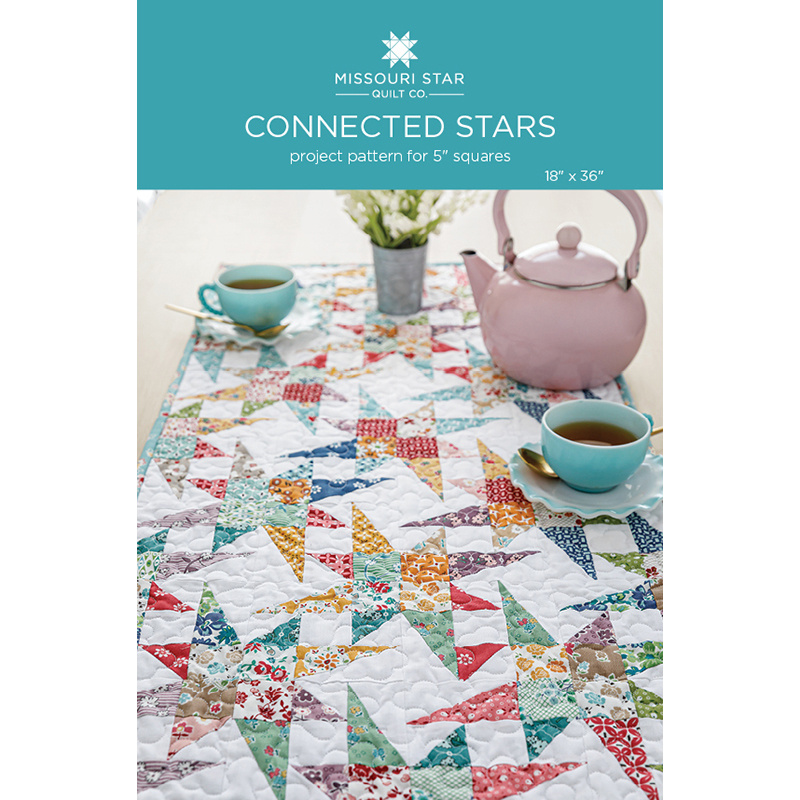 Connected Stars Quilt Pattern by Missouri Star$6.95Shop →
 Digital Download - Connected Stars Quilt Pattern by Missouri Star$4.95Shop →
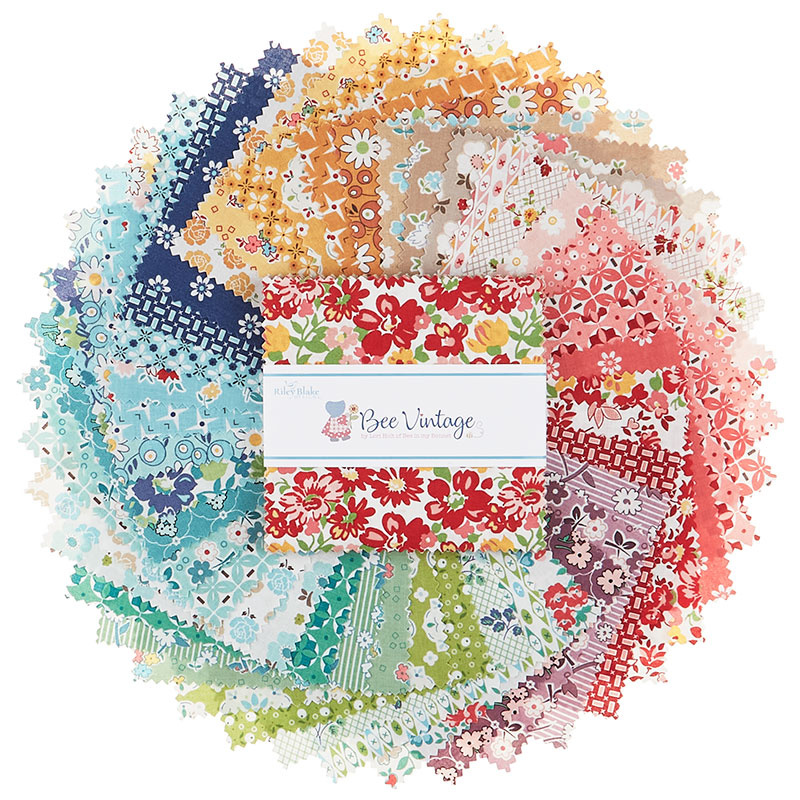 Bee Vintage 5" Stackers$11.95Shop →
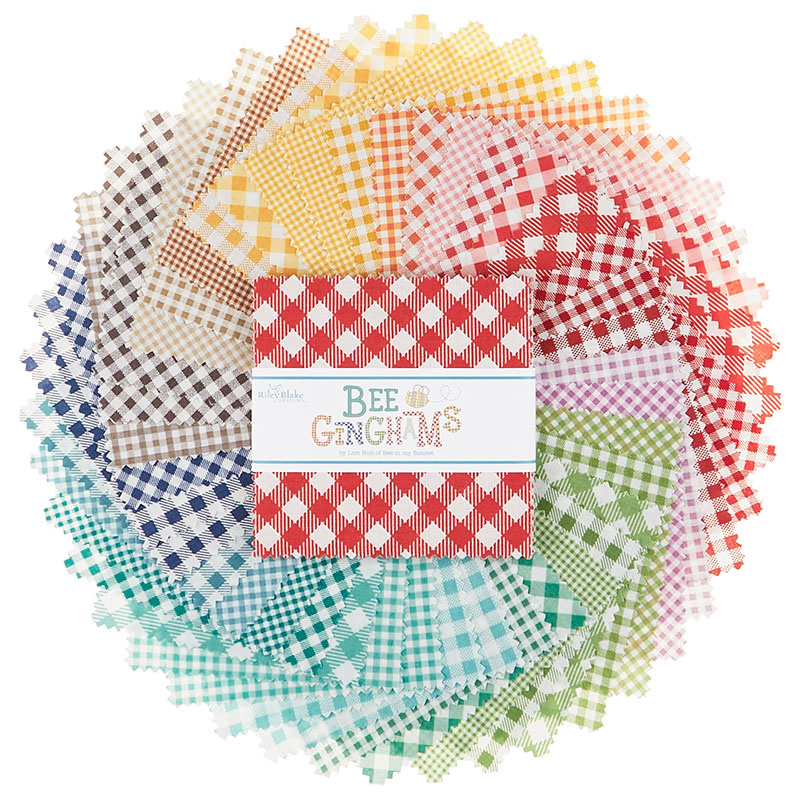 Bee Ginghams 5" Stackers$11.95Shop →
 Kona Cotton - White Charm Pack$9.95Shop →
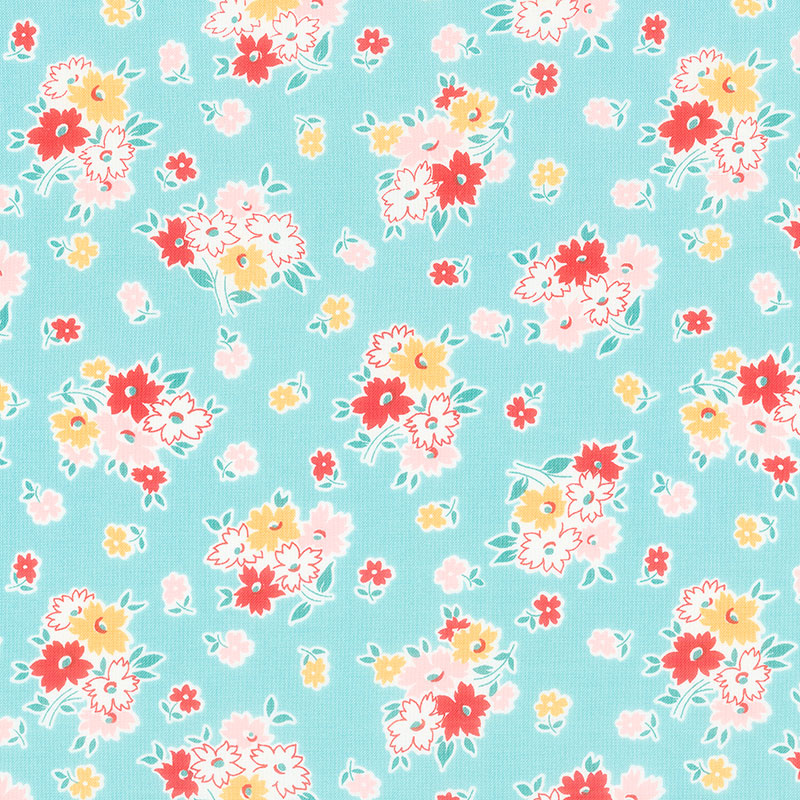 Bee Vintage - Nettie Cottage Yardage$11.96Shop →
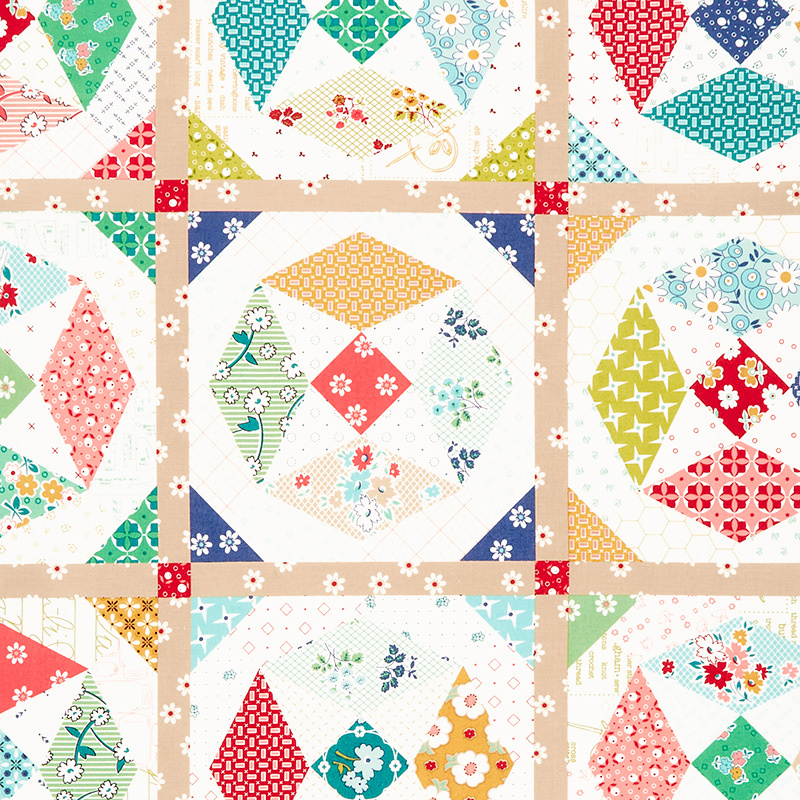 Bee Vintage - Patchwork Cheater Multi Yardage$11.96Shop →
 Missouri Star Quilter's Best Blend Bed/Table Runner Batting$14.95Shop →
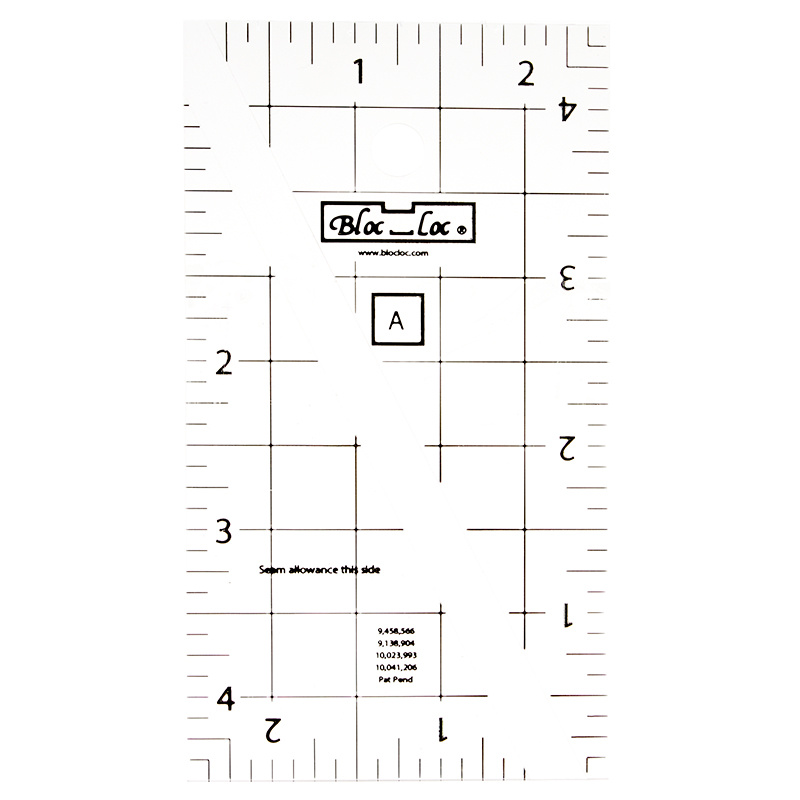 Bloc Loc Half Rectangle Triangle Ruler Set$43.70Shop →
Common Questions
What is covered in How To Make A Connected Stars Table Runner Quilt - Free Quilting Tutorial?
Jenny Doan demonstrates how to make a dazzling little table runner with just one charm pack from Bee Vintage by Lori Holt for Riley Blake. Connected Stars is composed of itty bitty half-square triangles and half-rectangle triangles. But don't you worry! Jenny makes it easy wit...
How long is the tutorial video?
The tutorial video is 00:16:11.
Are supplies listed for this tutorial?
Yes. The tutorial page includes the supplies and materials connected to this project.
Is a transcript available?
Yes. A written transcript is available on the tutorial page.
Video Transcript
The block we're going to be making is this block.
Jenny:
Ta-da!
Natalie:
It's these two little parts of the star legs, and then you put them all together, and they connect to make those stars, which is why we went with connected stars.
Jenny:
Hi everybody, it's Jenny with the Missouri Star Quilt Company, and I am here today with Natalie. Natalie designed this project, and so she's going to help us learn how to do it. Natalie, let's take a look at this cute little runner. I love this.
Natalie:
Isn't it darling?
Jenny:
I do think you should have made it king size.
Natalie:
Someday I will. Someday-
Jenny:
It's absolutely darling.
Natalie:
... but not today.
Jenny:
I love how they're all connected. Just takes one charm pack, right?
Natalie:
It's really fun and pretty easy to do, surprisingly. It is mini.
Jenny:
It is.
Natalie:
It's a small one.
Jenny:
This is a perfect project for all you people who are craving those minis.
Natalie:
Also, it's a cute table runner.
Jenny:
It is super cute.
Natalie:
I love it.
Jenny:
All right, so tell us about it.
Natalie:
To make this little table runner, you're going to need one package of five-inch print squares and we used Bee Vintage by Lori Holt for Riley Blake. You'll need a package of solid squares as well. That's for your background. Then your backing is just one and a quarter yards. It's a small. It's 18 by 36.
Jenny:
It's super fun though because it's this darling-
Natalie:
Cute little cheater.
Jenny:
... cheater fabric.
Natalie:
I love it.
Jenny:
Which is fun.
Natalie:
Lori does a lot of those fun little cheater prints, and they're really cute.
Jenny:
I'll get this one back up here.
Natalie:
Awesome.
Jenny:
There we go.
Natalie:
The other thing that you'll need is this Bloc Loc squaring tool, and I love it because it's great for those ...
Jenny:
Rectangle.
Natalie:
... half-rectangle triangles. That's kind of a mouthful, but this is perfect for those squares, and we've got quite a few of those here. This block is interesting because you don't see it immediately when you look at the table runner. Let me see, I've got one finished. The block we're going to be making is this block.
Jenny:
Ta-da!
Natalie:
It's these two little parts of the star legs, and then you put them all together, and they connect to make those stars, which is why we went with connected stars.
Jenny:
Right.
Natalie:
All right, so shall we just jump right in?
Jenny:
Yeah.
Natalie:
Are you guys ready?
Jenny:
We didn't even border it. We just put a little binding on it.
Natalie:
No, I think it looks so cute just like that.
Jenny:
You don't even need maybe three strips, so three times three, nine.
Natalie:
Oh, for your binding.
Jenny:
About nine inches of binding.
Natalie:
Yeah, binding is a quarter to ...
Jenny:
Very little.
Natalie:
Super, super great.
Jenny:
Let's show them how to do this.
Natalie:
Okay. To start, we're make some sets of half-square triangles. What we're going to do is we're going to take our solid white fabric, and we're going to draw an X both directions, and then we sew on both sides of these lines.
Jenny:
This is the easy eight ...
Natalie:
Easy eight.
Jenny:
... but tiny.
Natalie:
Very small. These are going to be squared to two inches.
Jenny:
I can't believe Cherry hasn't made this already because she loves the tiny things.
Natalie:
Oh, she will. I'm sure.
Jenny:
All right. Let me go on both sides.
Natalie:
We could encourage her to make them for all of us for our tables.
Jenny:
There we go. Here we go.
Natalie:
She'll be so busy.
Jenny:
Well, and honestly, I think this would make a great triple play.
Natalie:
I think so too. It can be made in multiple sizes.
Jenny:
Can I make it big?
Natalie:
Yes, I think so.
Jenny:
I get the big size. All right, here we go.
Natalie:
Okay, so we are going to cut this in half, and I have, oh there it is, misplaced the cutter. That happens, I think.
Jenny:
It just wanders off sometimes.
Natalie:
We'll cut it in half. Oops. That's why we cut those areas that don't have lines drawn first.
Jenny:
That's right.
Natalie:
Because sometimes they slip.
Always cut horizontally and vertically first because all the rest of the cuts have lines.
Jenny:
Then diagonally in both directions.
Then you have eight of these tiny little babies.
Natalie:
Then you have eight. Now, you're only going to need two for each block, so then you can just set them aside and use them in different blocks. I will press open two and then we're going to square them to two inches. I love using the Bloc Loc, so I have my tiny little Bloc Loc for squaring.
Jenny:
You want me to square while you're pressing?
Natalie:
If you would like, yeah. Well, I was only going to do two of them.
Jenny:
Oh, we're only doing two.
Natalie:
I'll do a couple more.
Jenny:
These are going to be to two inches?
Natalie:
Uh-huh.
Jenny:
Two inches is ...
Natalie:
Two inch.
Jenny:
... so teeny.
Natalie:
They're little. I can can square them if you want.
Jenny:
Oh, see, I think I had it going the wrong way.
Natalie:
Bloc Loc.
Jenny:
I'm going to let you teach this because all of a sudden I'm a little confused, which can happen from time to time.
Natalie:
All right, so typically with the Bloc Loc-
Jenny:
Oh, there you go.
Natalie:
... if you press to the dark side-
Jenny:
Okay, now I get it.
Natalie:
... then your words will be on the background of the background fabric.
Jenny:
I'm so glad-
Natalie:
Don't know if you can see that really well.
... that you are doing this.
Then you just trim off your top two corners, and then I always just flip the whole thing and slide that down and so that it goes into the two inch.
Jenny:
Perfect.
Natalie:
Then trim off the other two sides. Then you've got these perfect little two-inch, half-square triangles.
Jenny:
You don't have a ton of extra room.
Natalie:
No, this is pretty tight.
Jenny:
Well that's why I wanted to make sure I didn't get it wrong.
Natalie:
You did not.
Jenny:
I'm letting you do it.
Natalie:
You did it perfectly.
Jenny:
Although you have eight to use, so if you mess up a few, you're okay.
Natalie:
Yeah, probably. All right, so we have our half-square triangles ready to go, so let's do our quarter. Should we do pink maybe or blue?
Jenny:
Sure.
Natalie:
What do you think? I like this. How about this dark blue?
Jenny:
I like that.
Natalie:
This one right here. Okay, so we will need another square of our background. These, it was a little tricky for me figuring out the half rectangles because typically I do them on top of each other and you sew and flip. For these ones, I decided just to go ahead and cut them in half. You'll notice, I don't know if you can see this, but these two are kind of different sizes.
I'm just centering them up because we're going to cut and then we're going to sew them back together and we're going to square them up. If your pre-cuts, like if your background and your print are slightly different sizes, maybe because you're using different manufacturers, just center them up and don't worry about it. These get squared later. All right, so then I went ahead and just cut these.
Jenny:
Do you want these both facing up?
Natalie:
Facing up is fine. It doesn't matter because I'm cutting them and then I'm orienting them the way I want them.
Jenny:
Oh, okay.
Natalie:
I'm going to cut these both ways, and then because I want all of my half-rectangle triangles to face the same direction, I'm going to set up my piles so that they're like this. All my prints go down here in this bottom corner and all my solids go up at the top. This makes it super easy for me to assemble when I'm sewing because I want them all to face the same direction.
Jenny:
You want to cut those piles the same direction to do that. Otherwise, they'll be half and half. This was fine.
Natalie:
Well, it doesn't really matter if they're up and down because you can turn them all so that they go the right direction so that when you sew them, as long as you sew them right, you're fine. You can cut them both ways.
Jenny:
I have to ask the hard questions.
Natalie:
You're fine. These get sewn together in this direction, and I just made my piles and did them all. Then you're going to lay them over top of each other. You can overlap them a little bit if you want to or you don't have to. I did several of these at once just because it's easy to chain piece and then you press and square all at the same time. You will need two for each little unit that you make.
Jenny:
How many units do you make for the ...
Natalie:
For the whole quilt?
Jenny:
No, to make the block?
Natalie:
Oh, this little block is-
Jenny:
Oh, two.
Natalie:
... the two units, yeah.
Jenny:
All right, here's two.
Natalie:
All right. We'll press these back, and then we will square them. These get squared to two by three and a half.
Jenny:
I've never used the rectangle triangle.
Natalie:
The rectangle squaring tool?
Jenny:
I haven't, yeah.
Natalie:
It's actually so great. All right, so with Bloc Loc, you're going to put the groove onto the seam, and I just slide that down. You can see the area that I want to square here is this two by three and a half, so as long as you've got it within your block, you're fine. I think I could probably have cut these smaller, but I don't like to cut down my charm packs when I'm going to square something anyways. It feels like a waste of time.
Jenny:
It's double the work.
Natalie:
Yes. All right, so I get my first side and then I can flip it around and slide it down. We're going to go right into the three and a half long and the two-inch wide.
Jenny:
I have never slid a Bloc Loc, and I've been using them for years, so that is a genius move to me.
Natalie:
It's so easy.
Jenny:
I'm like, "Wow."
Natalie:
There we've got one. We'll do one more so you can see it.
Jenny:
You should have taught me this years ago.
Natalie:
We'll start with our two inch, getting a nice good side, good corner, and then spin it and slide it.
Jenny:
Wow.
Natalie:
Spin and slide.
Jenny:
Let me just say.
Natalie:
Two by three and a half. I love using this tool because it gives you just exactly the right amount of little overhang here so that your points stay good. It's just wonderful for that. I love it. All right, so now we just need one more little bit of stuff. We need our solid squares, and those are cut to two inches, and you'll need one square of background and two of a print.
I'm sure somewhere in that pattern gives you all the numbers for all the little things that you need to cut, but I'm just going to cut these ones for the square we need. We're going to cut two-inch squares, and I'll cut the two prints that I need.
Jenny:
Now, is there a reason that you went with two versus two and a half or something like that?
Natalie:
All of the reasons that I did this have to do with the size that the half-rectangle triangles came out using the charm square.
Jenny:
Oh, okay.
Natalie:
This was the largest half-rectangle triangle that I could get, and then I needed these three squares to add up to this one plus one more. It was all about math, and it was based on this was the biggest size I could get from my charm square. As far as the whole design process, that's why that those decisions were made. I hope that makes sense.
Jenny:
Yeah, no, it makes perfect sense. I always wonder when people design, why this and why that?
Natalie:
Like why, yeah. All right, so to make this, we are going to have these two this direction, our two half-rectangle triangles. We put a print square at the top of one of these. If you're doing a lot of assembly, then you can just sew all of these this way.
Jenny:
Do you want me to do that right now?
Natalie:
If you like, but I want to lay the square out first.
Jenny:
Oh, okay, lay the block out first.
Natalie:
Yeah, I want to lay it out, so you'll have those too. These, I just kept everything matching because I thought it looked cute, and it was easier for me to assemble it that way. Your half-square triangles go in the middle. They make up a little sashing in between your long star legs, and your white square goes in the middle, just like that. Then we'll sew it together, and it'll look like that.
Jenny:
It is hard to imagine that this is this.
Natalie:
Yeah, it is though. It's really cute.
Jenny:
It is, yeah. All right, do you want me to sew that together?
Natalie:
All right, so I did these. Then this.
Jenny:
Right here on this side that you gave me?
Natalie:
Uh-huh. I'm going to press this back.
Jenny:
Does this half-square triangle go the opposite?
Natalie:
Yes.
Jenny:
Like this way?
Natalie:
Opposite, yes. That was hard for me to keep track of. You got that really easily. I'm jealous.
Jenny:
We all have different brains.
Natalie:
I had to keep looking at my reference block.
Jenny:
Once you make a block and make sure it's right, I always keep it right here, and then I make them all the same.
Natalie:
Then this gets stitched in the middle. You'll line up these top two. Just like that.
Jenny:
I feel like the whole world is going to be really proud of me for sewing these tiny things.
Natalie:
Yes, I think so. It can be a challenge, but it's pretty rewarding when you accomplish it.
Jenny:
Well, yeah.
Natalie:
Then this one goes right here on this other side, lining up those two. You want to make another?
Jenny:
Sure.
Natalie:
Want to make 65 more?
Jenny:
If you cut and line them up, I'll sit here and sew. How about that?
Natalie:
All right. Then we're just going to press this.
Jenny:
Is there 65 of those in there?
Natalie:
No, I don't think so.
Jenny:
You just spewed out a number.
Natalie:
I just figured if you're going to make a queen size, you got to start somewhere.
Jenny:
That's right, yeah.
Natalie:
All right, and that's it. That is the little block that-
Jenny:
Show us.
Natalie:
... makes up the entire quilt. You can see it right here. It just starts there, and then you put them together by rotating the block back and forth. Can you see that?
Jenny:
I can see that. That is so cool.
Natalie:
That's it. We've got 1, 2, 3, 4 by 1, 2, 3, 4, 5, 6, 7, 8. You'll need to make 32 of these little units to make your table runner, and they're super cute.
Jenny:
It's not excessively big, but it's super cute.
Natalie:
No, it's really cute. If you wanted to make it bigger, add more charm packs.
Jenny:
Yeah, so what quilting pattern did you use on this?
Natalie:
We used cotton candy and again, this back is this cute cheater print, and it's fun, fun and easy to make. It comes together in just a couple hours.
Jenny:
Yeah, that is awesome. It is awesome. Well, I see a few more small things in my future.
Natalie:
Small things, but also this is going to be fun to triple play. I think we should put on the schedule for next year.
Jenny:
I think we definitely should. Anyway, we hope you enjoyed this tutorial on ...
Natalie:
Connected stars.
Jenny:
... connected stars from the Missouri Star Quilt Company. We'll see you guys later. Hi everybody, it's Jenny from the Missouri Star Quilt Company. We hope you enjoyed watching this video. If you aren't already part of the Missouri Star Quilt Company family, be sure to subscribe so you won't miss a thing. If you click that bell, it'll notify you every time a new tutorial comes out. See you next Friday.


