

How to Make a Disappearing Four Patch Star Quilt - Free Quilting Tutorial
 Jenny Doan
- Charm Pack
- Traditional
- Queen
- Beginner
- Quilt size 78" × 90"
We’re celebrating 15 years of patchwork paradise with 15 of our most beloved patterns. This week’s remake is the Disappearing Four-Patch Star. A bed without a quilt is like a sky without stars. Today, we've got quilts AND stars in spades. Jenny's making the Disappearing Four-Patch Star quilt with precut charm squares. Her fabric is Porch Swing by Ashley Collett Design for Riley Blake, and construction is a breeze.
Instructor
Jenny Doan
Jenny Doan is an American quilter, author, and YouTube personality. Jenny started Missouri Star Quilt Company in 2008 and today it is the largest quilting supply vendor in the United States.
Shop this tutorial
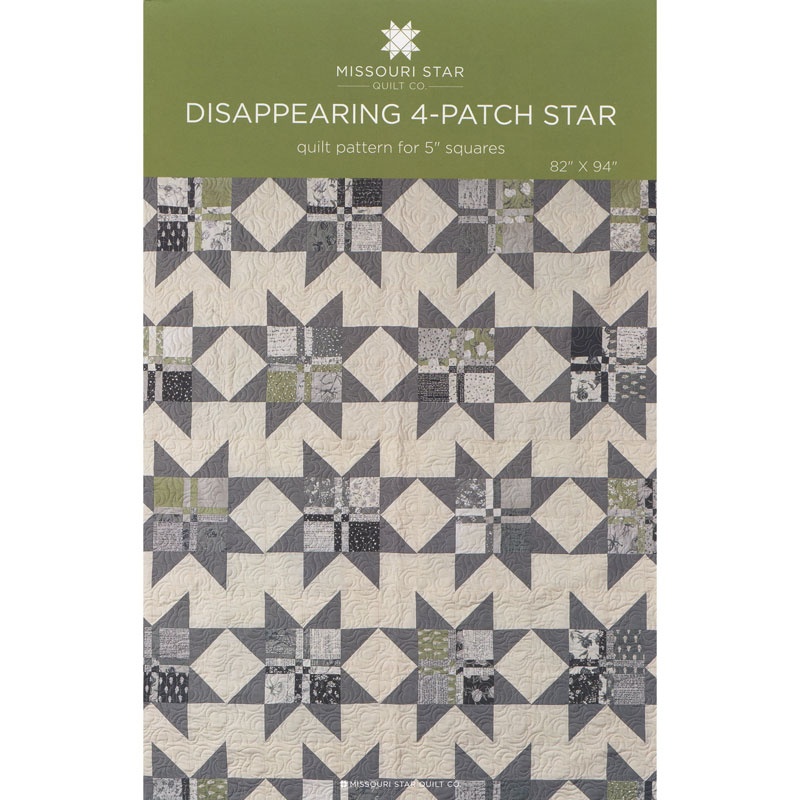 Disappearing 4 Patch Star Quilt Pattern by Missouri Star$6.95Shop →
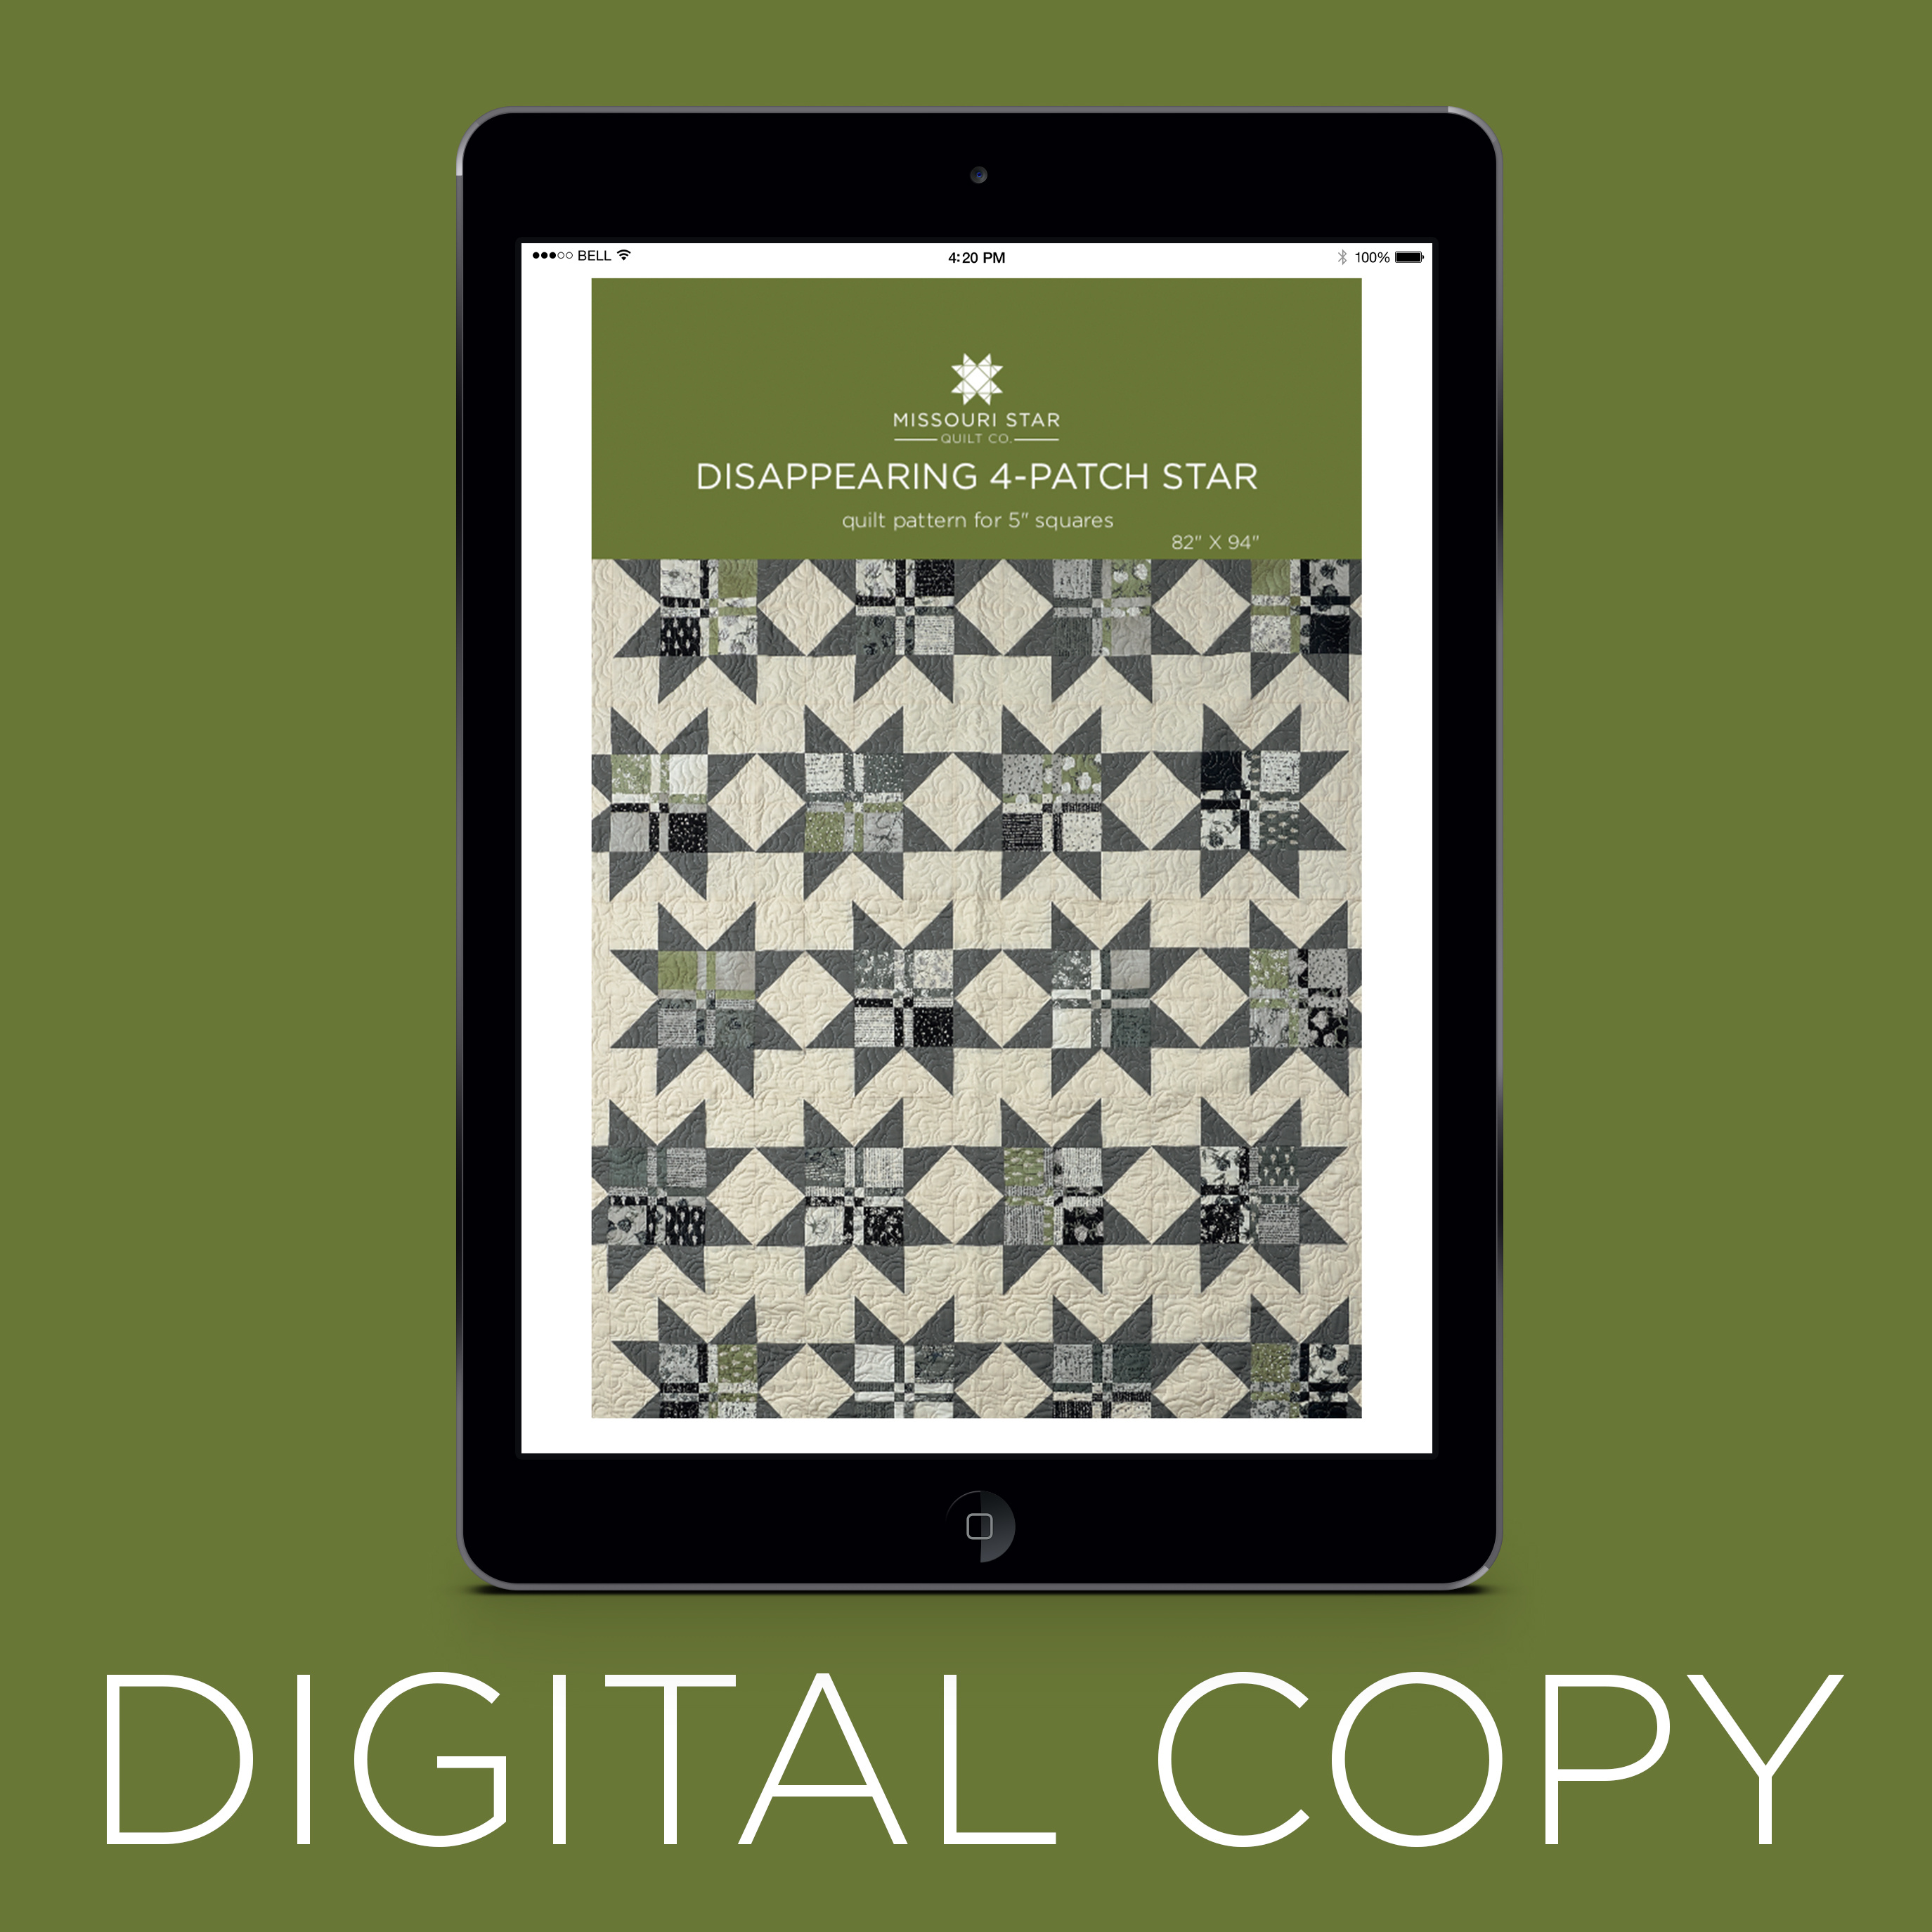 Digital Download - Disappearing 4 Patch Star Quilt Pattern by Missouri Star$4.95Shop →
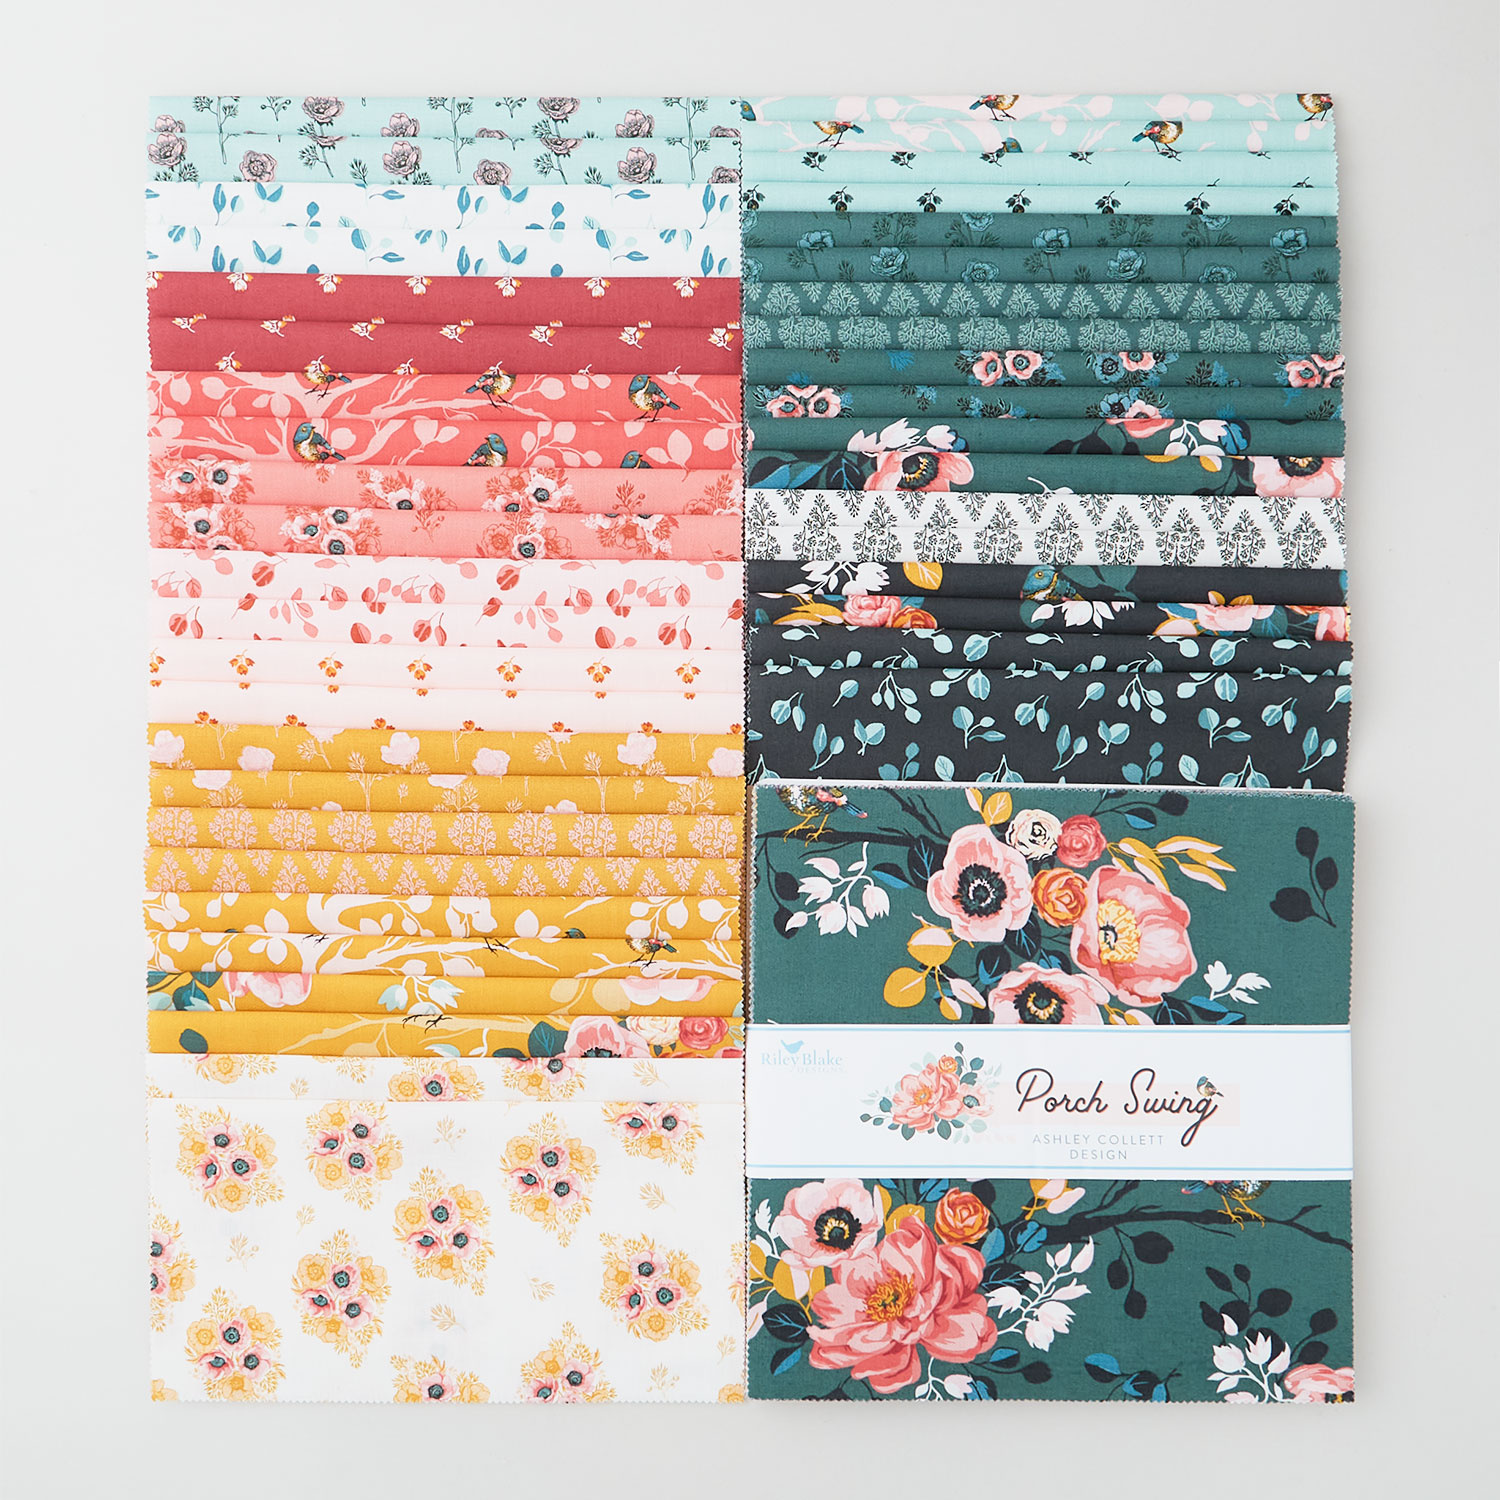 Porch Swing 10" Stackers$39.95Shop →
 Confetti Cottons - Cape Verde Yardage$7.76Shop →
 Confetti Cottons - Ballerina Yardage$7.76Shop →
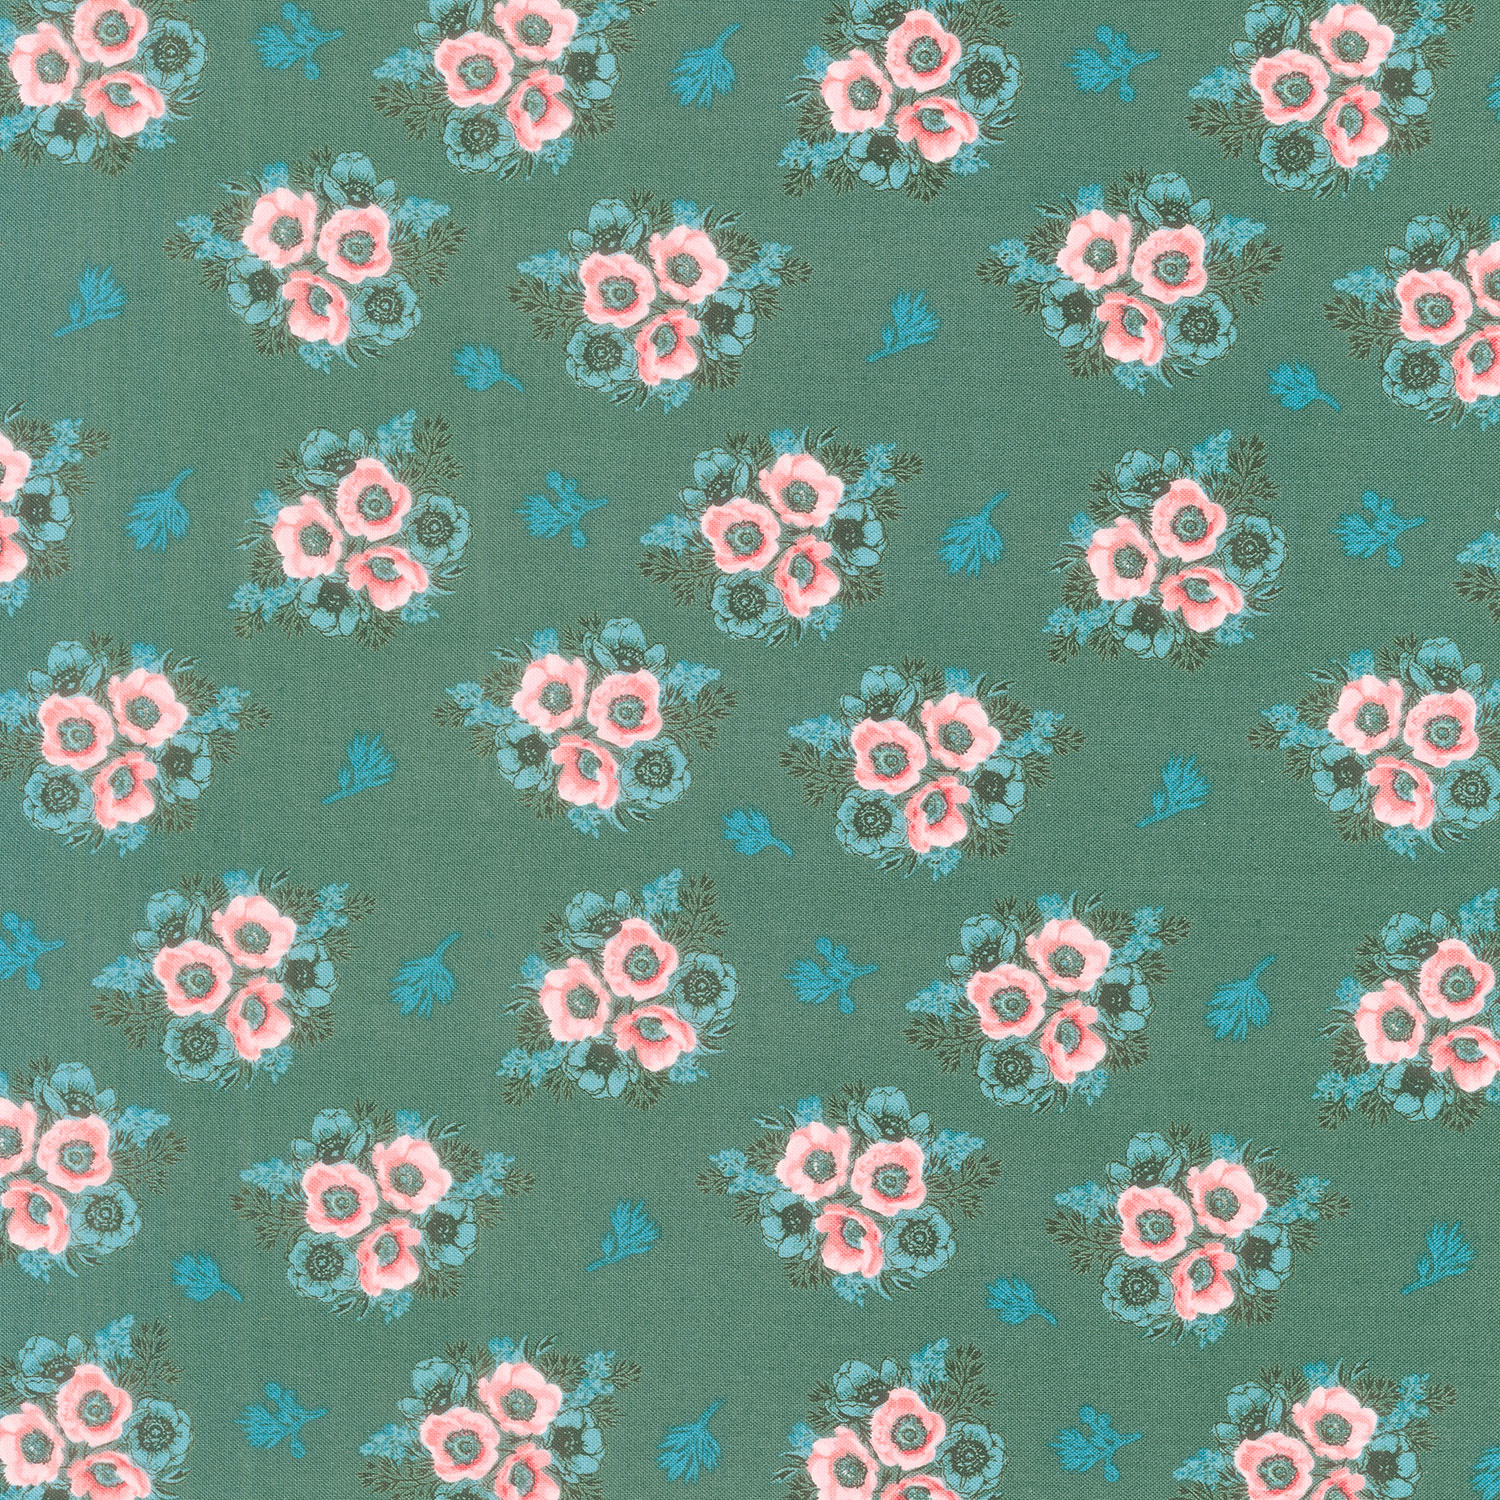 Porch Swing - Vignettes Hunter Yardage$11.96Shop →
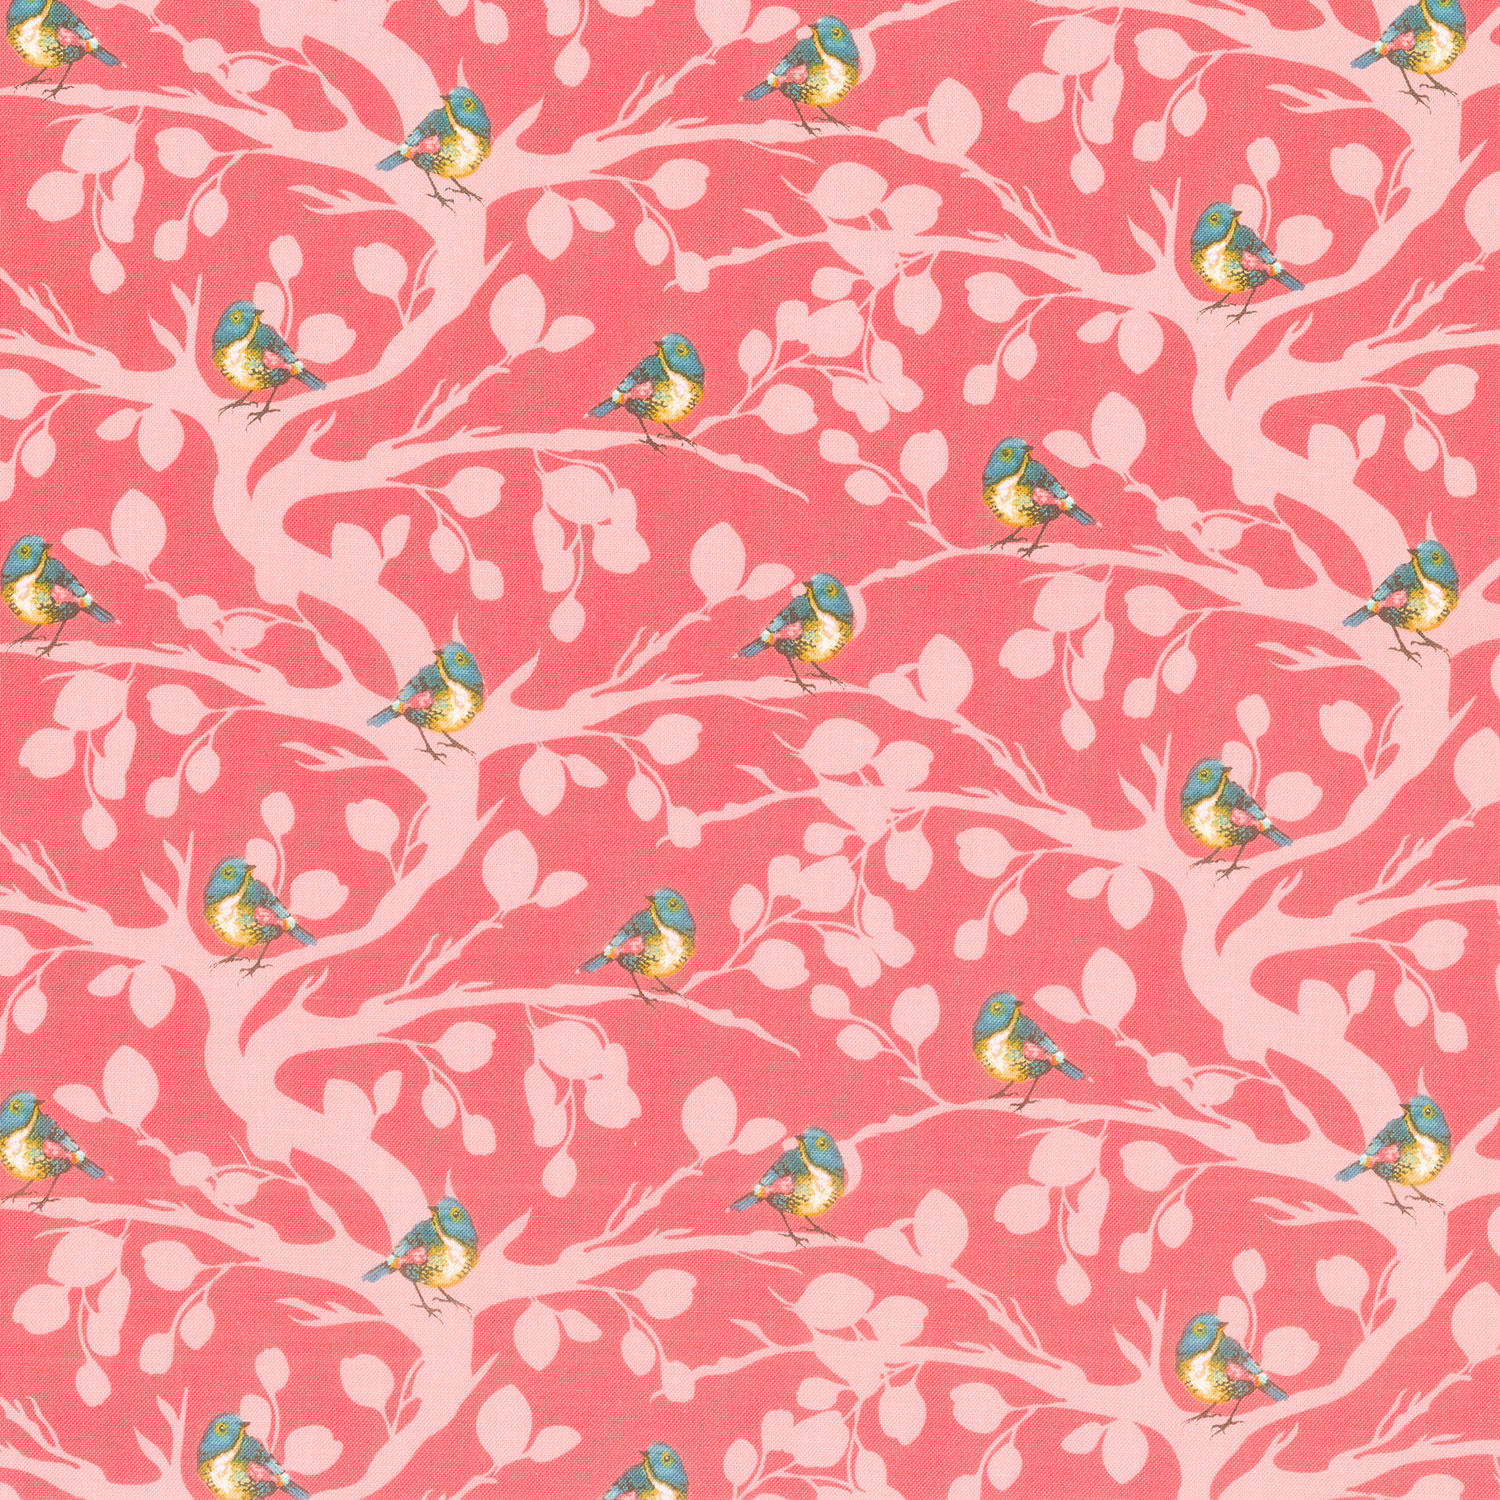 Porch Swing - Birds and Branches Coral Yardage$11.96Shop →
 Missouri Star Quilter’s Best Blend Full Batting$32.45Shop →
Common Questions
What is covered in How to Make a Disappearing Four Patch Star Quilt - Free Quilting Tutorial?
We’re celebrating 15 years of patchwork paradise with 15 of our most beloved patterns. This week’s remake is the Disappearing Four-Patch Star. A bed without a quilt is like a sky without stars. Today, we've got quilts AND stars in spades. Jenny's making the Disappearing Four-P...
How long is the tutorial video?
The tutorial video is 00:19:42.
Are supplies listed for this tutorial?
Yes. The tutorial page includes the supplies and materials connected to this project.
Is a transcript available?
Yes. A written transcript is available on the tutorial page.
Video Transcript
Hi, everybody. It's Jenny from the Missouri Star Quilt Company, and I'm here today with Natalie.
Natalie:
Hi.
Jenny:
Because it is time for one of our favorite 15s, and today, we are talking about the disappearing four patch star.
Natalie:
Star.
Jenny:
So it's fun because-
Natalie:
It's very cute.
Jenny:
... for any of you who have done the disappearing four patch, this is it right here. It makes a very cool quilt in above, you know, all by itself, but we've put legs around it and made it a star, and it's so fun, very popular, people love it, and we're going to show you how to do that.
So to make this quilt, you're going to need two packs of 5-inch squares, and we have used Porch Swing by Ashley Collett Designs for Riley Blake, and it's a darling line, you can see.
Natalie:
It's really pretty.
Jenny:
Love the soft colors. You're going to need some accent. That's 1 1/2 yards.
Natalie:
Accent would be this green one.
Jenny:
Oh, the green one. The green one is the accent because that's the legs. And then we've got the background, 3 1/4 yards, and we just used this pale pink. We thought that would be fun to change it up a little bit. For your outer border, it's 1 1/2 yards, and we used this green right here. And then this is our backing, and those little birds are so cute on that.
Natalie:
It's a really sweet fabric.
Jenny:
Really darling. And so for that, you're going to need 7 1/4 yards. If you choose your own 108, it's going to be 2 3/4 yards of fabric.
So let me show you how to make this. You'll have fun watching the disappearing four patch. It'll be a good brain refresher for you because this is a really fun block to make, so let's get to that.
Natalie:
It's very cool.
Jenny:
Okay, so now we're going to start with the middle of our block. This is the disappearing four patch. And this block was a little bit terrifying to me to begin with because of the way we cut it. And once you've finished a sewn block-
Natalie:
Because it feels small.
Jenny:
It feels a little scary.
Natalie:
Yeah.
Jenny:
So we're just going to grab four charms, and I'm going to put them together like this so that they just kind of mix up.
Natalie:
Let's swap these two.
Jenny:
There we go.
Natalie:
Because these are darker.
Jenny:
These are going to be your darks, yeah.
Natalie:
Yeah.
Jenny:
All right, so we're going to sew this into a four patch, right?
Natalie:
Great contrast.
Jenny:
Mm-hmm. Natalie's better at that contrasty thing than I am. I'm really good with the pre-cut, for sure.
All right. And give me two more.
Natalie:
Yep.
Jenny:
And make sure that iron's good and hot. I'm going to have to press this.
Natalie:
It's ready for you.
Jenny:
All right. So now I have these stuck together with the little string. And so I'm just going to open them up, make sure they're all still in the places I want them, and fold this over and sew it a quarter of an inch down. We only need to match that middle seam. So just watch the middle seam, and just make sure that your seam, the top goes one way and the bottom goes the other.
And then Natalie's going to press this.
Now, one of the things that I want you to remember on this block is that we are making it from squares. So it's more about the shape than the size. So if we're using all 5-inch squares and creating this block, they're all going to turn out the same size. So if you have a stack of eight-inch blocks, you could do it with that. You could do it with 10. I mean, this block works with anything. And also, the measurement we're going to choose now, you can also change that up. So this block, you can do so many things, too.
So now that you have your four patch all together and pressed, it's time to cut, and it's a little scary to cut a block you've already made. But what we're going to do is we are going to lay this one inch out from the center seam. Now, could you put an inch in a quarter?
Natalie:
Yes.
Jenny:
Could you put a two? You could change this up any way you want. But we're going to live on the edge today. We're cutting it at an inch. So Natalie-
Natalie:
Well, I think that tiny is what looks really, really cool.
Jenny:
Well, it is really cool. So Natalie, if you'll cut... Wait. You know what? This is a great time for a rotating mat.
Natalie:
I am right-handed, so I'm going to have to move that to the other side.
Jenny:
You can do whatever you'd like. I'm just going to-
Natalie:
So lefties start from the left, righties start from the right.
Jenny:
There we go. You heard it here.
Natalie:
I will cut for you today.
Jenny:
So we're cutting one inch away from that center seam and we're just turning the mat. Now, if you don't have a rotating mat, if you'll just use one of your smaller mats, you can rotate that. But you don't really want to mess with this. You want it to stay with all of its pieces right where they belong so that they all stay in the same spot.
Natalie:
And keep that lined up on the one inch every time you move it, yeah.
Jenny:
It's lined up right on the seam.
Natalie:
Okay, one more time.
Jenny:
We cut on all four sides.
So now that we have this block all cut, we're ready to kind of mix it around and play with it.
Natalie:
Okay.
Jenny:
So I'm going to swap these two right here.
Natalie:
Cool.
Jenny:
And instantly you can see you have a square that's bordered now by another fabric. We're also going to swap these two. And then we're going to take this little square in the middle and we're just going to turn it one.
Natalie:
Very cool.
Jenny:
Just like that.
Natalie:
That looks awesome.
Jenny:
It just looks so darling. It looks like you worked so hard.
So let's go ahead and sew this top row together. And I would suggest-
Natalie:
And you're going to jam piece these?
Jenny:
I'm just going to sew a row at a time. And I would suggest that when you make these, cut one and sew one. Don't cut all your blocks.
Natalie:
No, you'll get them so mixed up, I think. I would worry so much.
Jenny:
You're not going to want to kill me at the end of the day. So sew one, cut one. All right, so hand me that other block in that corner.
Natalie:
Okay.
Jenny:
And then I'm going to hand these back to you and you can put them back in the places that they go.
Natalie:
I'll press it and put it down. Okay. I can do that.
Jenny:
And so this is the top row.
Natalie:
Okay.
Jenny:
And then I'm going to sew these little ones, and be careful and don't move them from the place they go. It's easy to get them mixed up.
I do love disappearing blocks very much, and there's so many things you can do with these.
All right, so then this one. Is this right now?
Natalie:
I think so, yeah.
Jenny:
Okay.
Natalie:
Yep.
Jenny:
So better to check than to rip, right?
Natalie:
Yeah.
Jenny:
I think that's a good little plan.
Natalie:
Sure.
Jenny:
All right. Now I'm going to sew these two on.
You know, it's interesting because when you sew that middle part, it feels scary all of a sudden, but what you have to realize is it's not harder, it's just smaller. But also know, it even feels a little scary to me. So if you want to shorten up your stitch length a little bit, you can, but just be aware that it's a little scary to everybody.
Natalie:
Mm-hmm.
Jenny:
Okay, so if you'll go ahead and press that-
Natalie:
I will press that.
Jenny:
... I will iron these two together.
Natalie:
Okay.
Jenny:
Now you want to watch on this because you do want to match up those little seams in the middle. So I'm going to start here nice and slow. And make sure that my seams-
Natalie:
Then you're going to look at all those little points.
Jenny:
Yep, all these little seams.
Natalie:
And if they aren't going the way you want them, you can switch them.
Jenny:
You can just make them go the way you want. I'm going to make this guy go this way, and I'm going to make this guy go this way.
Natalie:
Okay. I'll re-press that just after you're done stitching so we can do the next.
Jenny:
And then you can fly on home.
Natalie:
Okay.
Jenny:
All right.
Natalie:
So this one goes in, and this one goes in. They don't want to stay.
Jenny:
That's a good time to press those and make those seams lay down nice and flat.
Natalie:
There you go. Oh, I should have pressed it open, or not open but back. Yeah?
Jenny:
Yes, that would be helpful.
Natalie:
Yeah.
Jenny:
She's a good girl.
Natalie:
I got you.
Jenny:
All right, here we go.
Natalie:
Okay.
Jenny:
All right. So now when I put this back on, these should frame up the blue, the blue should frame up the gold, and it looks like we are good to go.
Natalie:
Maybe you should have like your opposites, yeah?
Jenny:
Right. All right, so we're going to go ahead and put this on here.
Natalie:
Cool.
Jenny:
And I'm going to flip this over. Because we've pressed these seams a certain way, I want them to lay that way, and they're tiny enough that it would actually matter. Like sometimes if you sew on a seam and it flips-
Natalie:
It's not a big deal.
Jenny:
... it doesn't really matter, but these are so close right there together. And so I'm going to line up this first seam and just so a quarter of an inch right down.
Natalie:
Okay.
Jenny:
And then I'm going to make sure this one is lined up, and I'm watching to which way my fabric is pressed.
Natalie:
Awesome.
Jenny:
Make sure this is still lined up down here and fly on in. There we go.
All right, now press that.
Natalie:
Looks so good.
Jenny:
This is one of those blocks that's so gratifying because you just make a four patch. You cut it one inch from the center seam all the way around, you sew it back. You know, you move the squares and sew them back together.
Natalie:
And it looks so pretty.
Jenny:
And it looks like you worked so hard. It's just darling.
Natalie:
I love it.
Jenny:
So now all we have to do is make the star leg.
And we're going to do the easy eight method. So what we want to do first is we want to grab our accent fabric, this green. We're going to cut a 10-inch strip and cut those into 10-inch squares. So 10-inch strip and subcut into 10-inch squares.
Then of the background, we're also going to cut a 10-inch strip and subcut that into 10-inch squares, but we also need these corner squares. So we are going to cut a strip here that is, let me see how big this is, 4 1/2 inches, and we're going to subcut those into 4 1/2-inch squares because you need four, one for each corner on your star.
So first thing we're going to do is we're going to make the legs. And so what we're going to do is we're going to take these two pieces and we're going to draw a line diagonally both directions, like this, and so on both sides of that line. Now I have one here that is already done. You can see we've drawn the line, and you can probably see better here, we've sewn on both sides of that line. And now we're going to cut this, and Natalie, I'll have you cut this.
Natalie:
Okay.
Jenny:
And I like to cut horizontally and vertically first because there are no lines on that. And so she's going to cut like a right-hander.
Natalie:
Yep.
Jenny:
Start from the right, and then she's going to turn it. Oh, and we could use our-
Natalie:
We could.
Jenny:
We could use this again.
Natalie:
But I can do it this way.
Jenny:
If you ever get into a place where you're cutting back in on yourself, just stop. You don't want to get hurt, you don't want to cut yourself.
Natalie:
Am I good to cut on the lines?
Jenny:
You're good to cut on the lines.
Natalie:
In between the two seams?
Jenny:
Yep. And this is going to give us eight 4 1/2-inch squares, and we're going to need to be squaring those as well.
Natalie:
All right. I can do that, too.
Jenny:
So now we have all eight of our half-square triangles, and Natalie's going to use the Bloc Loc Ruler to square them. And so they need to be pressed, and I'm going to press for you.
Natalie:
I'll start with one.
Jenny:
There you go.
Natalie:
And then you can do the rest.
Jenny:
All right. And you can walk them through this, how you square these.
Natalie:
So because this is pressed to the dark side, I'm going to have the writing on the background fabric and it presses up against the seam. And this is a 4 1/2-inch ruler, which is exactly the same size that we need, so I'm just going to cut around the outside edges.
Jenny:
That should be perfect.
Natalie:
And I think what I'll do is use this spinning mat because then, I can just spin it around and cut the other side, which will make life much easier.
What?
Jenny:
Oh, nothing.
Natalie:
Nice and pressed. Good job.
Jenny:
They are nice and pressed and...
Natalie:
Square.
Jenny:
Perfect. Yeah, I already had some done. I grabbed them. They're perfect.
Natalie:
That one got done already. Oh, you're fast.
Jenny:
They're perfect. And then I have some that are sewn together as well.
Natalie:
Oh, nice.
Jenny:
So we're going to do with these is we're going to take them and we're going to put them backgrounds together. That's how I remember it, always backgrounds together like this.
Natalie:
Okay.
Jenny:
And that's going to make our legs. And we're going to sew four sets of these, and I have two sewn together, so you and I will just sew these two and we'll use the other two that I've already got sewn together.
Natalie:
Awesome.
Jenny:
All right.
Natalie:
Well, that's very cool.
Jenny:
Did I surprise you?
Natalie:
You did. I thought I was going to be squaring for days.
Jenny:
We actually enjoy squaring, don't we?
Natalie:
I do.
Jenny:
Yeah. It's kind of interesting.
Natalie:
You, not really so much.
Jenny:
Well-
Natalie:
But it is super satisfying when they come out-
Jenny:
I do like it better now that I-
Natalie:
... and they're just so perfect.
Jenny:
And I use the disappearing... No, I use the-
Natalie:
The Clearly Perfect Slotted Trimmer.
Jenny:
The Clearly Perfect Slotted Trimmer, and I like that one, and so it's not hard for me to square.
Natalie:
Yeah.
Jenny:
All right, so what we're going to do now, here's our little star.
Natalie:
I can move that.
Jenny:
Our little middle. And I'm going to move this over here so we can spread out a little bit. So we're going to put one set of legs on there, one set of legs over there, one on the bottom, and one on the side.
Natalie:
Awesome.
Jenny:
We're going to fill these in the corners.
Natalie:
Okay.
Jenny:
Like this. And then we're just going to row sew them. So I'm going to sew these two to either end of this, and we'll have Natalie sew that or iron that.
Natalie:
I'll press.
Jenny:
Press it. Yeah, I'm sewing, aren't I?
Natalie:
Today, today.
Jenny:
All right, here's one more. One more side.
And then these, I'm going to press to here, and I'm going to match up this center seam right here with this center seam right here. And so that's going to be lined right up there, and it gives you a good... You know, I like those places where you can stop and make sure everything is all squared up. So we're going to go here. And sew this across. And then I'm going to do the same thing on the other side with the other legs. I'm watching for the way this seam is laying down. I'm going to pull my seam to the other side so I get seams going both directions.
Natalie:
Okay.
Jenny:
And then I'm going to sew the corner squares on this last row right here.
Oftentimes when I'm making these, I'll sew the middle section first and then the top and the bottom, but it's really whatever works for your brain. But I am-
Natalie:
You're ready for it.
Jenny:
I'm ready.
Natalie:
I know. Hang on. I just had a couple of seams to correct.
Jenny:
There we go.
Natalie:
There you go.
Jenny:
All right, I'm going to sew this top piece on.
Natalie:
Okay.
Jenny:
And this makes a nice big block. So a quilt goes really fast when you have large blocks, so if you need something in a hurry that looks like you worked really hard, this might be the one.
Natalie:
That's true, it is real fast.
Jenny:
All right, so now, I noticed I have a little bit more room right here. So what I'm going to do is I'm going to take this and I'm going to flip it over, because if you put your bigger piece to the bottom, the feed dogs will take in that fabric and it might be that my 1/4-inch seam is just a little bit off. So I'm just going to go ahead and come here. And then I'm just going to make sure that this is nice and flat and lines up, and the feed dogs will just take in that extra fabric, and it will just be perfect.
Natalie:
That works really well if it's less than a quarter of an inch of difference, right?
Jenny:
Right.
Natalie:
If it's much more than that, you might want to take a seam in somewhere.
Jenny:
Yeah, just look at your seam. But that worked great for me.
Natalie:
Perfect.
Jenny:
And I don't ever have a problem just flipping it over if I get along so far and I'm noticing that I have one side is bigger.
Natalie:
Yeah.
Jenny:
This one's a little big, too, so I must have just a little bit different seam allowance going on here.
Natalie:
Sometimes also, the reason for that is because on your half-square triangle, you have fewer seams than you do here in the middle. When you have the middle section with all those little seams, it's going to be just a tiny bit smaller than your half-square triangle, even though they should in theory come out the same size.
Jenny:
All right, there we go.
Natalie:
Because you have more seams here than you do here.
Jenny:
It's a little bit smaller.
Natalie:
That happens often when we're sewing just because it's more seams, so you have more room for error, which isn't a big deal, it happens to lots of people, but that's why-
Jenny:
Even me.
Natalie:
That's why sometimes, though, when you're trying to put things together in a block, if you have fewer seams on this side than you do on this side, it might not match up perfectly.
Jenny:
Right. That's true.
Natalie:
No big deal.
Jenny:
But it's also pretty fun to know that little trick.
Natalie:
Yes.
Jenny:
All right.
Natalie:
It's super helpful.
Jenny:
This is our block.
Natalie:
Yes, it's so pretty.
Jenny:
It's so pretty. Let me see how big they come out.
So this is our block. It's 16 1/2. And let's go look at the quilt and see how we did this.
All right, so I have four set together, and this one begins with a sashing. The sashing is 4 1/2. And so every row has a sashing either in the beginning or in the ending, and what that does is it staggers the stars so that they're not quite lined up. So we're going to sew four of these together like this with a sashing in the beginning, and then we're going to come along here and sew four again with a sashing at the end. And do you see how that offsets them a little bit? And it just gives a really fun look and character of the quilt. Can you line them all up? Absolutely. Can you sash them in cornerstone? Make it your quilt. This is your chance to make it your own. But we've got four across by 1, 2, 3, 4, 5 down, nice big 5 1/2-inch border, and it just comes together. So fun.
Natalie:
It looks so great.
Jenny:
And it just looks so good. So the quilt is how big?
Natalie:
78 by 90.
Jenny:
78 by 90. And I want to show you this back on here because it has the little birds on it-
Natalie:
That's the sweet little bird.
Jenny:
... and it's just so sweet.
Natalie:
It's so pretty.
Jenny:
The quilt pattern that we've used is curly twirly flowers, and I just thought it just went really well with this quilt, and I like it because it's kind of circular when everything else feels a little angular. I like to put kind of a pattern with a little movement on it.
So this is the disappearing four patch star, and we hope you enjoyed this, we hope you'll give it a try. It's a fun block, makes it look like you worked really hard. So we hope you enjoyed this tutorial on one of our favorite 15 blocks from the Missouri Star Quilt Company.
Natalie:
See you next time.
Jenny:
Hi, everybody. It's Jenny from the Missouri Star Quilt Company. We hope you enjoyed watching this video. If you aren't already part of the Missouri Star Quilt Company family, be sure to subscribe so you won't miss a thing. And if you click that bell, it'll notify you every time a new tutorial comes out. See you next Friday.


