
Learn How to Make a Dresden Turkey in This Free Quilting Tutorial
Jenny shows how to make an really cool Thanksgiving Turkey using the amazing Easy Dresden tool by Darlene Zimmerman.

Instructor
Jenny Doan
Jenny Doan is an American quilter, author, and YouTube personality. Jenny started Missouri Star Quilt Company in 2008 and today it is the largest quilting supply vendor in the United States.
Shop this tutorial



Common Questions
What is covered in Learn How to Make a Dresden Turkey in This Free Quilting Tutorial?
Jenny shows how to make an really cool Thanksgiving Turkey using the amazing Easy Dresden tool by Darlene Zimmerman.
How long is the tutorial video?
The tutorial video is 00:05:20.
Are supplies listed for this tutorial?
Yes. The tutorial page includes the supplies and materials connected to this project.
Is a transcript available?
Yes. A written transcript is available on the tutorial page.
Video Transcript
Hi, it's Jenny from the Missouri Star Quilt Company and we are going to have a special project tonight. We're going to make a turkey out of the dresden plate ruler.
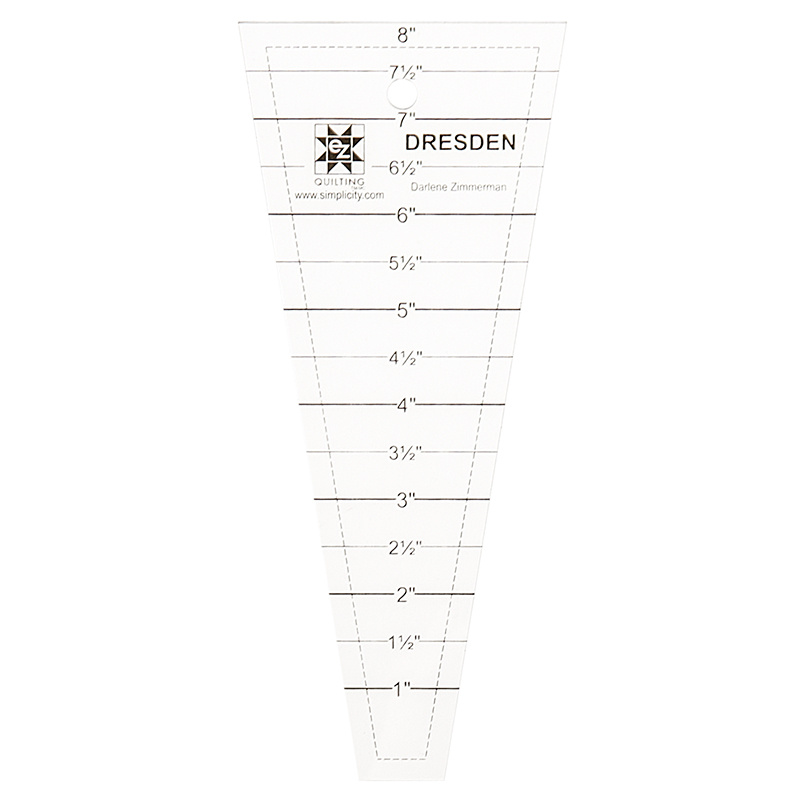
So, we've got our dresden plate ruler, and we're going to lay it right here on top of our charm pack. I've already got one in process here, so, I'll show you this one and then I'll show you this one. You set your five right at the top of the square cause these charm packs are 5", and then you turn your blade over and you can get two blades out of each square. Let me turn this one over. This may look backwards to some of you because, again, I'm left handed.
Now, you also want to pull out a couple of squares, we're going to use one for the head and one for the feet, and one for the waddle. So, keep watching and a turkey will appear.
OK, now we have some pieces like these and what we're going to do is we're going to fold them in half like this and we're going to take a 1/4" seam right across the top. We're going to go over to the sewing machine right now and do that to all of these. We can chain piece these and these make our little blades.
Now, we're using the garden inspirations charm pack. And so you can see we've sewn right across the top of this 1/4 of an inch. And so we're going to flip this now, turn it and it makes it's own little casing. So, now this along with all the other ones are going to make our feathers.
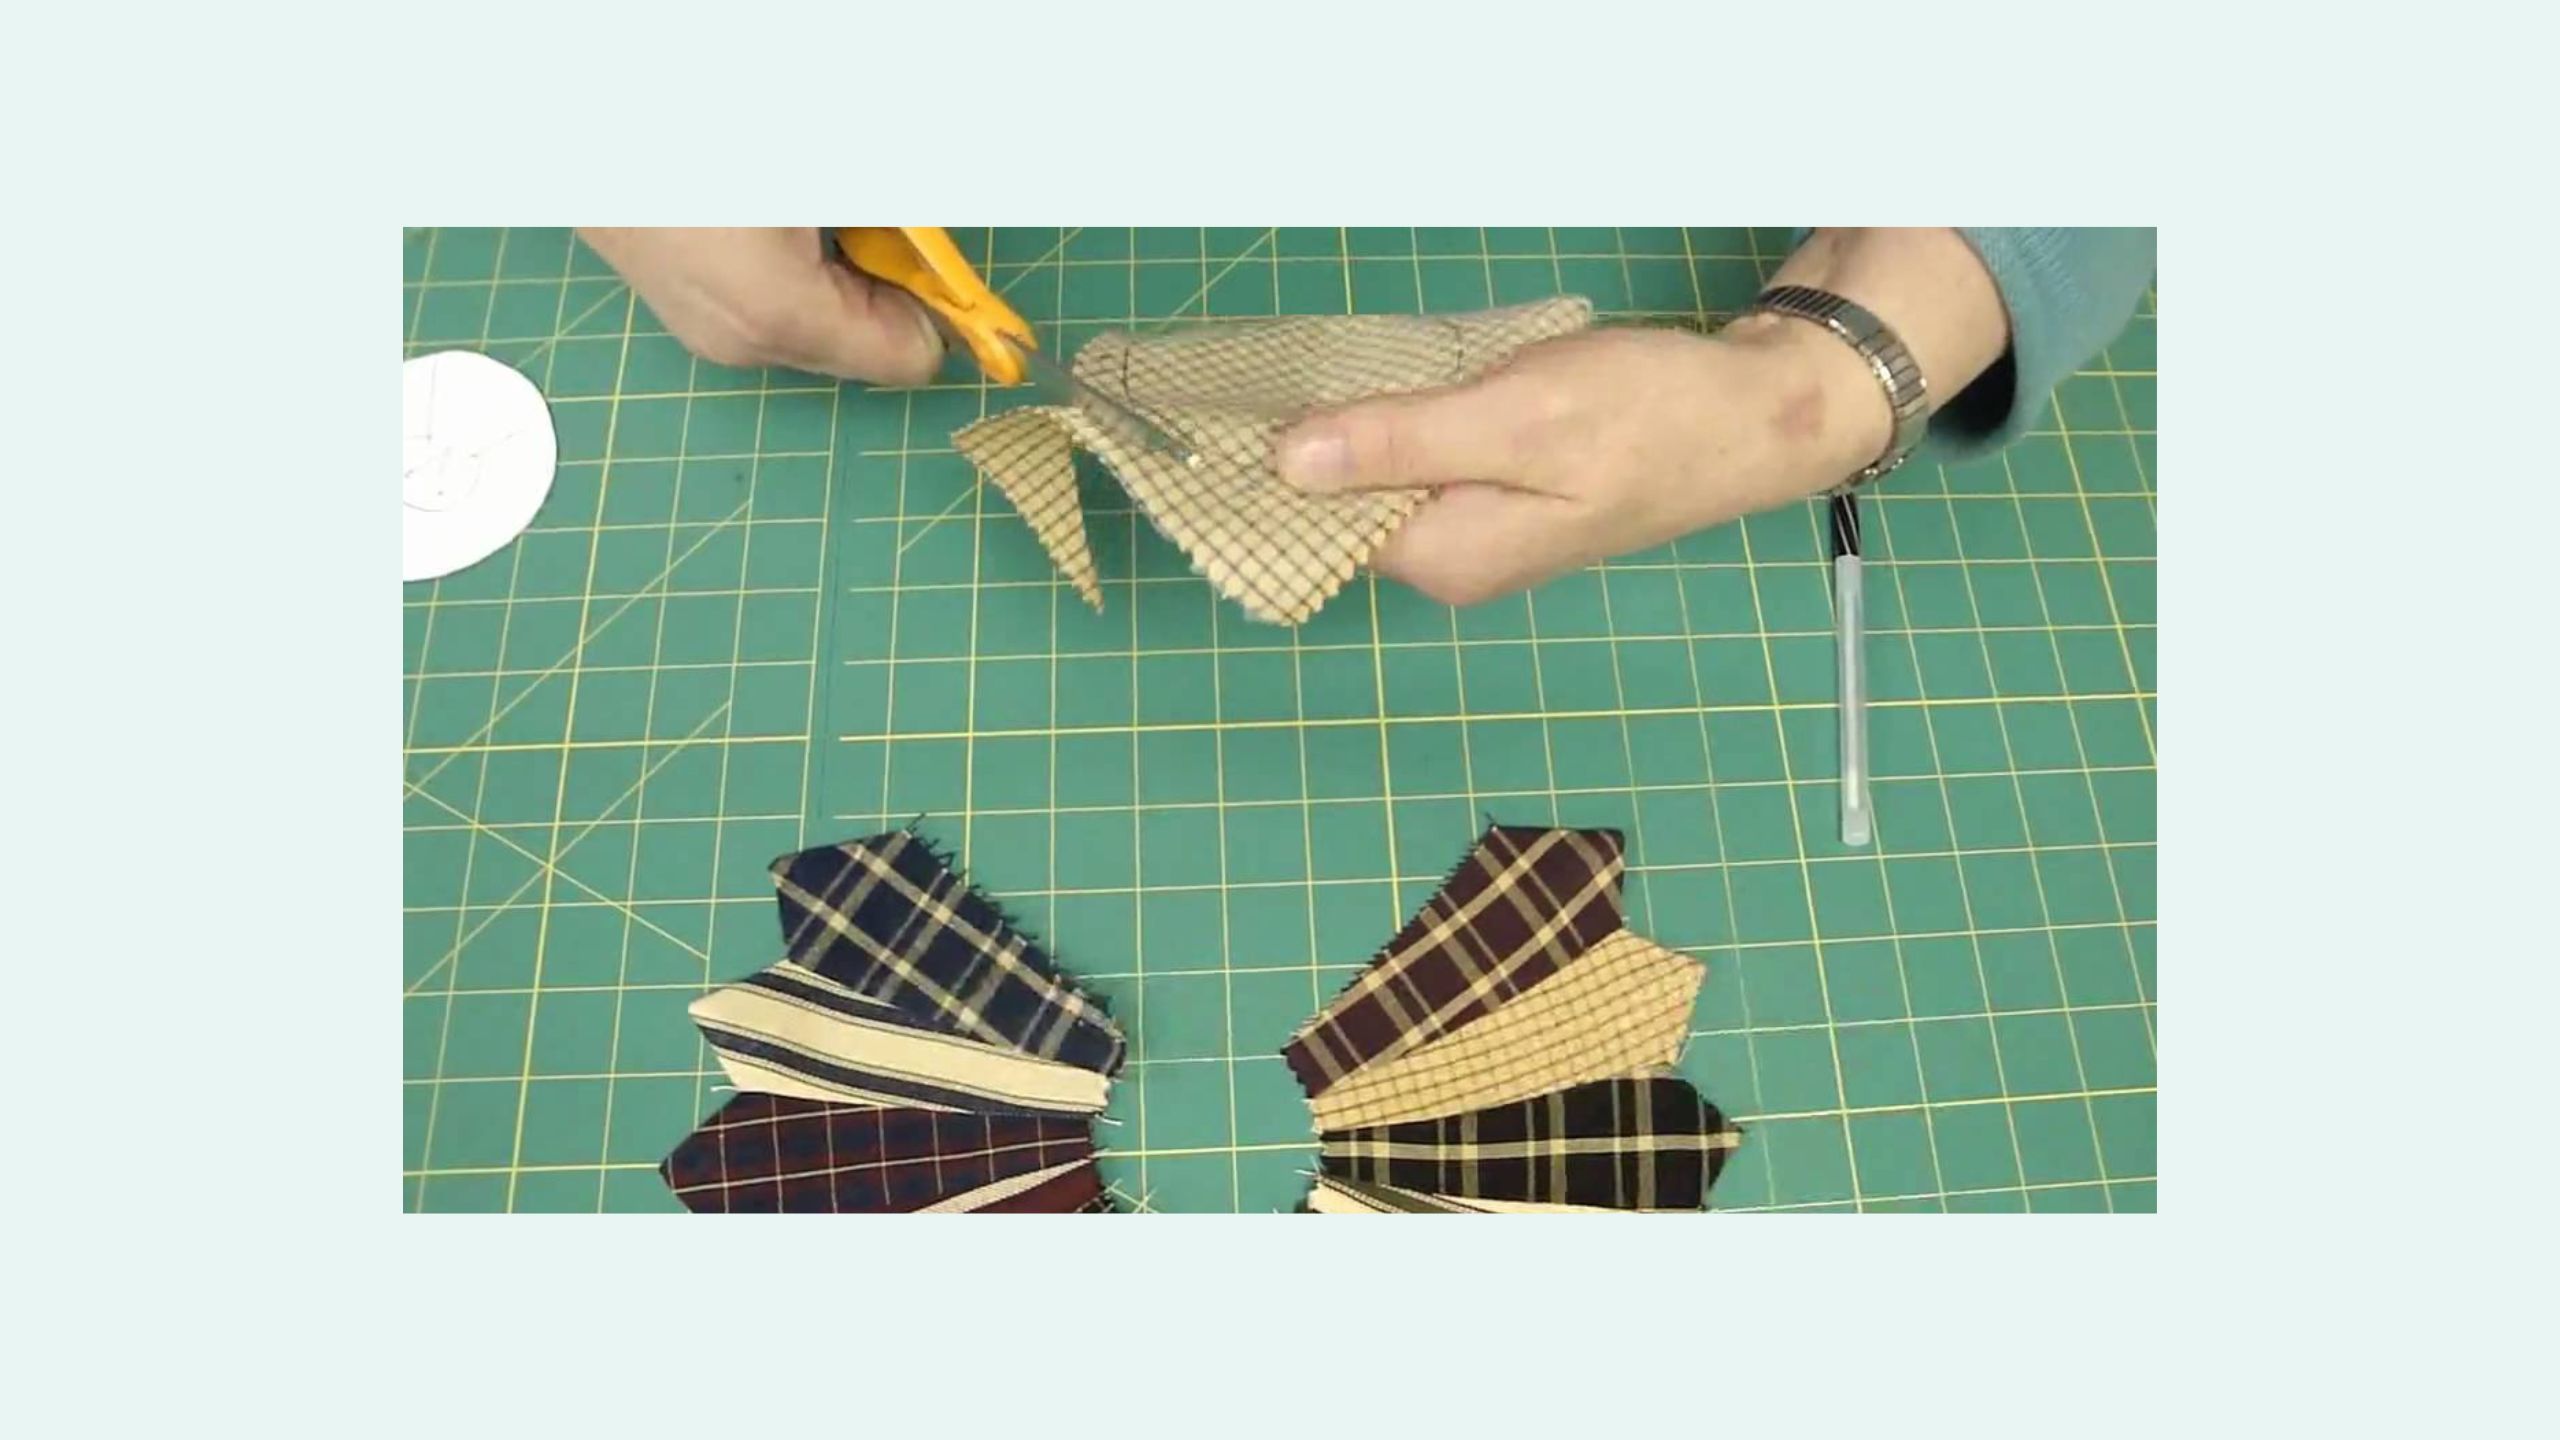
OK, when you're sewing these turkey feathers together, you want to start at the middle and sew 1/4" out to the edge so that's what we're going to do. You just sew right up over the ends of the fold and make sure they match together and that's the beginning of your turkey tail. OK, so here we have our turkey feathers and now we're going to make our turkey head. You can see that I've drawn one on here kind of haphazardly. We're going to turn our fabric over and we're going to cut a circle and this circle will fit the middle of the fabric. We'll draw it on the opposite side, and then we're going to cut it out just a little bit bigger. What we're going to do after that is, we're going to do a running stitch all the way around it so that we can cinch it up like a yo-yo, and then we'll iron it flat so that it will lay nice and flat on top of our turkey wings. Now, we're going to use two of our dresden blades for those big turkey feet. So, I have one here I've just traced out, and we can lay it on top of this one, and trace another one. We can actually, probably do that better on the back of the paper. So I'll trace that on there, and then we'll cut this out, and we've ironed this onto some fusible backing so that we can just iron these legs on. So, we'll show you the next part in a minute!
OK, so now, we have the circle, this is going to be the middle part. The body of the turkey and we are doing a running stitch all along the outside edge, outside that line. You can see that goes right outside there. Then we're going to set this card board down in here and we are going to cinch this up. See what a nice circle that makes!
Now what we're going to do is we've cut a little tiny bobble thing out for the head, and we're going to put that on there and press that and we have a little teeny beak! Isn't that cute! And we can put a couple of little bead eyes on there. This will then set in the middle of our turkey, and then we have his darling, ginormous feet down here, and we're going to put him on a piece of fabric. He'll be really cute. So, let's go over and iron this.
OK, so, we've got our feathers lined out. We put our center right in the middle. We're going to put our feet on and tuck them up underneath there. That's some nice big feet there! And then we've got this little head right here and his little beak, and then we're going to go iron these down, and then we're going to do an applique stitch around them to hold him in place. I think we'll even add a little tie to Mr. Turkey so he's dressed up for his big day!
So, you can see we have our turkey all laid out, and he's all been neatly stitched around with a blanket stitch. You can see here we have quite a few feathers left! So, out of this one small Garden Inspirations charm pack you can get at least two turkeys. Another great project that we used with the Easy Dresden Ruler. We love that dresden ruler. And if you have any trouble following this remember, we have the tutorial online for the easy dresden ruler. We hope you enjoy this daily deal from the Missouri Star Quilt Company. Happy Thanksgiving!
So, we've got our dresden plate ruler, and we're going to lay it right here on top of our charm pack. I've already got one in process here, so, I'll show you this one and then I'll show you this one. You set your five right at the top of the square cause these charm packs are 5", and then you turn your blade over and you can get two blades out of each square. Let me turn this one over. This may look backwards to some of you because, again, I'm left handed.
Now, you also want to pull out a couple of squares, we're going to use one for the head and one for the feet, and one for the waddle. So, keep watching and a turkey will appear.
OK, now we have some pieces like these and what we're going to do is we're going to fold them in half like this and we're going to take a 1/4" seam right across the top. We're going to go over to the sewing machine right now and do that to all of these. We can chain piece these and these make our little blades.
Now, we're using the garden inspirations charm pack. And so you can see we've sewn right across the top of this 1/4 of an inch. And so we're going to flip this now, turn it and it makes it's own little casing. So, now this along with all the other ones are going to make our feathers.
OK, when you're sewing these turkey feathers together, you want to start at the middle and sew 1/4" out to the edge so that's what we're going to do. You just sew right up over the ends of the fold and make sure they match together and that's the beginning of your turkey tail. OK, so here we have our turkey feathers and now we're going to make our turkey head. You can see that I've drawn one on here kind of haphazardly. We're going to turn our fabric over and we're going to cut a circle and this circle will fit the middle of the fabric. We'll draw it on the opposite side, and then we're going to cut it out just a little bit bigger. What we're going to do after that is, we're going to do a running stitch all the way around it so that we can cinch it up like a yo-yo, and then we'll iron it flat so that it will lay nice and flat on top of our turkey wings. Now, we're going to use two of our dresden blades for those big turkey feet. So, I have one here I've just traced out, and we can lay it on top of this one, and trace another one. We can actually, probably do that better on the back of the paper. So I'll trace that on there, and then we'll cut this out, and we've ironed this onto some fusible backing so that we can just iron these legs on. So, we'll show you the next part in a minute!
OK, so now, we have the circle, this is going to be the middle part. The body of the turkey and we are doing a running stitch all along the outside edge, outside that line. You can see that goes right outside there. Then we're going to set this card board down in here and we are going to cinch this up. See what a nice circle that makes!
Now what we're going to do is we've cut a little tiny bobble thing out for the head, and we're going to put that on there and press that and we have a little teeny beak! Isn't that cute! And we can put a couple of little bead eyes on there. This will then set in the middle of our turkey, and then we have his darling, ginormous feet down here, and we're going to put him on a piece of fabric. He'll be really cute. So, let's go over and iron this.
OK, so, we've got our feathers lined out. We put our center right in the middle. We're going to put our feet on and tuck them up underneath there. That's some nice big feet there! And then we've got this little head right here and his little beak, and then we're going to go iron these down, and then we're going to do an applique stitch around them to hold him in place. I think we'll even add a little tie to Mr. Turkey so he's dressed up for his big day!
So, you can see we have our turkey all laid out, and he's all been neatly stitched around with a blanket stitch. You can see here we have quite a few feathers left! So, out of this one small Garden Inspirations charm pack you can get at least two turkeys. Another great project that we used with the Easy Dresden Ruler. We love that dresden ruler. And if you have any trouble following this remember, we have the tutorial online for the easy dresden ruler. We hope you enjoy this daily deal from the Missouri Star Quilt Company. Happy Thanksgiving!


