

How to Make a Dressed to the Nines Quilt - Free Quilting Tutorial
 Jenny Doan
- Charm Pack
- Traditional
- Lap / Throw
- Beginner
- Quilt size 67" × 80"
Quilting season arrives with a gust of chilly air and long, dark nights. And, just like clockwork, we long to channel our inner Laura Ingalls: “Mary and Laura stayed close by the fire, sewing their nine-patch quilt blocks…Everything was beginning to be snug and cozy again." Jenny’s Disappearing Nine-Patch is made with precut charm squares from the Cadence collection by Crystal Manning for Moda Fabrics. Easy as Laura’s simple 9-patch—yet intricate—we’re calling this quilt Dressed to the Nines.
Instructor
Jenny Doan
Jenny Doan is an American quilter, author, and YouTube personality. Jenny started Missouri Star Quilt Company in 2008 and today it is the largest quilting supply vendor in the United States.
Shop this tutorial
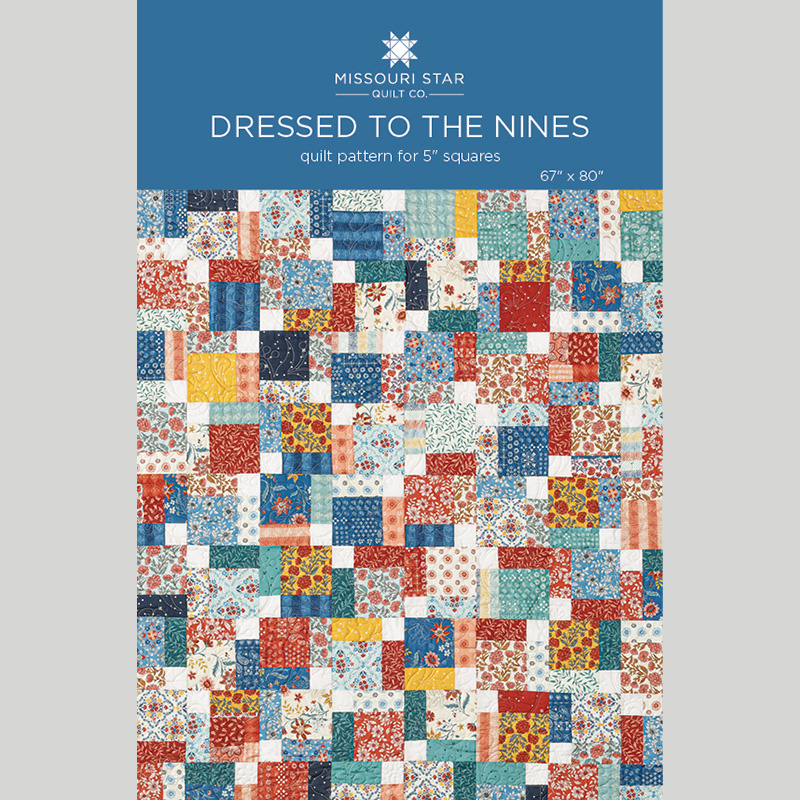 Dressed to the Nines Pattern by Missouri Star$6.95Shop →
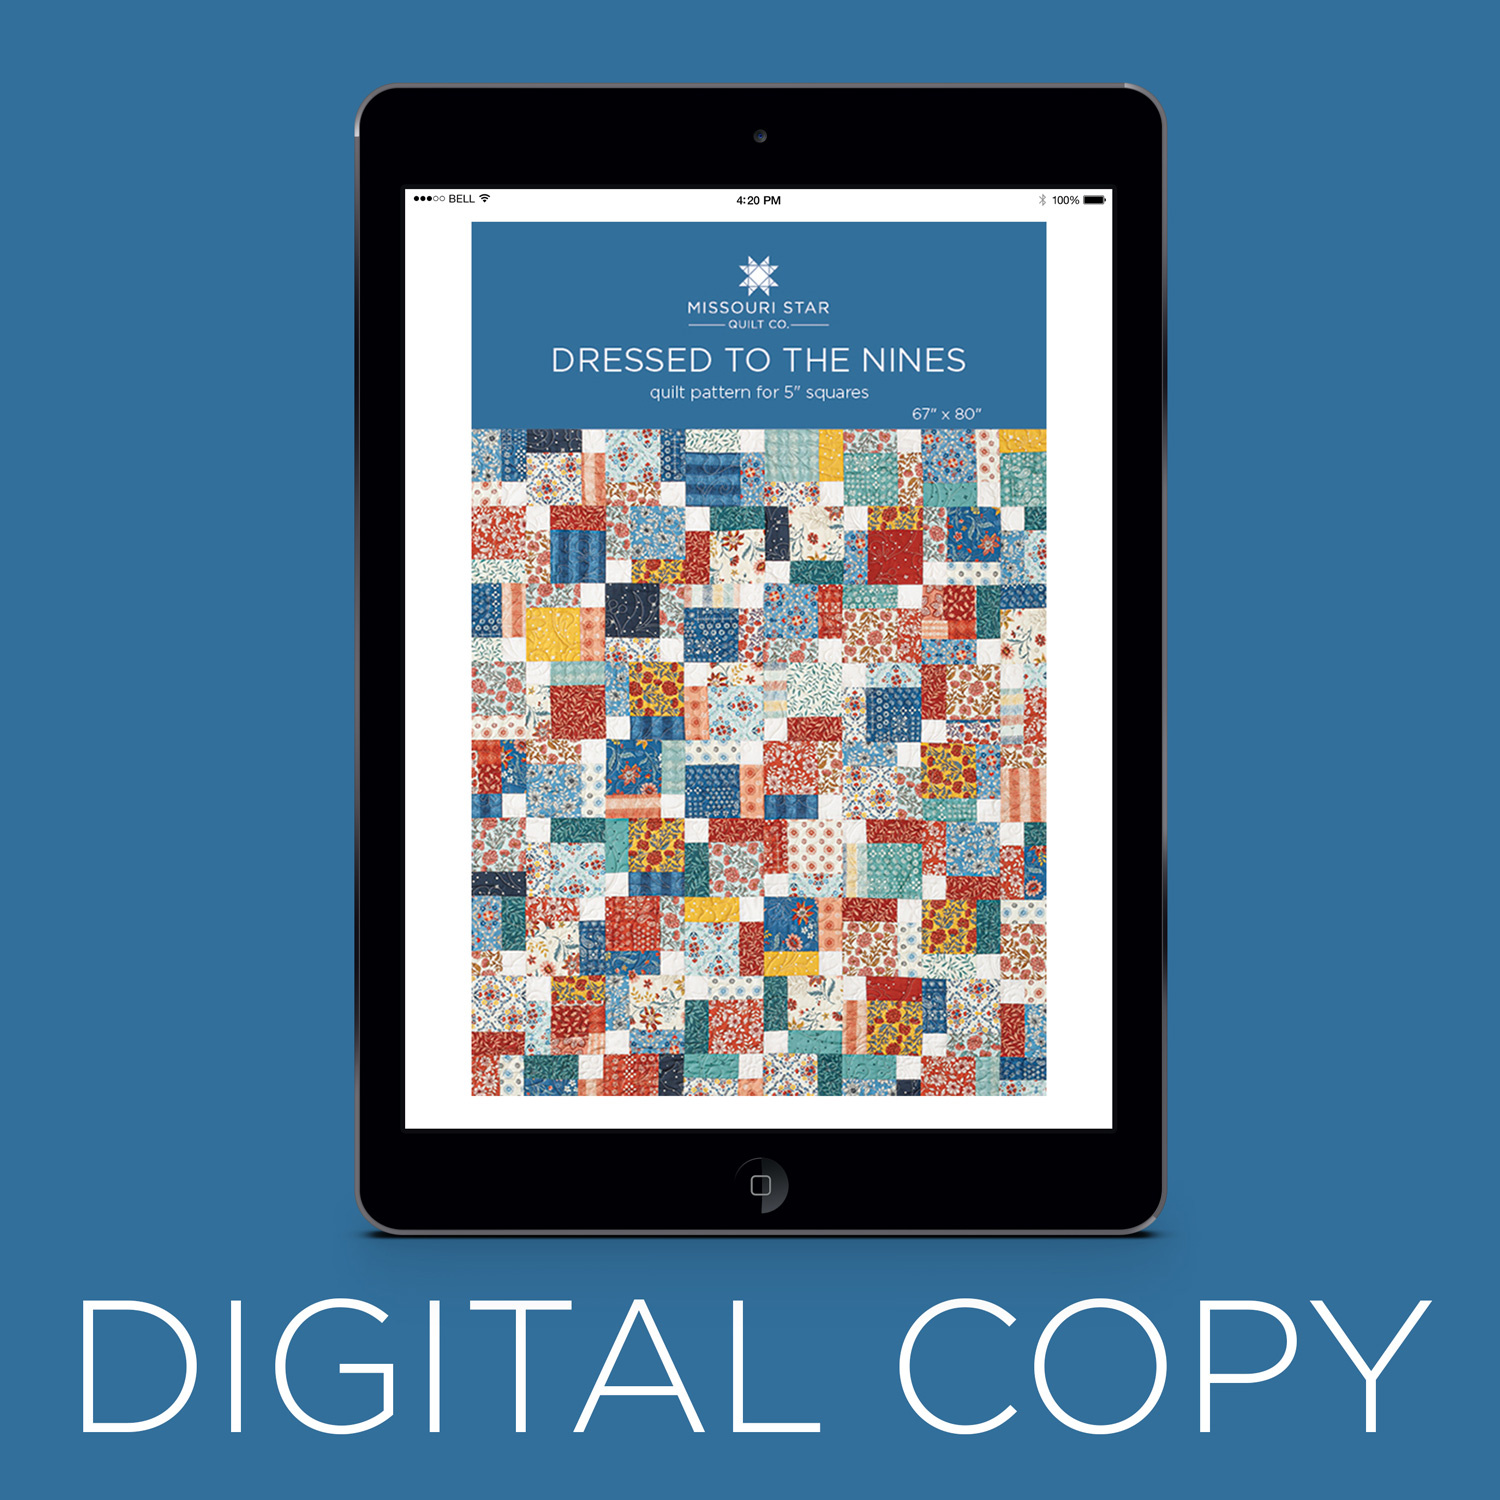 Digital Download - Dressed to the Nines Pattern by Missouri Star$4.95Shop →
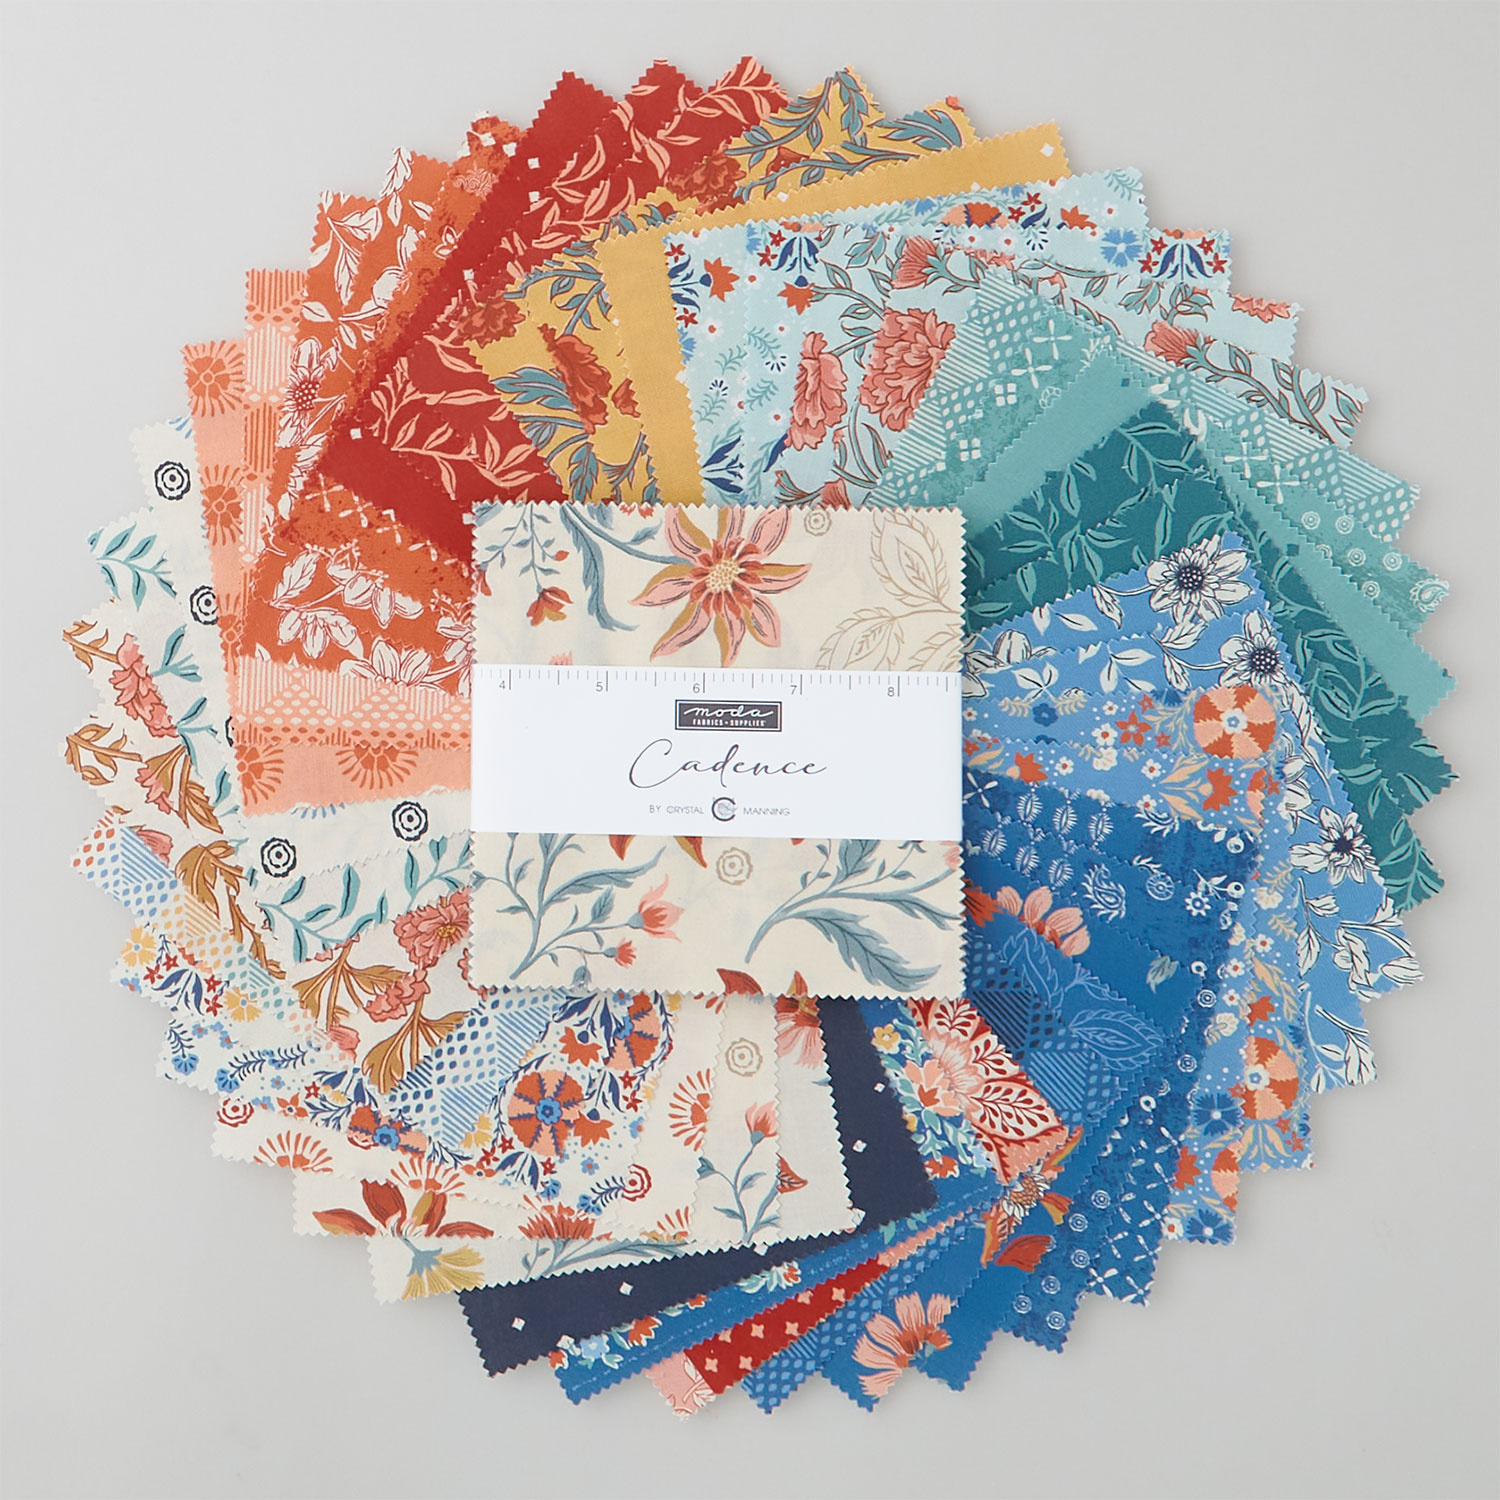 Cadence Charm Pack$11.45Shop →
 Bella Solids - White Bleached Yardage$8.24Shop →
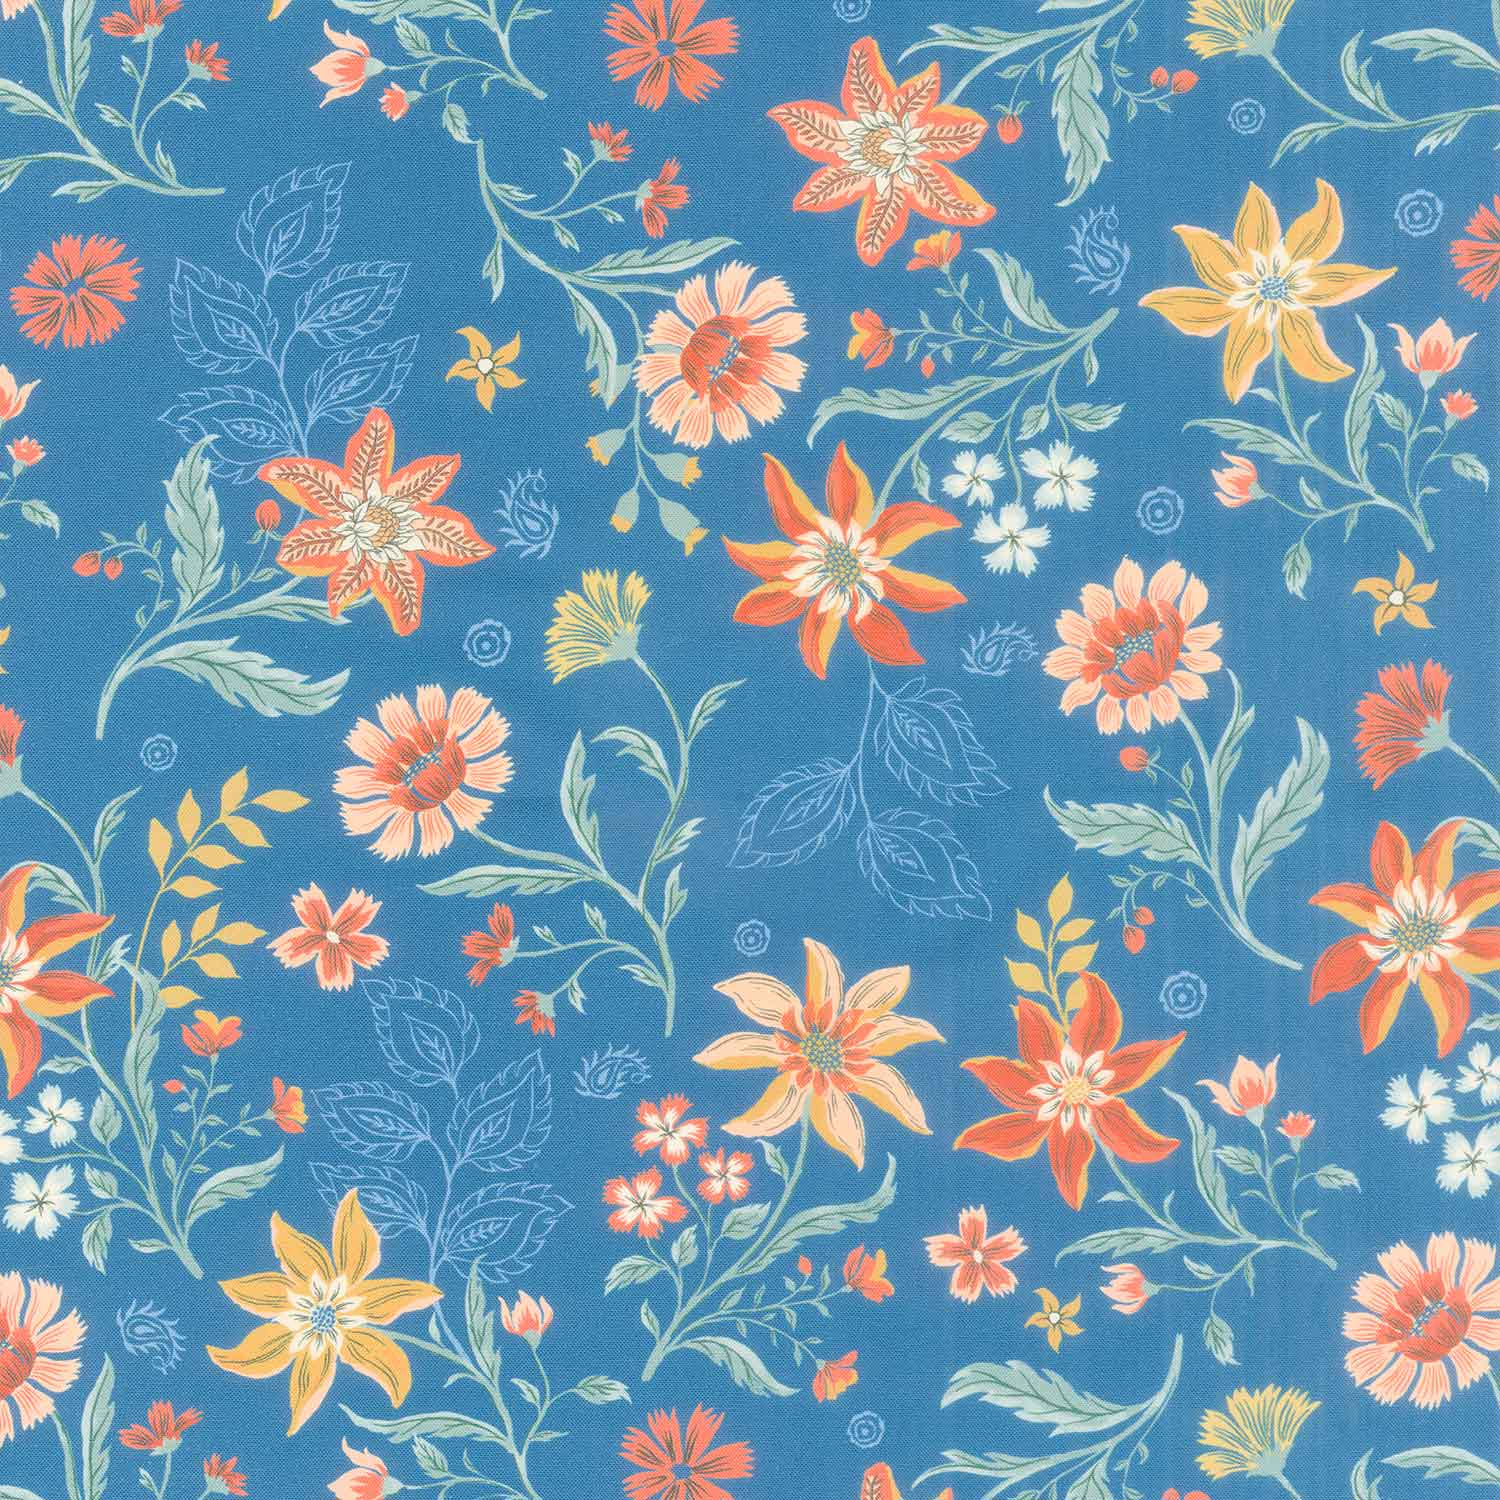 Cadence - Cadence Indigo Yardage$11.96Shop →
 Cadence - Patchwork Indigo Yardage$11.96Shop →
 Missouri Star Quilter’s Best Blend Full Batting$32.45Shop →
Common Questions
What is covered in How to Make a Dressed to the Nines Quilt - Free Quilting Tutorial?
Quilting season arrives with a gust of chilly air and long, dark nights. And, just like clockwork, we long to channel our inner Laura Ingalls: “Mary and Laura stayed close by the fire, sewing their nine-patch quilt blocks…Everything was beginning to be snug and cozy again." Je...
How long is the tutorial video?
The tutorial video is 00:12:57.
Are supplies listed for this tutorial?
Yes. The tutorial page includes the supplies and materials connected to this project.
Is a transcript available?
Yes. A written transcript is available on the tutorial page.
Video Transcript
Hi, everybody, it's Jenny from the Missouri Star Quilt Company and I'm here today with Natalie.
Natalie:
Hi.
Jenny:
And we have a special project for you because it's one of our favorite fifteens.
Natalie:
Yep. This is-
Jenny:
It's just a favorite, right?
Natalie:
Yes.
Jenny:
For a lack of words, a loss of words.
Natalie:
It goes all the way back to the beginning.
Jenny:
It really does go all the way back to the beginning, and it's really a fun one. This is the disappearing nine patch, and it was one of the first disappearing blocks I did. And we just thought as we were looking through things that this would be a great one to remake because it's so quick and easy, and yet it makes it look like you worked really hard. So let's take a look at this quilt back here. Can you just imagine all these pieces? Look how complicated this looks. Well, it's not, and I'm going to show you exactly how to do it. So to make this quilt, you're going to need four charm packs, and we have used Cadence by Crystal Manning from Moda Fabric, and it's just a beautiful line of fabric.
Natalie:
It's really pretty.
Jenny:
You're going to need some accent fabric. This is for your inner square, and for that you'll need a half a yard. If you use the same fabric in your inner border, you're going to need additional three quarters of a yard. And we have used the same in our center square and in our first border. In our second border out here, you're going to need one and a half yards. And it's a nice big six inch border. And it's such a pretty floral line.
Natalie:
Yeah, this is a really beautiful fabric.
Jenny:
It really is. It really is. Now the backing on this quilt is really fun because it is a cheater cloth. What do you call it?
Natalie:
It's very, very pretty.
Jenny:
Convenience or something?
Natalie:
Yeah, yeah. Yeah.
Jenny:
The convenience. I guess she doesn't like cheater, but convenience is good. And so to make this back, you're going to need five and three-quarter yards. Or if you use a 108 piece, you're going to need three yards.
Natalie:
Very cool.
Jenny:
This one only comes in the 45-inch measurement.
Natalie:
Right. But you can't-
Jenny:
But look at-
Natalie:
-see the seam anywhere.
Jenny:
There's no ... This is ... You don't have to sew a single one of these together. It just comes like this.
Natalie:
It's so great.
Jenny:
Perfect points. Perfect points. I just love it. I think it's a beautiful back, and I love those convenience cloths.
Natalie:
It's a great size too. Perfect for a twin bed.
Jenny:
And the quilting pattern we used on that is called Bo Dangle, and it's a fun one because it's got these ... the little round doodads, if you will. It's just whimsical.
Natalie:
Yeah. And little berries and cute little flowers.
Jenny:
Just whimsical. So let me show you how to do this.
So the first thing you're going to do is you're going to go through your charm packs and you are going to pick eight squares that you want to put together. And then one square in the middle will be this, from our accent-
Natalie:
The accent.
Jenny:
-fabric.
Natalie:
That's the accent fabric. So it could be any color you like.
Jenny:
Yeah. And we're just going to lay these out like a big nine patch.
Natalie:
And this color is oyster, right? It's a Bella-
Jenny:
Yeah, it's a little bit different.
Natalie:
Bella Solid from Moda.
Jenny:
Oh, we need one more.
Natalie:
You need one more.
Jenny:
Let me find one here. Oh, I'm going to go with this.
Natalie:
Ooh, that teal is pretty. Teal-y pretty. Pretty color. There we go.
Nice.
Jenny:
All right. So now what we're going to do is we're going to sew this together like a nine patch. And I'm just going to do this-
Natalie:
Little chain piece [inaudible 00:03:26].
Jenny:
-and sew all of these in a row. And then I'll add that first square on the front of the row. And I'm going to leave these attached together as I am sewing them. That will act like a pin and we'll just pick up this one.
Natalie:
This would be a great quilt for somebody that had a lot of similar charm packs. If you don't have five of the same one, you could just mix five different ones that coordinate, or five from the same designer, but maybe different lines.
Jenny:
Or you could use a layer cake and cut it into fourths?
Natalie:
You could ... Yep. One layer cake.
Jenny:
Yep.
Natalie:
I feel like it could be really fun. It's very scrappy looking. So I think it lends itself to that.
Jenny:
It really is. I think that's what I like about it, is I love that scrappy look. So this is our line, how they're all attached together. And then I flipped it over. So I'm going to go ahead and add my piece. I'm going to go from the bottom up now and add a piece on there.
Natalie:
Okay. Very cool.
Jenny:
Honestly, the placement of these doesn't really matter at all. What matters is that middle square.
Natalie:
Well, you've got to make sure that your accent fabric stays right in the middle.
Jenny:
And you don't want ... Well, I don't. I don't like two colors right next to each other. I like mine to all be different. All right, so now we've chain pieced this and it looks like this, if we can open them all up. And then what we'll do is we'll just fold this one up on this and sew this seam, and then we'll fold the other side and sew that. So let me grab onto this one and line it up. And you do want to match where your little seams come together. You want that to line up. So what I do is I take a few little anchoring stitches and then I come to where my seams come together and I make sure that one's going to the left and one's going to the right or north or south, whatever, however it works for you. And then I just push those together, make sure there's nothing in between them, and go ahead and sew down the sides.
All right. So now this one is sewn. We're going to open this up and do the same thing over here. Just like this. And then Natalie, I will let you iron it. Now let me see which way that went. It went to the north and this one went to the south, which is perfect. I couldn't have planned it any better. All right, now you go ahead and iron this. All right, and I have some other ones here that are already done. And we're just going to work on this a little bit and show you how to do this. So this is what this block I just made will look like. And this is this one. So it's just a scattered, randomly placed fabrics around one solid square. Then what we're going to do is we are going to take our ruler and we're going to cut this right in half.
And so what you want to do is if this measures four and a half, which it should and it does, then you're going to cut at two and a quarter. So you just cut that in half. So we're going to cut right here, two and a quarter on this side, and then we're going to cut two and a quarter on this side. Just like that. And make sure that it lines up on all your seams all the way up and down, just like that. And then you have four blocks that look like you worked really hard.
Natalie:
They're so cute though.
Jenny:
I know. I just love this. So let's do the same thing with these and then we'll show you how these start to go together. All right. So two and a quarter and then two and a quarter this way. Oh, make sure they stay lined up. Wait, line up there. There we go. Two and a quarter, just like this. All right. Okay. So now there's loads of things you can do. For my brain, what I did to keep it right was I put these two so that the little colors went in and I turned these two. So they came out like this. We then sew this together as a block. That's what I did.
Natalie:
Very nice. Yeah, there's a lot of different ways you can turn these blocks and designs you can make with them.
Jenny:
So I'm going to go ahead and sew these two together, but if you want to start laying out some more, you can. Because we have a few there to lay out and it might be fun to see them come together.
Natalie:
All right. I'm going to mix them up.
Jenny:
She's a wild one. And you can give them to me two at a time if you want to because we might not want to keep the same four blocks. Oh, it won't matter because we wrapped them all up. Will it?
Natalie:
Yep.
Jenny:
All right. Oh, hang on.
Natalie:
There's two more.
Jenny:
I'm going to sew these two together.
Natalie:
Okay,
Jenny:
Because I can. That seem went the wrong way, but I can make it lay down. All right, these two are ready to go.
Natalie:
Yep.
Jenny:
And did you do anything different to these or just-
Natalie:
Nope, they're laid out. Just so they'll go right in your quilt.
Jenny:
I'm not sure about that one because this one had the square to the middle and this one has the-
Natalie:
The bottom square.
Jenny:
Oh, there it is. Okay. I couldn't see it. Always better to check. Always better to check than pick.
Natalie:
Always. Always look.
Jenny:
If you have a feeling, check it before you sew it. Even if it's your daughter doing the work because you trust her. But do we?
Natalie:
Not so much.
Jenny:
Alrighty. All right, you can iron this one and we'll sew these. So this is a great thing to do with your charms if you have scraps or it's just a great way to put these together.
Natalie:
I know. A lot of people will take their leftover fabrics from projects and just cut them into precut sizes. And so you have a pile of five-
Jenny:
It's a perfect idea.
Natalie:
-inch squares that you don't know what to do with. Maybe this would be a good project for that.
Jenny:
Also, remember, this is based on a square, so any size square will work. You could do this with eight inch squares, 10 inch squares, two inch squares, and make little tiny ones. I mean, you just need nine squares that are the same size and it will work. So the possibilities on this are just amazing and endless. Also, I always think about in this corner right here that we haven't cut. You could put a block in there. What if we put a block in there? So many what ifs.
Natalie:
A little pinwheel.
Jenny:
I've done several tutorials on putting something different in that corner and the rest of it just makes it scrap up and border it. It's very, very fun.
Natalie:
Really cute.
Jenny:
So this is one of those where you can let your imagination go wild.
Natalie:
Yeah.
Jenny:
All right, we've got a couple more over here. All right, so now that I have this last one done, Natalie has started laying these out for you and they're just beautiful. And so you just want to make sure that you have two that come together and two large blocks that come together, and it'll mix up all these squares. And I look and if there's ever two squares touching that are the same-
Natalie:
Like these two, you might move.
Jenny:
I might turn it. Yeah, I might turn it to here and see what happens. See if we can do that.
Natalie:
I like that.
Jenny:
Because I like them. I don't ever want it to look like I made an L. I want it to be all patchwork-y.
Natalie:
Okay. All different.
Jenny:
And if we make three more of those blocks, we've got a great sized baby quilt right here.
Natalie:
Perfect.
Jenny:
I mean, just absolutely a darling quilt. So let's look at how many blocks we've got here. We have one, two, three, four. And we're talking about the big four patch blocks here. By one, two, three, four, five-
Natalie:
So 20 blocks.
Jenny:
Four times five is 20 blocks. And-
Natalie:
We have a two and a half inch inner border and a six-inch outer border.
Jenny:
And how big is this quilt again?
Natalie:
And this quilt is 67 by 80, so it's perfect twin size.
Jenny:
It's a perfect twin size. Anyway, this is our quilt called Dressed to the Nines. And we hope you enjoyed this tutorial on our favorite 15 from the Missouri Star Quilt Company.
Hi, everybody, it's Jenny from the Missouri Star Quilt Company. We hope you enjoyed watching this video. If you aren't already part of the Missouri Star Quilt Company family, be sure to subscribe so you won't miss a thing. And if you click that bell, it'll notify you every time a new tutorial comes out. See you next Friday.


