

How to Make a Fancy Friends Quilt - Free Quilting Tutorial
 Jenny Doan
- Jelly Roll
- Modern
- Queen
- Beginner
- Quilt size 83" × 91"
Jenny Doan is stitching up a new friendship star quilt with plenty of pizzaz. The Fancy Friends quilt is made with precut jelly roll strips from Floralicious by Lila Tueller for Riley Blake. It's finished off with 4 tidy borders - including a pieced border made with leftover scraps - and a swirly machine quilting motif featuring our Missouri Star mascot, Chuck the Duck
Instructor
Jenny Doan
Jenny Doan is an American quilter, author, and YouTube personality. Jenny started Missouri Star Quilt Company in 2008 and today it is the largest quilting supply vendor in the United States.
Shop this tutorial
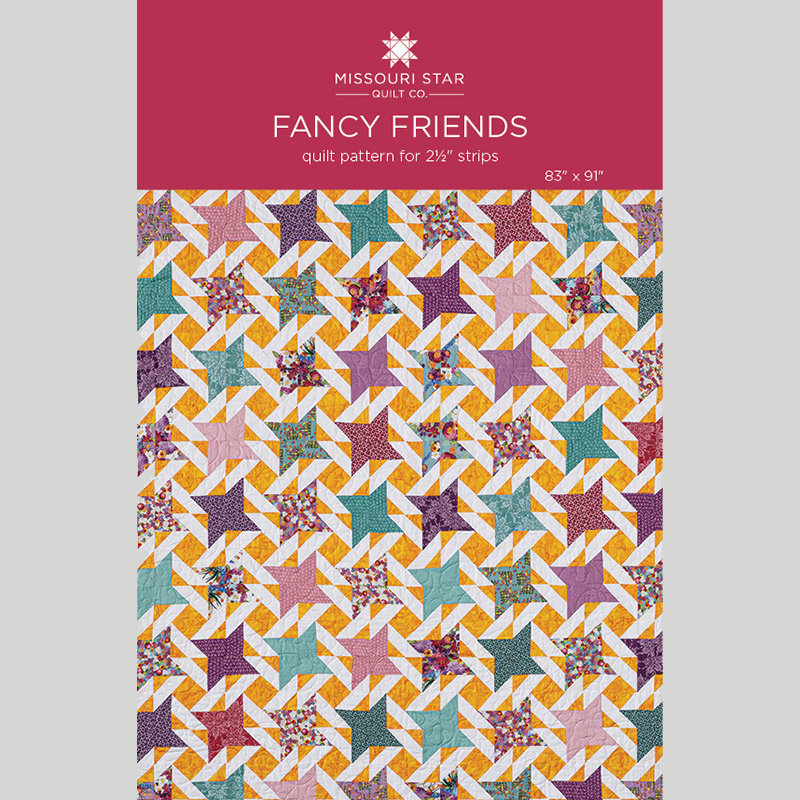 Fancy Friends Quilt Pattern by Missouri Star$6.95Shop →
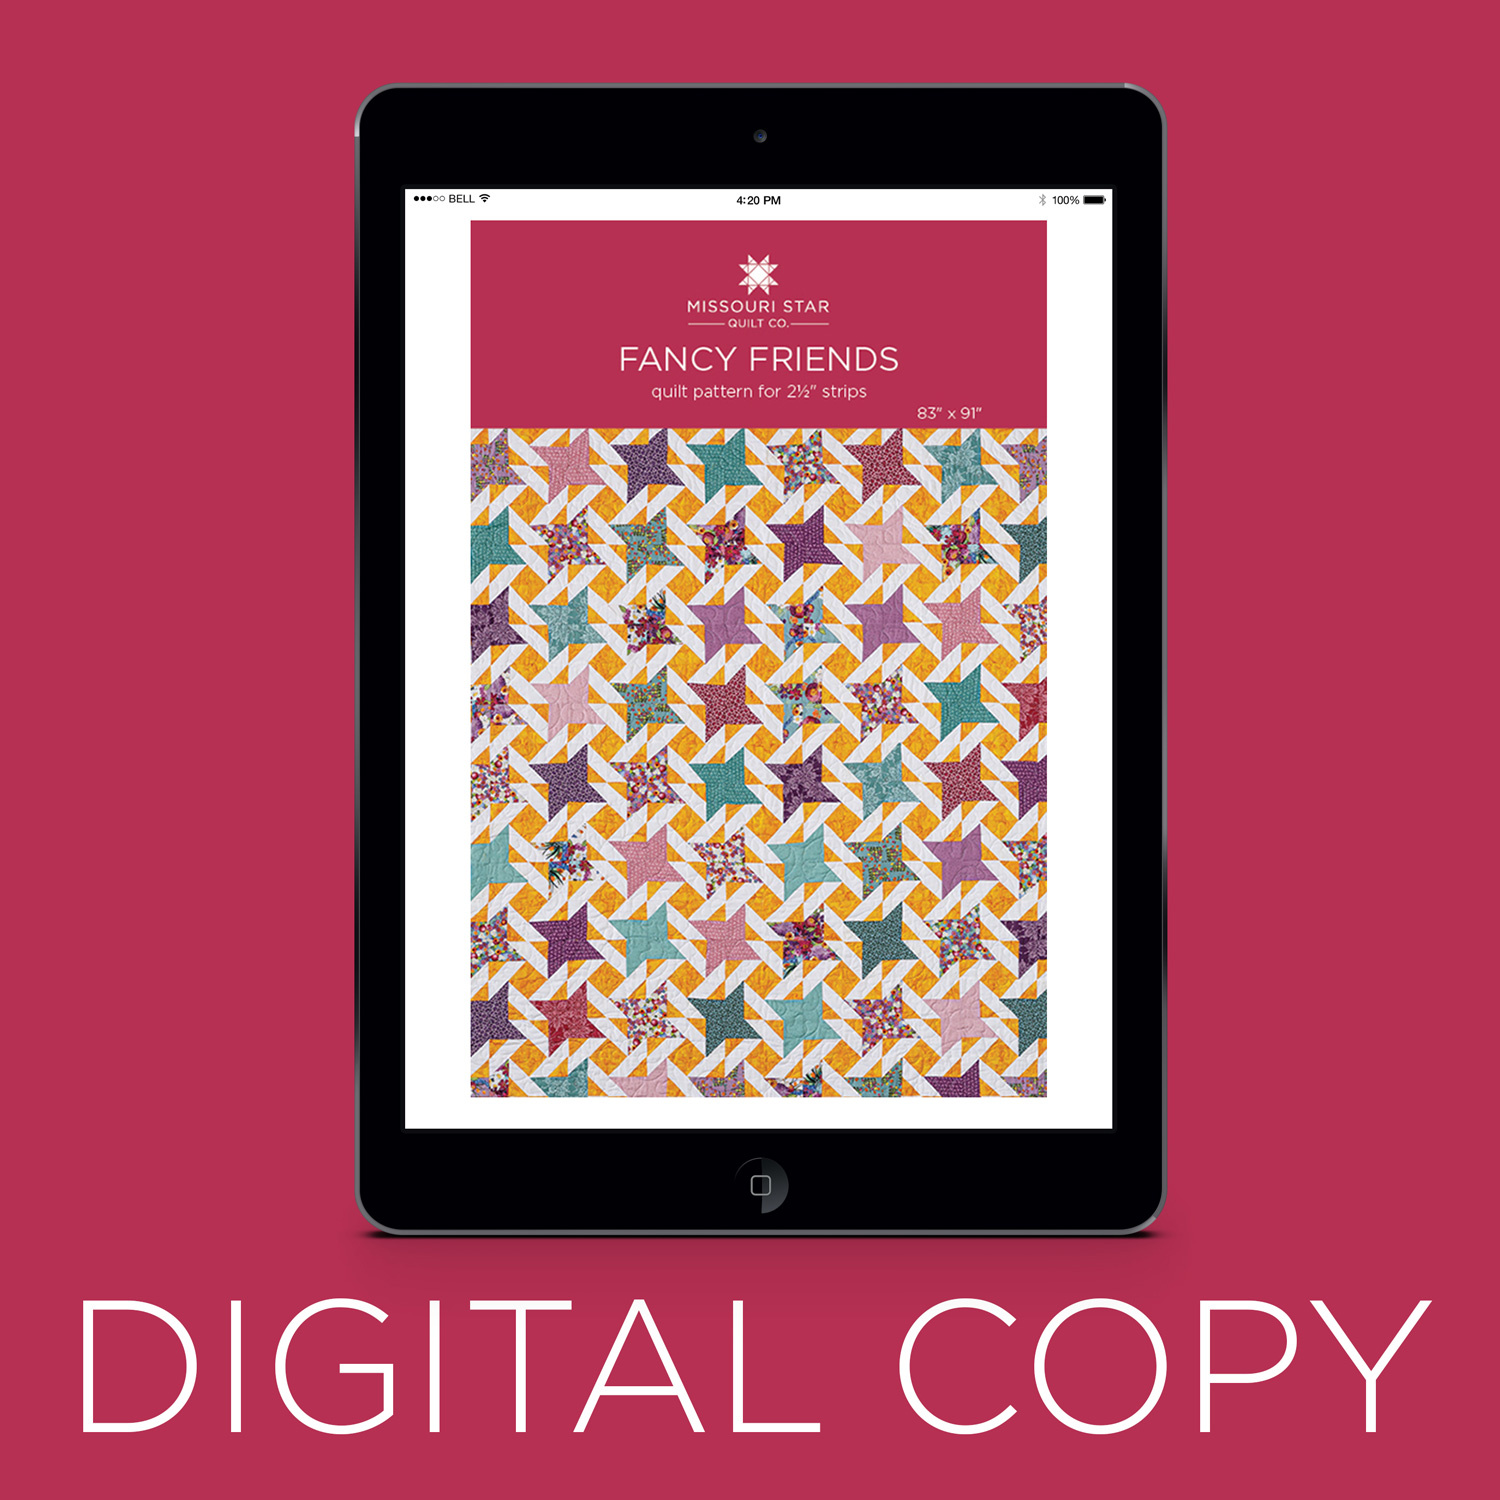 Digital Download - Fancy Friends Quilt Pattern by Missouri Star$4.95Shop →
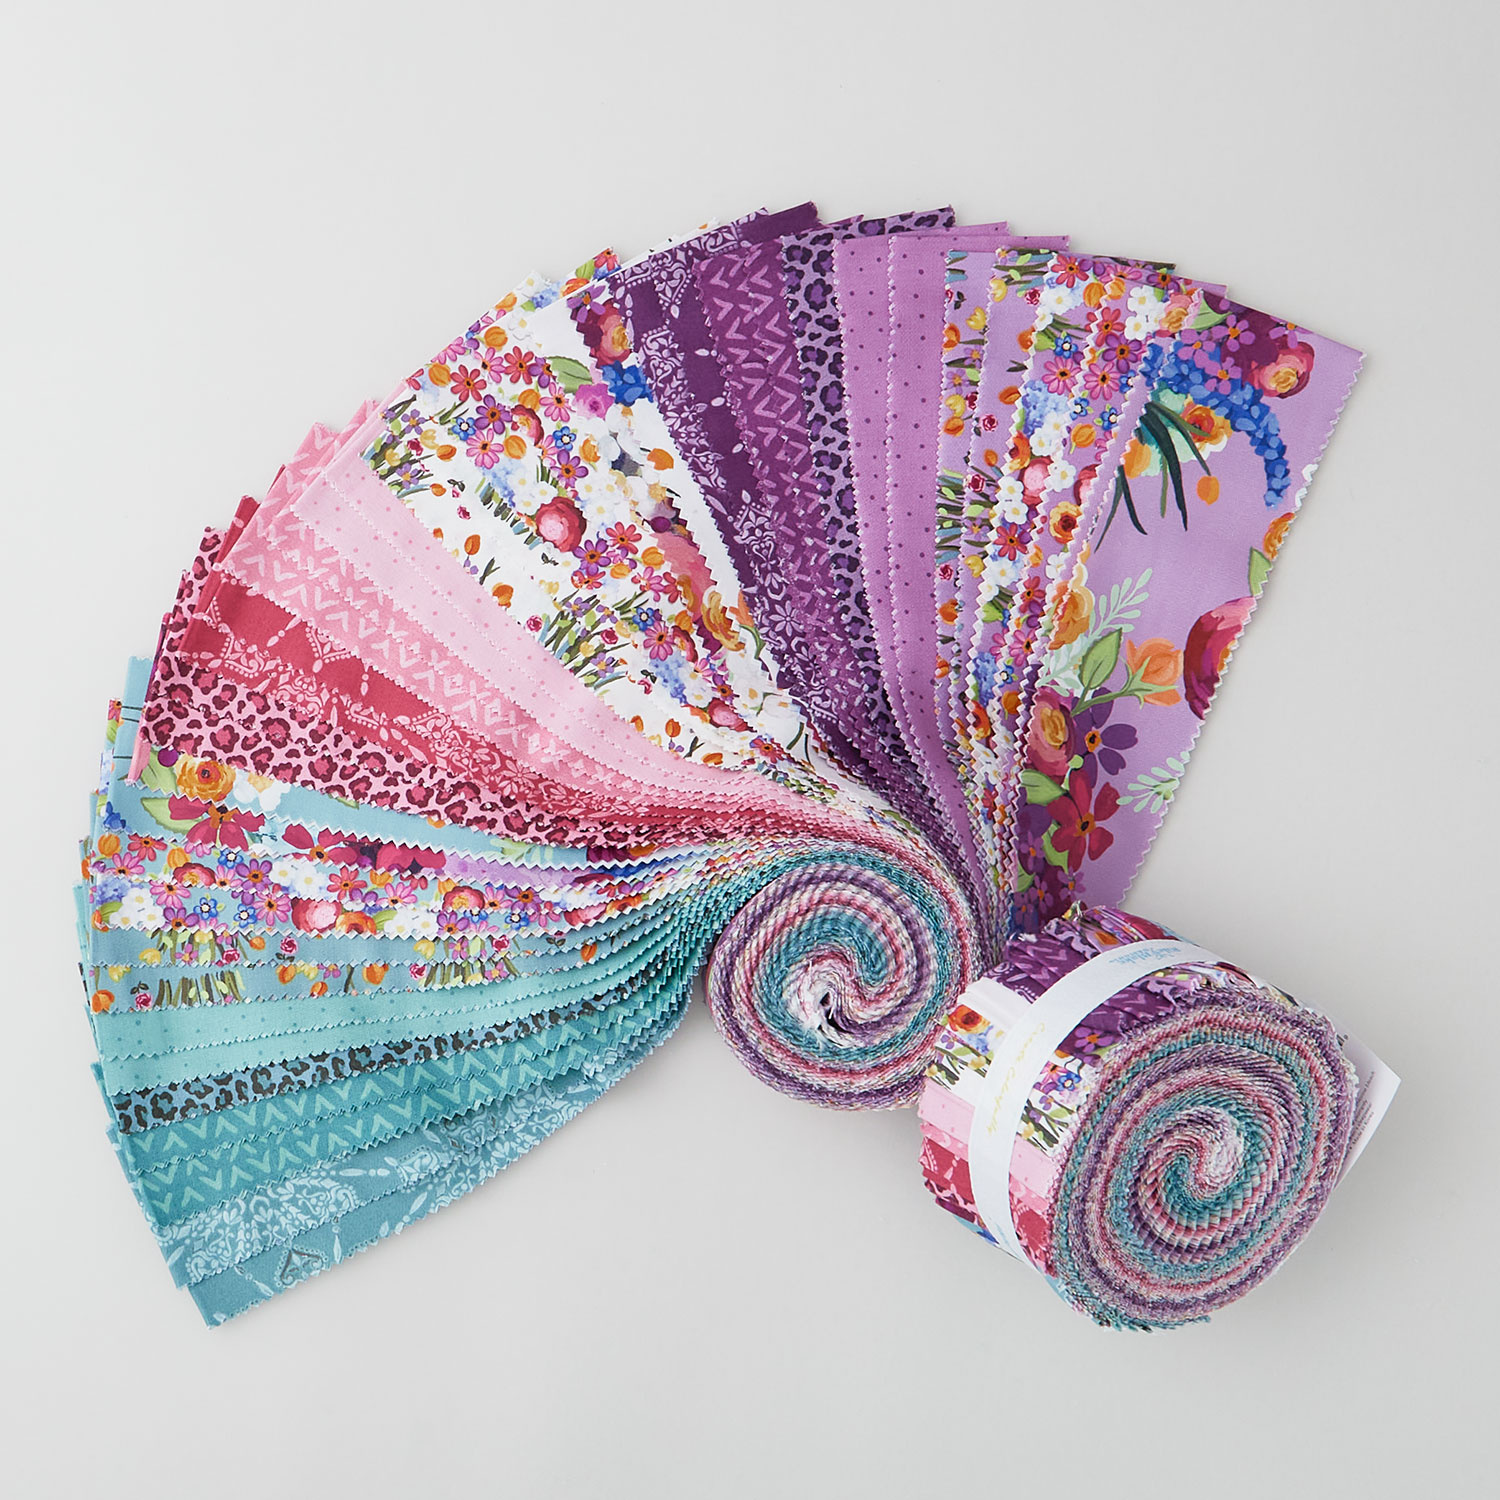 Floralicious Rolie Polie$39.95Shop →
 Kona Cotton - White Yardage$7.28Shop →
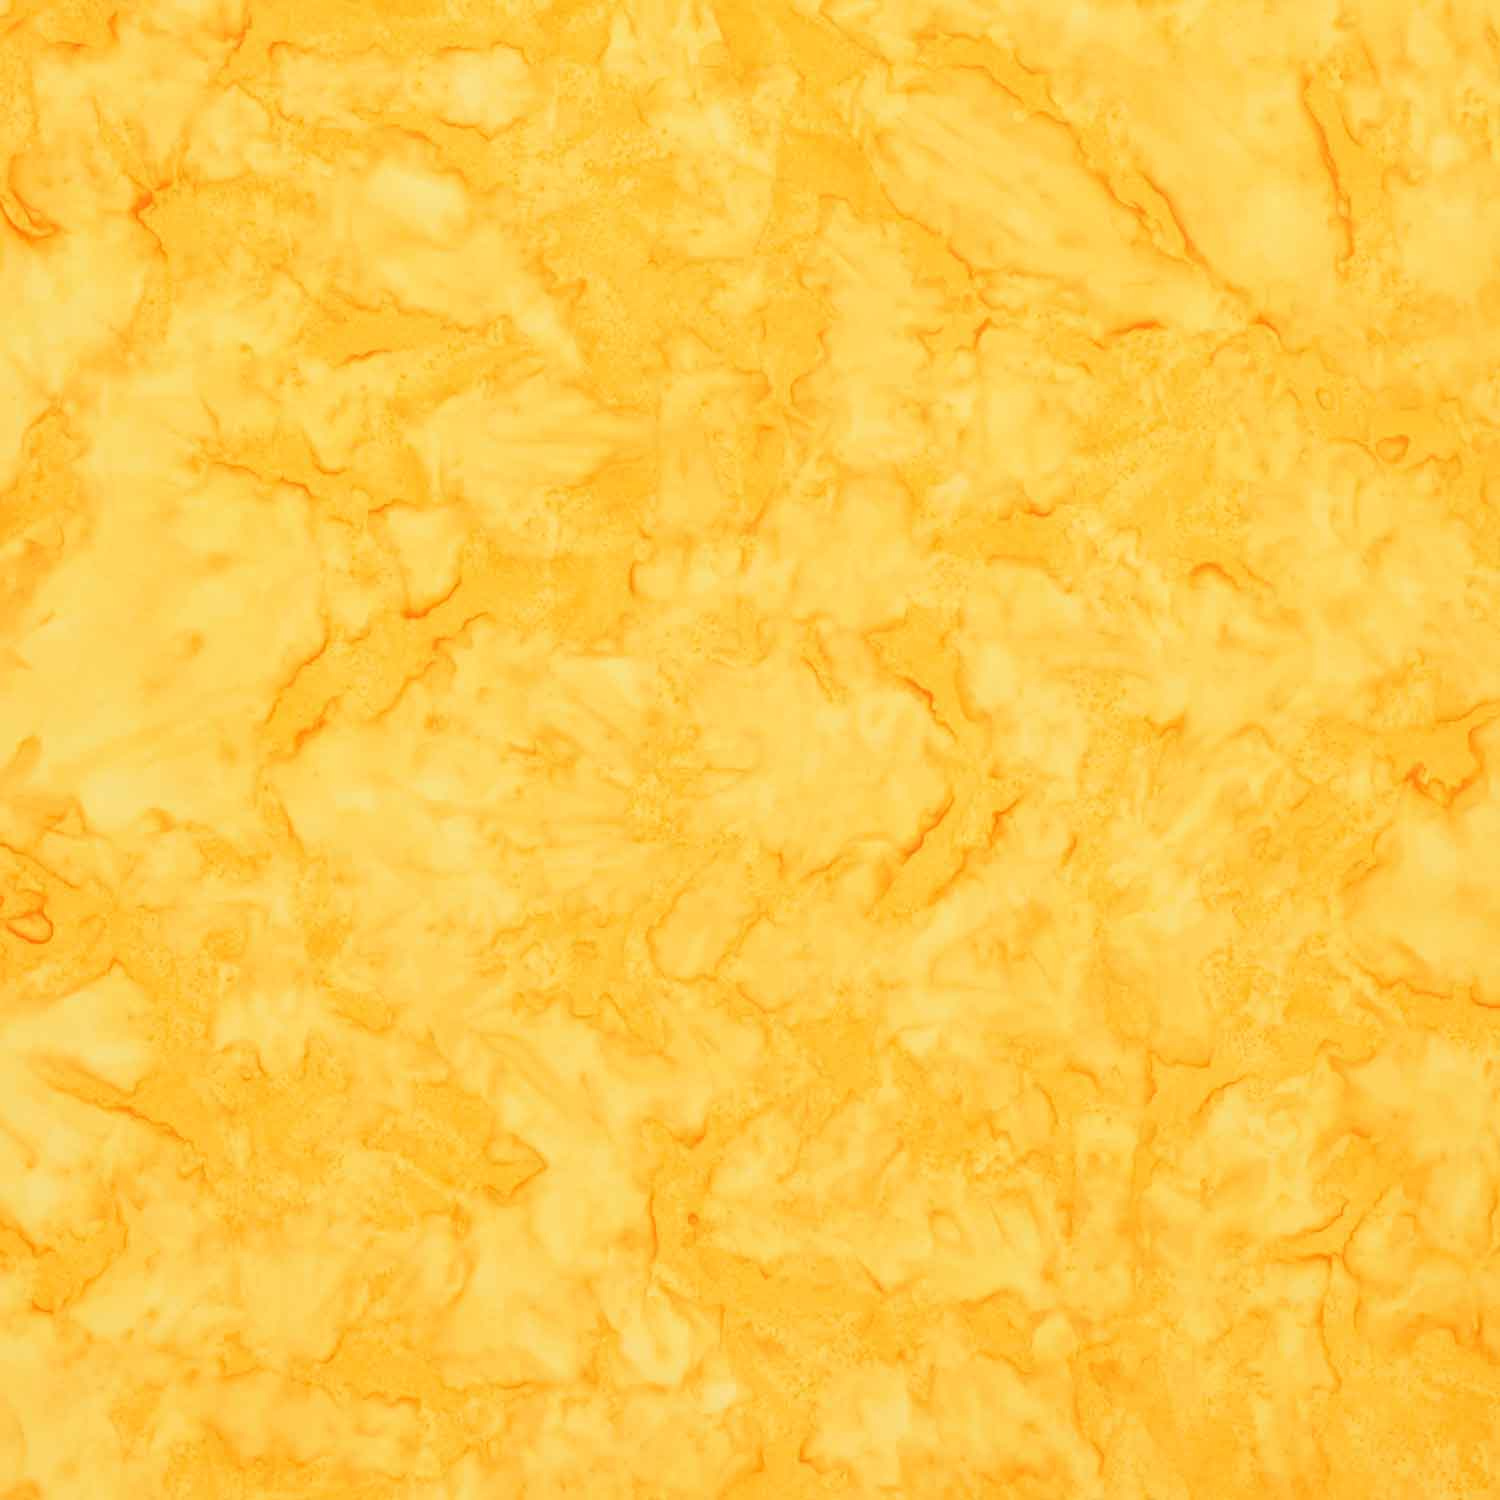 Artisan Batiks Solids - Prisma Dyes Sunshine Yardage$10.76Shop →
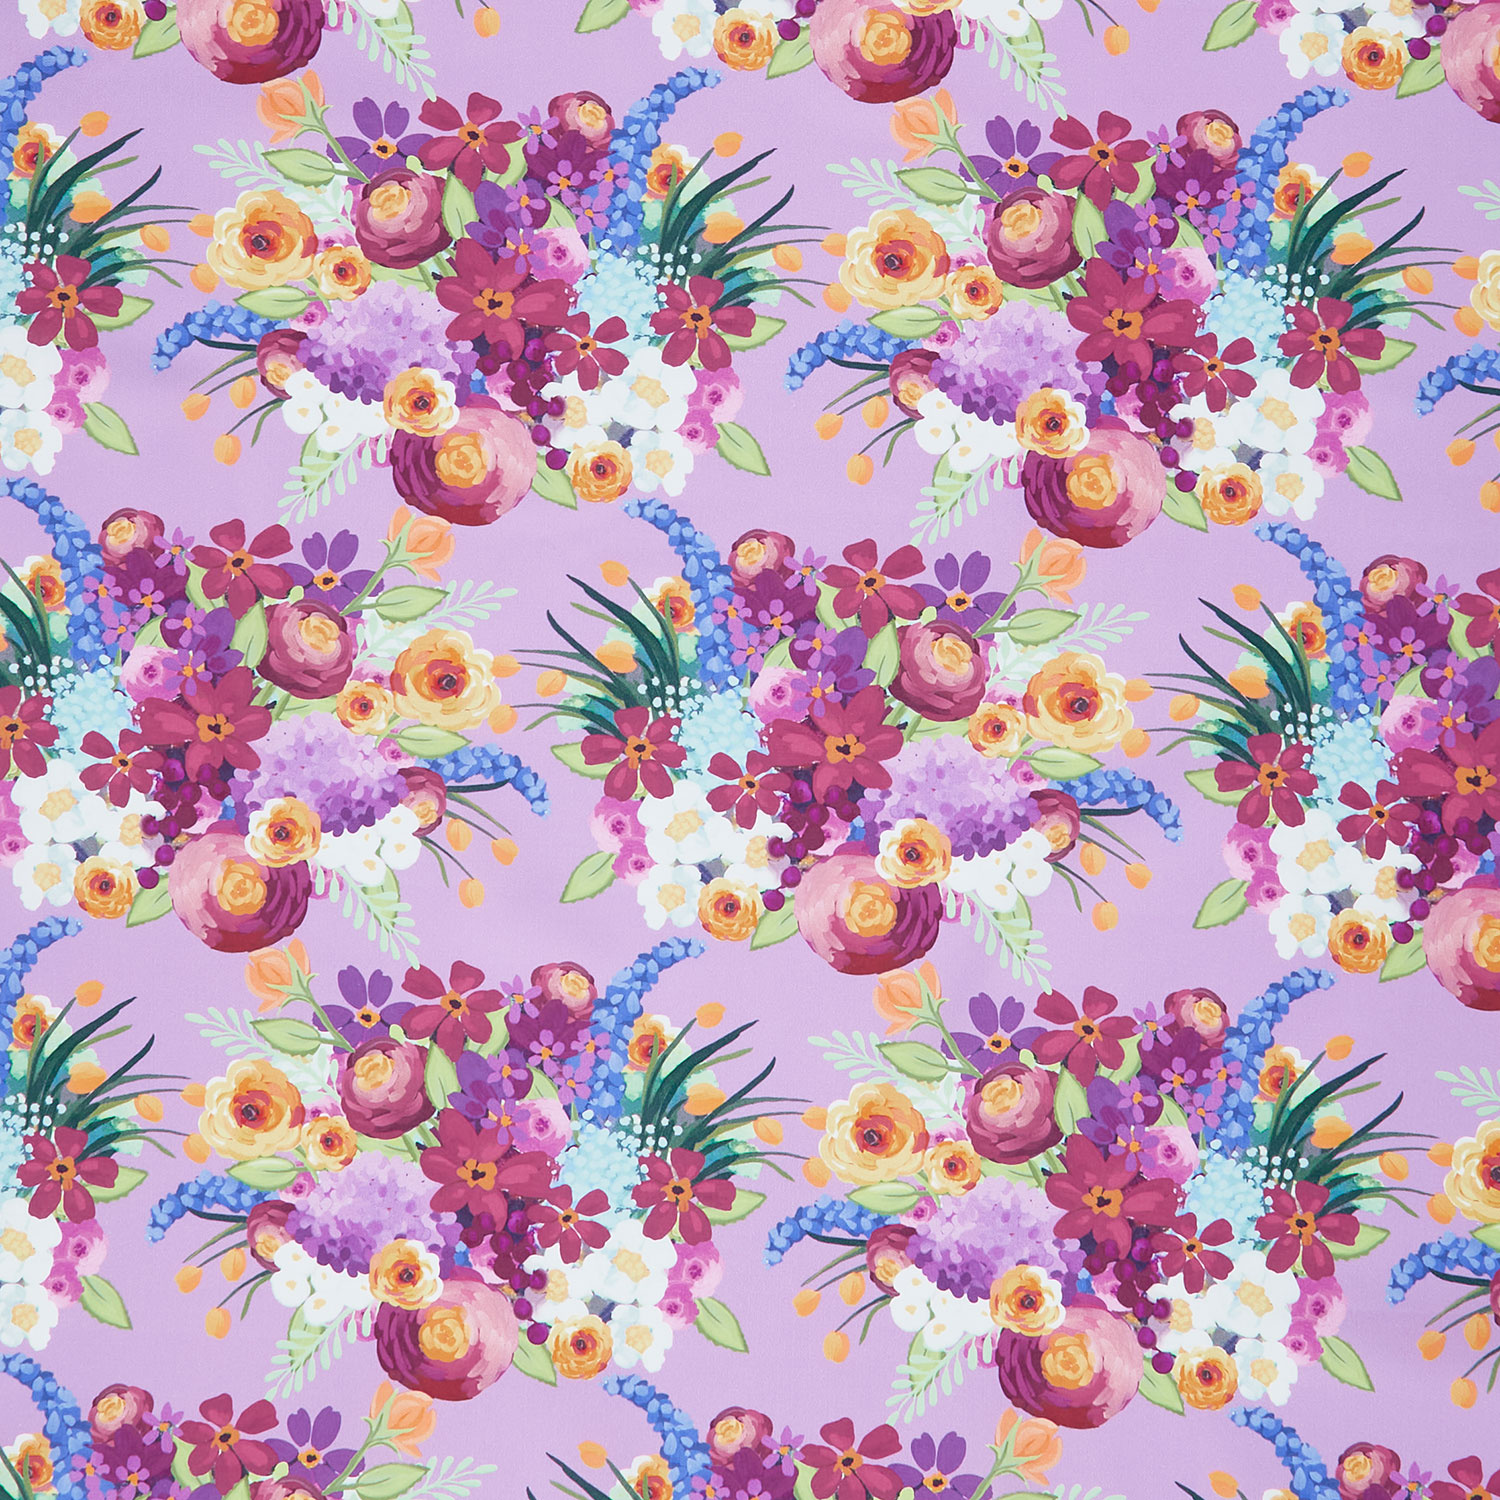 Floralicious - Main Lilac Yardage$11.96Shop →
 Floralicious - Medallion Hot Pink Yardage$11.96Shop →
 Missouri Star Quilter’s Best Blend Queen Batting$37.45Shop →
Common Questions
What is covered in How to Make a Fancy Friends Quilt - Free Quilting Tutorial?
Jenny Doan is stitching up a new friendship star quilt with plenty of pizzaz. The Fancy Friends quilt is made with precut jelly roll strips from Floralicious by Lila Tueller for Riley Blake. It's finished off with 4 tidy borders - including a pieced border made with leftover s...
How long is the tutorial video?
The tutorial video is 00:13:42.
Are supplies listed for this tutorial?
Yes. The tutorial page includes the supplies and materials connected to this project.
Is a transcript available?
Yes. A written transcript is available on the tutorial page.
Video Transcript
Hi, everybody, it's Jenny from the Missouri Star Quilt Company, and I've got such a fun project for you today. I'm calling it Fancy Friends because it's made with a Friendship Star right here, but we've added these extra outside blocks that just make it so fancy, and it also makes it really fun. But it's super easy to do, so let me show you how to do this.
So to make this quilt, you're going to need one roll of 2 1/2-inch strips, and we have used Floralicious by Lila Tueller for Riley Blake. Isn't that a gorgeous line of fabric? Really, really pretty. You're also going to need some accent fabric. You're going to need 2 3/4 yards, and I chose this yellow. I just thought it was so fun and happy, gave such a great pop. You're going to need some background. Your background is 4 1/2 yards. That takes care of all the little pieces that go around the little friendship stars and your two little inch-and-a-half borders on the outside. Your outer border is 1 1/2 yards, and it's a nice big six-inch border, and it's the grand floral of the whole line, and it's so beautiful.
For your backing, you're going to need 8 1/2 yards or 2 3/4 yards of a 108. Now, we included this great floral on the backing, and I just want to show it to you. Every line has one grand print, and this floral is just so beautiful. I just think it's really, really pretty. It's so happy. It's so spring-timey. We've actually used a really fun quilting pattern on this one. We used our Chuck the Duck quilting pattern, and you can see. Here he is right here and again here, and it just twirls around, and you see lots of little Chucks, and I just thought that was really, really fun. Our binding is 3/4 of a yard, and we use this little piece right here from the line for the binding. Well, let me show you how to do this because it's really, really fun.
So this makes a quilt that is 83 by 91. This is a pretty good-size quilt. You're going to get two blocks out of each strip, with a little piece left over, and that piece is what I used for my outer border, out here, in between. And you know I love to use all the parts and the pieces, and so it just came together so quick.
So to start with, you're going to choose a strip, and any strip will do. I have a pink strip right here that I've started cutting on, but I'm going to take one out of the line and show you right from the very beginning how to do this, because the first thing we're going to do is make our middle Friendship Star. And I'm going to keep my strip folded in half right here, and I'm going to cut four 4 1/2-inch by 2 1/2-inch strips. So I'll cut off my fold and my salvage right here, and then I'm going to turn my ruler, and I'm going to put it to 4 1/2 right here. And so by folding it in half, I get four cuts right there, and then I'm going to get four more cuts right here.
So I've got my four cut right here, and I can go ahead and cut four more out of this. But what I tended to do, because there's two strips of each color in this line, I cut two, and I left some bigger pieces, and those are the pieces I used in my border. You could see on my border. There's some little pieces as well, and I didn't measure the pieces so they were all the same. I just kind of sewed them together in one really long strip to make this border. But I made 72 blocks, and so if I were to do two blocks out of each strip, that would give you 84 blocks, but you wouldn't be left with anything to do your little border. So you can choose what you want to do on that. Maybe you don't want to do a piece border, and you want to make a nice big quilt. Well, you'll be able to make 84 out of this if you do it two blocks per strip.
So I'm just going to show you now how we do the Friendship Star. So we've got four of these right here, and we are going to put a 2 1/2-inch square on the top corner of these. Now, you have to make sure it's going the right direction or you'll do a little picking. And so once you get one block done and you know that it's right, keep it right by you, so that you know how to do that. But this block here is going to go next to one of these right here. And so I know, because I did this, that these blocks, my 2 1/2-inch squares have to go right to left at the top. So we're sewing them this way, and we're sewing this way. Cross from right to left.
So I'll do a few of these so you can watch that happen, and this is the reason we do tutorials, so you guys don't have to do any of this figuring out, and you can just trust me on this, because I do make all the mistakes first. So I'm going to sew this one on here, and I'm going to sew left to right. And I have a few of these already sewn, so I'm going to go ahead and trim these and press them back. Trim that off, put that over there, press this one, and this goes down here. And then we're just going to press these back.
I'm a rote sewer, so sometimes you may want to do all of this part and then wait until you get to the next part. I get bored, so I do a little bit of one thing and a little bit of another. And so this right here is the next block we have to make, and you see that they're the same. So what we're going to do with that is we're going to take our background fabric, and we're going to cut 2 1/2 by 4 1/2-inch pieces, and you'll need four of these per block, and we have them right here. And then you're going to need eight 2 1/2-inch squares from your accent fabric, and again, my accent fabric is the yellow.
And so what we're going to do first is on this one, we're going to go from left to right, because we want those to be opposite of this one right here. So we're going to go left to right, and we're going to do all the tops one way, and then we're going to come back, and the bottom part, it's done exactly the same: left to right. So it makes this kind of an angle, but it's one of those things where if you're angley-challenged like me, it just takes a little bit of brain work to figure out where you're going with this.
So I'm going to do a couple of these left to right, and the nice thing about this piece of accent is that there is no right or wrong on it because it's a batik, and I love that. And if you ever thought that you couldn't combine batiks with regular cotton florals, I do it all the time, and it works fine. I'm usually looking for the fabric I want, not the type.
All right, so let me just cut these off, and I'm just going to go ahead and trim this and trim this and this one right here. So I have a few more of these done as well, so I'm only going to sew two right now, but let's go ahead and press these back like this. And then what we'll do is we'll take another yellow square, and we're going to lay it right here, and we are going to sew again, left to right. And if you're worried about if you're getting it the right direction, always fold it back and look at it, because if this is folded back, you have that piece that goes like that, and that's what we're looking for. So I'm going to sew these left to right, and you can sew from either direction. And this is the part that makes our little Friendship Stars so fancy. All-righty, let me trim these off, and then we'll press them open. All-righty.
Okay, so let's lay this out so you can see where I'm going with this, because when you see how this comes together, it's really fun. It's just so fast and quick, and it just makes it so easy. So alongside our Friendship Star strip, we're going to put an accent block on each one, and when they finish up, they should be 4 1/2, and what we're going to do is we are going to turn these, and we're going to sew these together like this. So see how our Friendship Star is coming together? So again, we'll put one of these here, and we're going to turn this so it goes here and one here. And I have to angley challenge myself. Wait for it. Here we go. This way. And so there's our little Friendship Star with all of our fanciness all the way around it.
So basically, what we're going to do is we're going to pick this up, and we're going to stack these right next to each other like this. And we will chain-piece these all down the side, and this is a great place to check to make sure you have your blocks right, because they should all be the same. If you have one piece where the fabric is coming this way, it's not going to work in this block. And so I actually had all of mine stacked up, and I came to one and I was like, "Ah, nope, that's not right." And I think I had to go back and cut another strip, and that's why I have some smaller pieces in my border.
But either way, it works, and so we're just going to sew all of these together. All right, so let's go ahead and sew these right down the side, just like this. Line them up. All right, now let's press these open. We can just cut these apart right here, and we'll press them open, and then we will put them together as a Friendship Star. I just think this is such a darling little block.
All right, so here we go. This is up, and the other thing I remember is that these always touch each other. These colors always touch, and so just like that. And then we're basically sewing a four patch, so let's go ahead and sew that together. And nothing really has to match up on these two seams right here. When you put your two blocks together, you'll want your center seam to match up, but the other parts of it, they just don't line up too well, so we're not worrying about it too much. All right, so line up my center. There we go. All right, let's press this open.
All right, and so this is our block. Isn't that darling? Now, let's look what happens when we put these together. And I have to tell you, my mind is like, "What happens if I turn this one? What happens if?" And so my mind is already thinking of several different things we can do, but when you put them together, they're going to go together. We're going to put our yellows together like this, so let me show you how these go when they go together. So we're just going to put these together, and you can see the little half-square is forming. When you add your next row, it makes a block, so in between every single block when they just come together, you're getting that square.
So let's take a look back here at the quilt. So we have right here, and here's where our four blocks come together, right here, and they just make that cute little square. So we have one, two, three, four, five, six, seven, eight by one, two, three, four, five, six, seven, eight, nine. Eight by nine: 72 blocks. Now, remember, it can make 84, but I made 72, and then I put in my little piece border out here, and I did not worry at all about cutting them to length. I sewed a little 1 1/2-inch on all the way around it, and then I added this piece. And if I just had to cut it, and it was just a little piece, that's what I would have done, so I just went around my quilt with the border, and then I added the second inch-and-a-half border and the gorgeous floral here on the outside.
And so it came together really quick and fun. It's a great little block, and I hope you enjoyed this tutorial on The Fancy Friends from the Missouri Star Quilt Company.
Hi, everybody. It's Jenny from the Missouri Star Quilt Company. We hope you enjoyed watching this video. If you aren't already part of the Missouri Star Quilt Company family, be sure to subscribe so you won't miss a thing. And if you click that bell, it will notify you every time a new tutorial comes out. See you next Friday.


