

How To Make A Four Patch Around the World Quilt - Free Quilting Tutorial
 Jenny Doan
- Jelly Roll
- Traditional
- Queen
- Beginner
- Quilt size 83" × 95"
Jenny's travelin' 'round the world with scrappy 4-patches made from jelly roll strips sets. Her fabric is Garden of Dreams II 2½" Strips by Jason Yenter for In the Beginning Fabrics with its dreamy florals in rainbow hues. This pattern is based on a traditional Around the World quilt, and it finishes at a generous 83 x 95 inches.
Instructor
Jenny Doan
Jenny Doan is an American quilter, author, and YouTube personality. Jenny started Missouri Star Quilt Company in 2008 and today it is the largest quilting supply vendor in the United States.
Shop this tutorial
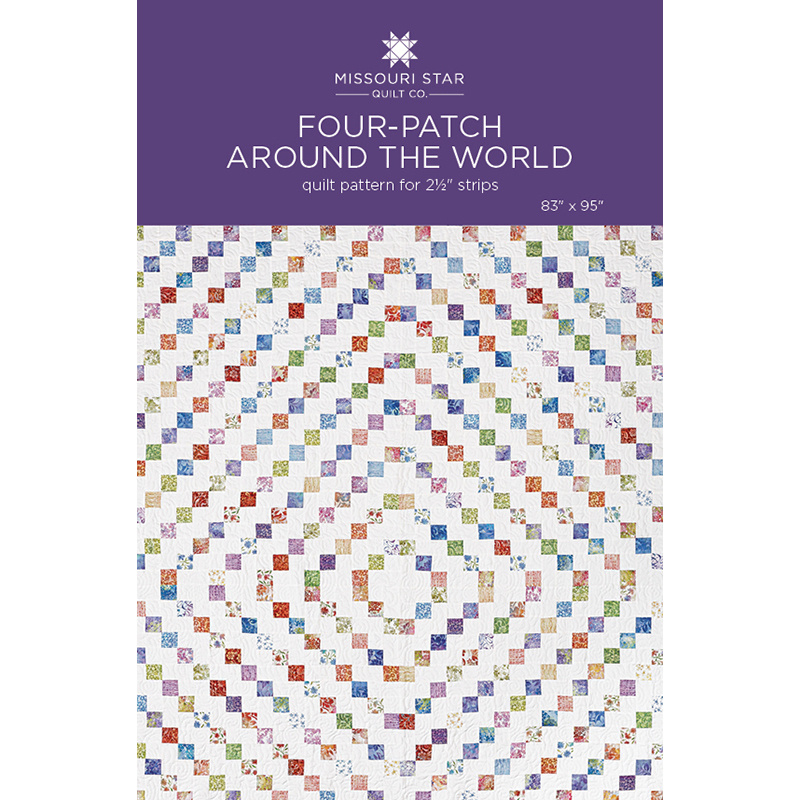 Four Patch Around the World Quilt Pattern by Missouri Star$6.95Shop →
 Digital Download - Four Patch Around the World Quilt Pattern by Missouri Star$4.95Shop →
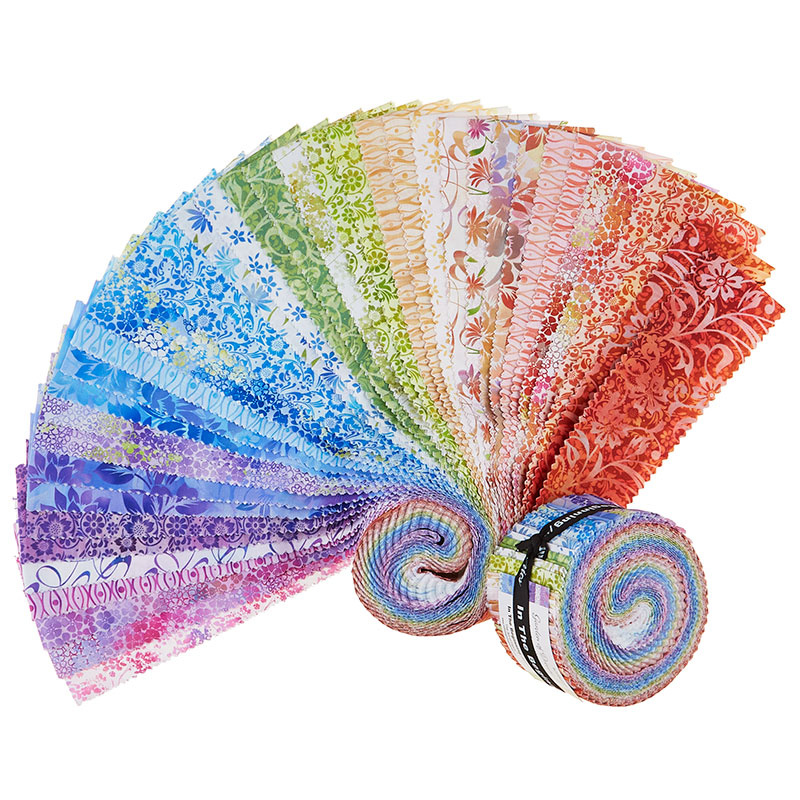 Garden of Dreams II 2 1/2" Strips$41.95Shop →
 Kona Cotton - White Roll Up$30.95Shop →
 Garden of Dreams II - Floral Dream Blue Yardage$11.24Shop →
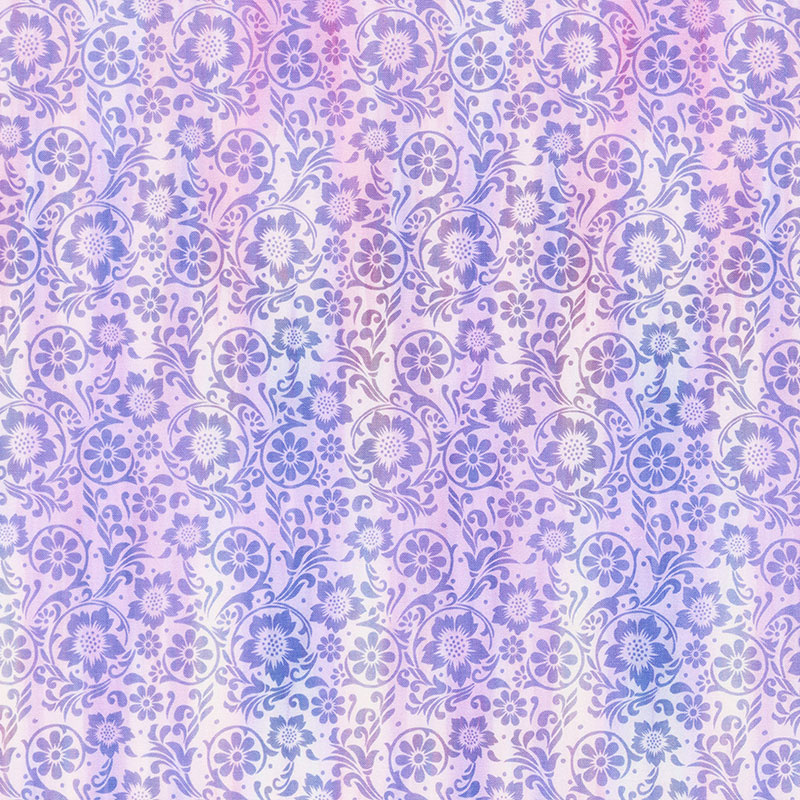 Garden of Dreams II - Garden Tonal Purple Yardage$11.24Shop →
 Missouri Star Quilter’s Best Blend Queen Batting$37.45Shop →
Common Questions
What is covered in How To Make A Four Patch Around the World Quilt - Free Quilting Tutorial?
Jenny's travelin' 'round the world with scrappy 4-patches made from jelly roll strips sets. Her fabric is Garden of Dreams II 2½" Strips by Jason Yenter for In the Beginning Fabrics with its dreamy florals in rainbow hues. This pattern is based on a traditional Around the Worl...
How long is the tutorial video?
The tutorial video is 00:09:15.
Are supplies listed for this tutorial?
Yes. The tutorial page includes the supplies and materials connected to this project.
Is a transcript available?
Yes. A written transcript is available on the tutorial page.
Video Transcript
You can see right down the middle here, all these come together, and then right across the side, all of these come together, and it just circles around itself. It just makes a stunning quilt.
Hi everybody, it's Jenny from the Missouri Star Quilt Company, and I've got a great project for you today. I'm calling it Four Patch Around the World. This is a typical around-the-world pattern where it has a middle and it just keeps going further and further out. But golly, I've got a really easy way for you to do this, and I'm anxious to show it to you.
So to make this quilt, you're going to need one packet of 2.5-inch strips. That's 40 strips, and we used Garden of Dreams, too, by Jason Yenter for In The Beginning Fabrics. You're going to need some background fabric. You're going to need 4.5 yards, or you can use two rolls of 2.5-inch strips, which is what I did. For your border, you're going to need one and three-quarter yards. This is a nice big 6-inch border, and your backing is 8.5 yards. Yes, I kid you not, 8.5 yards or three yards of a 108. This is a big quilt. So this quilt ends up being 83 by 95. It's a nice big quilt.
So let's take a look at the backing. It's just beautiful. Jason does such a beautiful job with his fabrics, and you can see how gorgeous this is. The quilting pattern on this is curly twirly flowers, which I think just adds so much to it. All right, so let me show you how to make this because this is super easy, and I called it Four Patch Around the World because it's all based on the four-patch block. So the first thing you're going to do is make some four-patches. So you want to grab 21 of your strips, and we're going to put them right sides together, and we're just going to sew right down the side. You'll want to sew most of these this way before you start putting your four patches together because you want them to be scrappy. So I'm going to just line these up, and then we're going to sew a quarter of an inch right down the side. I like to take a long reach out here and get them lined up, and then just let it go. One more time.
So now, before we iron these, I'm going to cut them into four patches. I've liked to do this before. That's personal preference. You do it however you want. But what I'm going to do is I'm going to look to see where my salvages are, and I'm going to line that up and I'm going to trim those off first. I will generally stack these, maybe four of them, because you can cut pretty easily through that. But I'm going to trim off this right here. Then I'm just going to lay my ruler. This is a 2.5-inch ruler. It's one of my favorites, but I'm just going to lay it. I'm going to make sure that it's straight across the top and bottom. Then we'll just make these cuts and go along like this and do all your strips and make all these cuts.
Then what you're going to do is you're going to take two different ones and you're going to open them up like this. I just have the same ones because all of the rest of mine are already made, but you're going to take two different ones, and we're just going to put them together like this, and we'll flip them so that they're opposite. Make sure the seams in the middle line up. So right down the side, and that will give you your four-patch. I've got a bunch of these done over here. So once you do your four-patch, you're going to grab 11 more of your strips and you're going to cut them into 2.5-inch squares because you need some squares for the corner. So let me grab another strip here, and I'm going to fold this double, which you can also do when you're cutting your four-patches as well.
I just did it two at a time, but you can do them double. Then I'm just going to lay this on here and cut some 2.5-inch squares because what we're going to do now is we're going to border this four-patch. So the four-patch on one side is 4.5, and you can actually cut your strips to that size, or you can just chain piece them all along the side of a strip, which is what I tend to do. So what I'm going to do now is show you the right way so that you make sure... It's not the right way. It's just a different way to do it. It actually keeps your blocks nice and square. So we're going to sew a 4.5-inch strip on the side.
All right, so then we'll press this back. Again, what I do is I take one long strip and I literally just put these on. I make sure they're the same colors at the top, and I will just sew them all the way down the strip and then cut them off like this. But I want to show you how to make one block so I can show you how this quilt goes together. So then we're going to take one of our little cornerstones right here and we're going to put it up here. We want these to go in a row, so they're going just like this. So once you get your 4.5-inch strip on the top, then we're ready to put another one on the side plus our little cornerstone, and you want them to line up in a row just like that.
So I'm going to sew this on here, the 2.5 to my 2.5 by 4.5-inch rectangle. All right, so when you sew that little piece on, now we're going to add it to the corner right here, again, making sure that your little squares go all in the same direction. So I'm going to line this up on the bottom, and I'm going to take a few anchoring stitches, and then I'm going to make sure that my seam up here in the top corner, one seam goes one way, one seam goes the other. Then we're going to press this open.
When you get four of these, you're ready to put the block together. So you're just going to do that to all your squares. Let me show you how the block looks. So this is the block. This is the same block. You make it over and over and over, and so it becomes very easy. So what we're doing here is we're always orienting our squares going this way. So this one goes this way, and this one goes this way, always this way, and this one goes this way. So we have four of these now that we're going to sew into a giant four-patch. So let's do that.
Then we'll line these up. Again, you have one little seam that you can match. Then we'll put these two together, open them up, and just make sure they're all going to be flying that way. So perfect. Then I will show you how this works, because this is pretty fun. I love it when you have a simple pattern, but it makes this amazing design. It ooh-ahs me a little bit. All righty, so let's press it open. Make sure there's no creases in there. If you want to make sure your seams are going the same way, you can flip that over.
So once your block is done, let's see how it works in the quilt, because this is pretty fun. So you're going to put it together like this. These blocks are going to go the same direction here and here. Then you see, we have a block that's matching up. So you are going to turn your block and keep going along the row. You can see right down the middle here, all these come together. Right across the side, all of these come together, and it just circles around itself. It just makes a stunning quilt. You'll want to pay attention to the diagram when you put the quilt together, but it's quite fun that you make the whole quilt using this one block. So we hope you enjoyed this tutorial on the Four Patch Around the World from the Missouri Star Quilt Company.
Hi, everybody. It's Jenny from the Missouri Star Quilt Company. We hope you enjoyed watching this video. If you aren't already part of the Missouri Star Quilt Company family, be sure to subscribe so you won't miss a thing. If you click that bell, it'll notify you every time a new tutorial comes out. See you next Friday.


