

How To Make A Four Patch Picnic Quilt - Free Quilting Tutorial
 Jenny Doan
- Charm Pack
- Traditional
- Lap / Throw
- Beginner
- Quilt size 60" × 67"
The happiest of quilts is the picnic quilt. Spread it out - right on the ground - and whip out the peanut butter sandwiches. Don’t worry about crumbs.; don’t fret over spills. This quilt is made for fun and adventure! This week, Jenny is whipping up a quick Four-Patch Picnic quilt with charming prints from Farmhouse Summer by Echo Park Paper Co for Riley Blake. Stick around to see the backing—it’s made with the sweetest panel!
Instructor
Jenny Doan
Jenny Doan is an American quilter, author, and YouTube personality. Jenny started Missouri Star Quilt Company in 2008 and today it is the largest quilting supply vendor in the United States.
Shop this tutorial
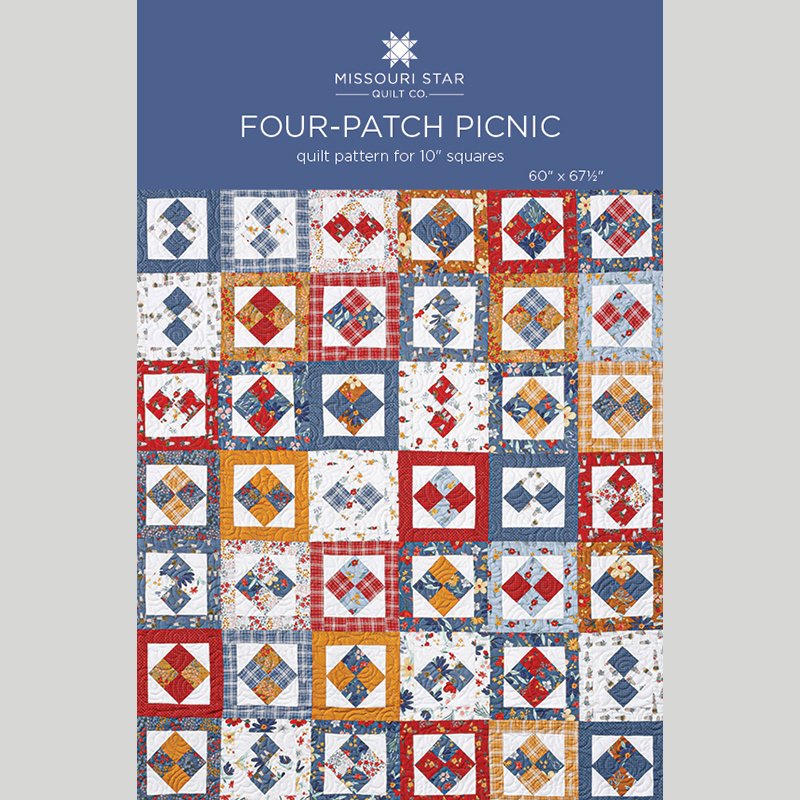 Four-Patch Picnic Quilt Pattern by Missouri Star$6.95Shop →
 Digital Download - Four-Patch Picnic Quilt Pattern by Missouri Star$4.95Shop →
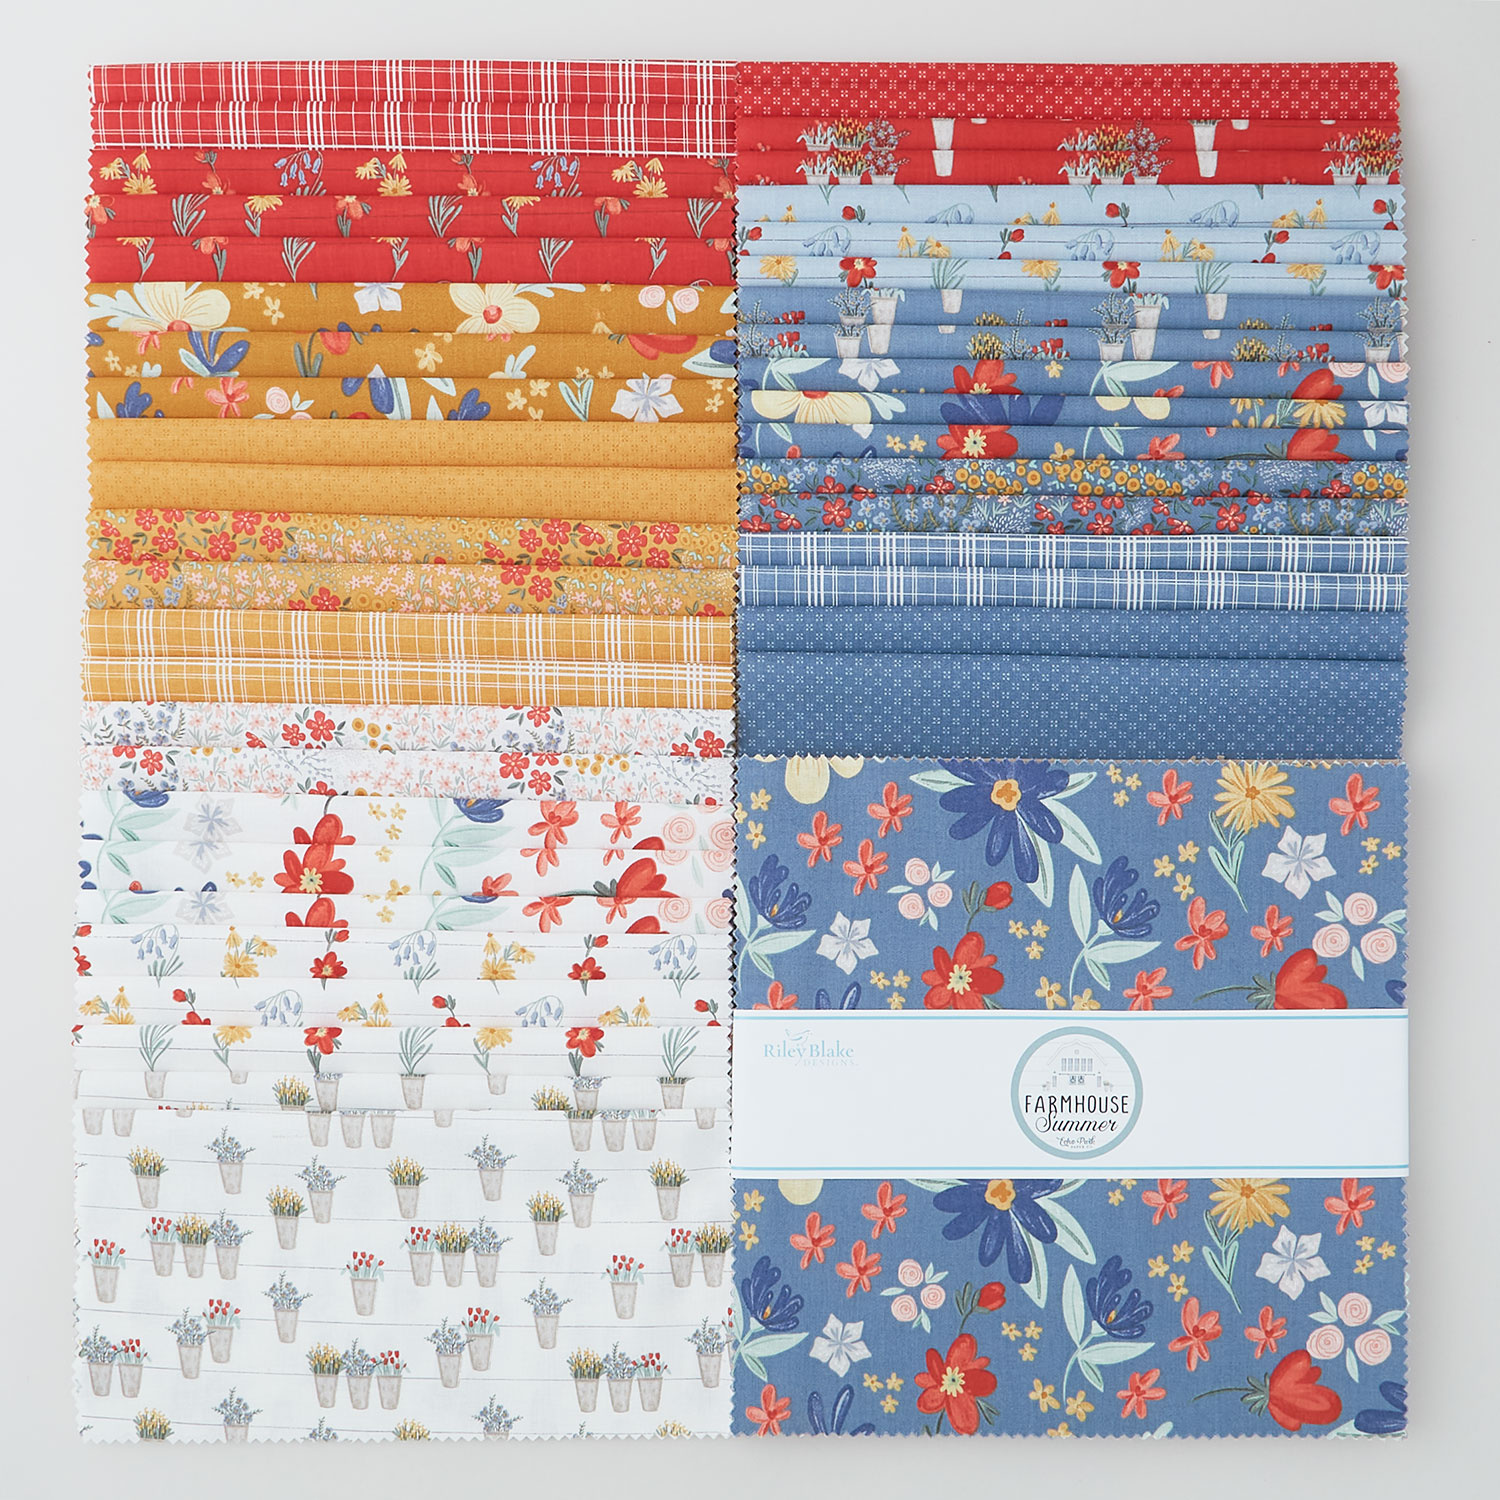 Farmhouse Summer 10" Stackers$39.95Shop →
 Confetti Cottons Crayola Solid Color White 5" Stackers$12.45Shop →
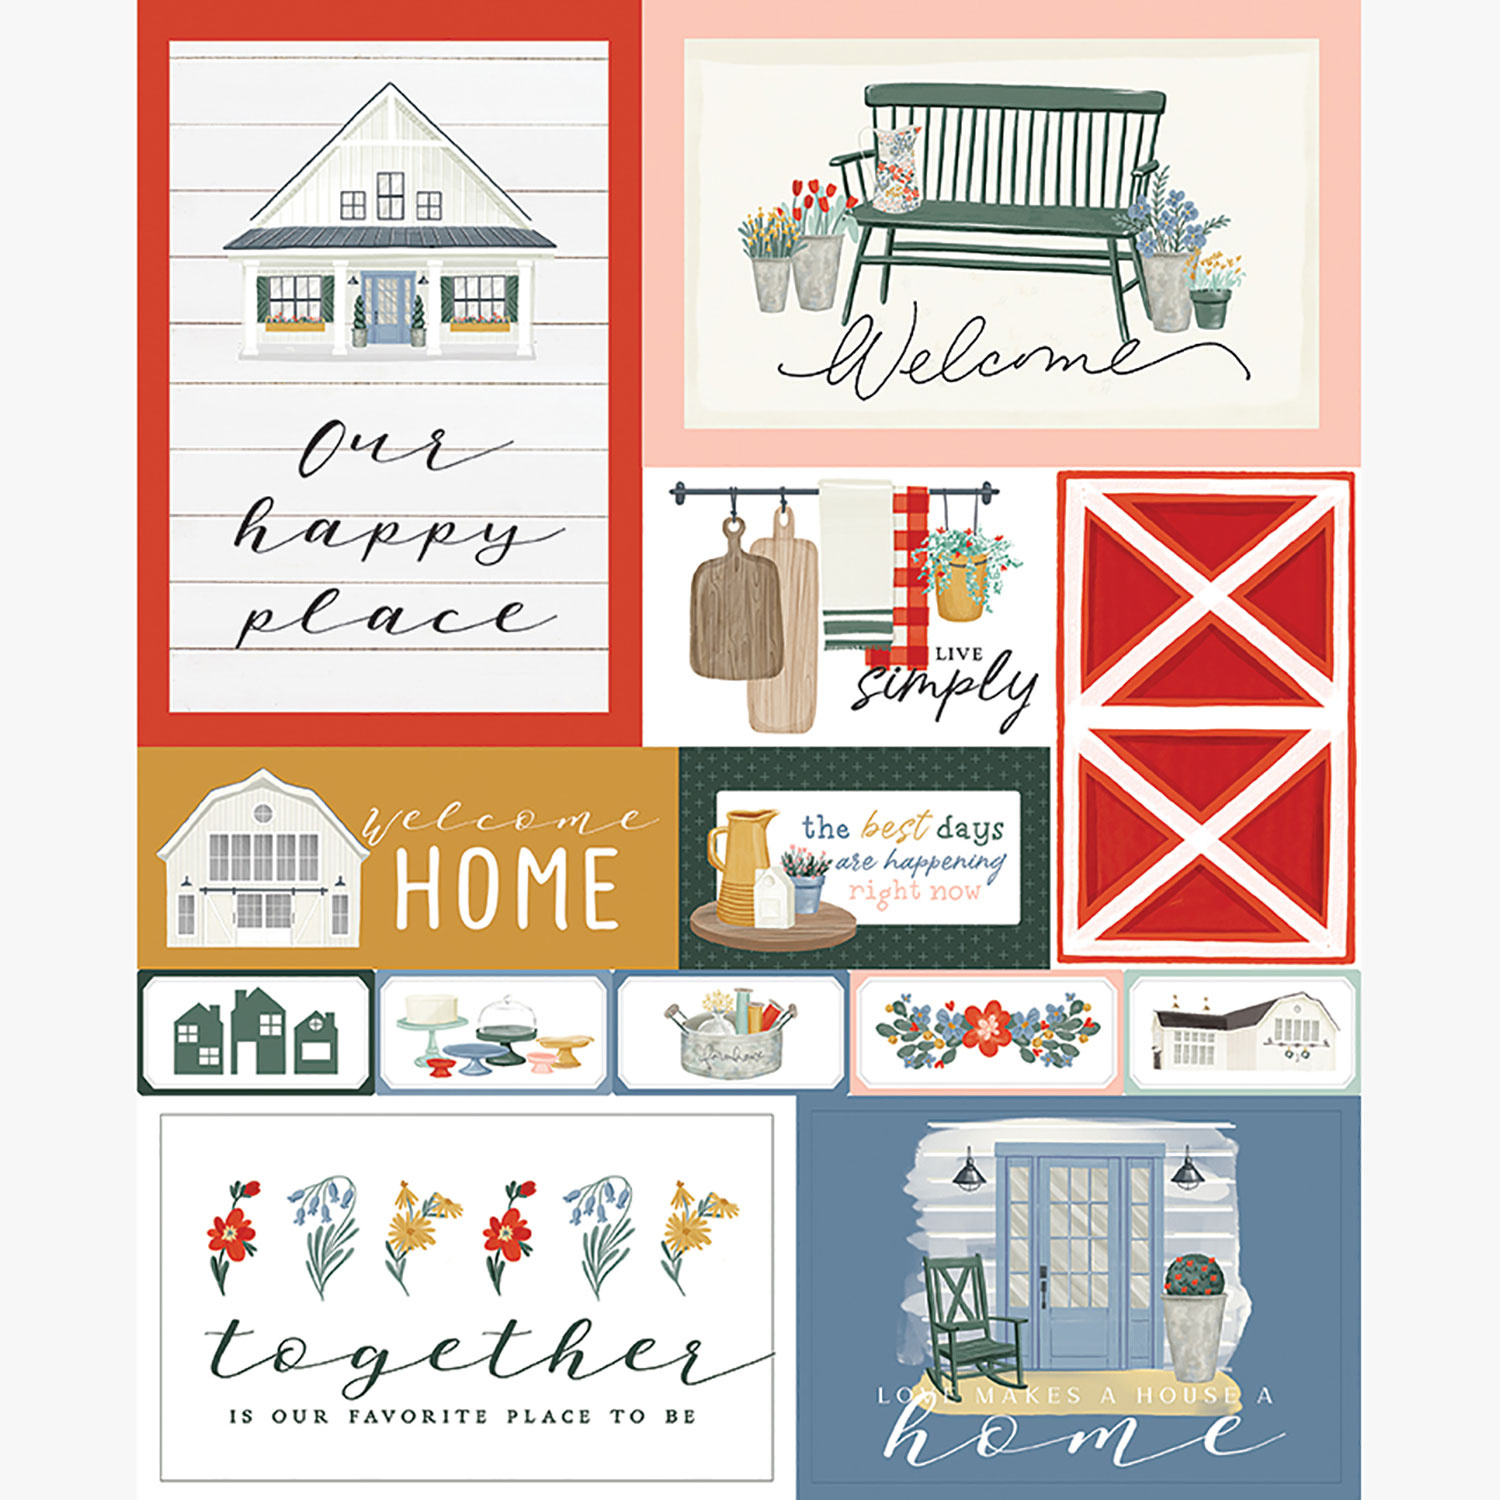 Farmhouse Summer - Welcome Home Multi Panel$12.44Shop →
 Confetti Cottons - Crayola Solid Color Riley White Yardage$7.76Shop →
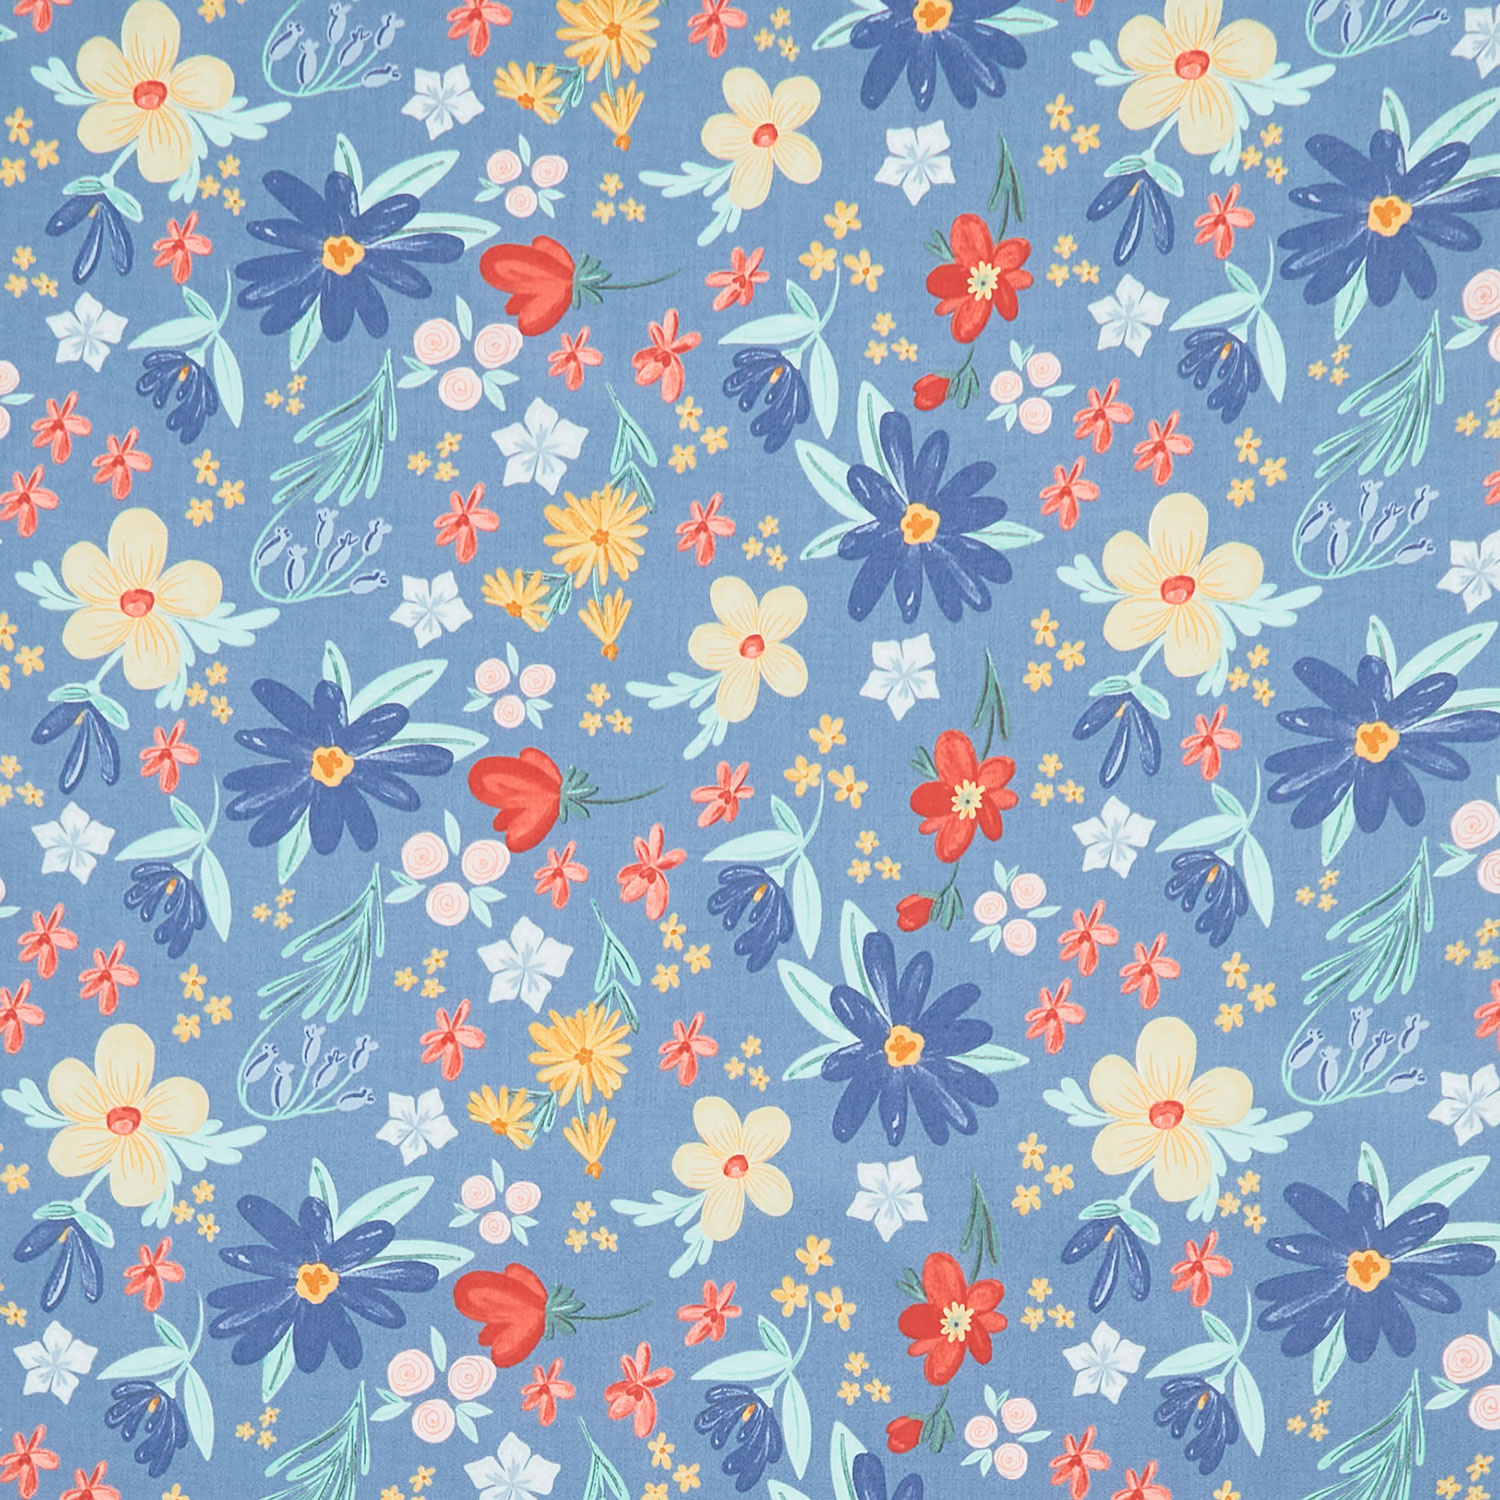 Farmhouse Summer - Main Denim Yardage$11.96Shop →
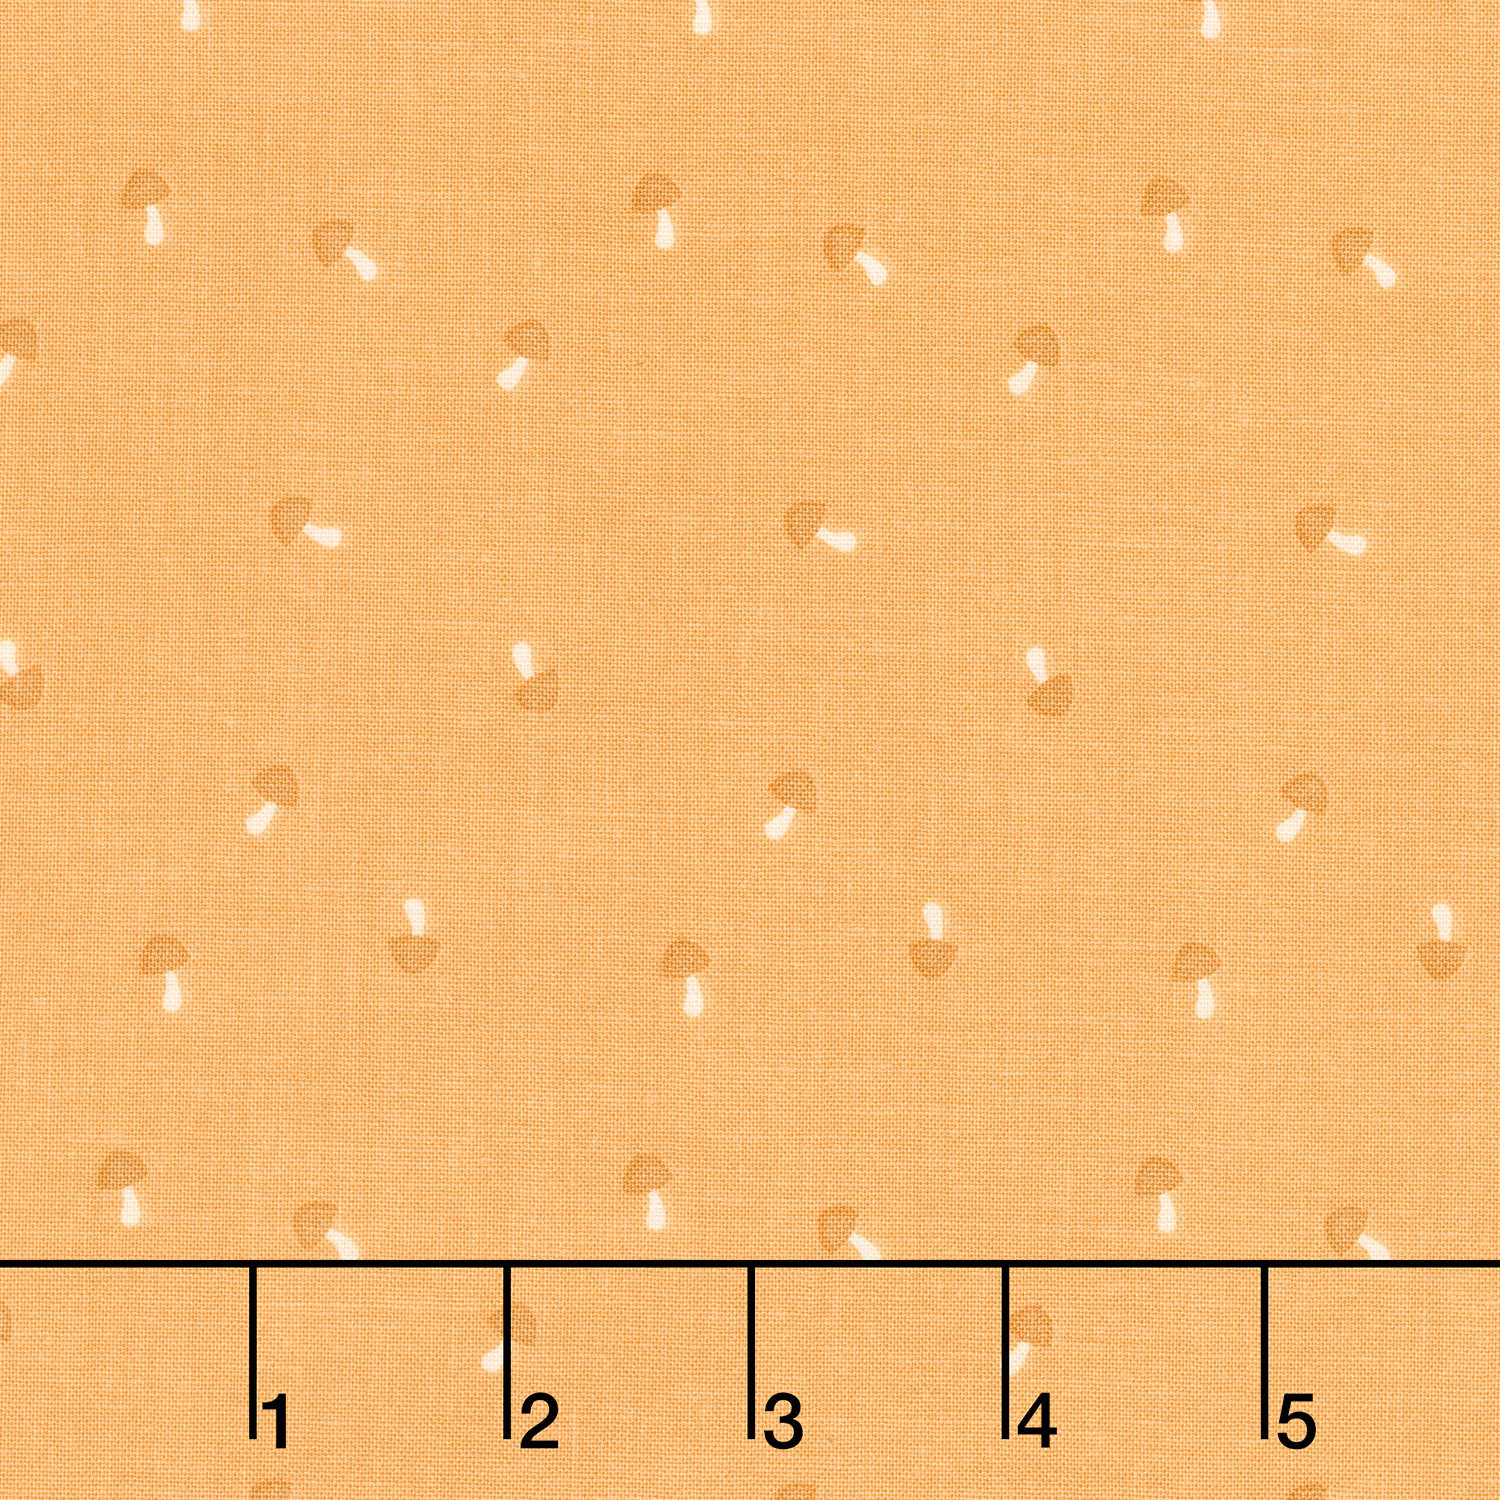 Live Love Glamp - Mushrooms Honey Yardage$11.96Shop →
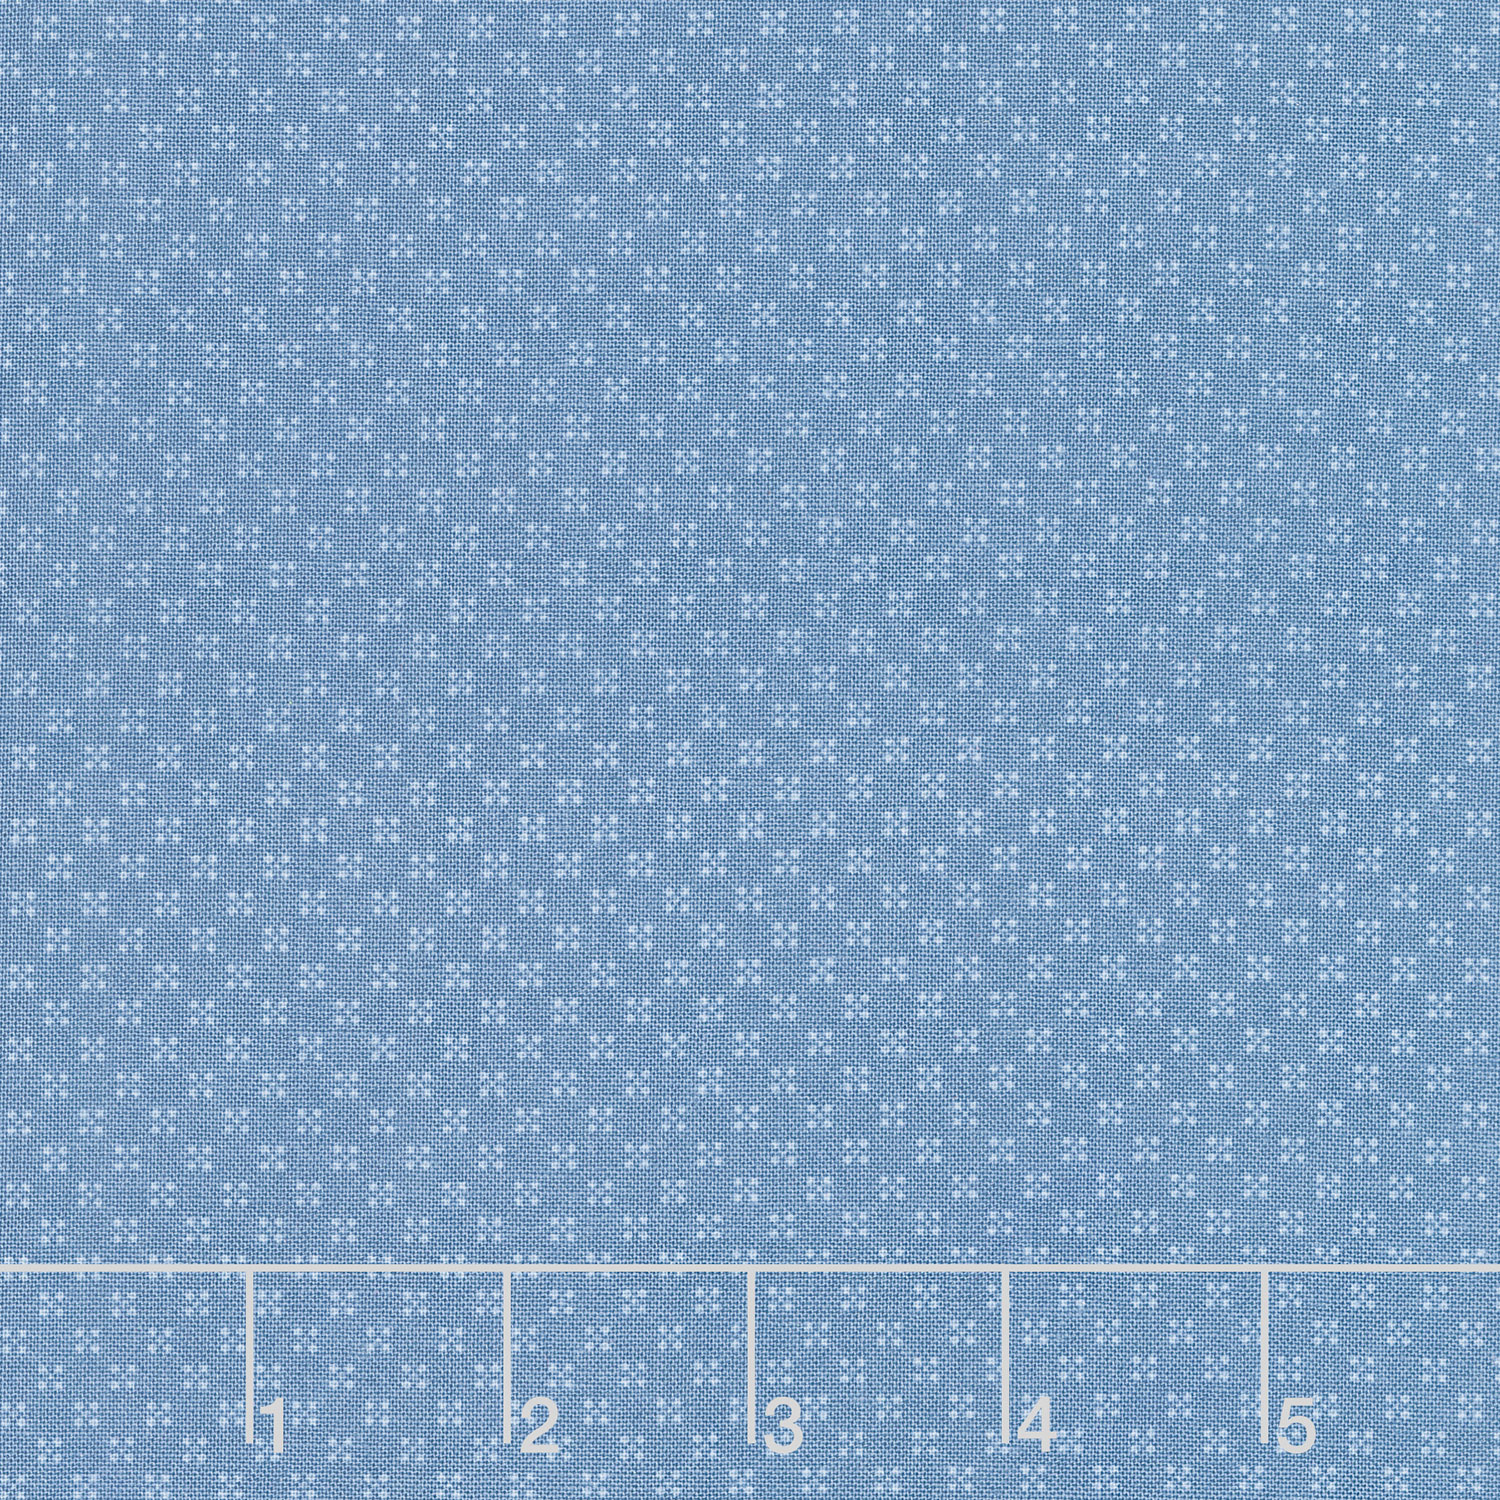 Farmhouse Summer - Dots Denim Yardage$11.96Shop →
 Missouri Star Quilter’s Best Blend Twin Batting$26.45Shop →
Common Questions
What is covered in How To Make A Four Patch Picnic Quilt - Free Quilting Tutorial?
The happiest of quilts is the picnic quilt. Spread it out - right on the ground - and whip out the peanut butter sandwiches. Don’t worry about crumbs.; don’t fret over spills. This quilt is made for fun and adventure! This week, Jenny is whipping up a quick Four-Patch Picnic q...
How long is the tutorial video?
The tutorial video is 00:17:02.
Are supplies listed for this tutorial?
Yes. The tutorial page includes the supplies and materials connected to this project.
Is a transcript available?
Yes. A written transcript is available on the tutorial page.
Video Transcript
One of things I love about a picnic blanket and calling it a picnic blanket, is that it gives you permission to throw it on the ground and eat food on it.
Hi everybody, it's Jenny from the Missouri Star Quilt Company and it is summer here in Missouri, which means it is picnic time, and I love a good picnic and I've created this quilt for you and I called it Four Patch Picnic. So let's take a look at this quilt. So we start with these four patches. We boarded the square to set it on point, and then we border it one more time and it's all done with the layer cake. So it just comes together so quick and easy.
So to make this quilt, you're going to need one packet of 10 inch squares and we have used this darling line and it's called Farmhouse Summer and it's by Echo Park Paper Company for Riley Blake. You're going to need some background. Now, I chose to use a five-inch packet of squares, and that's about three quarters of a yard if you want to do it all in yardage. And for your inner border, you're going to need that same color background. And we're going to need a half a yard.
For outer border, you're going to need a yard and a quarter, and for your backing you're going to be four yards or I fell in love with this darling panel and I used it on the back and I'll show you later. It's so cute. So let me see if I can get this all unfolded so you can see it. I just kept it together like this, put it smack in the middle of my quilt and then put big borders all the way around it so it was large enough to back my quilt. And I just loved this panel and I thought it was really cute, but it didn't really have a place for it in my quilt, so I used it on the back. So let me show you how to make these blocks.
So this is the block we're talking about right here and it's just so quick and easy and so fun. So the first thing you're going to do is you're going to divide your layer cake into lights and darks or contrasting colors. And I just happen to have this darling blue and this yellow golden rod plaid. It's just perfect. All right, so the first thing we're going to do is we're going to make our four patches. So we're going to cut a two and a half inch strip, make sure your blocks are lined up exactly.
And we're going to cut a two and a half inch strip like this. And then I'm going to just set this over here for a second. And while I'm cutting, I'm going to cut two sets, or actually four sets of one and a half inch strips. So I've got one, and then two, and we're staying at one and a half. And let's move this over here. Three. It looks like I got off a little bit on this one, so I'm going to cut that one straight and I'm going to flip this around and trim it off to make sure it stays right at one and a half and it's not off, I mean just a hair, but I just want to make sure it's right for you guys. All right.
So then I'm going to cut one more strip at one and a half. I'm going to set this one over here. Now two of these one and a half inch strips are going to be cut at six inches, and two are going to be cut at eight inches. So let me start this one with the six, make sure they're lined up nice. And even on the ends we're going to come here to the six. I'm going to cut this one at six, set this aside and I'm going to cut this one at eight. All right.
So then what we're going to do is we're going to take these two pieces and we are going to put them right sides together and sew down the sides. And we're going to be making two, four patches out of this. Actually, yeah, every time, every two squares yields two blocks, so it goes together very quickly. All right. So we've sewn just the side. And before I press these, I like to go ahead and cut my two and a half inch squares and I'm off just a hair. So let me just straighten this up right here. And when you're cutting these two and a half inch squares, that off part matters. So I'm going to cut to the very inside of my line and hope it all works out and we can catch that in the seam if it comes up a little bit short, but hopefully it won't. One more. It looks like we're going to be perfect. There we go. All right.
So now we can press these open, and I am just going to press to the dark side. So I'll lift up my blue, like this, and then one more. And then what we're going to do is we're going to take these and we're going to flip them opposite like this. And we are going to make two of these. So we'll put them this way and we're just going to match them up. I'm going to take a few anchoring stitches, make sure I'm nesting in the middle. And then this one as well. Remember we're going to get two blocks out of these. All right. Then we're going to press these open, and now we need to set them on point. So I'll show you how to do that.
So now for the ease of what I was doing, I'm just going to grab a couple of five inch squares right here. And this is going to set our block on point and what I'm going to do, I'm going to leave these lined up and I'm going to cut them diagonally twice. So once here, and once here. And then these are going to go on the outside edges of this. So this will go this way, and you can see it just hangs over just about a quarter of an inch on all four sides, just like this.
And you're going to want to sew a scant seam. Now we haven't talked about a scant seam a lot, but you can lose your points on this if you don't use a really scant seam. So scant just means a little bit shorter than a quarter. So I'll show you what I'm doing over here. So this one right here, I'm going to put on the side, and I'm going to use my peaks. My peaks are going to line up on the edge, and I'm just going to sew a scant quarter. So where my quarter line is here, I'm coming just inside that. Because sometimes we need that little bit of extra room. And I'm going to do both of these blocks at the same time.
So let me show you again how to line this up. So you can actually finger press a little seam, and lay it on this seam. And you should notice that you should have a quarter of an inch showing on either side. You can also look at where this point ends up right here and it should line up right with that seam. So we're going to go ahead and sew our scant quarter. On this one and this one. And then we're going to press these open and we're going to add the other side. So let me clip these threads. I'm going to press this open and press this open. All right.
So now what we're going to do is we're going to add our pieces to the other sides. This should line up right along this seam or you can finger press it and put it in the middle. So we're going to go ahead and do this. All right. So now I have this great six inch ruler. I'm going to lay it on here and make sure that it lines up. And it's pretty good. I'm just going to trim off these little edges right here and you can see over here, let me show you, hang on, let me get this all lined up here. You can see right here, this is a hair in. I'm not going to worry about that. I'm going to be able to catch that in a seam. So I'm going to do this one, and just trim off those little points. It comes out so close. And this one and this one. Okay. All right.
So now what we have to do is, we're going to border these. Now one of these is going to be boarded with the blue and one's going to be boarded with the yellow. And it will make them look like two completely different blocks. So what I'm going to do is I'm going to put the blue on this one and the yellow over here. So I'm going to start with the blue and this should measure six inches.
Now, there are several points on these blocks that I lost. I didn't worry about it. It's a picnic quilt. If you want to make sure you don't lose your points, you're going to need a bigger corner square. So you can start with a five and a half. I used the five because it was easy and I wasn't too worried about it because it was a picnic quilt. But I do know that there's some point people out there, one of them is my assistant, but again, the scant quarter inches help with that. So we are going to do a scant quarter inch on this one. And also you guys know I'm not a perfectionist, so I'm not too worried about the little points. And most of them came out great. Let me just say. All right.
So now I have my eight-inch ones for the top and the bottom, and I'm going to put those on the top and the bottom right here. And these ones, I'm going to put these on and I'm going to put them on from the back so that I can see exactly where I'm stitching, because you can see where these two threads cross right here, that's where your point is. And if you want to make sure you're getting your point, that's a great way to see that. So you're going to add this on. So I'm going to come along here, and I'm going to catch right in that little seam, and then I know for sure that I am not going to miss my point.
Now to be fair, I didn't do this one time when I was making the quilt. I just sewed them on, I didn't worry about it. But I do know that it's important to some of you. All right. So we are just going to put this over here. We're going to sew scant quarter, and we're going to press it open and see how we did on this. It's always different when you do it on camera.
So this one worked out pretty good. I lost the bare edge of this one, but it worked out pretty good. So I'm going to set this over here and let's go ahead and finish this yellow one so you can see how different they look just by making two different cuts. And I'm going to go ahead and put this piece on here like this. And this is the one where I have that, my piece is a little bit off so I know I can catch that, in my quarter inch seam. See right here how it's just a tiny hair off right there. But I can catch that in my quarter inch seam and I will lay my strip straight over that. All right. I'm going to line this up and sew right down the sides and I lost that point a little bit, but I am not going to worry about it. I'm going to press it though, so I can make sure that I get all of that that I can.
And then this one over here, I'm going to go ahead and put on and let's do it from the back like we did the other one. All right. So I'm laying this on here, so I have just, and I can see where my threads cross and I know that's where my point will be. And I'm not adverse to sewing like this either. Just a hair, just so you get that point. All right. On this side over here, when I lay this on here, you'll be able to see that one of these sides is a little bit shorter.
See right here, this side's just a little bit shorter, but I can catch that in that seam. So I'm just going to come down the edge like this, and I'm going to make sure that my little borders lined up and I can see that it's just a little off. So I'm just going to let my little edge be my quarter inch guide and sew right down the edge of that, catch it in that seam, I don't have to worry about it at all, and then I'm going to press this open just like this. Now because I was watching, those points are perfect. So that's just a little tip for you if you're worried about it.
One of the things I love about a picnic blanket and calling it a picnic blanket, is that it gives you permission to throw it on the ground and eat food on it. So this is not your heirloom quilt, this is your fun picnic quilt. All right. So what I did then was I just sewed them together just like this. And let's go back to the quilt for this. So there's 21 pairs, which makes 42 squares. So six by seven. So I did a little two and a half inch border out here, a nice big six inch border. And then my binding, I wanted to bring out that gold. And there's a cute little piece in here that has tiny little mushrooms on it.
And then you can see the peak of my back right here and I'm going to show it to you whole. So let's do that. So here's our back. Now, I loved this panel. I thought the whole panel was adorable and I tried to think about cutting it up and making the squares around it, and I just loved it all together. So it says such wonderful things on it. It's our happy place. Welcome. Live simply. The best days are happening right now. Welcome home. Together is our favorite place to be, and love makes a house a home. They're just such great things. All right.
So now let me tell you how to figure out how big of strips to put with this piece. So our quilt ends up measuring 60 by 67. Now the strips that are on there now are 14, but they need to be cut much bigger so that the long armor has worked. So I would add at least four inches to that. And then you want to remember that when the long armor puts this on a machine, this is top center right here. So this will be centered, but you need to make sure that it's close enough to the top so that it doesn't cut anything off.
So if you're going to make any part longer or shorter, you want your bottom half to be longer and your top half to be a little bit shorter, so that you make sure that that whole panel gets in there and appears centered. So it's pretty easy to put together and do, but there's just a few little things that you need to watch.
So the quilting pattern I used on this is curly twirly flowers, and I just think it's perfect for this picnic quilt. It came out so nice. And again, the front of this is just so darling with its all its little four patches thrown on point. And we hope you enjoyed this tutorial on the Four Patch Picnic Quilt from the Missouri Star Quilt Company.
Hi everybody, it's Jenny from the Missouri Star Quilt Company. We hope you enjoyed watching this video. If you aren't already part of the Missouri Star Quilt Company family, be sure to subscribe so you won't miss a thing. And if you click that bell, it'll notify you every time a new tutorial comes out. See you next Friday.


