
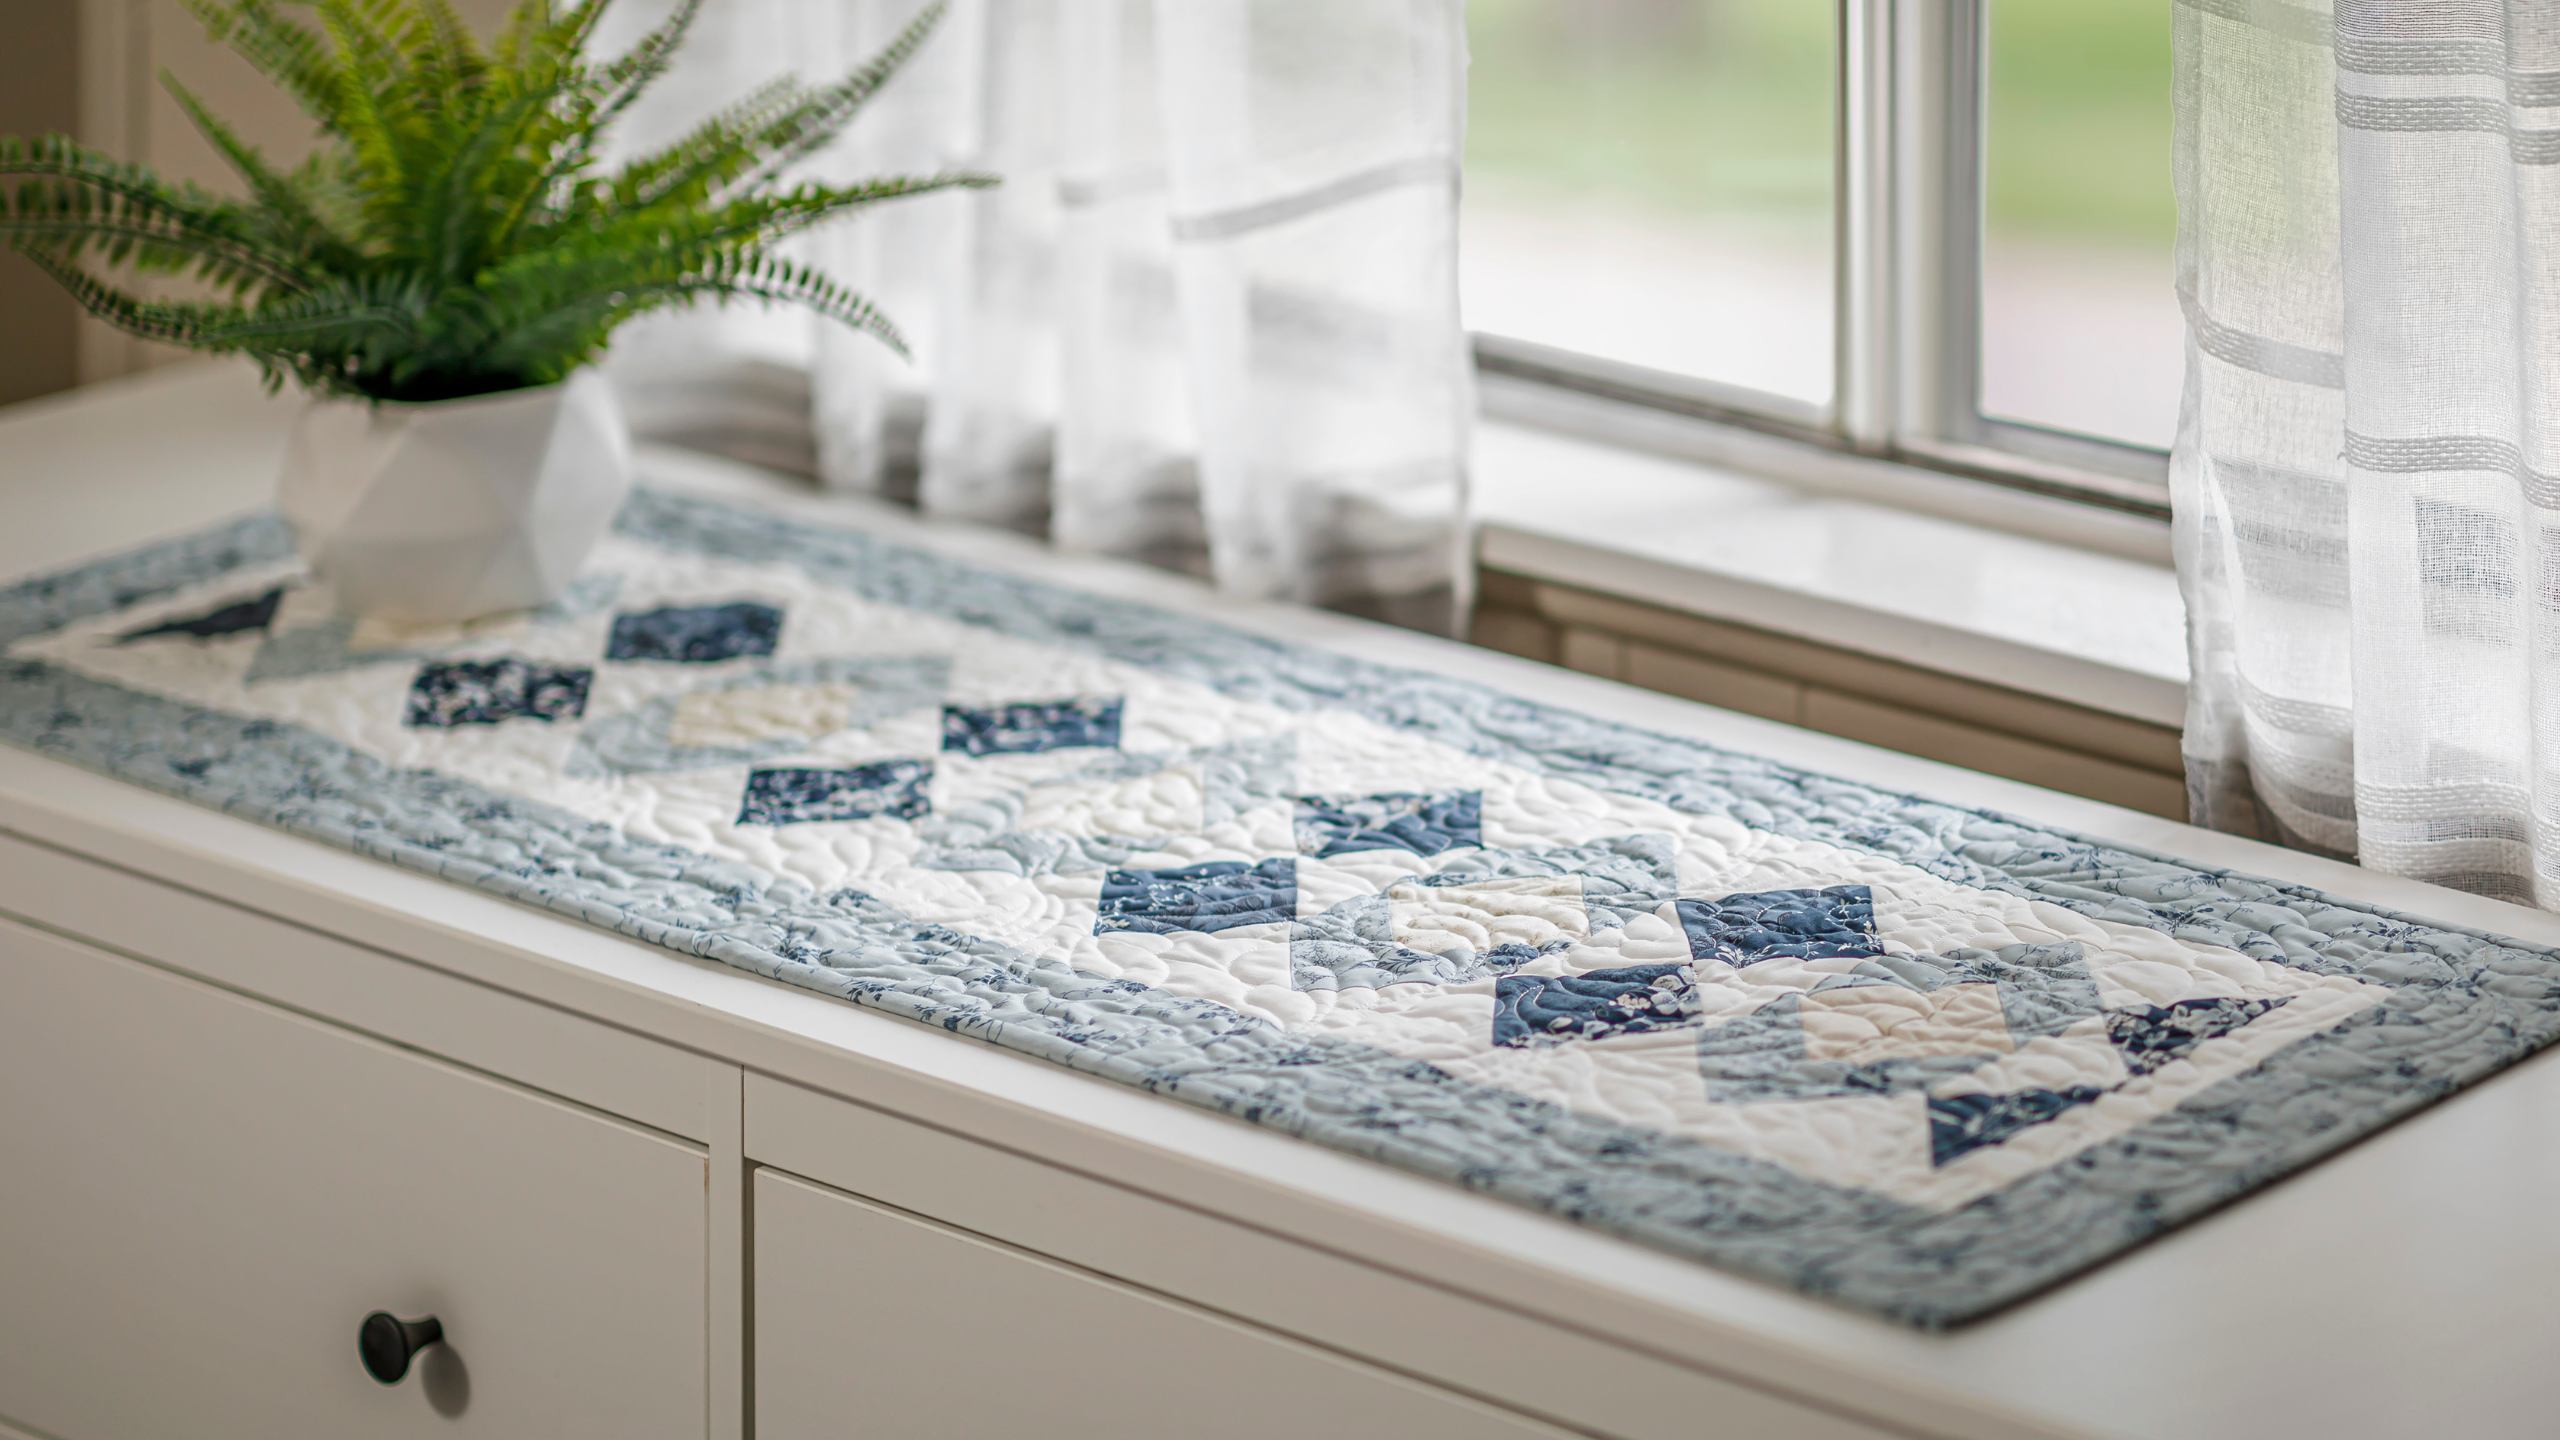
How to Make a Friendship Chain Table Runner - Free Project Tutorial
 Misty Doan
- Charm Pack
- Traditional
- Table Runner
- Beginner
- Quilt size 15" × 47"
Dress your table in the finest and friendliest design! Today, Misty shows us how to create a stunning Friendship Chain table runner using a charm pack from the Cascade collection by 3 Sisters for Moda Fabrics. The end result is sure to brighten up your kitchen or dining area!
Instructor
Misty Doan
Misty Doan grew up surrounded by sewing and quilting. She loves spending time sharing tutorials each week each week, and when she’s not stitching up one of her fun sewing projects for home decor, most likely you’ll find her hanging out with her husband and three awesome kids or working on a house project.
Shop this tutorial
 Friendship Chain Table Runner Pattern by Missouri Star$6.95Shop →
 Digital Download - Friendship Chain Table Runner Pattern by Missouri Star$4.95Shop →
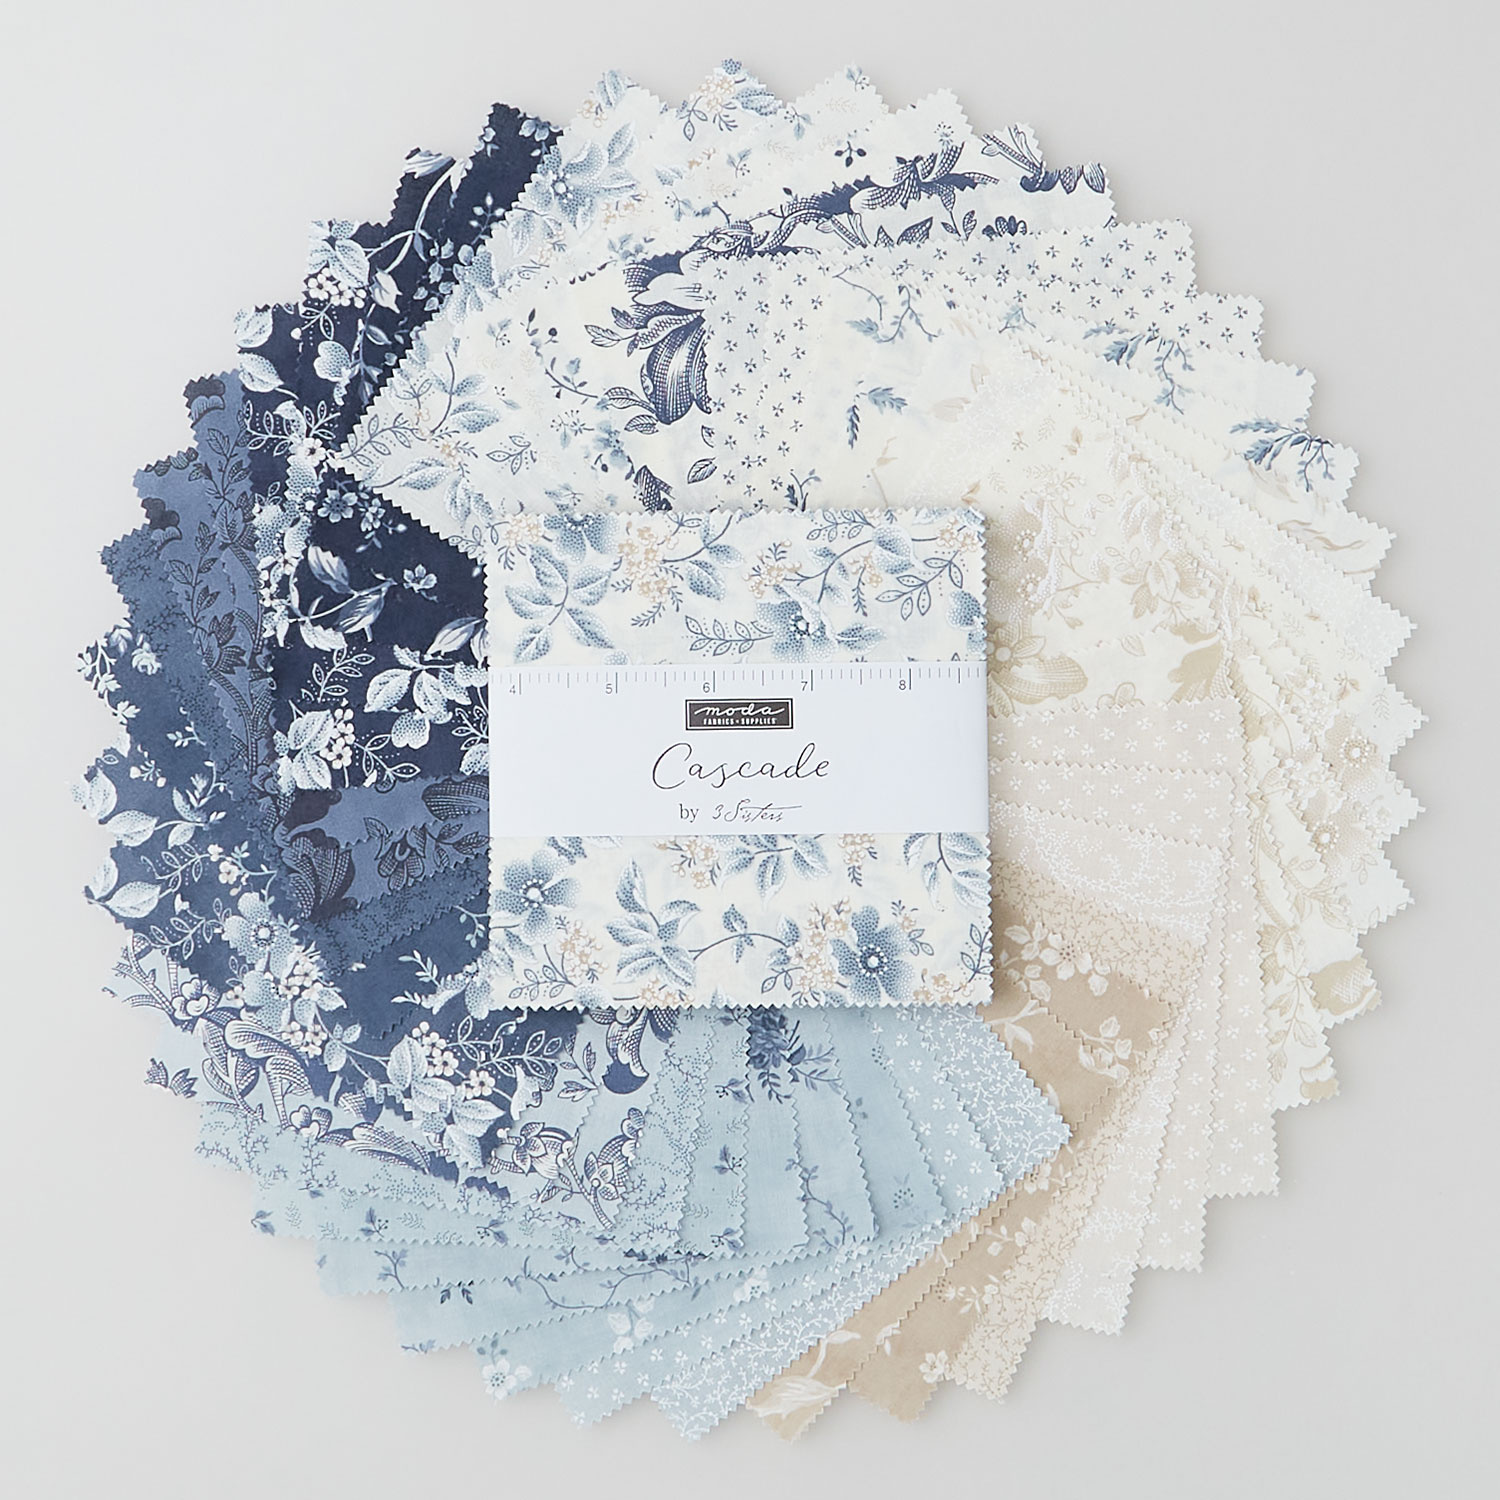 Cascade Charm Pack$11.45Shop →
 Bella Solids - White Bleached Yardage$8.24Shop →
 Cascade - Meander Sky Yardage$11.96Shop →
 Cascade - Budding Vines Sky Yardage$11.96Shop →
 Missouri Star Quilter’s Best Blend Crib Batting$14.45Shop →
 Missouri Star 2.5" x 8" Ruler$10.95Shop →
 Diagonal Seam Tape$7.25Shop →
 Olfa Splash Aqua 45mm Rotary Cutter$18.75Shop →
 Exclusive Missouri Star Jenny TG1600 ProPlus Oliso Smart Iron$199.99Shop →
 Missouri Star Wooly Betty Board - 17.25" x 25.5" Orange Border$98.95Shop →
 Missouri Star 50 WT Cotton Thread White$6.95Shop →
 Baby Lock Accomplish - 1500 SPM Straight Stitch Machine$999.00Shop →
Common Questions
What is covered in How to Make a Friendship Chain Table Runner - Free Project Tutorial?
Dress your table in the finest and friendliest design! Today, Misty shows us how to create a stunning Friendship Chain table runner using a charm pack from the Cascade collection by 3 Sisters for Moda Fabrics. The end result is sure to brighten up your kitchen or dining area!
How long is the tutorial video?
The tutorial video is 00:13:01.
Are supplies listed for this tutorial?
Yes. The tutorial page includes the supplies and materials connected to this project.
Is a transcript available?
Yes. A written transcript is available on the tutorial page.
Video Transcript
So this was my runner-up project from our flying geese triple play that we did recently. But I think this is still a beautiful block and it comes together
really quick. This is called the Friendship Chain Runner and I actually
found this block in Barbara Brackman's book and I think it's so fun. So let me show you how to make it.
I'm going to set this aside and we'll go through the supplies. So first up you're going to need one package of five inch squares. I used Cascade by Three Sisters for Moda. It's this beautiful blue and cream line, really, really pretty. You're also going to need a half yard of background fabric, that includes your inner border. You'll also need a half yard for your outer border and an additional yard and a half for your backing. So let's get started!
I'm going to go ahead and move all of this out of the way and I'm just going to take you through one block, because each of these blocks is made the same. So you are going to pick five squares out of your pack, and I picked a light, this beautiful cream, two mediums that are matching, it's kind of this light blue, and two darks that are matching. You're also going to need six two and a half by four and a half inch background rectangles. So let's go ahead.
We are going to start with our light square here and we are going to
just cut this in half. Actually I'm going to trim off a half an inch first because then it will save me a step. So from one side we'll trim off a
half an inch and that's our waste. Then we can rotate this and I can lay my ruler right on the edge since it's two and a half inches wide and this is going to give me two two and a half by four and a half inch rectangles from this five inch square.
So from both the medium and the dark we are going to line these up and we're going to cut them in half both directions so that we get a total of
eight two and a half inch squares, four from each five inch square, right?
So we'll cut this one in half and then turn my ruler. There we go. I'm just going to set these together and then do the same thing with my darks.
We just want to make sure that they're lined up nice and straight, there we go, in half both directions to get our two and a half inch squares.
All right so now I have all the components that we need for our blocks. So here's what that block looks like and it's made up of four different flying
geese units. So let's talk about those before we start assembling them. So to begin with we have our cream, our light fabric, that we chose from our
pack in the center, with our medium snowballs and so that's our first unit.
Actually I'm just going to lay this here so you'll see how it comes together -the visual will help. Then we are going to have our background rectangles with our darks on either side and you'll see those. And then now the last two. I want you to notice we have a medium and a dark on both of these, but they're opposites. So on this side our medium is on the right, and on this side where it's on the left. That is designed so that when we put this together it's going to match up with the one in the middle, just like so.
So I just wanted to show you this because each of these components is made exactly the same way, but you need two of each. So let's go ahead and make some of these now.
So I'm going to begin by taking my light and two of my mediums and we are just going to place this right on here and we're going to sew corner to corner. So if you want to draw a line you absolutely can. You could press a line as well. I have some diagonal seam tape on my machine so I'm just going to go ahead and take this over here. And if you're not familiar with the diagonal seam tape, I'm going to start by placing this far corner right under the needle and then I'm lining up this corner closest to me with the red line of the seam tape. As long as I keep that point right on the red line it's going to sew exactly point to point. So it's my favorite way to do half square triangles or flying geese, because I don't have to mark.
That's ready to go. So now we can go ahead and trim off this excess. If you
want to save some little tiny half square triangles you could sew over a
half an inch and you'd have a bunch of little ones left over, but for this
project I just went ahead and put it in my scrap bin.
So now we can finger press this or press this back, just like so, and we can add our other two and a half inch square to the opposite side. So now we're sewing from point to point, just make sure it stays all lined up. Again putting that first corner right under the needle, there we go. All right so now let's go ahead and trim off the selvage again or the excess not even our selvage, and we'll give this a good press with the iron now, just like so.
And you can see how quickly our flying geese units come together.
So I showed you how to make all of these. They're made the exact same way whether you're starting with your print or your background pieces and you're just going to make sure that you're adding either the light or the mediums, excuse me or the dark, to the correct pieces so that it matches up with the block. So let's lay this out one more time.
So we have this one. Our prints are always going to start in the center and we can actually sew these together. This is how I did it, kind of make that kind of diamond shape in the middle. There we go. Press that so it lays nice and flat and then now we're going to add our two darks. Make sure I'm grabbing the right ones to either side and your background goes in towards the middle. So you can you always want to check that and so then we'll add these. I'm just going to go ahead and take both of these to the machine and we'll add one to one side and then the other. Because of how we assemble this with the flying geese, the block does go together
a little differently than normal. It's not like a simple four patch or nine
patch, but it's fun - that's for sure!
So I'm just going to take a few stitches to start me off and then make sure
everything is lined up and cruise down with that quarter inch seam. Flip this around again, making sure that my background flying geese is in towards the middle. And then right sides together. All right so now we can give this a press and the center of our block will be done.
I like to roll that to the middle. It doesn't really matter because the seams
aren't going to nest with anything, but that's just my preference. All right now you can see how that looks.
And so now we're going to take our last two units, remember they're opposites! And we're just going to match those up so our dark match is dark and our medium matches medium, just like so. So before we can sew
these to the middle, we just need to put these right sides together and sew down on both of these. Then we'll attach those.
Okay, and so now you can see how this is going to fit together so nicely,
just like so. So I'm going to fold this one over, bring it over here to the
machine. Now I do want to note I haven't squared any of these up. I've been able to fit these together, but if you get to a point where they're feeling a little wonky, just remember you can trim them back to that two and a half by four and a half. That's what we're looking for.
So sometimes when you snowball they can get a little bit off and it's no problem to just take the time to correct that. So the only seam that I'm worried about lining up here is this center seam here because that will
intersect. So I'm just making sure those nest nicely. I'm holding them together with my finger and then you do want to watch your point here on this flying geese and as long as you're staying on this side of that point, then you won't lose the point of the goose.
So then once I get to the middle I'll realign everything else, make sure we're all lined up beautifully, and cruise down. All right and so now we can add the other section to the other side. We just want to check and make sure that that's going to match up. This is the same idea. We just want to nest that center seam, and watch our points so that we don't lose them.
There we go let's give this a press. Our block is complete and we can just lay this down so it doesn't have any rumples. Beautiful. Isn't this such a fun block? I love how quickly it comes together it's just really fun to play with and see what you can make with different flying geese units. I was really pleased with this one and so we just set these together, one after the other for this runner. We used five blocks - one, two, three, four, five, and then we added this little inch and a half inner border that came from your background. Finish it off with a three inch outer border and it's got this pretty gentle backing that's really fun. We quilted it with Drops of Paisley.
So I hope you enjoyed this quick and easy runner project and I'll see you next time on At Home.


