

How To Make A Goodnight Irene Quilt + Bonus Pillowcase - Free Quilting Tutorial
 Jenny Doan
- Charm Pack
- Traditional
- Lap / Throw
- Beginner
- Quilt size 56" × 64"
Once upon a time, Jenny spotted an intricate quilt hanging in a quilt shop. "I bet I can make this with precuts" she thought. And so she did, and it was an instant classic. 12 years later, Jenny's remaking that gorgeous quilt—with a few extra tricks she's learned along the way. Goodnight, Irene is made with precut charm squares, X's and O's blocks, and scrappy 4 patches. For this tutorial, Jenny is using darling camp-themed prints from Live Love Glamp by Dani Mogstad for Riley Blake Designs.
Instructor
Jenny Doan
Jenny Doan is an American quilter, author, and YouTube personality. Jenny started Missouri Star Quilt Company in 2008 and today it is the largest quilting supply vendor in the United States.
Shop this tutorial
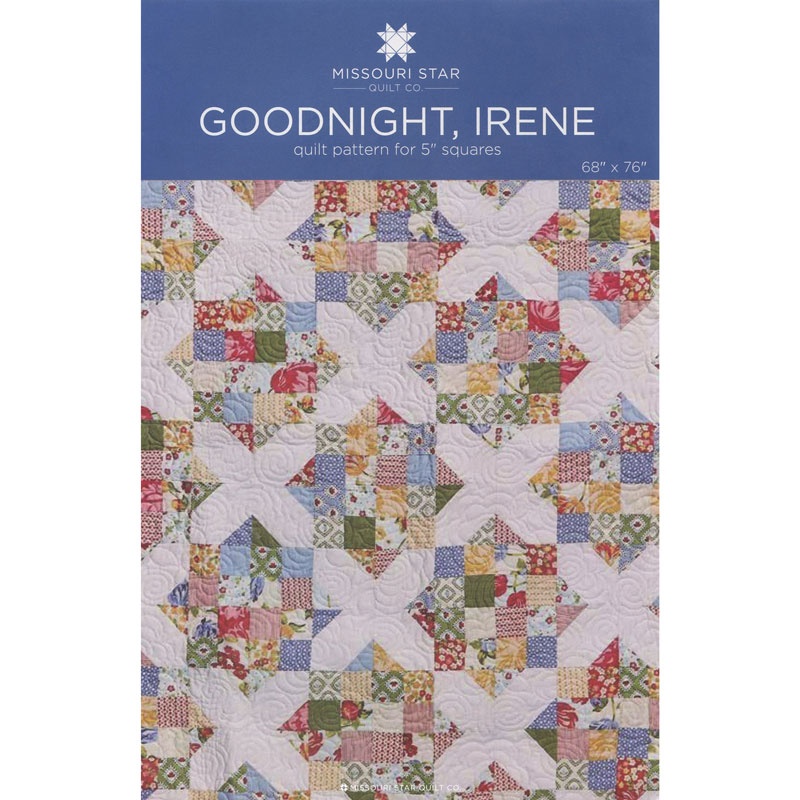 Goodnight, Irene Quilt Pattern by Missouri Star$6.95Shop →
 Digital Download - Goodnight, Irene Quilt Pattern by Missouri Star$4.95Shop →
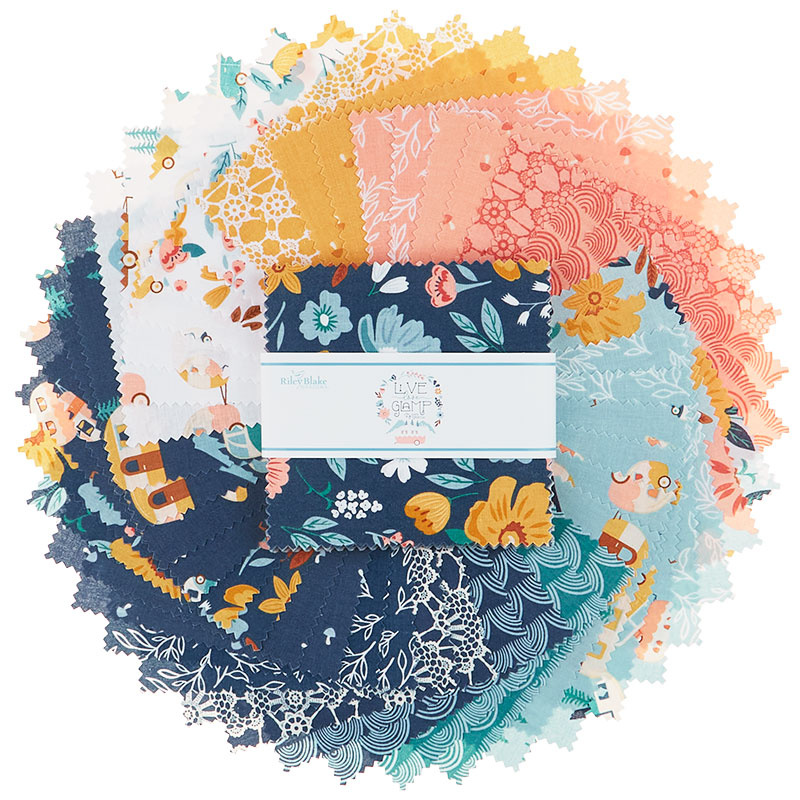 Live Love Glamp 5" Stackers$11.95Shop →
 Kona Cotton - White Yardage$7.28Shop →
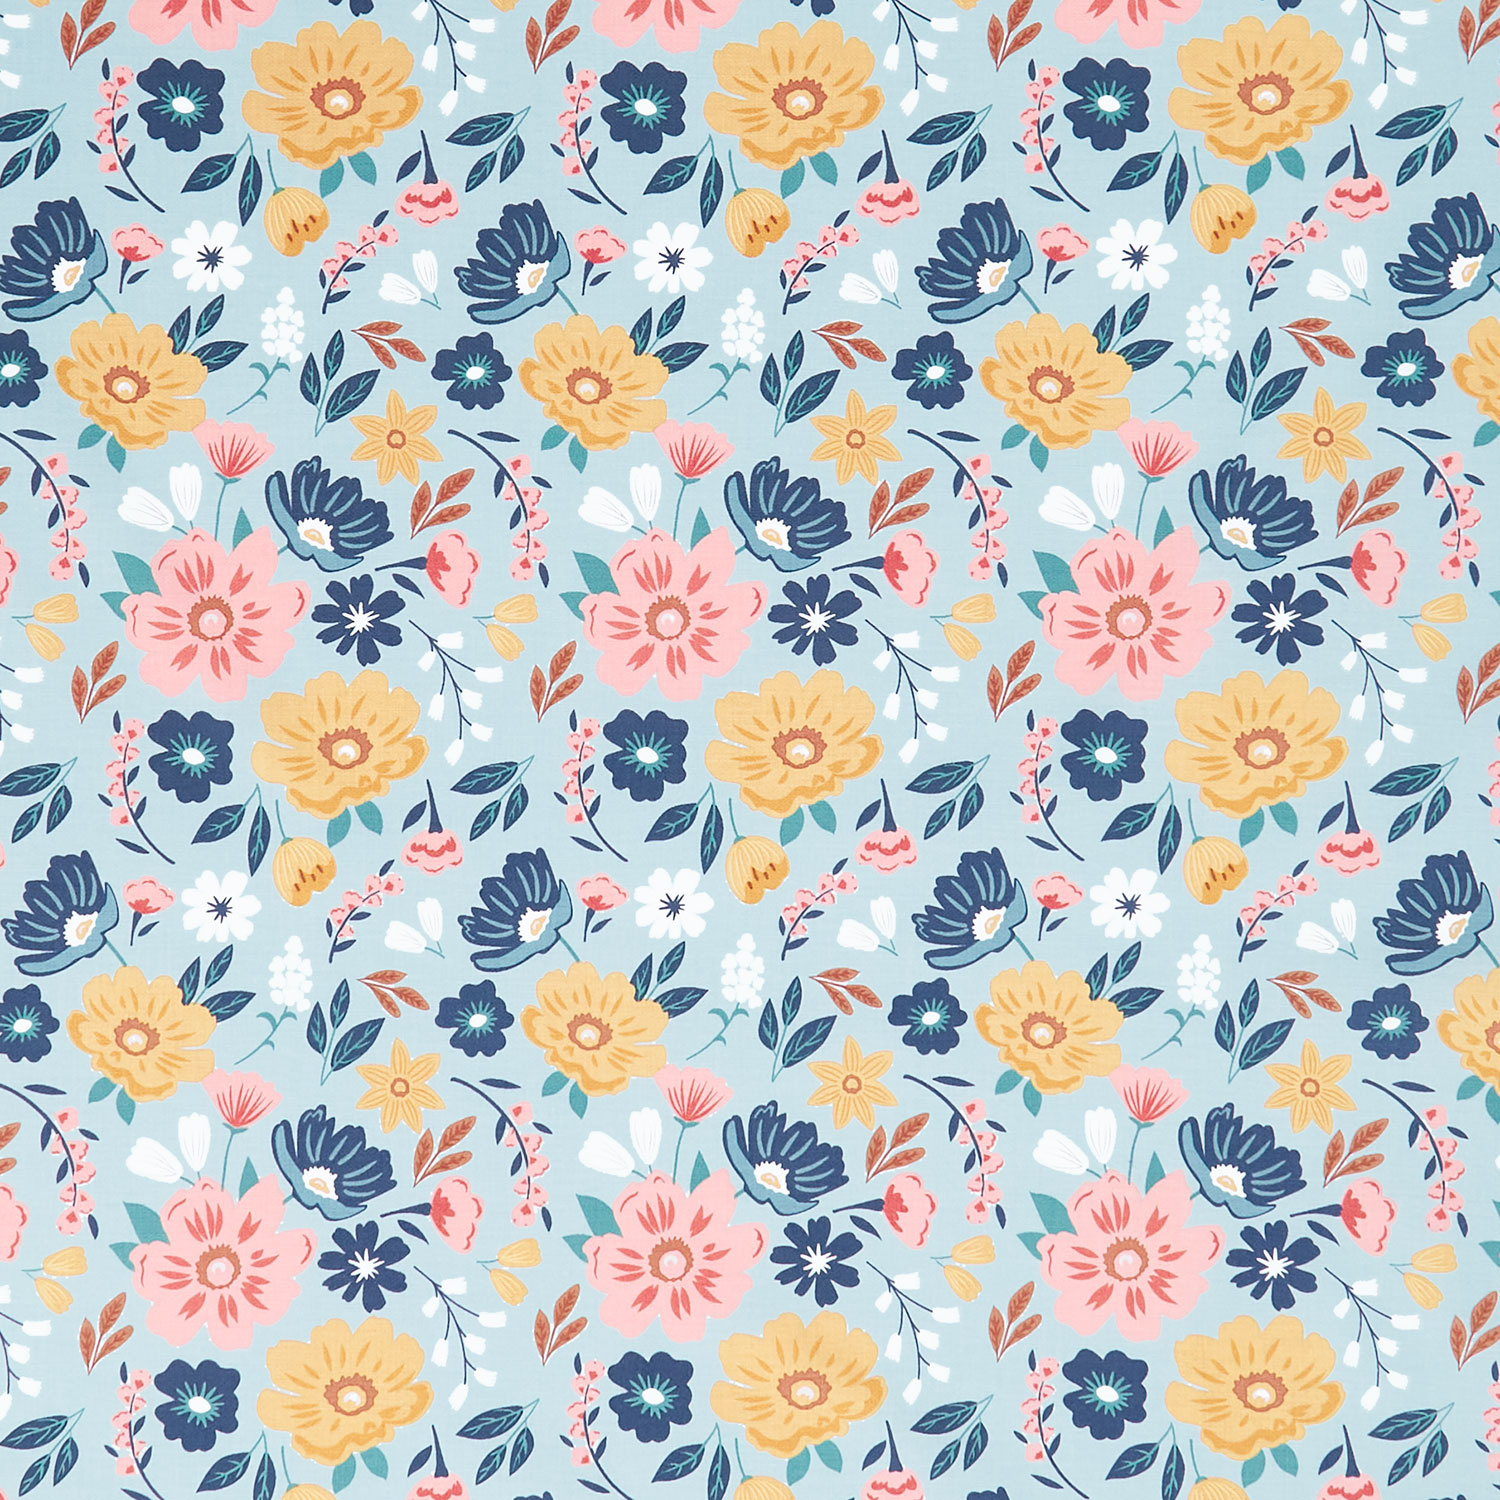 Live Love Glamp - Main Mist Yardage$11.96Shop →
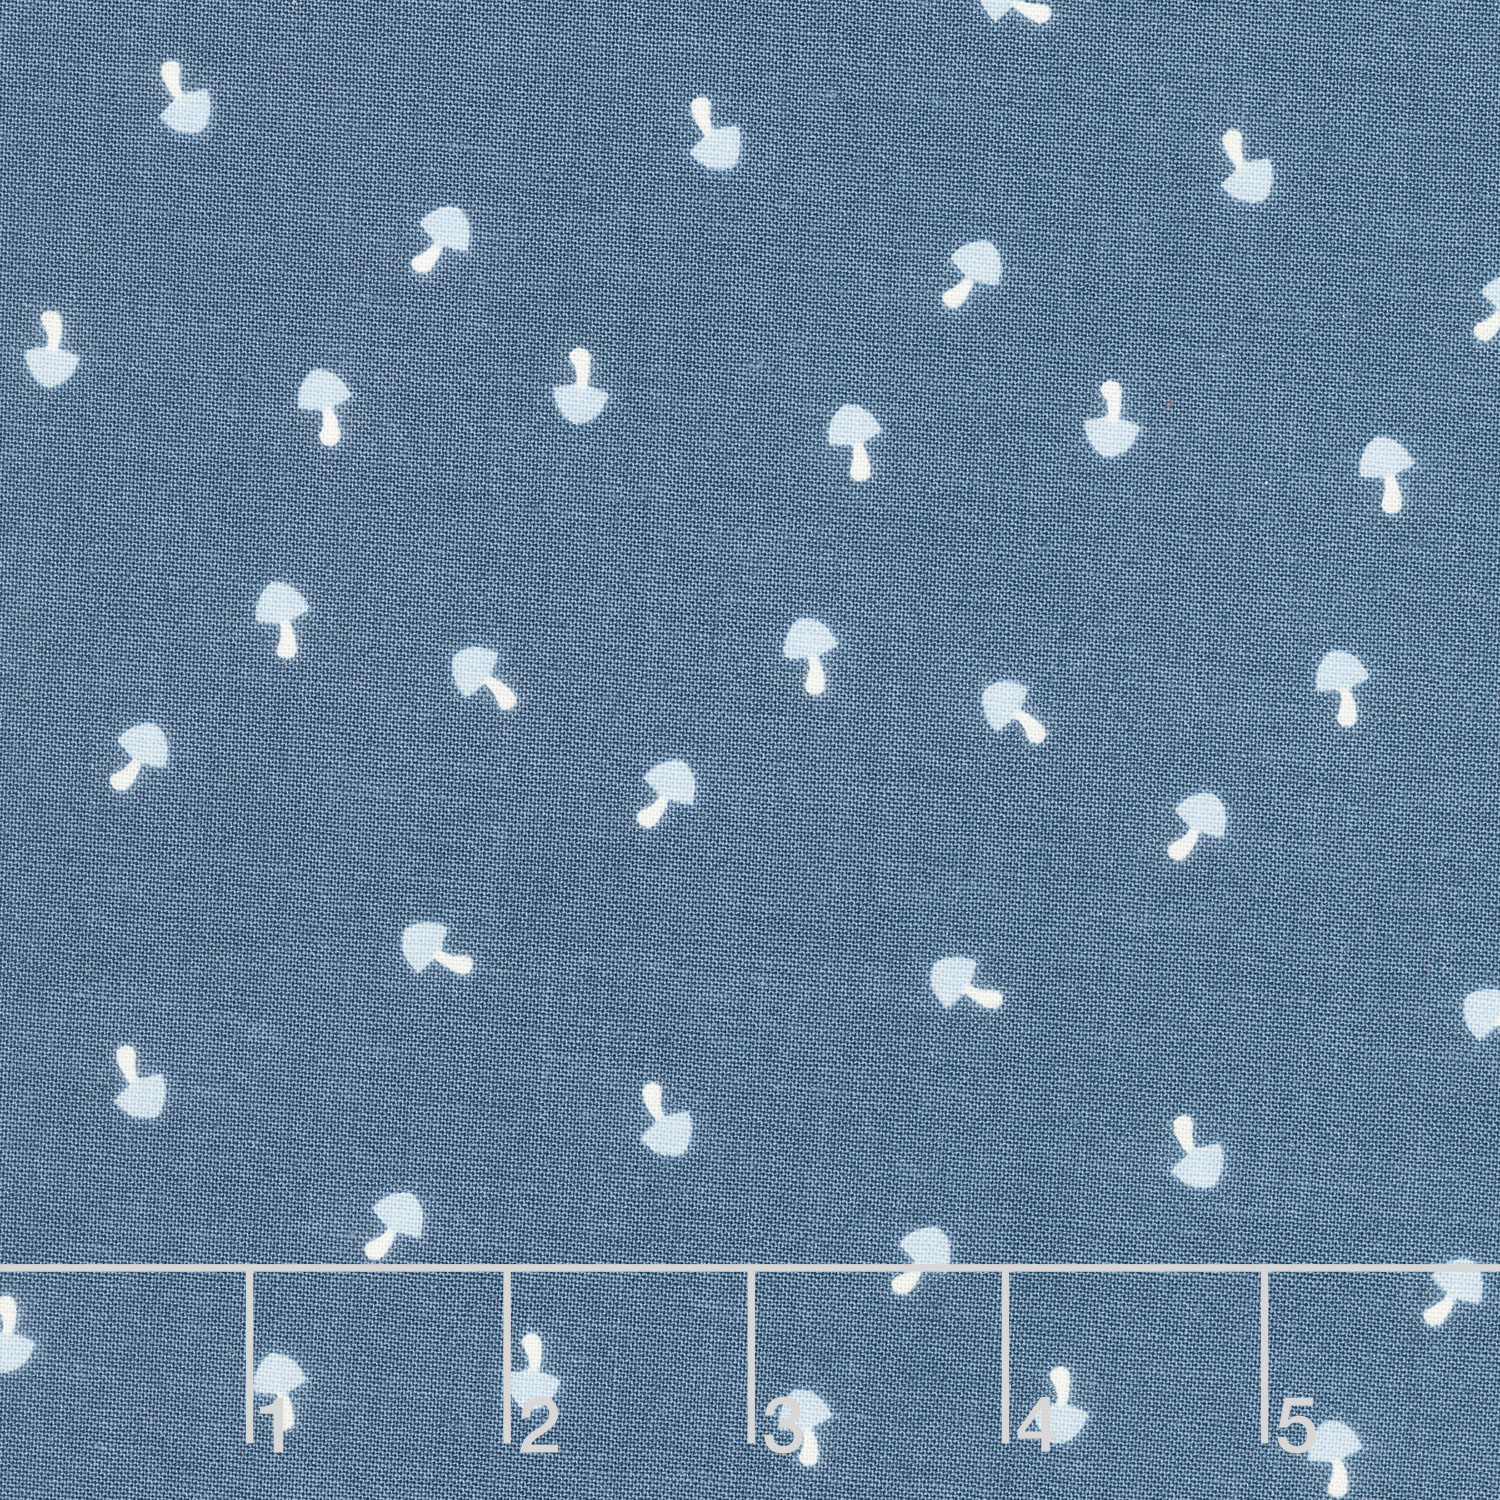 Live Love Glamp - Mushrooms Denim Yardage$11.96Shop →
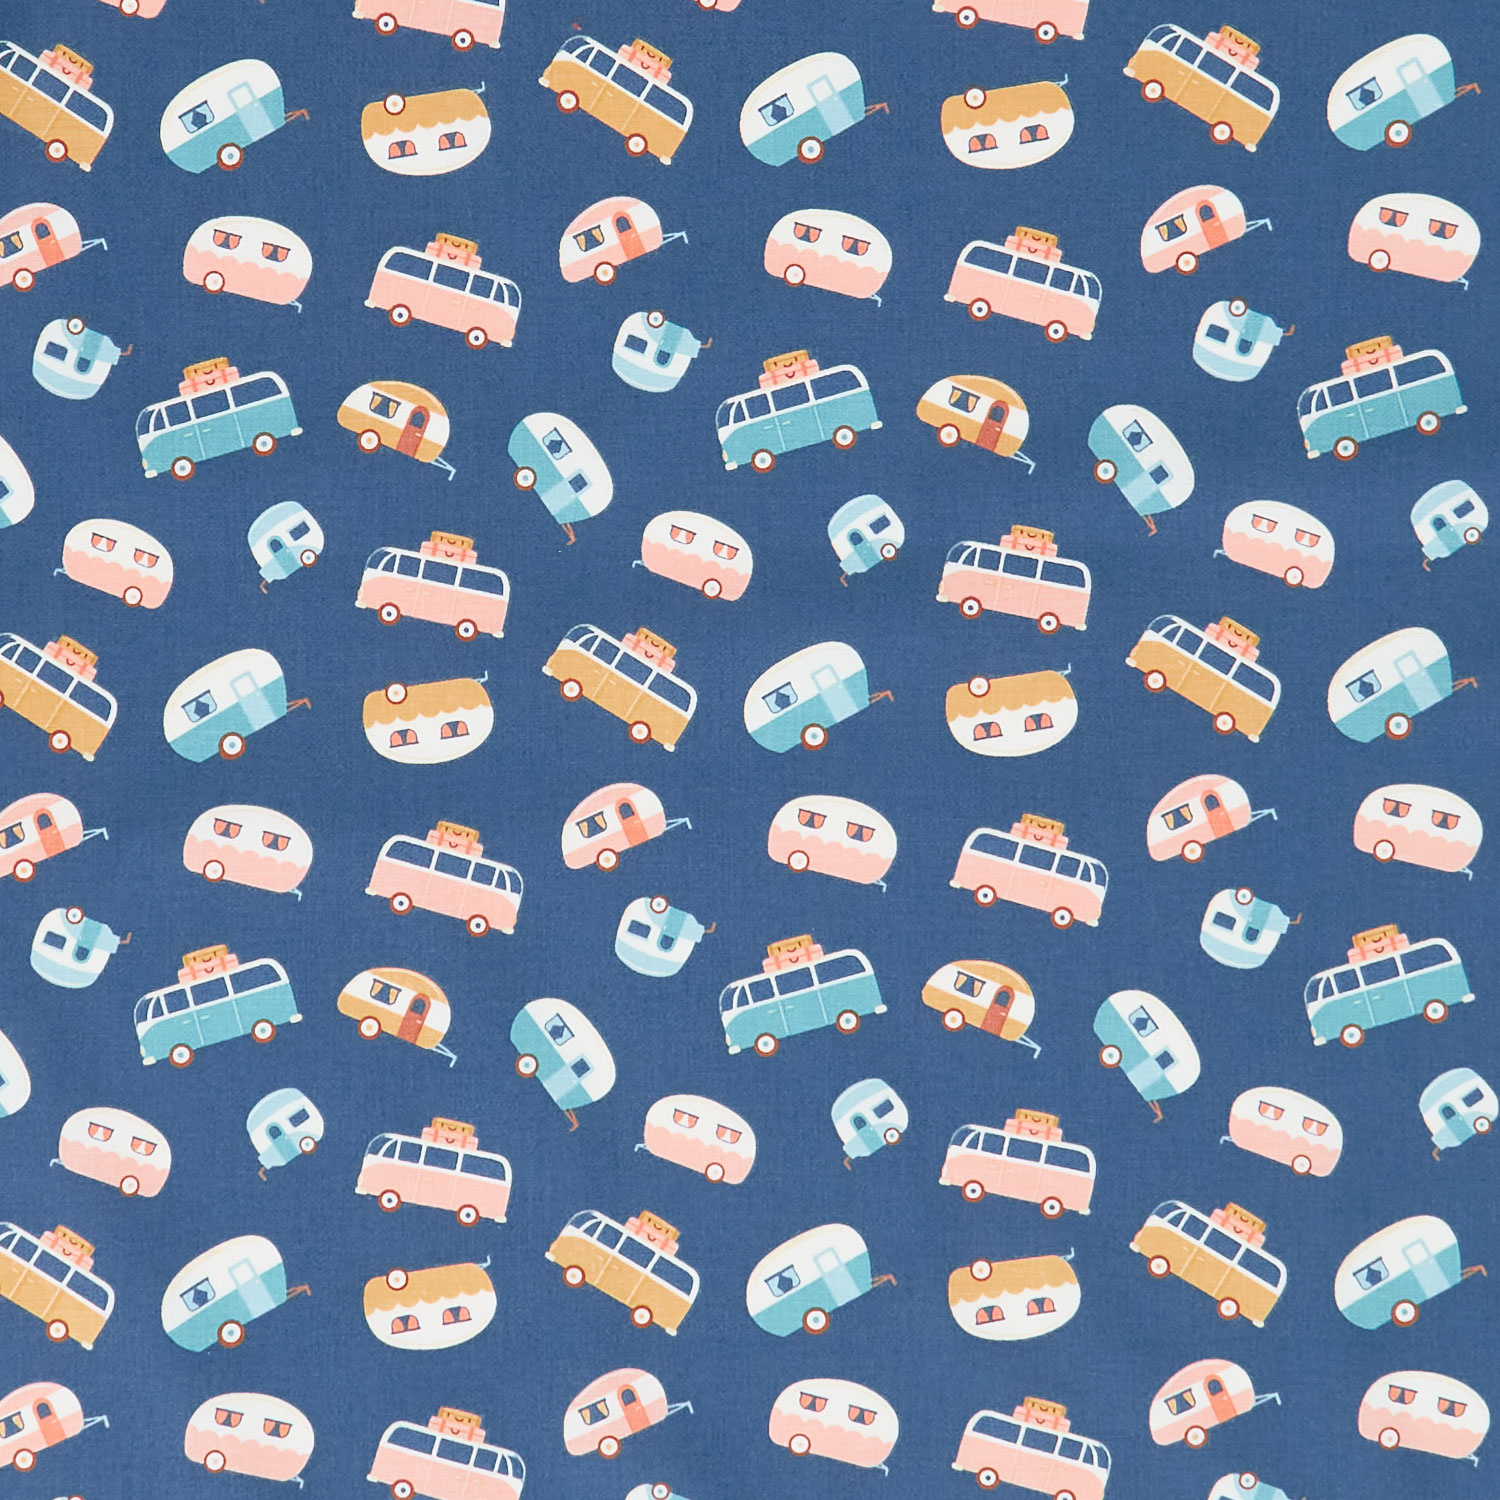 Live Love Glamp - Trailer Toss Denim Yardage$11.96Shop →
 Missouri Star Quilter's Best Blend Throw Batting$20.95Shop →
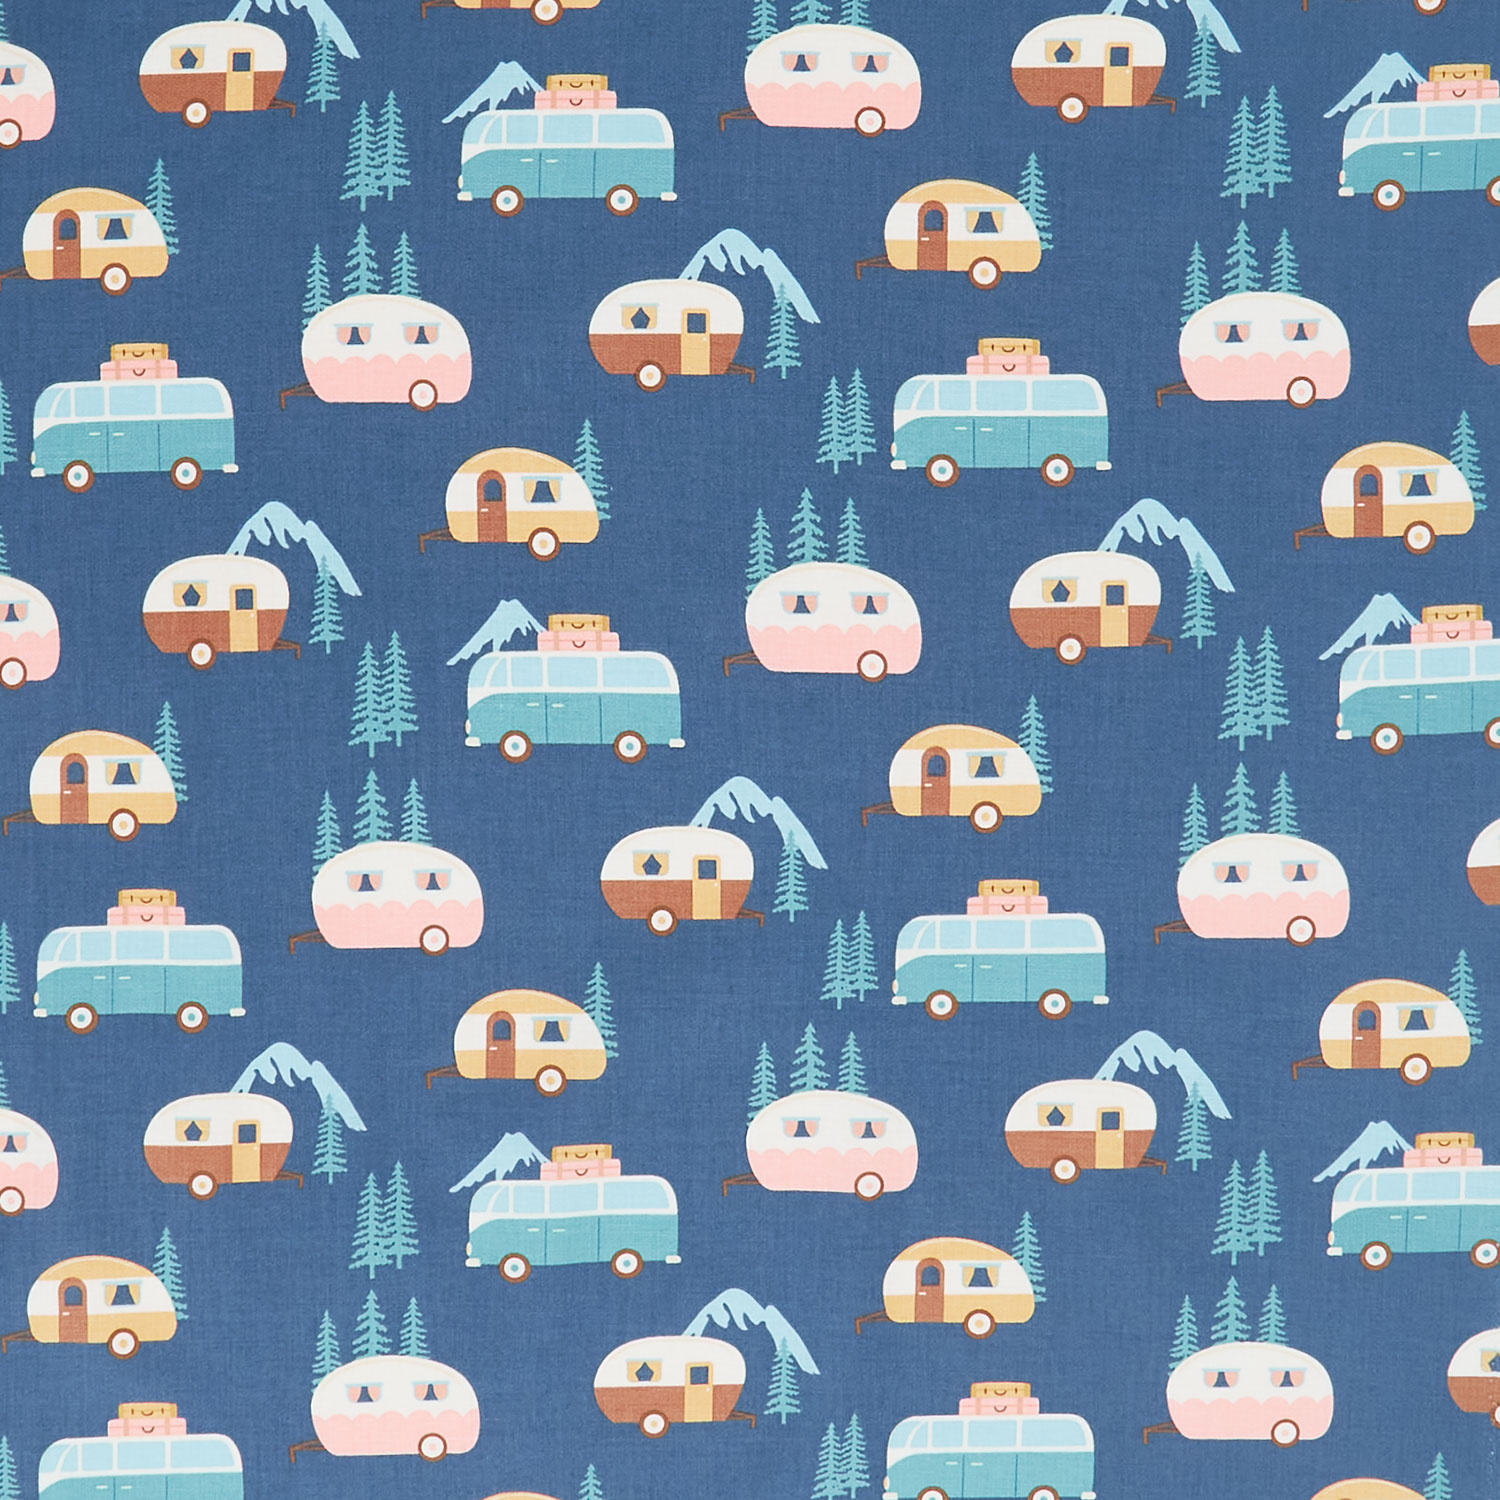 Live Love Glamp - Trailers Denim Yardage$11.96Shop →
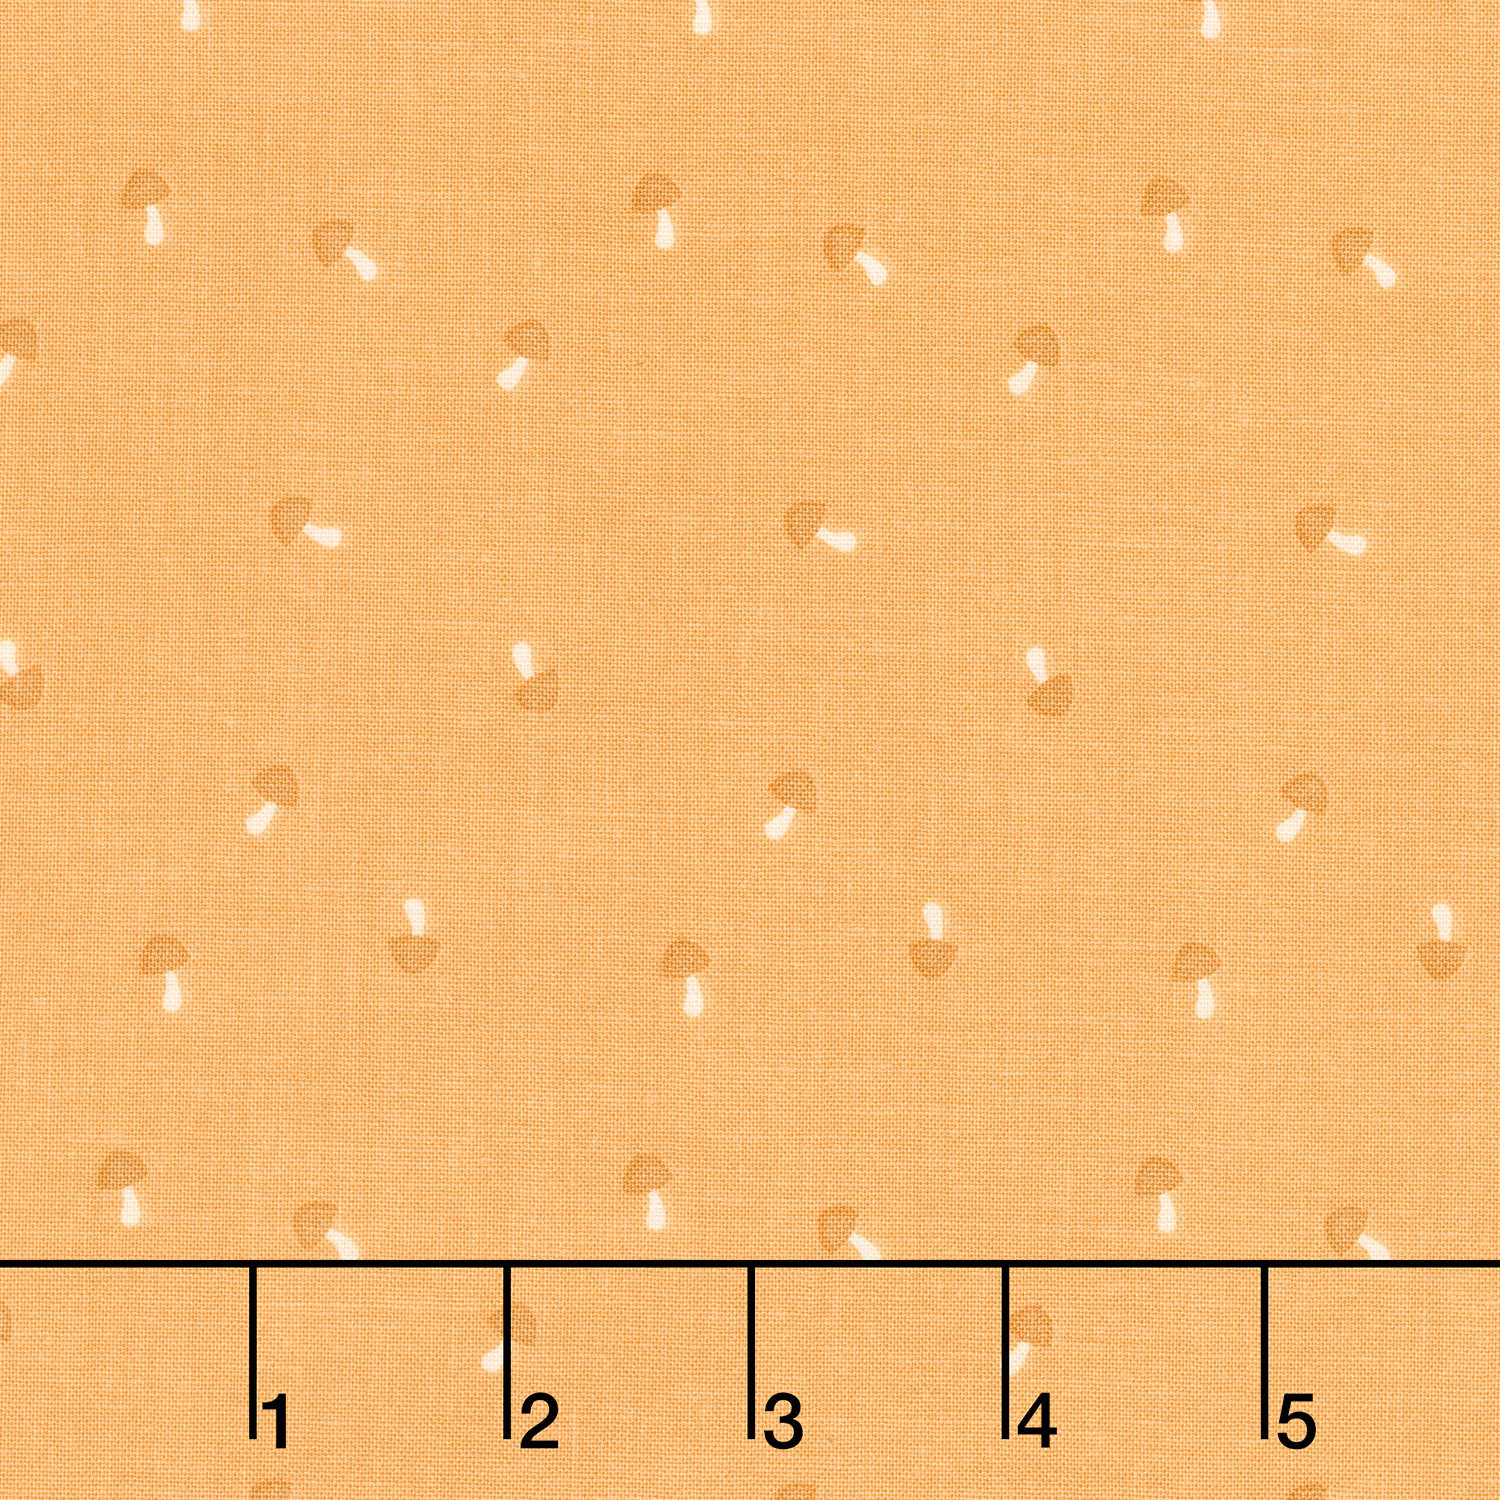 Live Love Glamp - Mushrooms Honey Yardage$11.96Shop →
Common Questions
What is covered in How To Make A Goodnight Irene Quilt + Bonus Pillowcase - Free Quilting Tutorial?
Once upon a time, Jenny spotted an intricate quilt hanging in a quilt shop. "I bet I can make this with precuts" she thought. And so she did, and it was an instant classic. 12 years later, Jenny's remaking that gorgeous quilt—with a few extra tricks she's learned along the way...
How long is the tutorial video?
The tutorial video is 00:18:54.
Are supplies listed for this tutorial?
Yes. The tutorial page includes the supplies and materials connected to this project.
Is a transcript available?
Yes. A written transcript is available on the tutorial page.
Video Transcript
These pillowcases are magical.
Jenny:
If you want to make a pillowcase, just hang in. If not, if you just want to make the quilt, you are good to go.
Hi everybody, it's Jenny from the Missouri Star Quilt Company, and I'm here today with Natalie because this is one of our favorite fifteens.
Natalie:
That's right. It's a good one.
Jenny:
It is a good one. It's called Goodnight Irene. Actually, the original name was X's and O's plus four patch. I'm a very practical girl.
Natalie:
A very old YouTube video.
Jenny:
It is a very old YouTube video. So we are bringing that back and doing it again.
Natalie:
This is fun, though. This was probably one of the quilts that blew my mind first.
Jenny:
Yeah.
Natalie:
Because I couldn't believe that it was so easy to make after.
Jenny:
It's so easy. So to make this quilt, you are going to need four packages of five inch squares or one layer cake. And we used "Live, Love, Glamp" by Dani Mogstad for Riley Blake Designs. You're going to need some background fabric, two and a half yards of this. And you're also going to need some border fabric if you choose to put a border on. This is one and a half yards for an outer border. And this is a nice big six inch border.
Natalie:
This fabric was so beautiful, we just had to use it. I love it.
Jenny:
That's what I was going to say. I really, really love it. And of course I love glamping and camping.
Natalie:
And look at this backing.
Jenny:
Look at the back. Look at the back. Isn't that cute with all those campers on it? It's just so darling.
Natalie:
So cute.
Jenny:
The quilting pattern I used on this is curly twirly flowers. It's just such a fun pattern and really, really cute and I love how it came out. And so I'm super excited to show you how to do it.
So this quilt is super easy and it's made of two blocks, the X block and four patches. So what should we do? Start with the four patches?
Natalie:
Sure.
Jenny:
All right. Now there's loads of ways to make four patches, and I just did these a little differently. I thought this was a fun way to make a scrappy four patch. So let me find them right here. All right, so the first thing we're going to do is we're going to take two of our five-inch squares and we are going to sew right down the sides.
Natalie:
Do you want me to sew?
Jenny:
On both sides. I actually sewed this one, but you can sew another.
Natalie:
Oh, okay.
Jenny:
Go ahead and sew another. So we're just going to line these up and we're going to sew right down both sides. And while you're doing that, this one is done right here. I'm going to go ahead and lay my ruler on the edge and cut this right in hand.
Natalie:
Oops. I always forget about that scissor cut feature.
Jenny:
And then I'm going to press these open. Let me get rid of some of this stuff. All of a sudden I feel real cluttered. We're going to press this open. And Natalie, if you want to cut that one in half. I licked my finger and talked at the same time. That is talent right there.
Natalie:
Those skills.
Jenny:
Those skills. All right. So you can see right here we have a piece like this, and what I've done is I've sewn them end to end to end. And so I'll just add this one.
Natalie:
So that's how it looks when you get a whole bunch.
Jenny:
Yep. This is how it looks when you get a bunch of these half pieces. And I'll show you why this is a fun way to make four patches at the same time. Oops. Now see, I did these together and that should not happen. So we're going to work from the other end because I would have to take that apart.
Natalie:
Do you want to pick that out?
Jenny:
You sure can. All right. So what we're going to do here is we're going to start, and we're going to cut two and a half inches off of this end right here like this. Then we're going to fold this back like this. And we are going to line this up right on the edge again. We're back to two and a half, and so we're right on the edge. And then every time you do this, you get a scrappy four patch that looks completely different. And so it's just a fun way to make four patches. There's loads of ways to make them. And we are just going to come along here and make a few.
Natalie:
Press these for you.
Jenny:
Sure. We need four of these-
Natalie:
They're so cute.
Jenny:
... for our 16 patch. Well, this is a darling line of fabric, for one.
Natalie:
They are.
Jenny:
And we're just going to keep doing that and just lay it over and cut from the edge. And that gives you-
Natalie:
So many options.
Jenny:
... your four patches. Yeah. And so you have lots of options. So then we're just going to put four of these together. And because we've hooked them all on there in a scrappy order, then they come out all different. And because you don't want to match them up, you want them to be different. So we've got these and-
Natalie:
Oh, let's put that right there.
Jenny:
Perfect. So now we'll sew this together as a four patch. Do you want to sew, Nat?
Natalie:
Sure.
Jenny:
All right. So go ahead and sew these together. And this will make our 16 block.
Natalie:
Okay.
Jenny:
And you can see right here, this is where this goes in this quilt right here. That's our 16 block right there. We're just going to sew this together a quarter of an inch from the edge. Match up your little center seams, and if you chain piece like this, then you have it thread pinned, I like to say.
Natalie:
As long as they look good. Is that okay or do we-
Jenny:
I think that looks great.
Natalie:
Do we care? Okay.
Jenny:
No, I think that's great.
Natalie:
All right, then.
Jenny:
Yeah, so don't go too crazy worrying about-
Natalie:
What fabrics are close.
Jenny:
... what fabrics are close to each other because when you get it in a whole quilt, it's not going to matter. Just relax about it. I don't let two of the same together. I would take that apart for sure, but as long as there's some difference to them, it'll work just fine. Yep. That looks great.
Natalie:
I hope so.
Jenny:
Good job, Nat. So here's our 16 patch. So now for the X blocks we're going to take, and we're going to cut four and a half inch strips out of our background. And I just have this one little strip right here, and I am going to, I'm actually going to have to square up this strip a little bit. So let me just trim this side right here. And then we're going to turn this. Now the squaring up isn't going to matter too much because we're cutting them, sub-cutting them into four and a half inch squares.
Natalie:
Perfect.
Jenny:
And so what I'm going to do here, I'm going to cut off my salvage edge and the fold, and of course line this up so it's nice and straight. And we just need four of these for each block. So four, four and a half inch squares. All right. So once you get your squares all cut, now what we're going to do is we're going to take some of our charm packs and we're going to cut them in half, both directions, to make two and a half inch squares. And I'm going to go ahead and put two on each one of these. So we'll have one here and one here.
Natalie:
Just opposite corners.
Jenny:
Yep. And we're going to sew diagonally. So we can draw the line or we can use our diagonal seam tape.
Natalie:
There's a pencil up there if you want it.
Jenny:
So here's our little line right here, and then we'll draw this one. And you can use your diagonal seam tape, as well, on that. And you're going to sew right on the line. So I'll get these lined up for her and we're going to do four blocks that have two snowballs on them.
Natalie:
So, so easy.
Jenny:
I have to pick and choose all the-
Natalie:
Do we need to do all four?
Jenny:
Well, we don't have to, but it takes four to make a block. Actually, I have a couple right here. Wait, I have a couple right here. I have one done right there. So you only need to make three.
Natalie:
Three. Okay.
Jenny:
All right. Let me clip one of these off.
Natalie:
Okay.
Jenny:
Once you get your two squares on either side done, you can trim off your corners like this, and you trim to the outside of the line. And then we're going to press those open and put four of those together. And here's one more.
Natalie:
Nice. These are so cute.
Jenny:
And these are just little-
Natalie:
I can't get over how fun this fabric is. There's these cute little mushrooms on this one.
Jenny:
I know. I love it. All right. So now what we're going to do is we're going to put these together and make this X block right here. So I'm going to clear this space a little bit. And so when you do an X block, you put color to color and white to white together. And so we're going to make sure that all of our little pieces are different, so I don't have the same fabrics coming together. And we're going to make a little four patch like this, and you'll want to try to make sure that this little point here matches up. But I'm sure I have a few that aren't perfect, so I don't worry about that too much. But they should stay pretty close to a four and a half inch square, and you can always square them as well. And then the really fun part on this is the layout.
I'm sure she loves that I'm just standing here watching.
Natalie:
No pressure.
Jenny:
No pressure. Here we go. And once you master these two simple blocks, you can actually make this quilt. So let me show you how the magic happens because as we lay it together, let me go ahead and grab some of these. You're going to see what happens here. And we're going to start up in the corner. We have our four patch. That's our first one. So we'll put a four patch here, and then we'll add the X block. Now, do you see what's happening here?
Natalie:
So cool.
Jenny:
With the X block coming out and it's the same. So if we put the four patch here and the X block here, pretty soon all four of these, let me show you this one right here. We'll get over here. We'll do a nice little layout for you like that.
So do you see how that's happening and it comes out? Now, the only thing I did that other than this right here is this outer border. I added this outer border because I wanted these half squares, because you'll see if I put this up here, this is a half of a diamond right here and I wanted that diamond to finish. So what I did was I did the same thing I did with the X block, but I only added this little two and a half inch-
Natalie:
The snowball to one-
Jenny:
... snowball to one corner. And so then when you sew them together, this is how they go. And so it just finishes up-
Natalie:
That's really cool.
Jenny:
... the top of your block to do that. And so this is what in the pattern they call the first border.
Natalie:
Yeah, the pieced border.
Jenny:
And in the pattern there's actually no second border. We've just bound it. But I love this fabric and I wanted to add the border on.
Natalie:
So it's optional.
Jenny:
It is optional, but it makes a quilt that is about 56 by 64, and once you add that border, you're going to add about 10 inches to both of those sizes.
Natalie:
Yeah, I think it's 64 by 75.
Jenny:
Yes, it gets a little bigger. Now whenever I see this kind of fabric, glamping fabric, what comes into my mind right away is, I want to make a pillowcase. I just have to make a pillowcase for my camper. Isn't this so cute? I have a super great tutorial on how to make these easy pillowcases, but I do have the stuff to make them right now.
Natalie:
You're going to run through it right now?
Jenny:
You want to do it?
Natalie:
Sure.
Jenny:
We can. All right.
Natalie:
These pillowcases are magical.
Jenny:
If you want to make a pillowcase, just hang in. If not, if you just want to make the quilt, you are good to go. All right. So this piece right here, this body of the pillowcase is three quarters of a yard, so that's 27 inches. And you're going to lay that facing up. But first we have to lay the cuff. I forgot. I got out of out of line a little bit.
Natalie:
So your cuff is how wide?
Jenny:
Your cuff is the width of the fabric. So it's just nine inches by the width of the fabric. Let me move all this stuff out of the way. So we've got that right here. And then we're going to lay the cuff. So nine inches wide by the width of the fabric. And I cut off the salvages. So this one-
Natalie:
When you cut your salvages off, do you line up all your fabrics so that they're the same and cut them at the same time?
Jenny:
That's a really good idea, but I did not, no. I just line up.
Natalie:
How do you get them the same length then?
Jenny:
They're not the same length. They're all a different length. Whoops. I'm doing this wrong again. So this one, they all go right sides up. So you can just start at one end, and then I just trim the other end when I'm done.
Natalie:
Oh, okay.
Jenny:
That's what I do.
Natalie:
Okay. All right.
Jenny:
It's just because I'm just, I just do it that easy way. And then I took a two and a half inch strip, and you're lining all your little seams up like this up at the top. They all line up and see, this is going to hang over a little bit there. Then you take this big piece right here, and you're just going to fold this and you're going to fold it again, and you're going to fold it again, and again, like this till your cuff peaks out.
Natalie:
And you want to make sure it doesn't get up close to that, this edge, because this is the seam, right?
Jenny:
Right. So then you're going to take your cuff and you're going to bring it around.
Natalie:
Do you need a pin?
Jenny:
I'm going to need several pins. And we're going to pin this down right here. And so you're just going to go along and make sure that you catch all those layers in here. And Nat, you can pin that side if you want. Here we go.
All right. So this right here. Let me just pin this to together. And I just kind of straighten up my sides after I'm done. It would be a smart thing to measure them and do all that, but that's just not me.
Natalie:
All right.
Jenny:
All right. So now-
Natalie:
You want to sew it or do you want me to?
Jenny:
Oh, I can sew it for sure. All right. So now we're just going to sew down this side. You can stick these back. And Nat, this is such a great way to make a pillowcase. It's quick and it's easy and it looks very professional if I do say so myself.
Now what we're going to do is, we're just going to, like a magician, pull this middle part out right here. We're just going to roll this back on itself like this. Keep pulling it out of there and just look.
Natalie:
It's so weird that that works.
Jenny:
I know. So then what I do is I press this back down. So press this whole back. Don't worry about what's happening on the front, just press the back.
Natalie:
All right.
Jenny:
And so that seam goes nice and flat. I'll move this so you can make sure and see what she's doing.
Natalie:
So you don't actually worry about the front, huh?
Jenny:
No, I do the back first.
Natalie:
Okay.
Jenny:
And then I turn it over.
Natalie:
All right. I'm trusting you.
Jenny:
Because I want to make sure that it's as far up to the top on the back as it can be.
Natalie:
Okay.
Jenny:
And all the seams are inside, so it's very, very fun. And then we're going to flip it over and see how this cute, you have this cute flange. And then what you're going to do is just again, press this up.
Natalie:
Okay.
Jenny:
So keep your flange straight, but press that part up. So this is a nice crisp fold on the edge of your cuff.
Natalie:
Okay. Got a little ...
Jenny:
And then this is where I clean up those sides.
Natalie:
All right.
Jenny:
So I have it sticking out a little bit right here. So I will just take this and trim it to match the body of the pillowcase. And this one needs a little bit of trimming right here. Let me just match that right there.
And then basically all we do now is line this up and we're going to sew straight down the side like this and across the top, and you get a pillowcase. Now you can, there's several ways you can do this. You can do this with, I actually like to come across the top of this first. But you could surge the edges, you could zigzag the edges, you could do french seams with it so you have no open seams. But most of us, I would say probably 99% of us, have never looked inside our pillowcases to see how the seams were done. So I don't worry about that too much. So I sew across the top and then I sew down the side. And I generally start from the bottom because I want this little cuff to match up right here. And so I'm going to take that and line that up.
All right, so now we're just going to turn it right side out.
Natalie:
And it's going to be so cute.
Jenny:
And see that lined up pretty good. And then you've got this darling pillowcase that's just so quick and fun. And this camper fabric, who can resist it?
Natalie:
Cute.
Jenny:
Yep. Look at that. Matching-
Natalie:
Multiples.
Jenny:
Matching pillowcases for the camper. Here we go.
Natalie:
They're so fun.
Jenny:
Aren't they fun? It was fun having you here today. This is one of our favorite fifteens and we hope you enjoyed the tutorial on Goodnight Irene from the Missouri Star Quilt Company. See you later.
Hi everybody, it's Jenny from the Missouri Star Quilt Company. We hope you enjoyed watching this video. If you aren't already part of the Missouri Star Quilt Company family, be sure to subscribe so you won't miss a thing. And if you click that bell, it'll notify you every time a new tutorial comes out. See you next Friday.


