
How to Make a Hoppy Easter Table Runner - Free Project Tutorial
 Misty Doan
- Charm Pack
- Holiday
- Table Runner
- Beginner
- Quilt size 13" × 43"
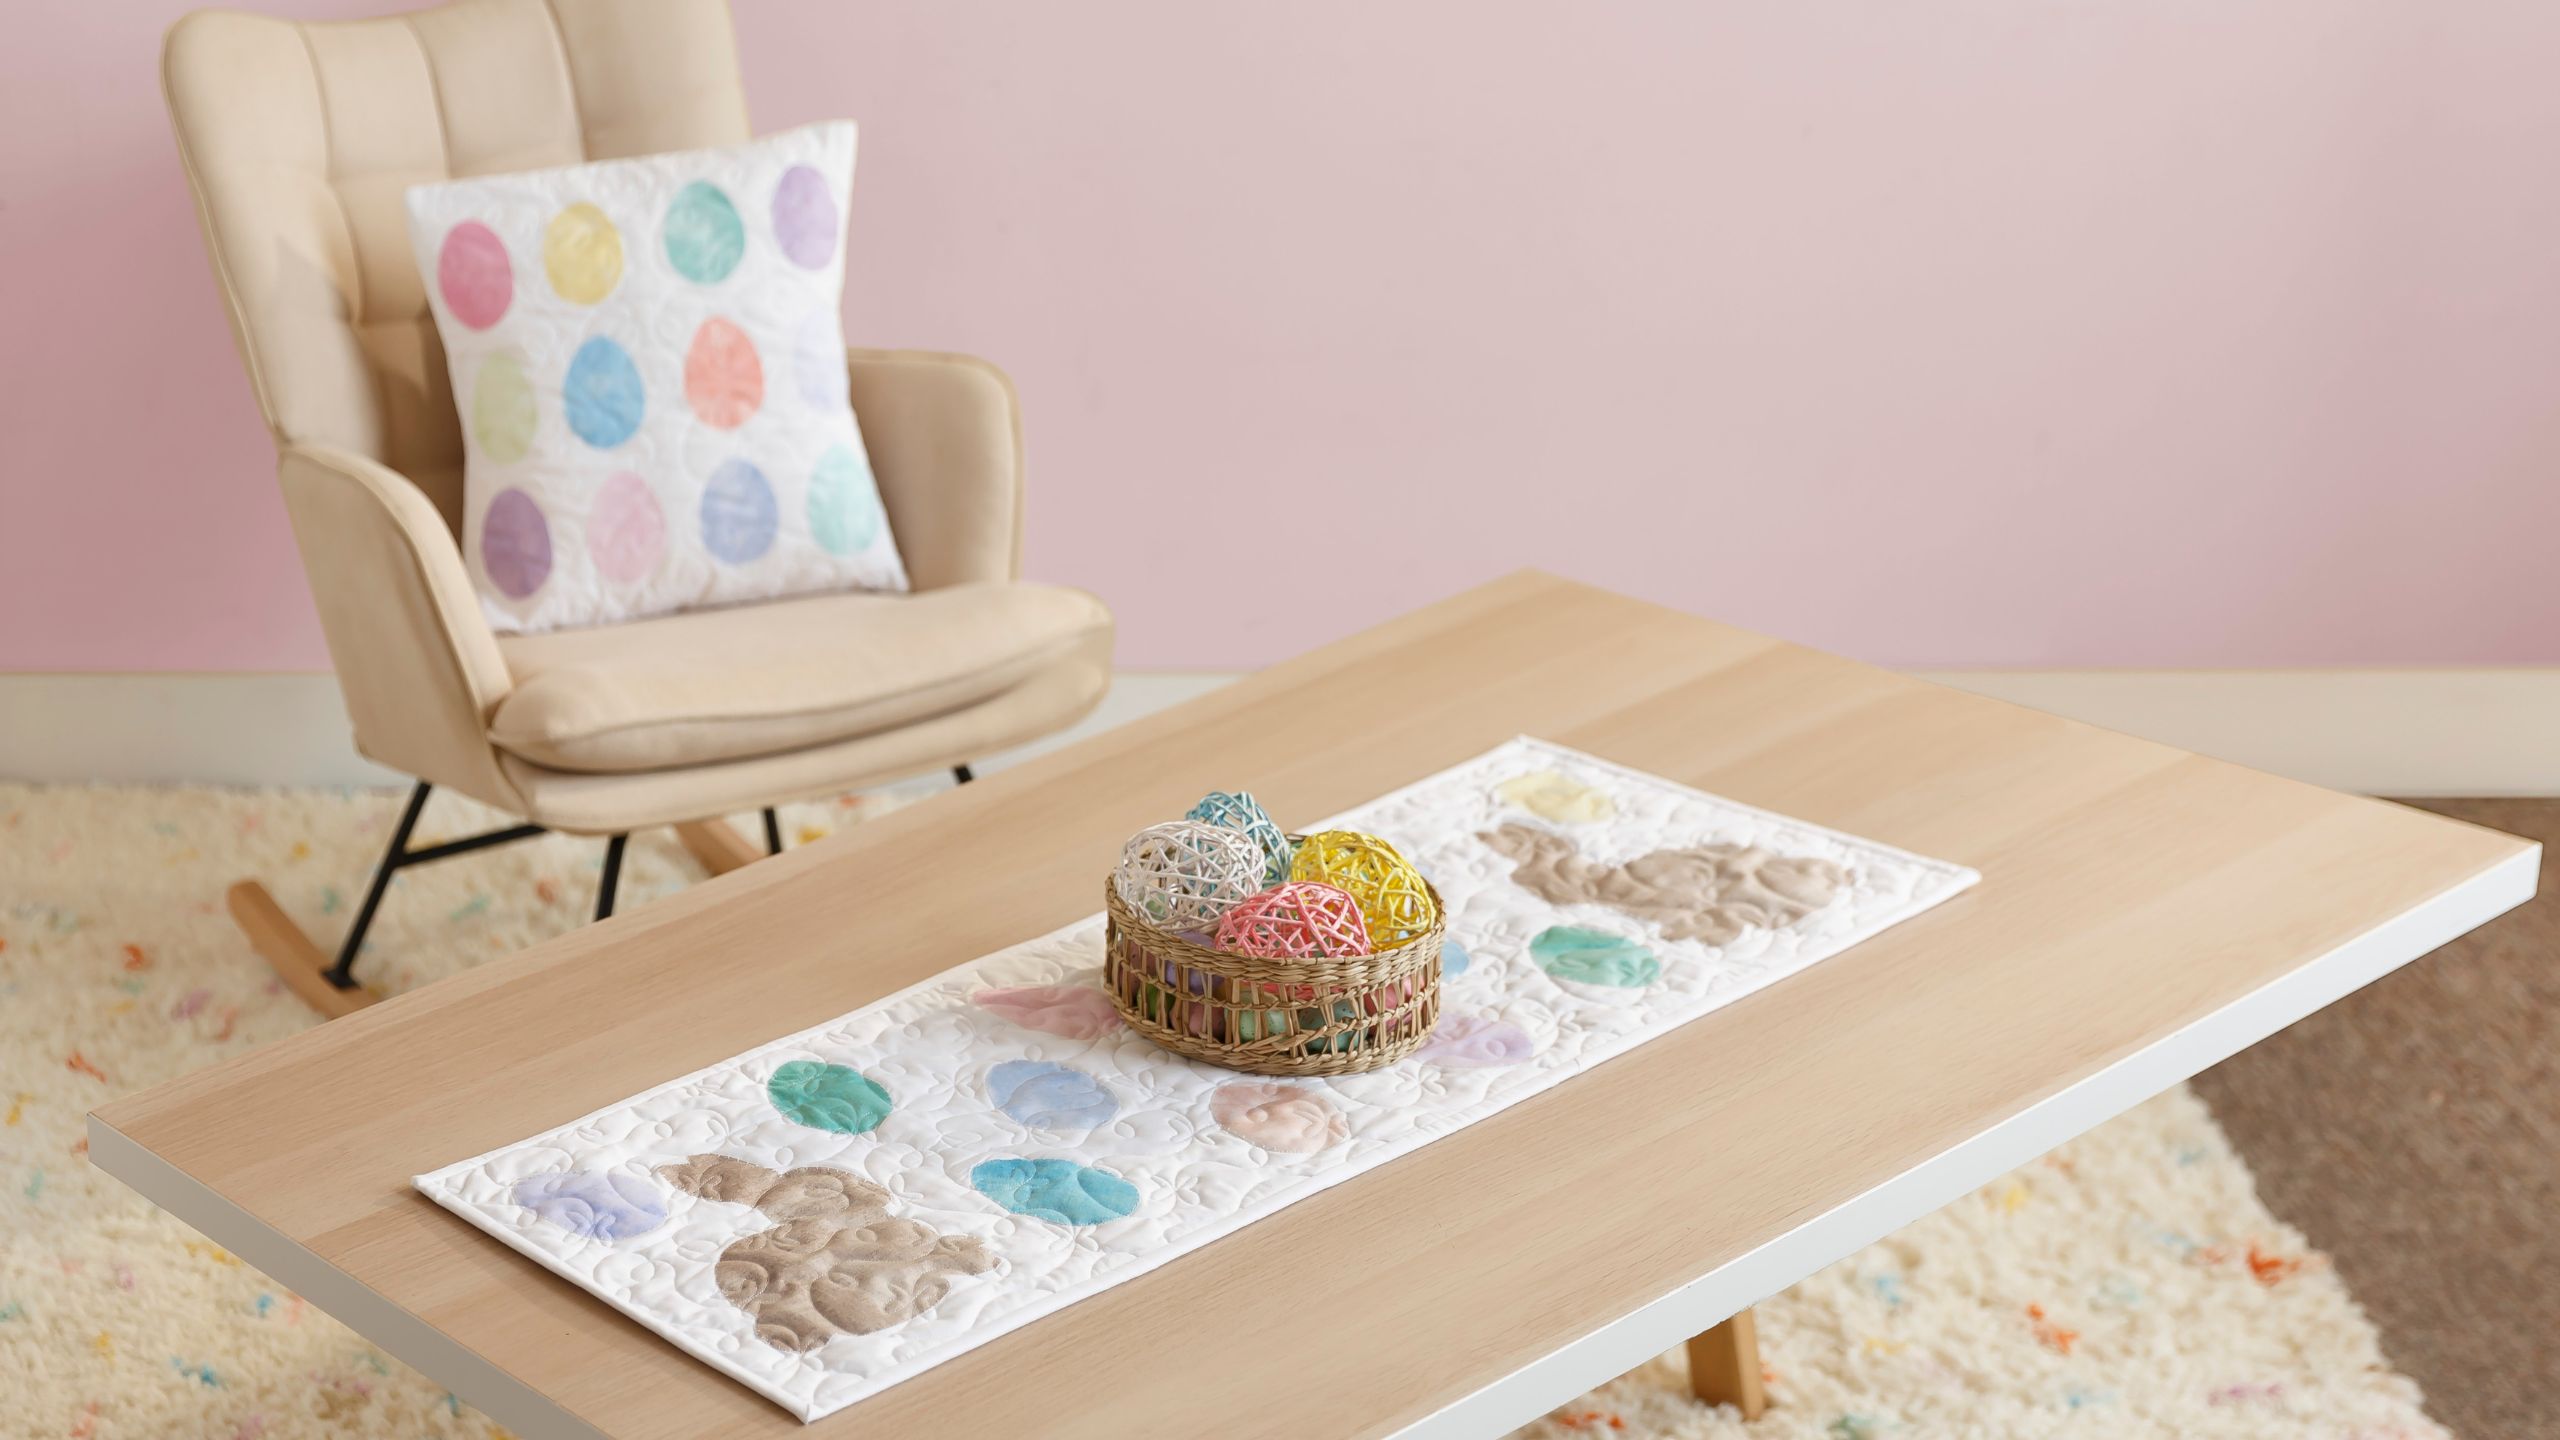
Live hoppily ever after with this cute table runner! Follow along with Misty as she sews up the Hoppy Easter Table Runner. Using the Dry Brush Soft Dawn fabric collection from Wilmington Essentials, this adorable table runner features bunnies and many Easter eggs. Get to sewing and have a hoppy Easter!
Instructor
Misty Doan
Misty Doan grew up surrounded by sewing and quilting. She loves spending time sharing tutorials each week each week, and when she’s not stitching up one of her fun sewing projects for home decor, most likely you’ll find her hanging out with her husband and three awesome kids or working on a house project.
Shop this tutorial
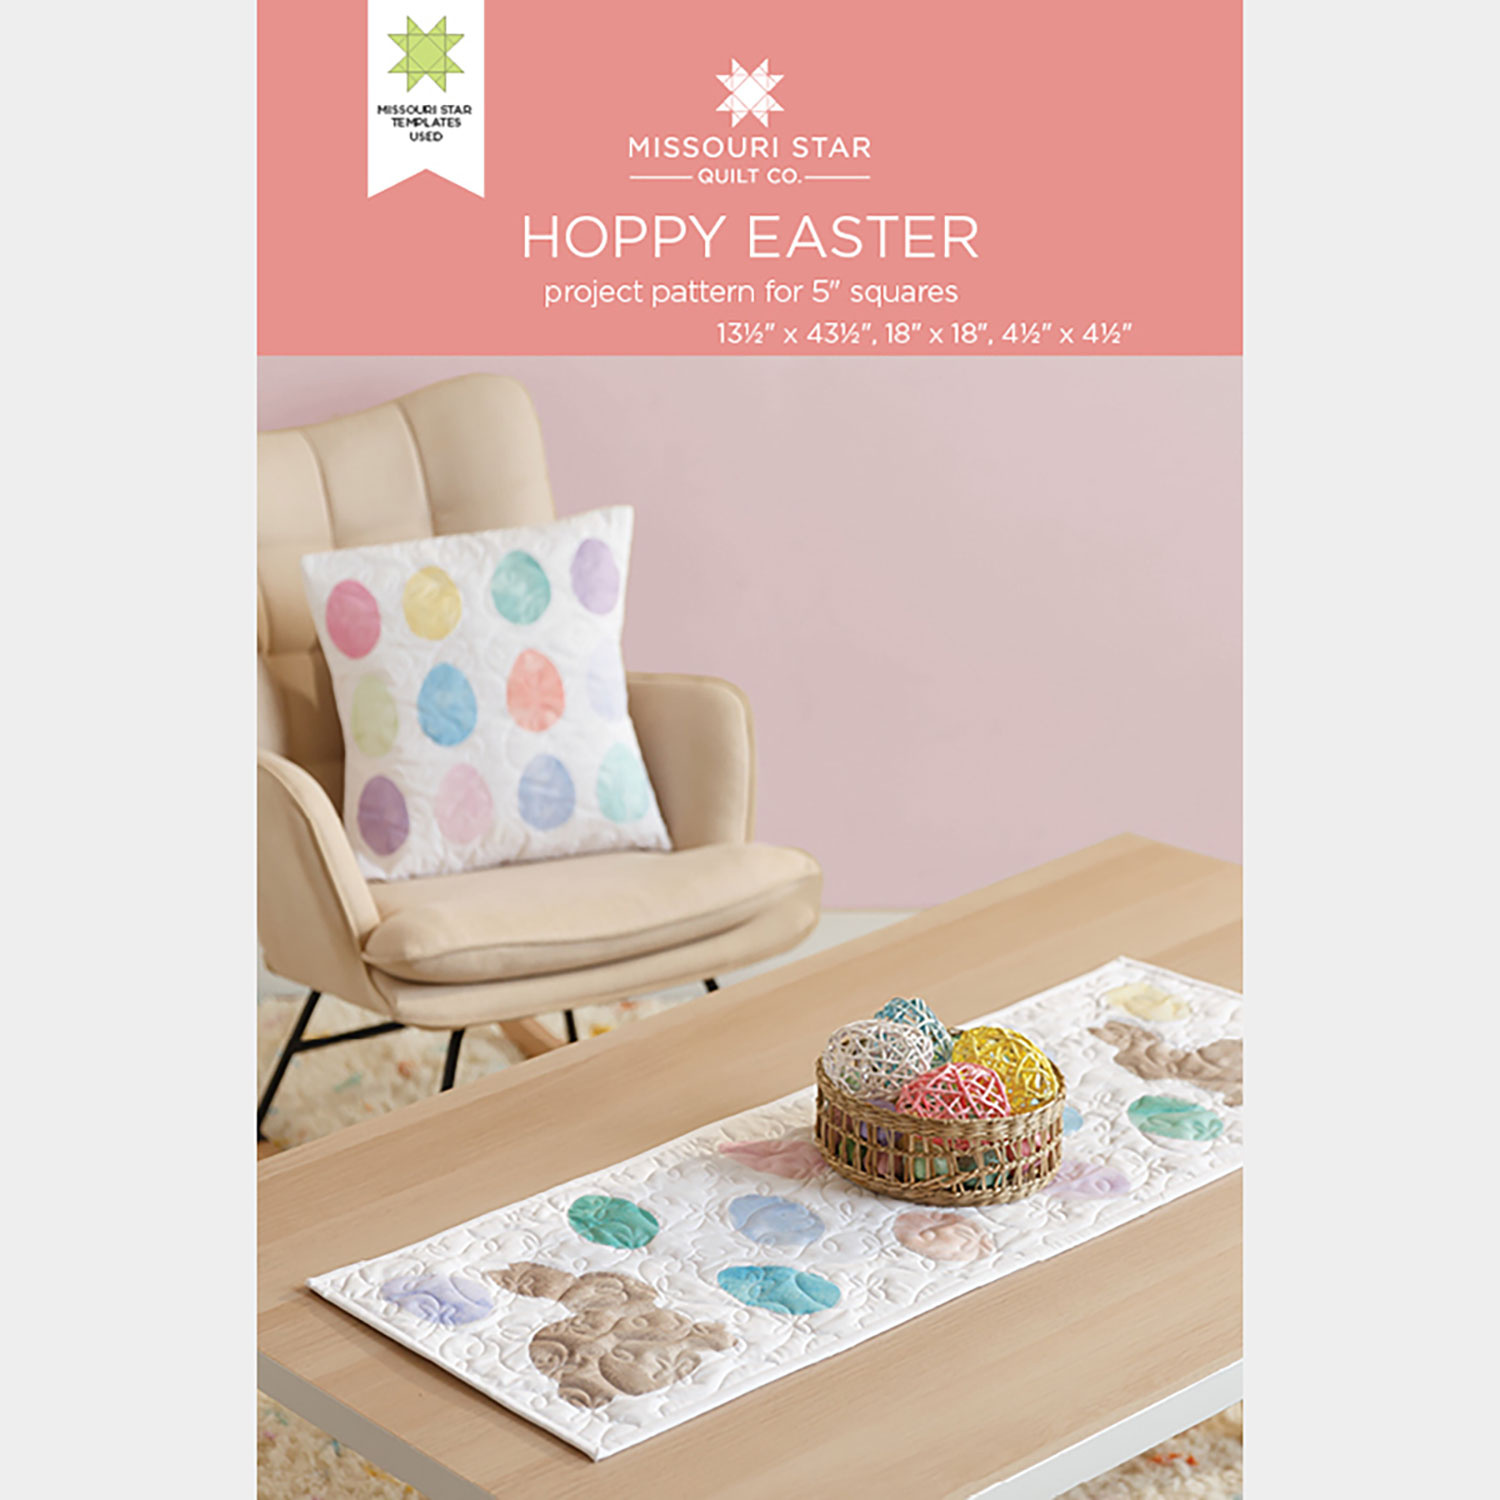 Hoppy Easter - Table Runner, Pillow and Coaster Pattern by Missouri Star$8.50Shop →
 Digital Download - Hoppy Easter - Table Runner, Pillow and Coaster Pattern by Missouri Star$6.95Shop →
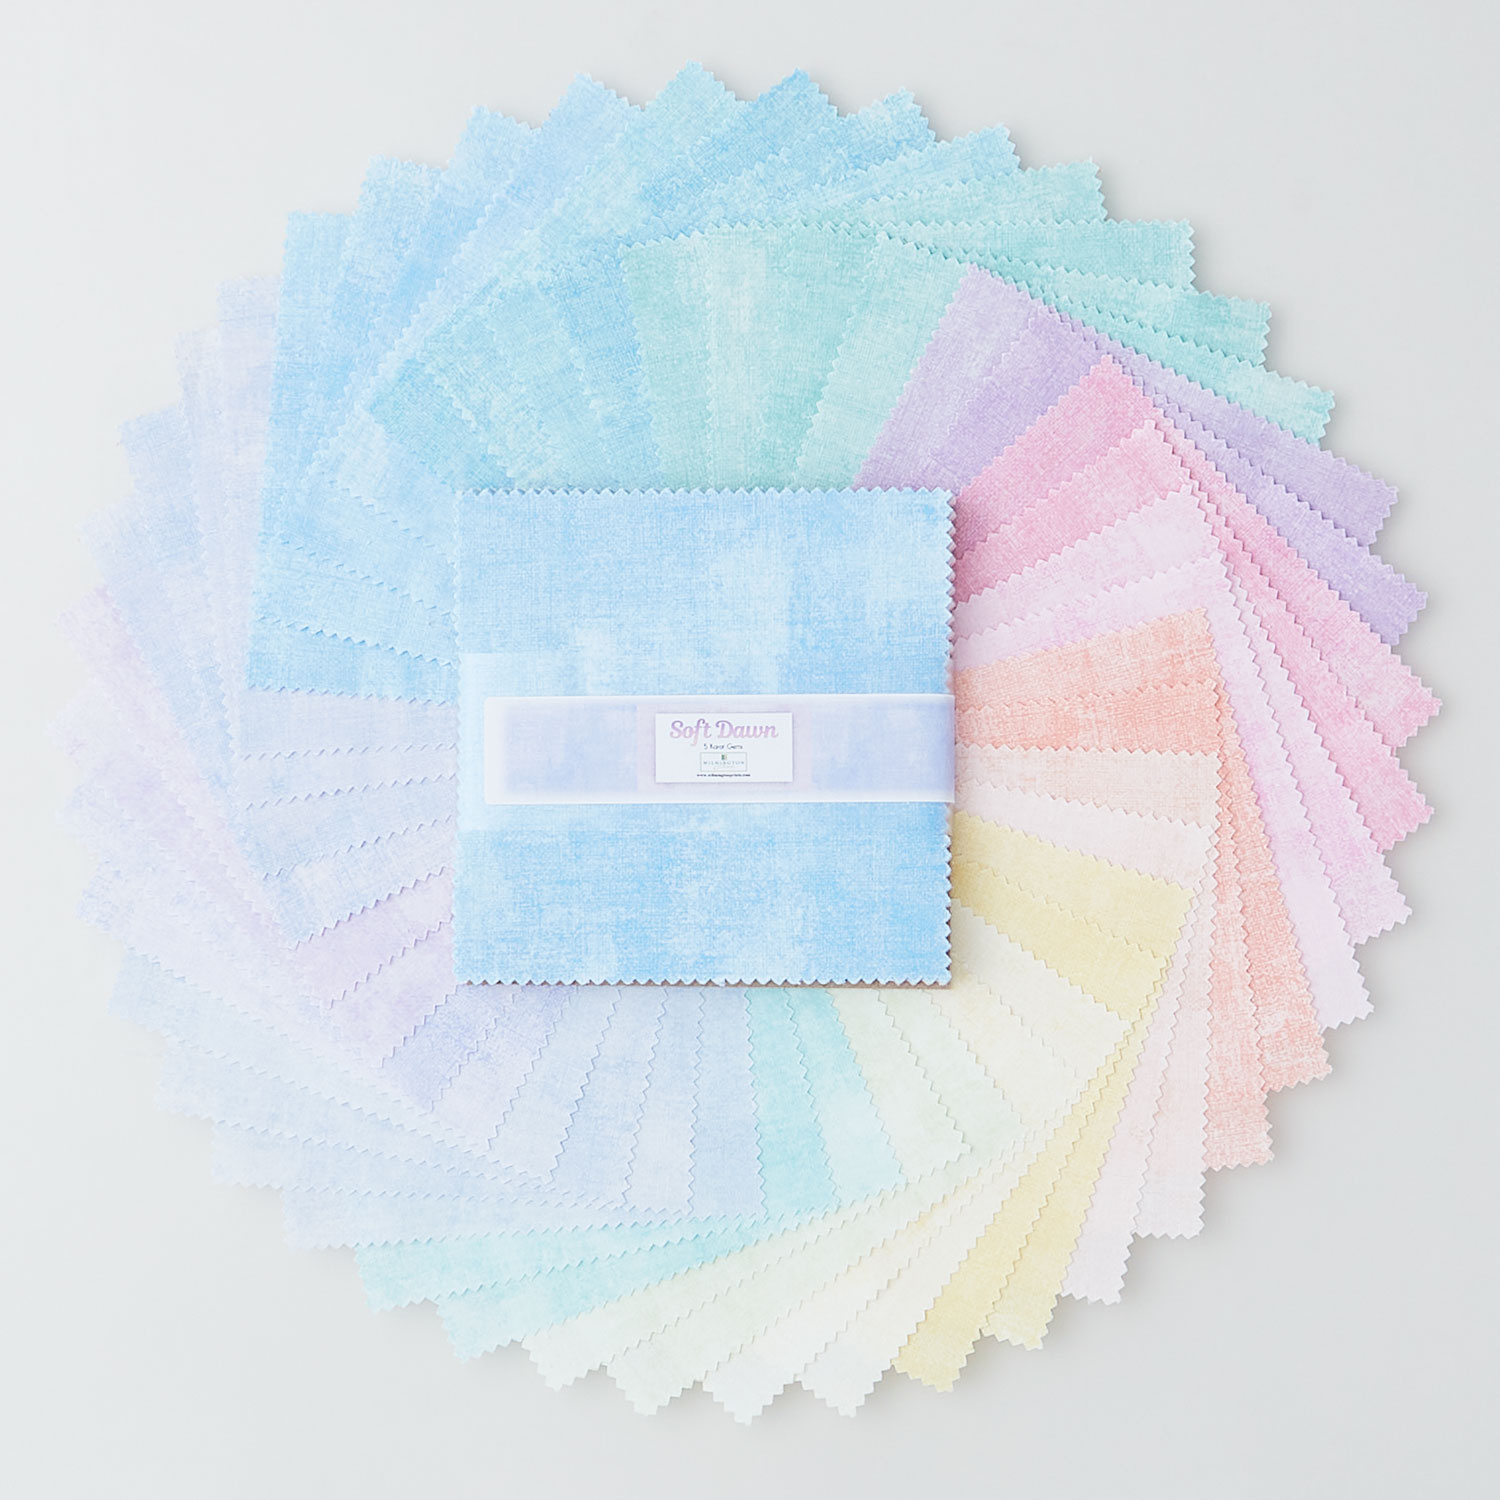 Wilmington Essentials - Dry Brush Soft Dawn 5 Karat Gems$11.95Shop →
 Kona Cotton - White Yardage$7.28Shop →
 Wilmington Essentials - Dry Brush Suede Yardage$10.96Shop →
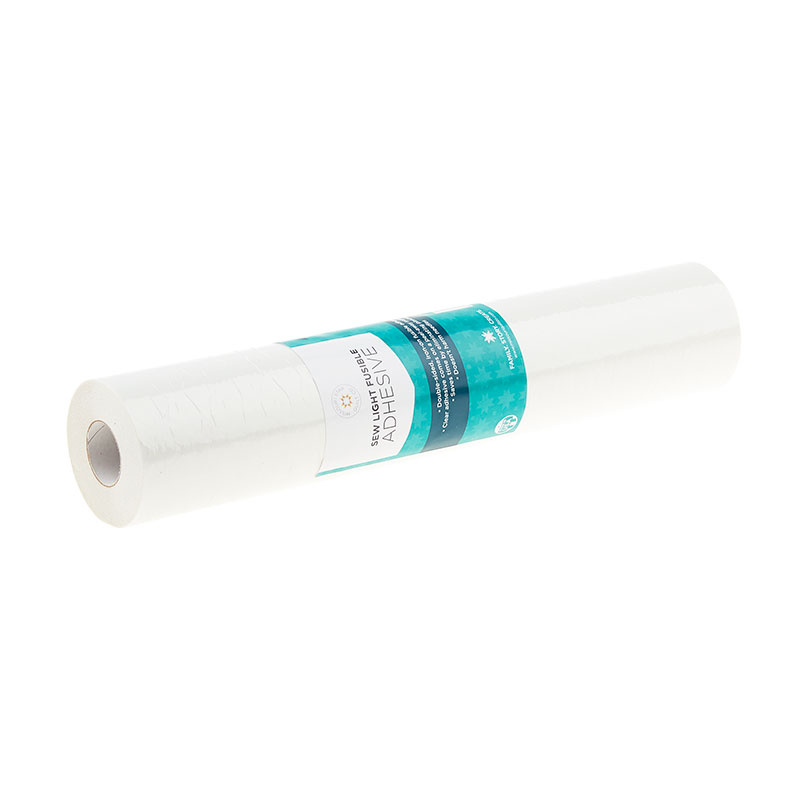 Missouri Star Sew Light Fusible Adhesive - 12" x 15 yards$28.95Shop →
 Poly-fil® Premier™ Ultra Plush Pillow Insert - 18" x 18"$24.45Shop →
 Missouri Star Quilter's Best Blend Bed/Table Runner Batting$14.95Shop →
 Missouri Star 2.5" x 8" Ruler$11.95Shop →
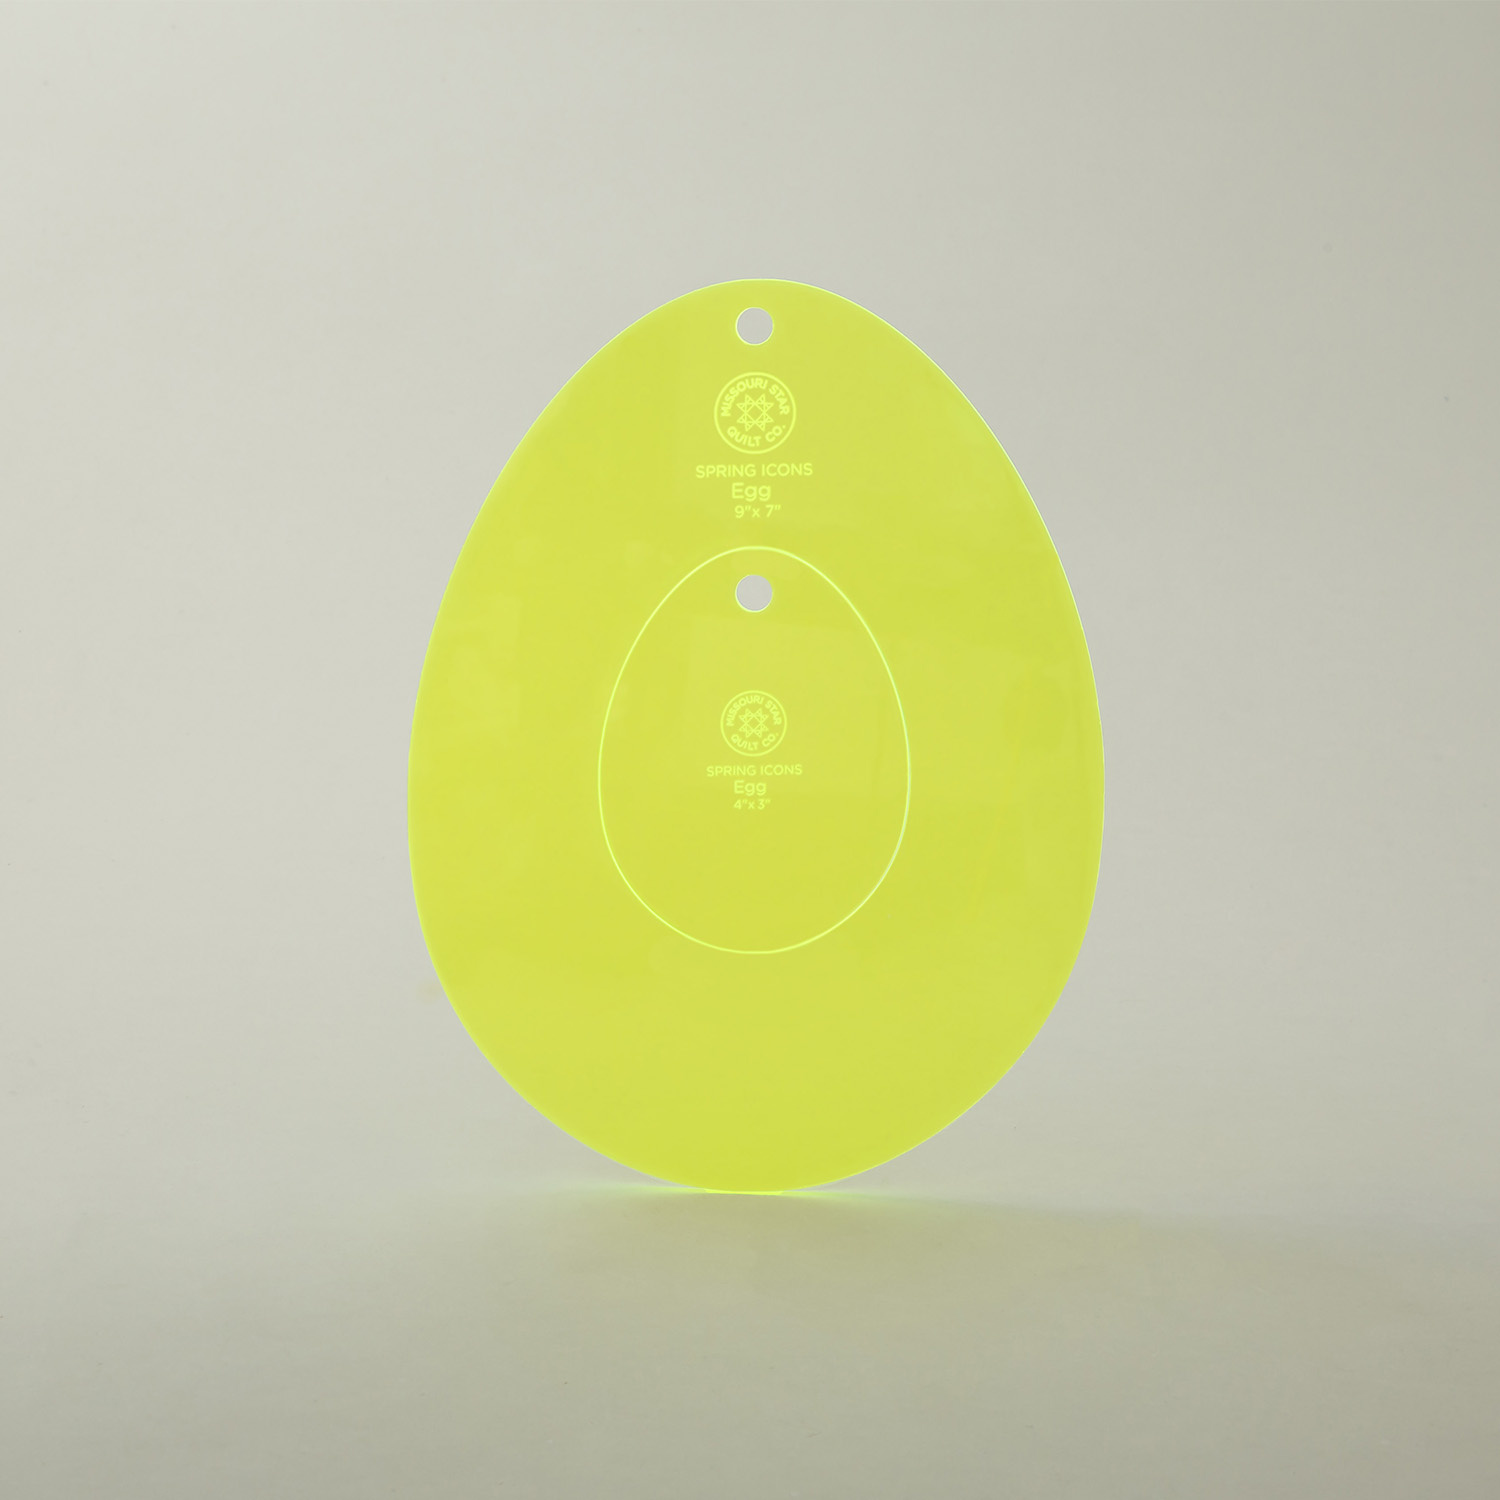 Missouri Star Nesting Egg Templates$12.95Shop →
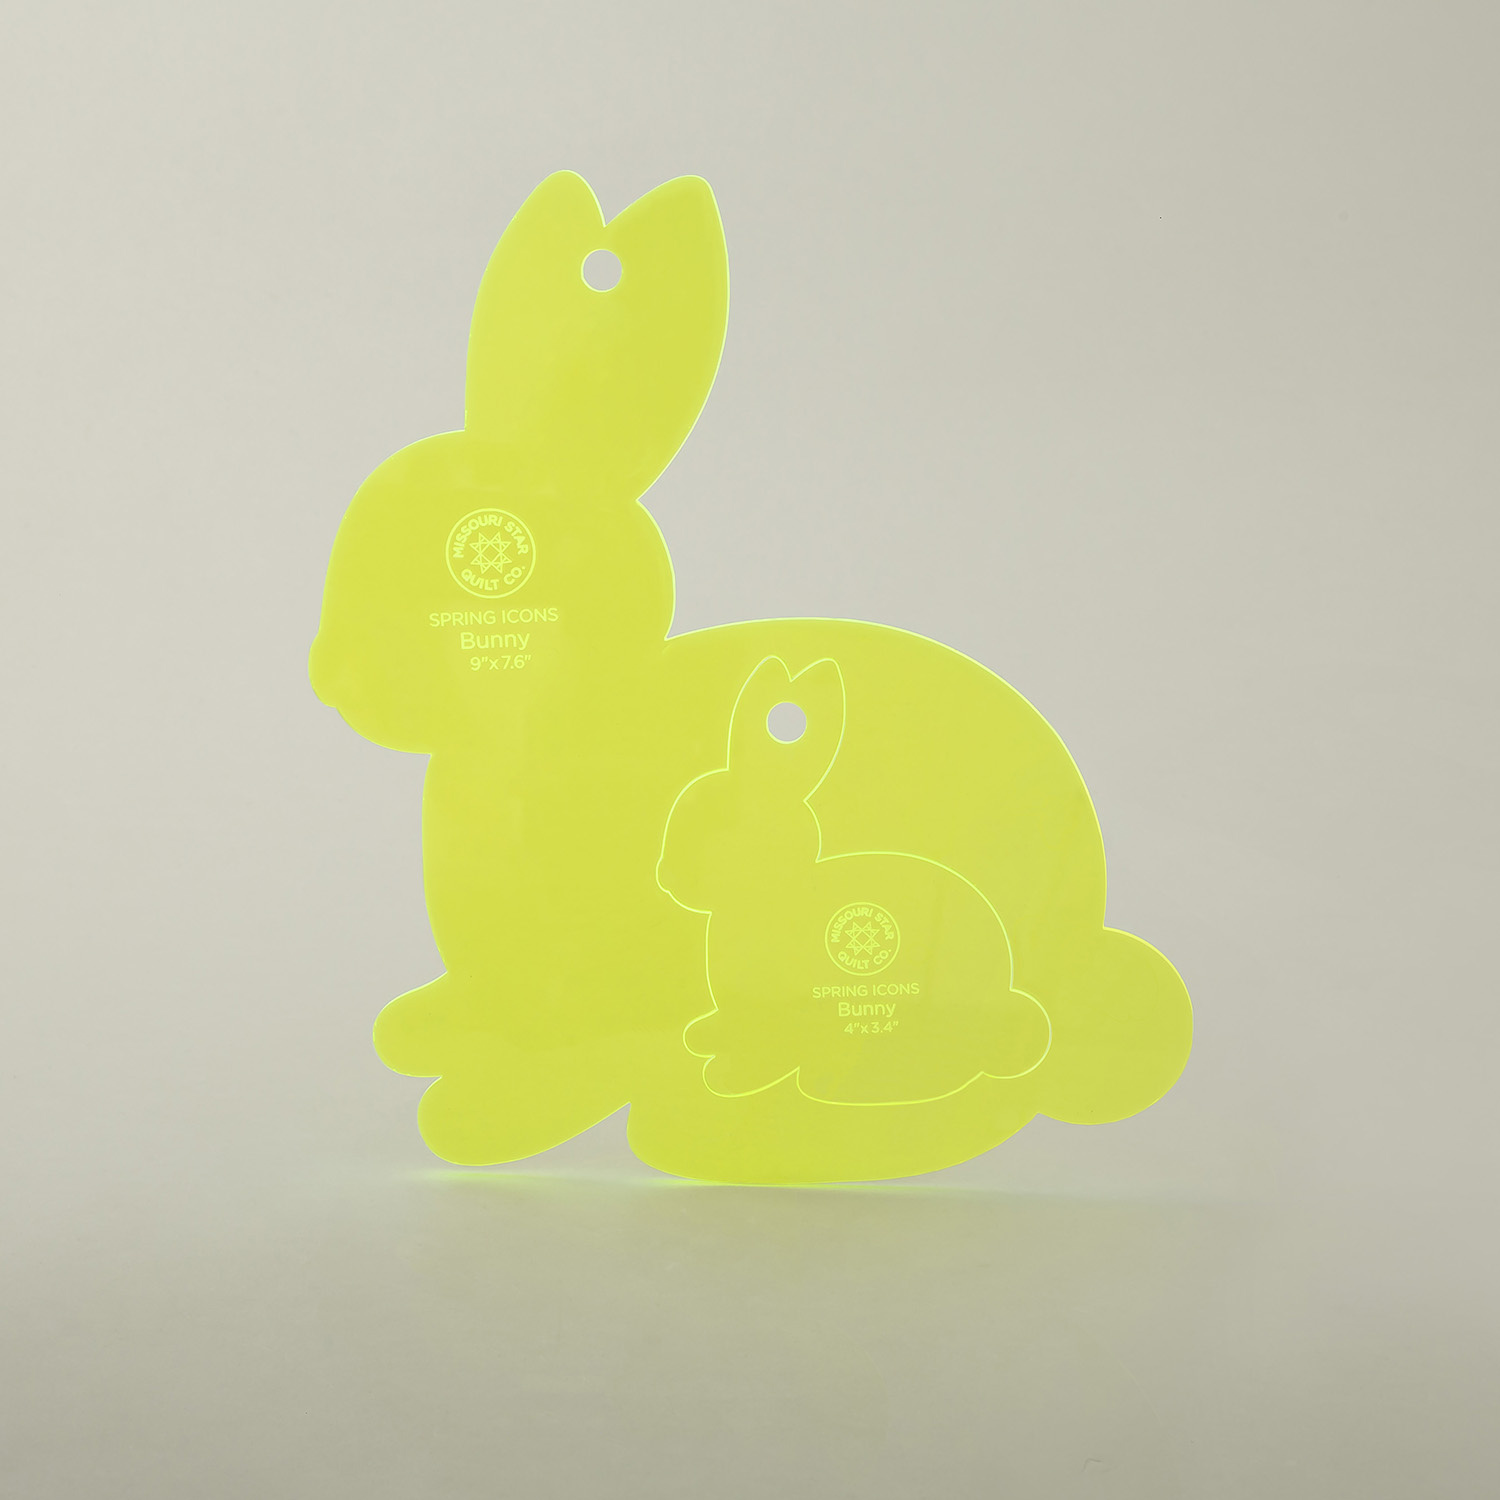 Missouri Star Nesting Rabbit Templates$12.95Shop →
 Missouri Star Nesting Spring Template Bundle$59.95Shop →
 Missouri Star 5" x 15" Ruler$19.95Shop →
 Missouri Star 45mm Rotary Cutter$19.95Shop →
 Missouri Star 50 WT Cotton Thread Salmon$7.95Shop →
 Exclusive Missouri Star Jenny TG1600 ProPlus Oliso Smart Iron$199.99Shop →
 Missouri Star Wooly Betty Board - 17.25" x 25.5" Orange Border$99.95Shop →
 Bernette 77 Sewing and Quilting Machine$1499.00Shop →
Common Questions
What is covered in How to Make a Hoppy Easter Table Runner - Free Project Tutorial?
Live hoppily ever after with this cute table runner! Follow along with Misty as she sews up the Hoppy Easter Table Runner. Using the Dry Brush Soft Dawn fabric collection from Wilmington Essentials, this adorable table runner features bunnies and many Easter eggs. Get to sewin...
How long is the tutorial video?
The tutorial video is 00:13:45.
Are supplies listed for this tutorial?
Yes. The tutorial page includes the supplies and materials connected to this project.
Is a transcript available?
Yes. A written transcript is available on the tutorial page.
Video Transcript
All right, I am so excited about this week's project. You get this adorable
table runner, this really fun pillow, and even a set of coasters all from one
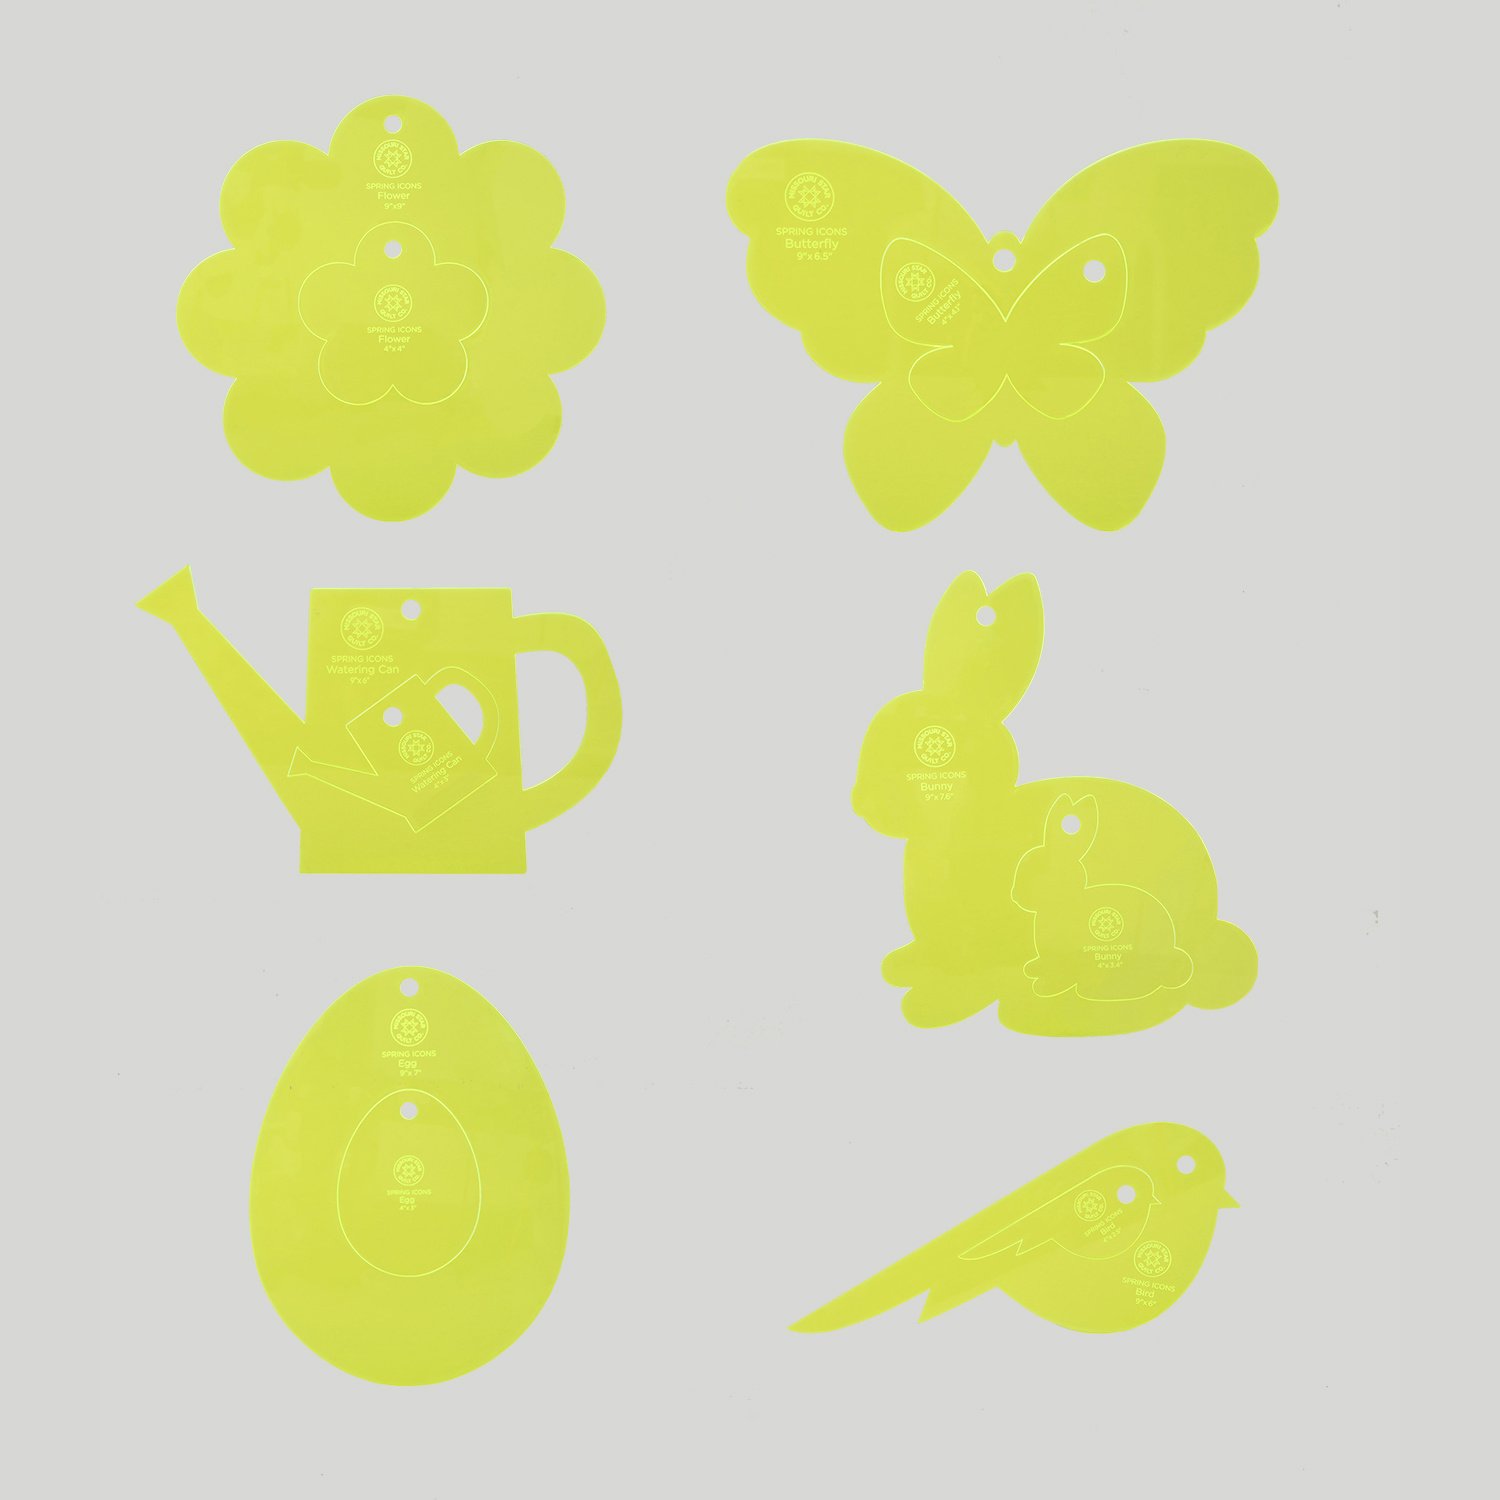
charm pack. I have used this Soft Dawn by Wilmington. It's just these really soft pastels which are perfect for Easter. You're also going to need some background fabric, and of course some accent fabric that we used for our little bunnies. We also have these great Missouri Star Spring Templates. I'm going to use both the Bunny and the Egg. We used the large bunny and the small egg, but you get both when you pick up these templates. And you're going to need some of our Sew Lite Fusible, because this is simple iron-on applique.
So let me show you how to make this! So I'm going to walk you through the runner today, but basically these skills you're going to learn with the runner, you're going to apply to all of these projects within this you know collection of decor items we're making. So to make the runner you're going to start by cutting a 14 inch background strip. And so I already have that ready to go and so it's just 14 inches by the width of fabric. Mine measures 44 inches. Yours might be a little bit more narrow. That's okay - whatever the width of your fabric is, just plan for your runner to be that.
So I'm going to go ahead and trim off my selvage. Now I'm just going to fold this up and you can see I'm not even measuring to make sure this is going to be 44 inches. I'm just going to trim off the selvage and go with it, because that's really all that matters is we have this finished rectangle. So let's go ahead, trim that off, get that out of the way.
So now the basis of our runner is ready to go. Just our solid background fabric. So one thing I do recommend if you want to take this over to the iron we can go ahead and give this some crease lines that are just some guidelines as we're laying out our shapes later. So let's go ahead and take this over here and I'm going to fold this so it's exactly in half to start. Just taking the time to do this will make our life a little bit easier later on. So we're going to give this a nice good crease here in the middle then I'm going to fold my ends up so I have it kind of quartered. These are really just for reference. I find this helpful when I'm eyeballing the shapes later cuz this is a very forgiving project. So we'll go ahead and fold this one back to match. Just make sure it's all smooth and then let's go ahead and give it one more down the center longwise. There we go. So now I can just set this aside for now as we prepare some of our applique shapes.
So to start off with, from our brown accent yardage for our bunnies I just cut some 8 by 9 and 1/2 inch rectangles. You just want it to be larger than your bunny shape so just test that out. We're going to need two of these. So then we're going to take some of that Sew Lite fusible that we have and we're going to press this to the wrong side. You can see this is kind of rumbled. It doesn't matter one bit because we're not going to press it
until we're pressing it to our fabric and then it will be all smooth. So I'm
just going to line this up on the wrong side of the fabric. Let's take this over to the iron just make sure it's not hanging over onto my pressing mat and then we're just going to press this down. So you're going to repeat this with another rectangle for your bunnies and then you're going to follow this exact same method for your little 5 inch squares for however many eggs you need for this runner. I used 13, so pick out 13 from your pack and go ahead and fuse all of your things ahead of time so it's ready to go.
So for the bunny, one thing I want to keep in mind is our template is facing one way but you can see in the runner we have our bunny facing two directions. So when we are tracing this with a pen, you just want to make
sure that you do one each direction. So I have it here. You can say here's this direction, we're just going to flip it over. I haven't even peeled the paper off of mine - feel free to do that if you want - so that we have our bunny facing both ways. Then we're just going to grab our scissors and cut them out. I have mine here. My bunnies are facing opposite ways and they're ready to go.
So now we can set these aside for a minute and let's move on to our eggs. So again here is our 5 inch square, and I just pressed that fusible onto the back and we're using the small egg shape. You can only fit one of these on a 5 inch square. So if you want to get creative and cut little flowers or something out with this extra you totally could. Otherwise it's just going to be waste. We've just traced that and we cut them out. So I have a few of those ready to go as well.
So now let's clear some of this off and start laying out our runner. All right, so I have my pressing mat here beneath this. I have my background for my runner ready to go and you can see those guidelines that we creased in place. So now I'm just going to take my shapes and start placing them on here. So if you've never worked with iron-on fusible before, it helps if you just kind of crease that paper on the back. It helps release it from the glue. If I can get a hold of it, there we go. Then it leaves kind of a shiny side onto your fabric and that's the glue. So that's what you're looking for. You don't want that to come off on the paper.
So now we can just position our bunnies. So when I made the first one I was looking about 2 inches from the bottom edge and the side. So if you have a ruler or something you can keep that handy. Just shift it up a little bit - this is super forgiving so it doesn't have to be exact. Then out a little ways. I think that looks great! And so we're just going to press that in place. I have my iron under here. So when you're working with the fusible, you want to press straight down and lift up. You don't want to slide it around too much because it can cause the fabric to shift or flip up and get that adhesive on the back of your iron which you don't want to happen. So you just want a hot, dry iron. We're just going to press until that is fused and that is ready to go.
So now that I have that on here, I have my eggs as well. So we're just going to kind of sprinkle these throughout. And if you'll notice on the runner, you can still kind of see some of those press lines that I put in there since I haven't washed this yet. That'll all disappear obviously when you throw this in the wash, but it just helps me realize I need one egg basically in the middle, one floating between those and it just gives you that visual reference of where to place these.
So let's go ahead and start putting some of these down. All right I've laid a few of these out. Since my ironing mat is only big enough to work about halfway across at a time, I just want to kind of look,make sure I like how this looks so far then I can press these in place and then we'll just want to mirror that basically on the other side. So I'm just going to go ahead and press these down now just like so. And I used 13 of the eggs on the runner itself and so we're just going to pretend that this is all done and we can move on to our applique stitch on the machine. So let's go ahead and get the machine ready and I'll meet you back there.
All right. On every machine this is going to be a little bit different. I'm
working on a Bernette b77 today and I am using Stitch 1010 and what that is, is a simple blanket stitch. It's going to take three straight stitches and then one little bite into the fabric. You'll notice I have even created kind of a test sample here as I was deciding through my stitches. I recommend
grabbing a piece of scrap fabric and doing that so you feel confident in how the stitch is going to work and which one you like best before you start stitching in on your project itself. I'm also using pink thread so it shows up for you guys at home and you can see what I'm doing.
So let's go ahead and bring our runner underneath the needle and get started. All right I'm going to start with the bunny. I like to start at a place where I have sort of a long stretch, so I'm working along the back of the rabbit right now. So I am also just going to test here before I do any stitches and make sure that I am lined up with my needle because I want that straight stitch that I'm going to be making to follow along with the outside edge of my applique. So I'm just going to manually turn my needle down and make sure I'm right along that outside edge and I am. So it's taking those straight stitches and that one little bite in and I'm just going to gently guide the fabric with my hands. These are such subtle curves.
So I am right by where that tail is jutting out. So I'm going to put my needle down right in that little inside curve and then I can lift my presser foot and just pivot this. And don't be afraid to bunch up this runner and get it out of the way of where you're working, because that is just fine. So now that I have this back where I want it I'm going to lower my presser foot again and we can start stitching again. Just taking your time and then sometimes you have to just take a few stitches and pivot again. And I always notice if my hands start feeling weird I probably need to stop, readjust my fabric and just make it easier on myself. I always try and keep my hands just spread apart so it's easier to guide.
All right, so we have made our way around this tail. So let me just show you how this looks. I think this stitching looks so nice and the pink is actually really cute. I wish I had done that on this full runner. It looks adorable. So don't be afraid to play with your thread color and your patterns. Let's look at the finished runner because I did this exact same stitch on all of my applique.
So you can see here I just used white thread on this one, but we went all the way around our bunny and then also around all of our eggs and it turned out so cute! One other little idea that I wanted to show you. On my coasters I actually used even more of our decorative stitches on our machine that we don't always get a chance to play with, to kind of create some decorations on the eggs themselves. How fun would that be in different thread colors or variegated threads? So just don't be afraid to play with this project and make it your own. You'll get eight coasters, this runner and also this little pillow. We just used 12 little Easter eggs to finish it off and I just think it turned out so cute! I can't wait to see you guys make this project your own.
So I hope you enjoyed this hoppy Easter project and I'll see you next time on At Home!


