

How to Make a Macaroon Zipper Pouch - Free Project Tutorial
You'll absolutely love this sweet sewing treat! Tune in as Misty shows us how to create adorable Mini Macaroon zipper pouches, perfect for holding jewelry, coins, buttons, and other small sewing accessories! To begin, you'll need the Macaroon discs and zippers, designed by Zakka Workshop, and your favorite colored charm squares.

Instructor
Misty Doan
Misty Doan grew up surrounded by sewing and quilting. She loves spending time sharing tutorials each week each week, and when she’s not stitching up one of her fun sewing projects for home decor, most likely you’ll find her hanging out with her husband and three awesome kids or working on a house project.
Shop this tutorial
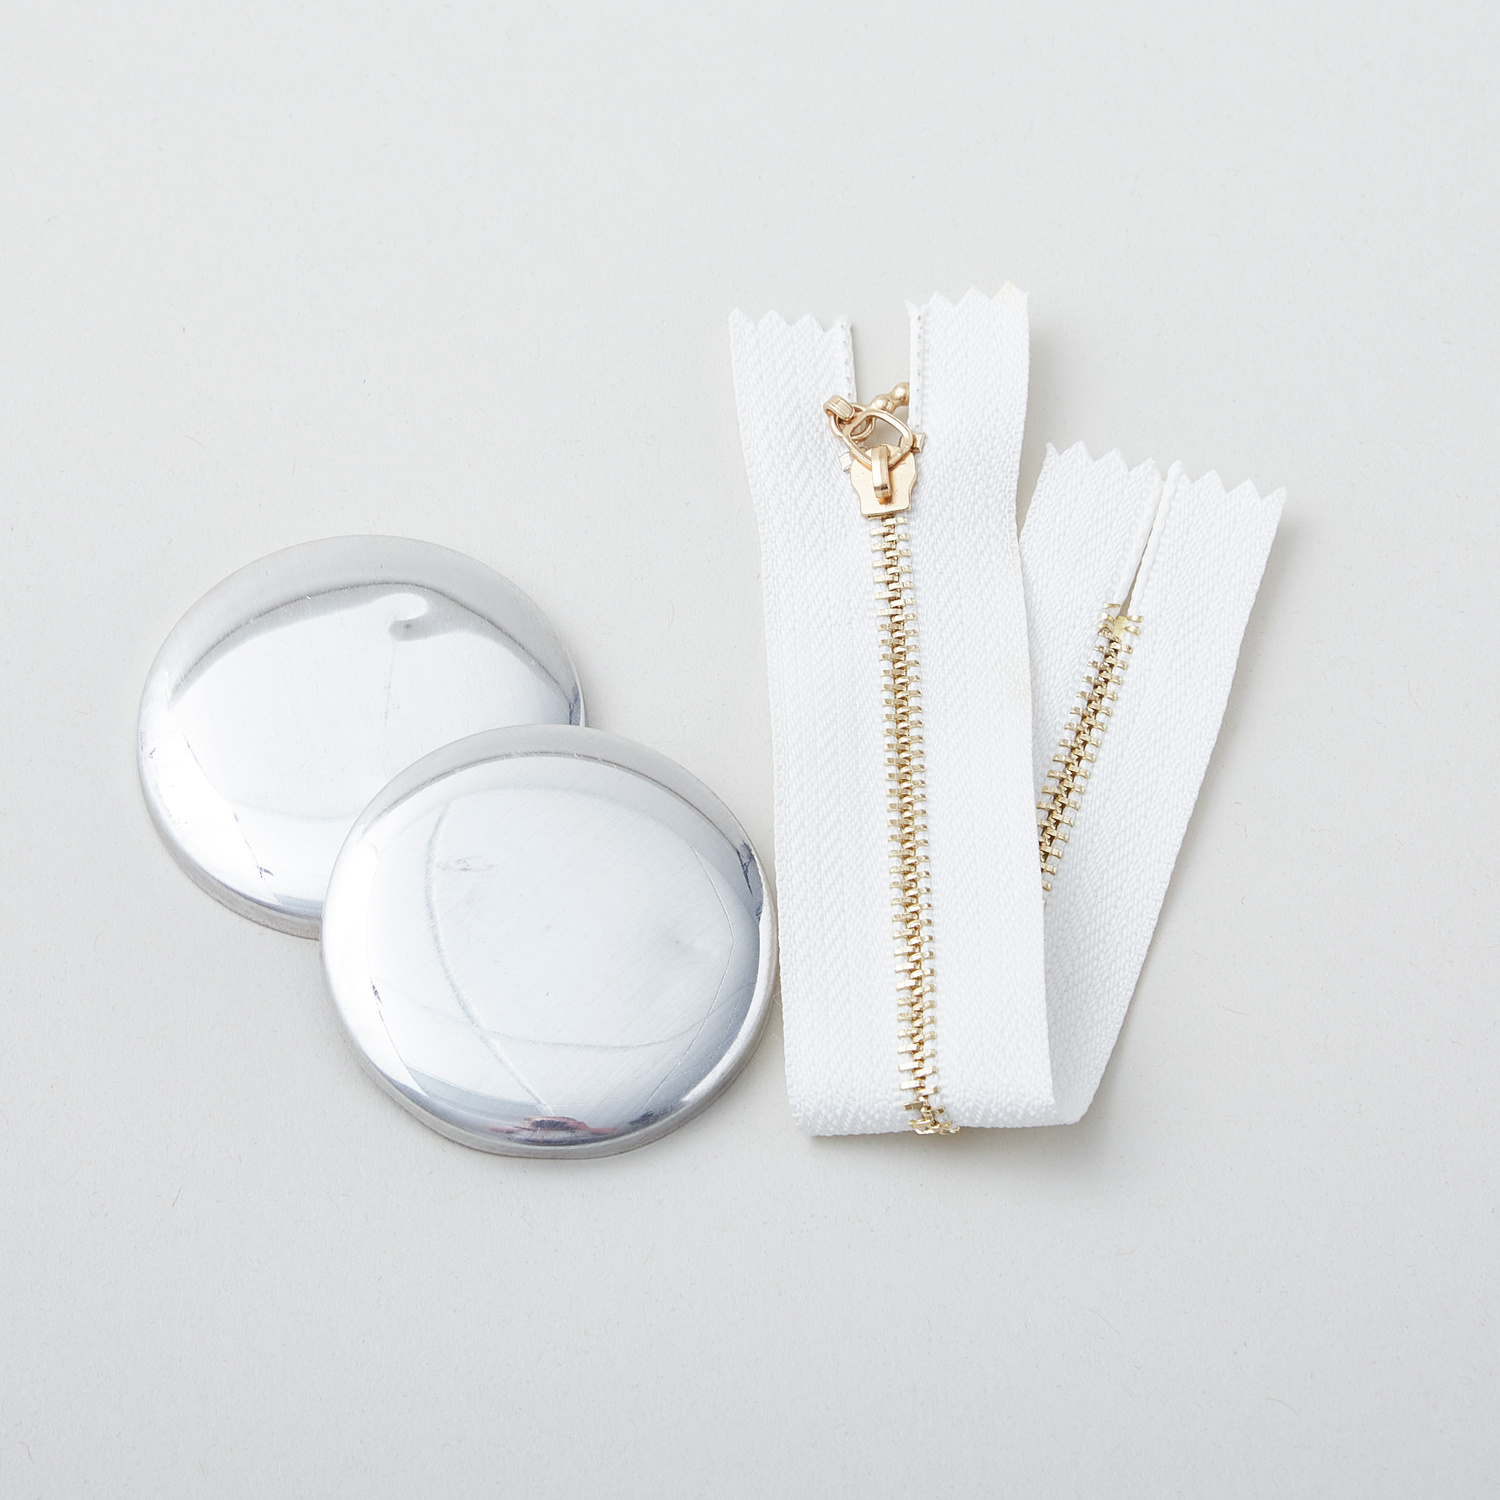 Mini Macaron Pouch Kit$12.75Shop →
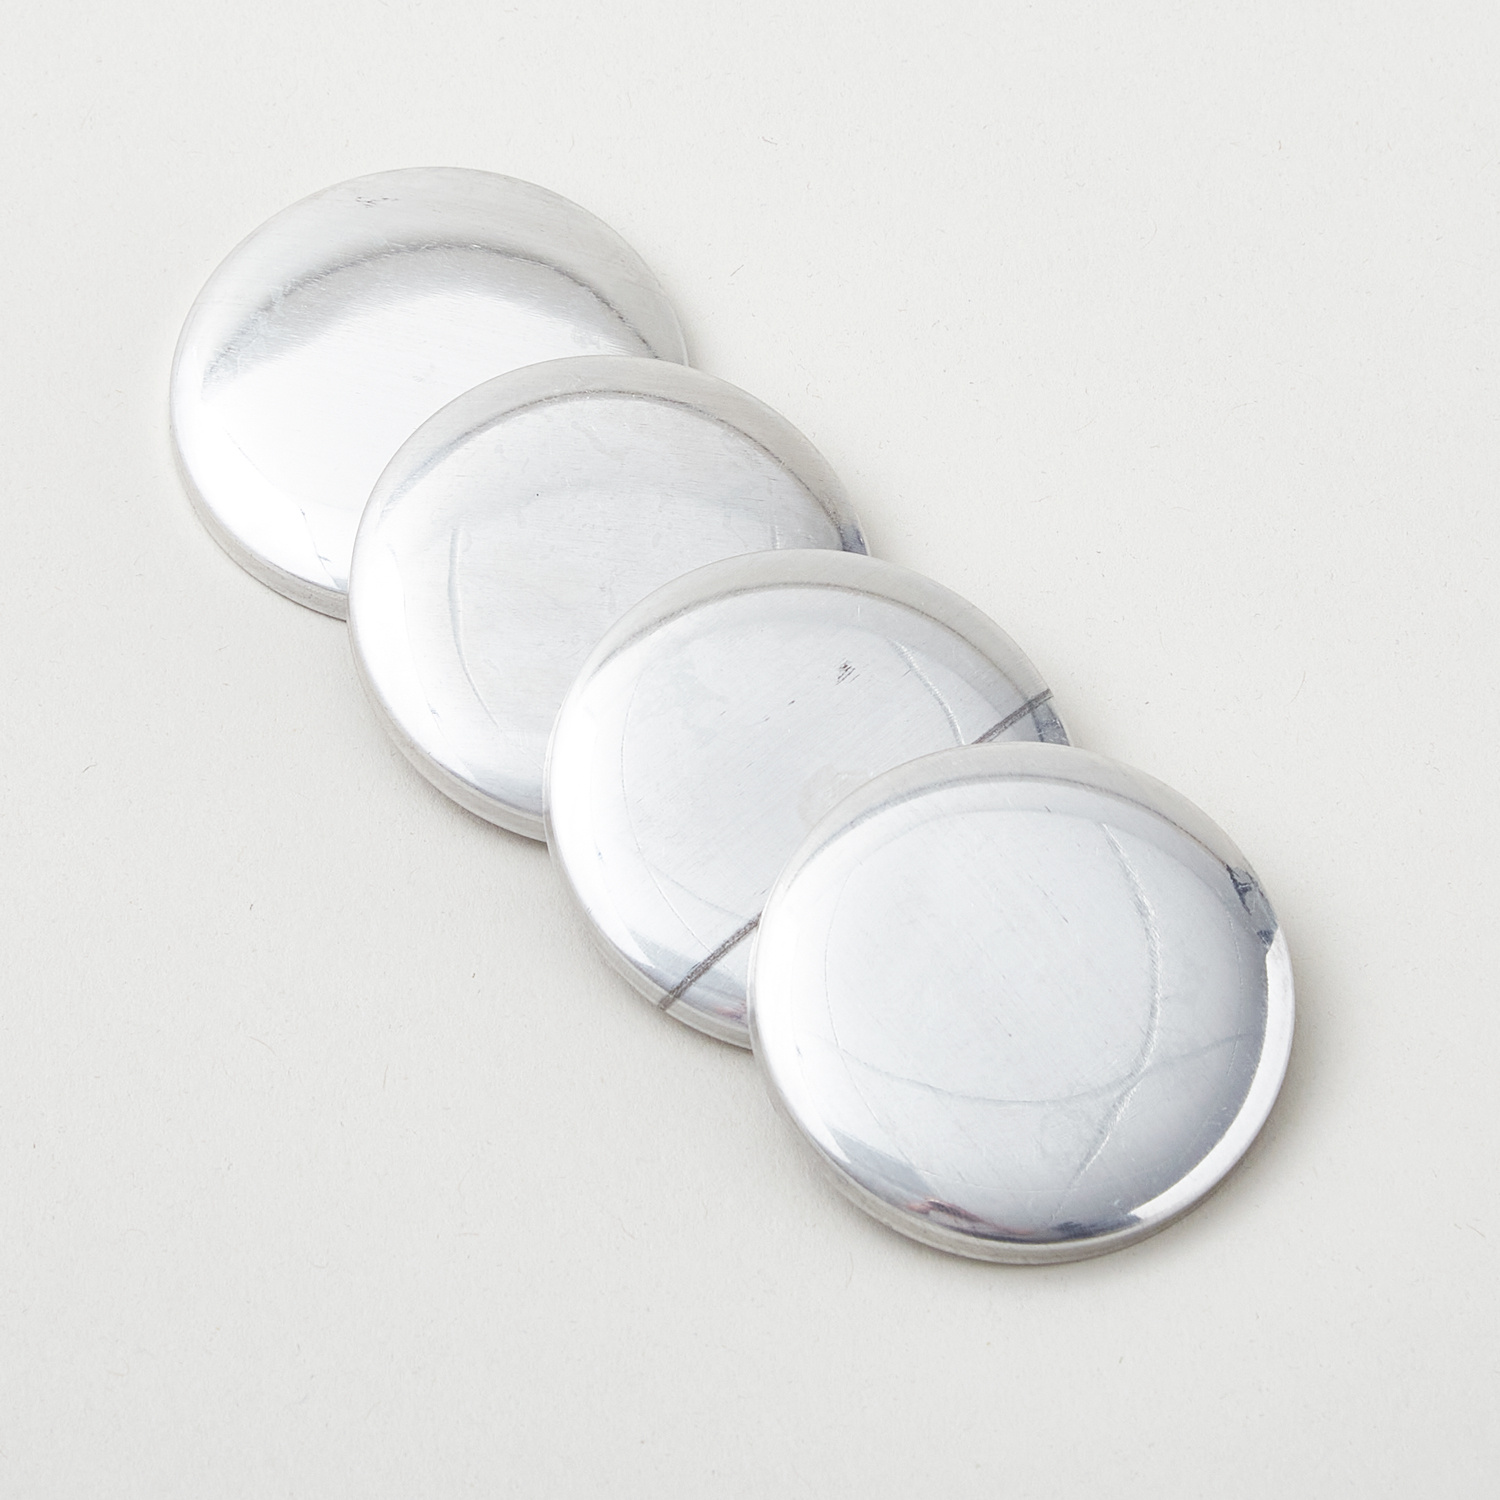 2" Macaron Discs$5.75Shop →
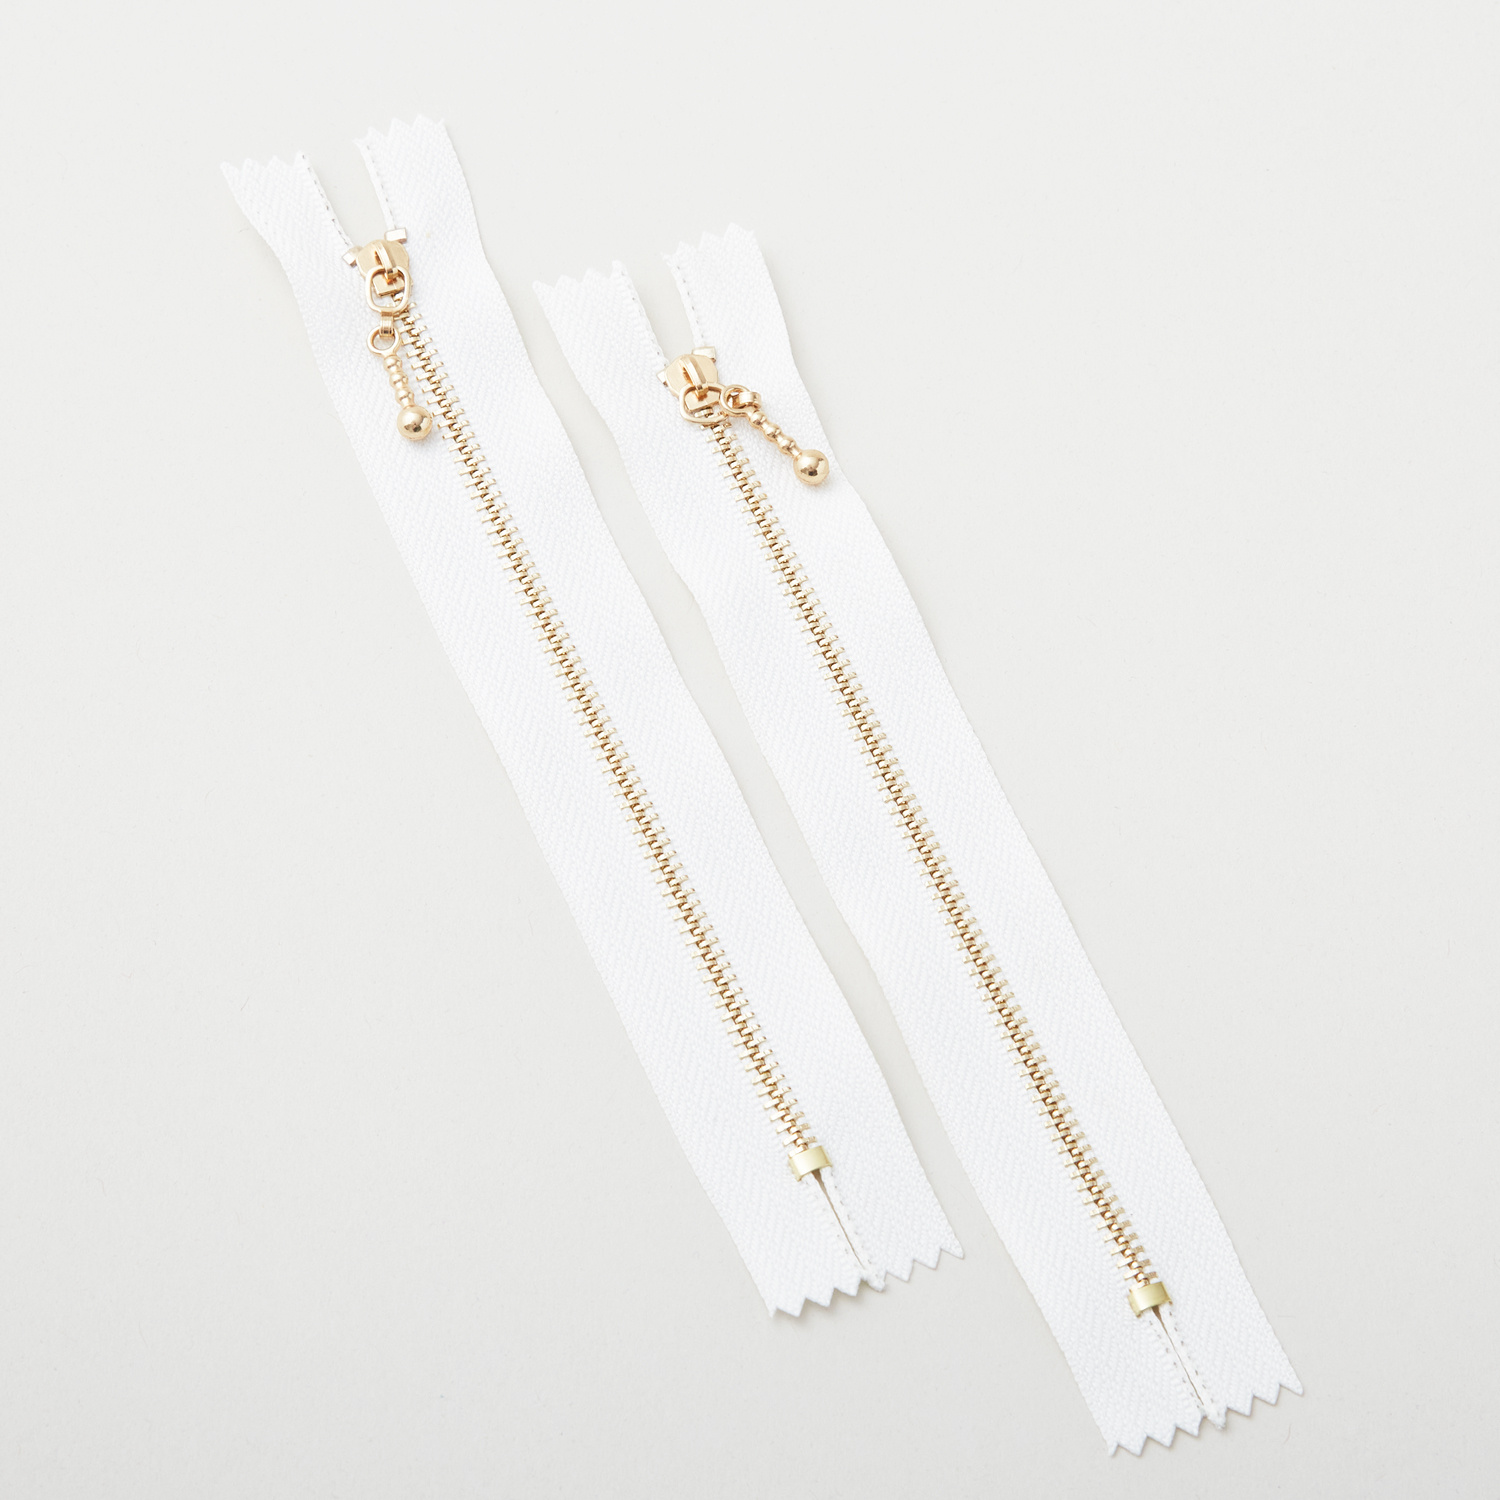 6" Macaron Zipper$5.75Shop →
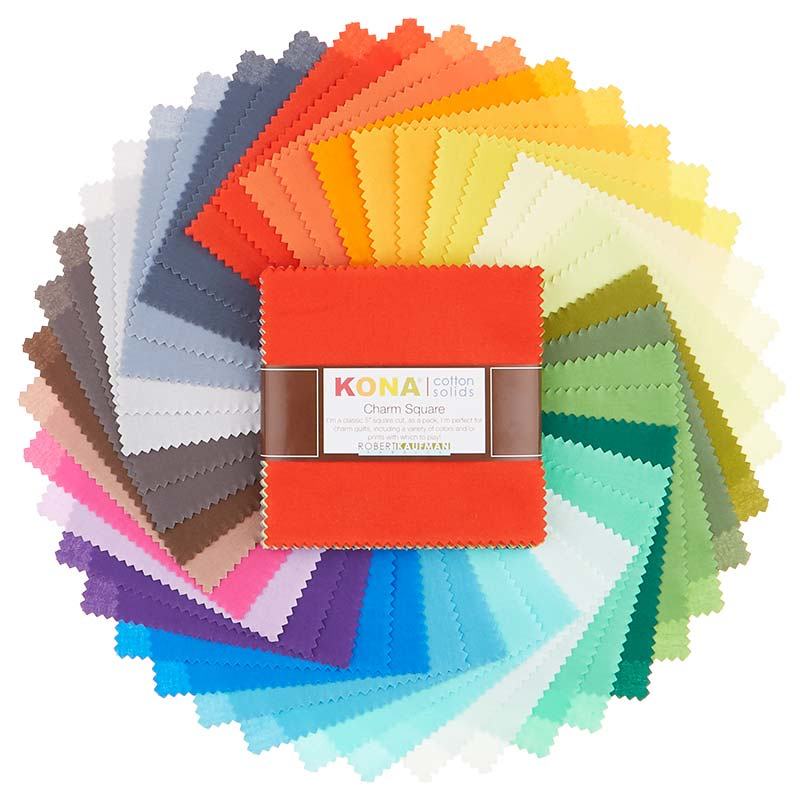 Kona Cotton New Colors 2019 Charm Pack$9.95Shop →
 Pellon Fusible Fleece White 45" x 60" Package$11.95Shop →
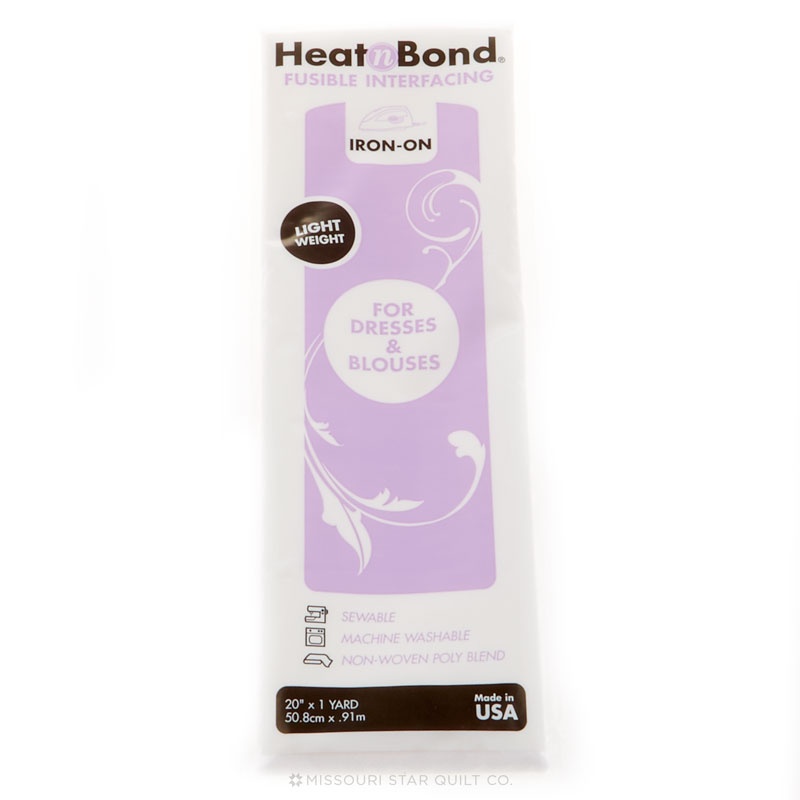 Heat N Bond Fusible Interfacing Light$3.45Shop →
 Heat Erasable Pen, White$2.15Shop →
 Pigma Micron 05 Pen .45mm Black$3.25Shop →
 Missouri Star Seam Ripper$9.95Shop →
 Missouri Star 45mm Rotary Cutter$19.95Shop →
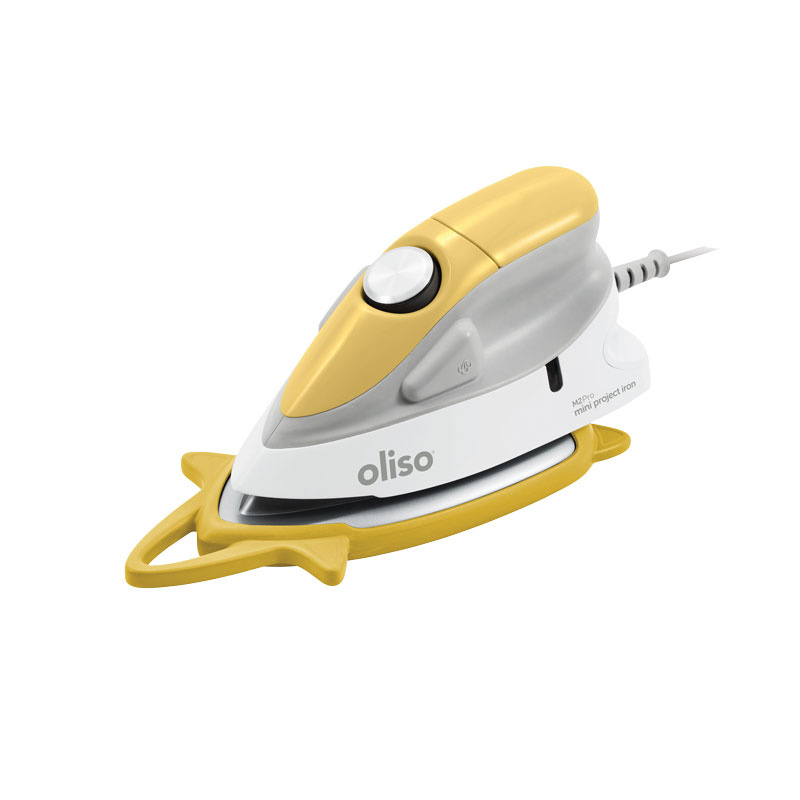 Oliso® Mini Project Iron™ with Solemate™ - Yellow$59.99Shop →
 Missouri Star Wooly Betty Board - 17.5" x 17.5" Aqua Border$88.95Shop →
 Aurifil 28wt Cotton Mako Thread White$5.95Shop →
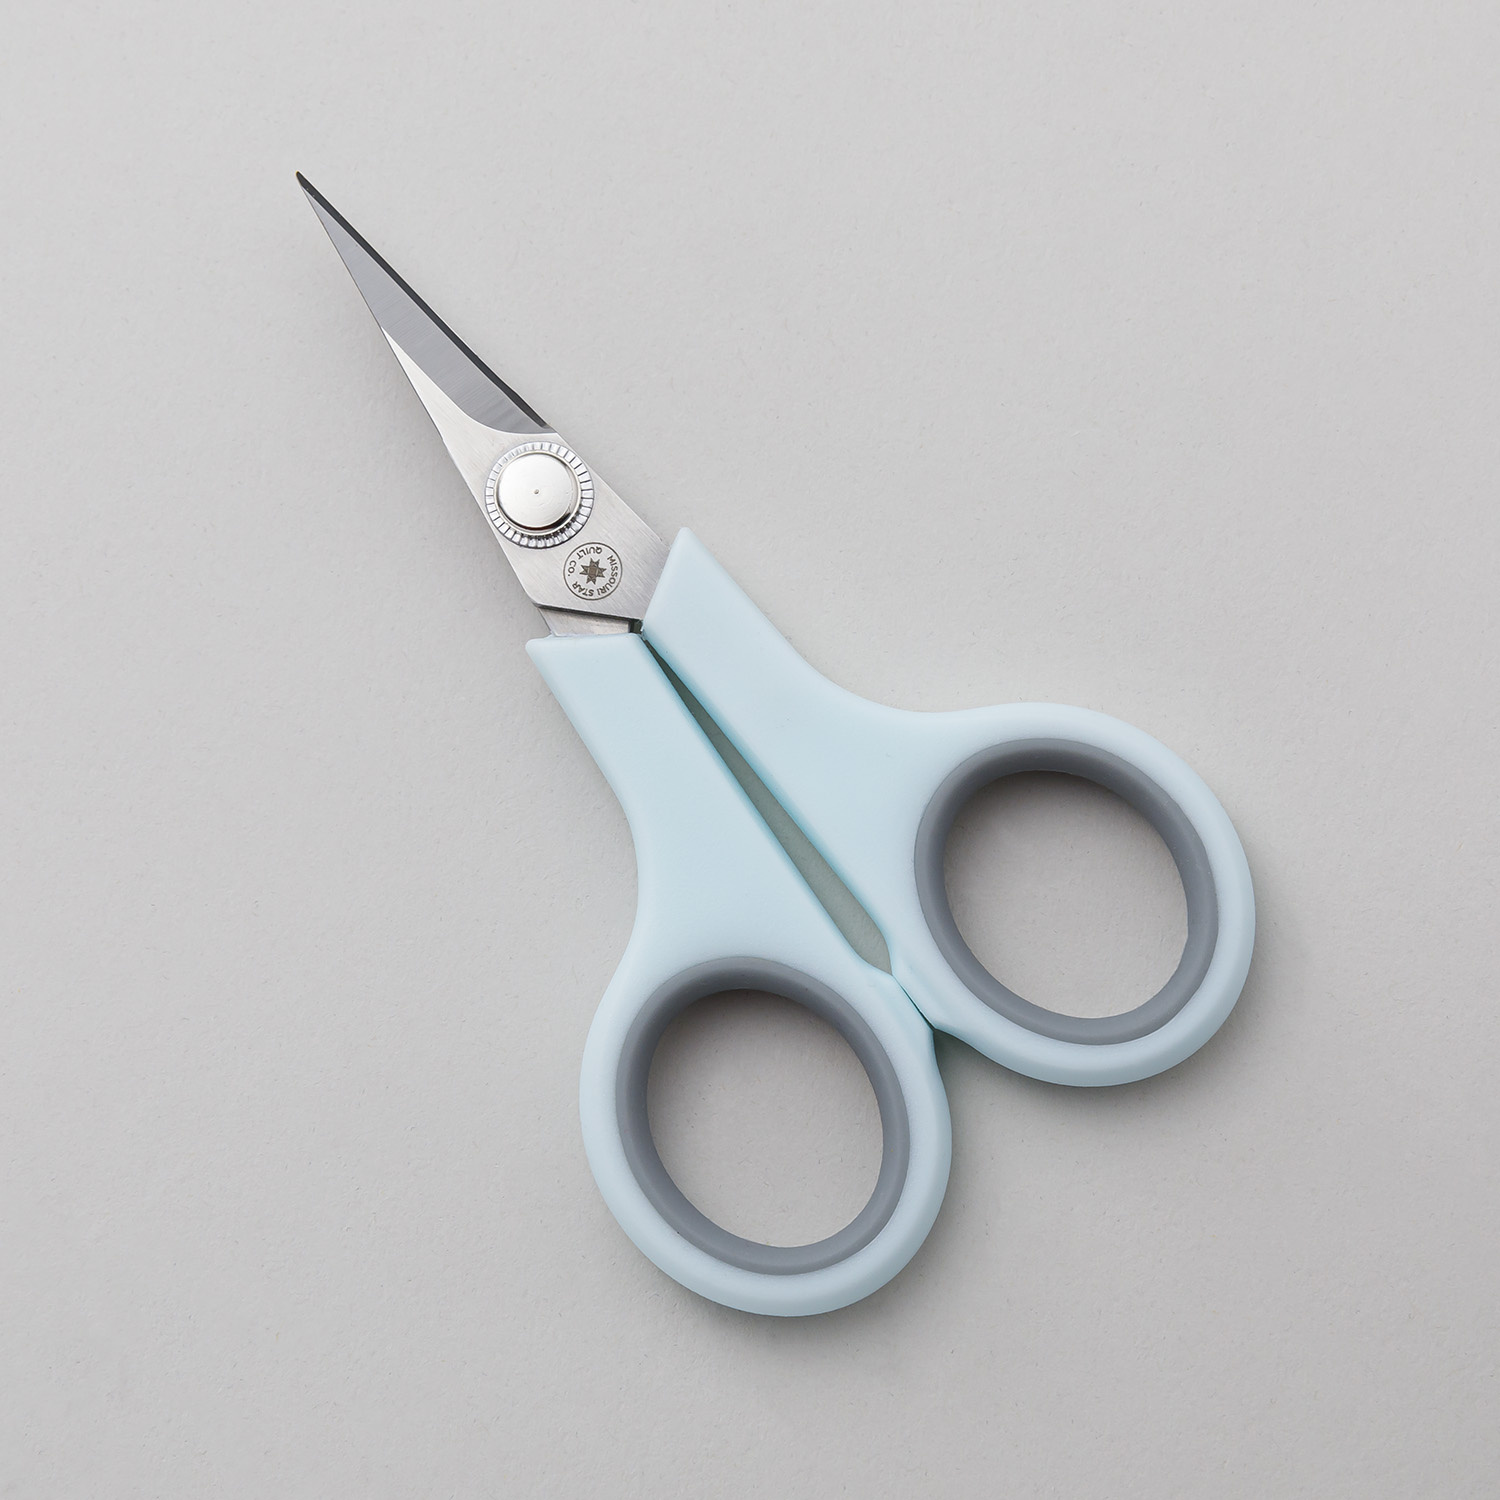 Missouri Star 4.5" Everyday Scissors$9.95Shop →
 Missouri Star 6" Everyday Scissors$12.95Shop →
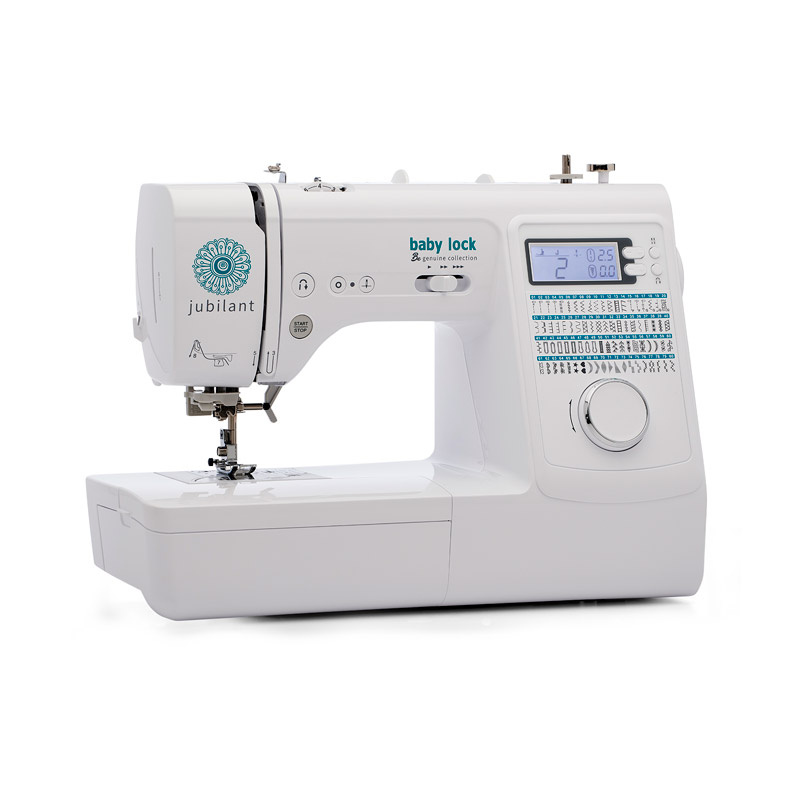 Baby Lock Jubilant - 80 Stitch Computerized Sewing Machine$599.00Shop →
Common Questions
What is covered in How to Make a Macaroon Zipper Pouch - Free Project Tutorial?
You'll absolutely love this sweet sewing treat! Tune in as Misty shows us how to create adorable Mini Macaroon zipper pouches, perfect for holding jewelry, coins, buttons, and other small sewing accessories! To begin, you'll need the Macaroon discs and zippers, designed by Zak...
How long is the tutorial video?
The tutorial video is 00:20:18.
Are supplies listed for this tutorial?
Yes. The tutorial page includes the supplies and materials connected to this project.
Is a transcript available?
Yes. A written transcript is available on the tutorial page.
Video Transcript
All right so this is a little bit different from our usual tutorial. Today we're going to be doing a lot of hand stitching. So I know for some of you
that's a bit of a dirty word, but don't be afraid. Yhis is the perfect little
project to take along with you if you're going on a long car ride or if you're
traveling or just sitting down watching a show. It's really quite quick and easy.
So I recommend you pick up this Mini Macaroon Pouch pattern. It's by Sweet Shop Sewing and in the pattern you will have the supplies to make one little zipper pouch. So that means you're going to get the zipper that you need, two of these little metal discs, as well as the sizes that you'll need to cut out of both your fabric and your different interfacings.
So I'm just using scrap charm packs that I had lying around, some solids. So grab some of those. But for the outside you're going to want to make sure that you have enough to make two matching outside circles and so you will need two five inch squares to get that. I also have some fusible fleece, some lightweight interfacing for the inside and I also have some 28 weight thread, so that it's nice and sturdy for our hand stitching. So
let's get started!
All right so first up I want to give some props to our pattern writers here.
This is a fabulously written pattern and there are so many pictures to follow along with, so you will know exactly what to do. If you miss something along the way, just be sure to look at the photos in here because they've done a fabulous job. So first up we're going to grab two of our matching five inch squares. These are going to be the outside of my little zipper pouch, so be sure to choose a color that you love. I have gone ahead and made a copy and cut out the two different sizes that are
in the pattern: the larger one for the outside and the smaller for the inside.
So let's just line these up and I'm going to lay my larger circle on here. They're shifting a bit on me. Then I'm just going to grab a micron pen or whatever marking pen you want to use and we are going to trace this
around our little paper. It doesn't have to be exact, but they've done all the math for you to know what size you need this to be. So I've put this along the edge because I do want to point out that you can get both your large outer circle and your small inner circle on one five inch square. You can see how it'll fit there.
I wanted to do a contrasting color, so I went ahead and just put this on a
different one. You can see I've used green here but it's the same concept.
You're just going to trace those and then you would get both your inside and outside out of two five inch squares. So now that we have this ready, let's just grab our scissors and we're just going to cut around. I have both of my layers stacked together so I'm going to get two circles at once and then we'll just gently cut on that line that we drew.
Every once in a while we just need a project that forces us to slow down
and enjoy the process. So we'll just trim that right up just like so and we have those two ready to go. So from that fusible fleece you're going
to cut two of that same larger circle size that we cut from our outside fabric and then we'll set that aside. I have my two cut out and ready to go here. Then you're going to grab that lightweight fusible. I have that and what you're going to do for this is you're actually going to trace your little discs. So this is your template for that interior coverage that you're looking for. Then we're just going to trace this. In the pattern it calls for two, one for each side of the lining. I actually doubled that up so I traced this four
times. I found that extra little bit of layer just gave me some stability that I
really liked in the end result.
So let's go ahead and set this aside because I have those ready to go. So you can see here's my little circles. I just traced the metal discs that come in your kit and I have my lining piece. You'll notice that it's a little bit smaller than those outside circles. So now let's just go ahead and prep everything and get it ready to go.
All right so we're going to take that fusible fleece that we cut out and our
outside pieces. And if you've never used fusible fleece before there's going to be one side that's kind of rough and bumpy - that's where the glue is - and one side that is just the smooth fleece. So in this instance we're going to put the bumpy side up and you're going to place that against the wrong side of your fabric. Because this is solids there's not really a right or a wrong side. You can use a pressing cloth here if you're worried about getting anything on your iron. I'm just going to eyeball it and I feel pretty good about this. I'll be careful and then we're just going to use a hot iron
and press this down, just like so. And you can see that just adheres to that. We'll do the same thing on the other side. So again bumpy side up
and we're going to put our fabric right along there and give it a good press. There we go and so those two are ready to go I'm going to set them aside for now and we can prep our lining pieces.
So for this we are going to line up that little piece of interfacing that we cut. And I just kind of eyeball and center it there on the fabric. So we'll just
have that ready to go and I'll press one again this has kind of a bumpy side with which is the glue and this is going down towards the fabric not up towards the iron. So I'll go ahead and add that second layer and fuse that in place as well. All right. So once we have all of these fused and ready to go - both the outsides and our two lining pieces - I'm just going to set these aside and now we can prep our zipper.
So we're going to take our six inch zipper that came in the kit and I like
to move this little zipper head kind of out of the way. We're going to fold this in half right sides together and line up where those zipper stops meet
and just pinch it together and we're going to take this to the machine and
sew a straight stitch across there. Then I'll show you how to continue
prepping this.
All right so we have that zipper, remember folded in half with the right
sides together. I've moved the zipper head out of the way so it's less bulk
under the needle and I am just going to make sure that those two zipper stops are lined up here. And my foot...I don't have a zipper foot on but it is that really narrow foot that comes with the Baby Lock Accomplish and so I'm just going to get as close to the zipper stop as I can and just sew straight across. So I'm just going to make sure everything stays lined up
and I'll backstitch a little bit here at the beginning make sure this all stays where I want it. Back stitch across the middle just to give this some stability. This isn't going to take a lot of wear and tear with a little pouch like this. Then we'll backstitch again at the end and we can cut our threads.
So then now let me show you what we're going to do next. So we're going to kind of finger press these ends of the zipper tape open, so I'm just going to fold them back just like so. So you can see that they line up but we don't want these flaps to get caught in the way of our zipper and so I'm going to fold this back and make this little triangle just like so on all four sides. Then we're going to come back and we're going to do a straight stitch along this edge to hold those back out of the way. So let's do this side first. It'll just tuck right under the machine you can also do all of this by hand if you'd rather. So I'm just going to fold that here - if you have a stiletto that might be handy. But really the point is you just want to tuck the bulk of that out of the way of the zipper so that you're not fighting
with it later. So you can see how that looks once we've finished stitching
it. So let's go ahead and do the same thing on the other side. Again we're just going to fold these back and then tuck this under.
All right so now we have both of those sewn and you can see how now the ends of the zipper are just completely tucked out of the way of the zipper teeth and we don't have to worry about those getting caught in the pouch when we get to that point. So I'm going to go ahead and trim all of my little threads now while I have the chance so that those aren't in the way later.
And now we can grab our needle and thread, remember we're using that 28 weight, and we're just going to run a running stitch. You can flip this right sides out just so it's not difficult later and we're just going to run a running stitch around both sides of our zipper tape, just like so. You can see I'm just about an eighth of an inch in from the edge. It's pretty forgiving here. You just don't want to get too close to the zipper teeth. And we're just going to continue this running stitch all the way around the
zipper.
All right we're coming to the end of our first side here so I'm just going to put a few more stitches in and then now we're going to just pull
this slightly so it gathers up the side of our zipper. Not a lot we just want this to naturally tuck in when we go to add this to our our little macaroon pouch later. So you can see it's just kind of forcing those edges to curl under and that's what we're looking for.
So I'm now that I'm happy with that I'm going to knot this off and then we'll repeat the same thing on the other side and I'll meet you back here when that's done.
Okay so here is our completed zipper. You can see we have you know finished off those inside edges and then we did the running stitch to just do some gathering around both sides. So now I'm just going to set this aside, now that we have it ready.
And let's finish prepping both our little lining pieces and our outside shapes of our little macaroon pouch. So first up, I have that piece that we did for our lining. Remember you're going to have two identical like this. So much in the same way we did the running stitch around the zipper, we are going to do a running stitch around our lining. This is part of the reason I liked that extra little bit of interfacing. It just gave me a bit more stability. So we are just going to go all the way around this, one after the other, and you can see it's not perfect. I'm not worried about it. It's very forgiving. And so let's just keep stitching all the way around. If you've made yo-yos this is really similar to that except we don't have to turn a little hem which is nice. And so we are just going to keep going and I will meet you back here when it's all done.
All right so I have those stitches done, going all the way around. I have not tied it off yet. You'll notice how it's naturally starting to curl just from taking those stitches. So I'm just going to kind of hold this down against
the mat and start tugging and you'll notice how this is just going to curl around that interfacing. So I'll just tug gently - this is why we're using that heavier weight thread. We don't want this to break. But that looks really nice and so now I can tie this off here at the end and use my snips. Then I do like to go ahead and just give this a little press, just to make it lay nice and flat.
And so there we go now. We have one of our little lining circles. I have another one ready to go so they're both prepped and ready for us. So now let's move on to the outside of our little pouch.
All right so this is our outside circle. Remember it's the larger of the two that you cut I've already had that fusible fleece attached to it. I went ahead
and ran the running stitch all the way around and so we can go ahead and start tugging on this. But what we're looking for here are those metal discs that were included in our kit. We're just going to set this inside and make sure it's kind of centered and we're going to tug this until it is around that metal disc and so we're just going to pull this tight, just like so. And that looks really nice.
And so now once you have this we are going to do basically a star stitch to hold this in place, because it does take a little bit of maneuvering. This is probably the trickiest part, because you want to hold that disc in there. So I'm going to take a little stitch through there where they meet up and then we can sew across and back down. And we're just going to make sure that
all of our sides are secure. So I've got this one and then we're going to go up this way and we're just making a star out of our threads. And it's just going to hold this whole thing together. So again we can come across,
make sure you've got a good bite of that fabric, and then lastly we'll come back and meet up on the other side where we started, just like so. I can give that a good tug and now that's really nice and secure. I don't have to fidget with it quite so much and I can just put a knot in here to tie this off.
We'll go ahead and knot that twice just to make it nice and secure, and we'll snip our thread.
Now we can put all of our components together! All right so one last time let's just go over the components that we've put together. So here is our zipper. From this point forward we're going to go ahead and open this up because that's going to make our lives much easier. So we'll have that open and ready to go. Here are our two outsides of our little macaroon
pouch and these are the two lining pieces.
So first up we are going to grab one of the outsides as well as our zipper and we are just going to make sure that this is going to kind of tuck
inside. If you needed to change up what you've gathered this would be the point that you could redo that on the zipper to make it tighter or looser if you need to. This is totally good enough for me.
So now we are basically going to do the same sort of stitch that you would
do for binding. To make this as invisible as possible I do recommend you match your thread to your zipper color so that it will be nice and forgiving. So we're just going to start by coming through here. I'm catching a little bit
of our macaroon and our zipper, and then we're gonna come straight down from that and we're going to go over about a quarter of an inch and we're going to come back up, catch a little piece of that macaroon, there we go. And so we'll just continue. The goal that you have here is to leave about a quarter of an inch of your zipper tape showing. So you just want to keep watching that as you go around. So I'm just checking how much is showing through. I'm pushing my needle up and as I pull these it just kind of disappears into the zipper tape and you can see how that works.
So let's go ahead and we are going to sew both sides of these on and I'll
meet you back here when that's done. So just for the sake of time I have this other one that I've been working on that I went ahead and sewed both of them on. I've added one of the linings and let me show you how we add the other one. So you can see it's all stitched in place and once you have it all attached it's very forgiving because that thread just blends right in with your zipper which is what you're looking for.
So now we're going to take our little lining circle and we're just going to nestle this inside here. And the exact same concept as we did with the outside. With that little invisible stitch is what we're going to do here. So I'm going to start with my knot under this yellow lining because I would like it to be as invisible as possible. So I'm just going to pop this up through so that the knot is now nestled underneath there and we're just going to go right back and across. So right on the edge just like you're looking for when you're doing binding. So we'll take a stitch, and then go straight back from where that...so here's where the thread came out. We're going straight down over about an eighth to a quarter of an
inch coming up and that little edge of our lining and pulling that tight so our thread is invisible. So we'll just continue that all the way around. And when you do that it's going to look like this. You can see how nicely that ends up and then we can just close it up and it's finished.
So let me show you this little one that is all done. So here is our finished little pouch. You can see I used the light purple in this one and it turns out so great and it comes together really quite quick. Especially as you're
sitting there it's nice to have something that you just made while you're otherwise just watching TV.
So I love projects like this. It's perfect to hold maybe some medicine, your little air pods you can toss in there or you know a pair of earrings you want to keep safe, just anything little. But mostly look how stinking cute it is. How can you resist that, right? I hope you guys enjoy this. I hope you'll pick it up and give it a try and I will see you next time on At Home.


