

How to Make a Make More Wall Hanging - Free Project Tutorial
 Misty Doan
- Charm Pack
- Traditional
- Wall Hanging
- Beginner
- Quilt size 35" × 27"
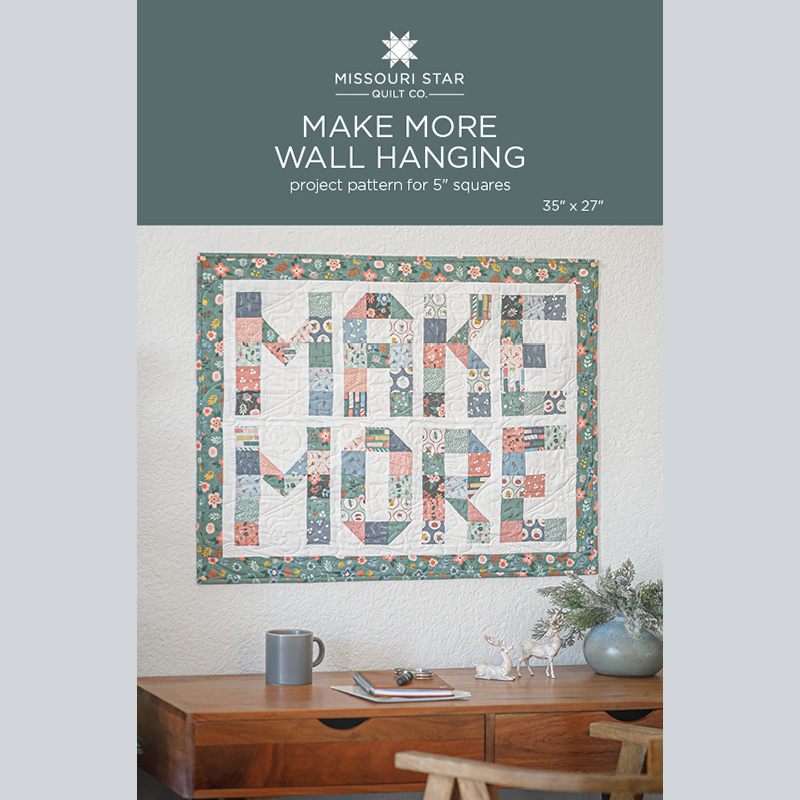
Need a reminder to keep creating? Look no further than this adorable wall hanger! Follow along with Misty as she creates the Make More Wall Hanger. Using the Let’s Create fabric collection from Echo Park, this wall hanger features the words “Make More” in a bold font. The perfect decor for any sewing room!
Instructor
Misty Doan
Misty Doan grew up surrounded by sewing and quilting. She loves spending time sharing tutorials each week each week, and when she’s not stitching up one of her fun sewing projects for home decor, most likely you’ll find her hanging out with her husband and three awesome kids or working on a house project.
Shop this tutorial
 Make More Wall Hanging Pattern by Missouri Star$6.95Shop →
 Digital Download - Make More Wall Hanging Pattern by Missouri Star$4.95Shop →
 Let's Create 5" Stackers$11.95Shop →
 Kona Cotton - White Yardage$7.28Shop →
 Let's Create - Main Hunter Yardage$11.96Shop →
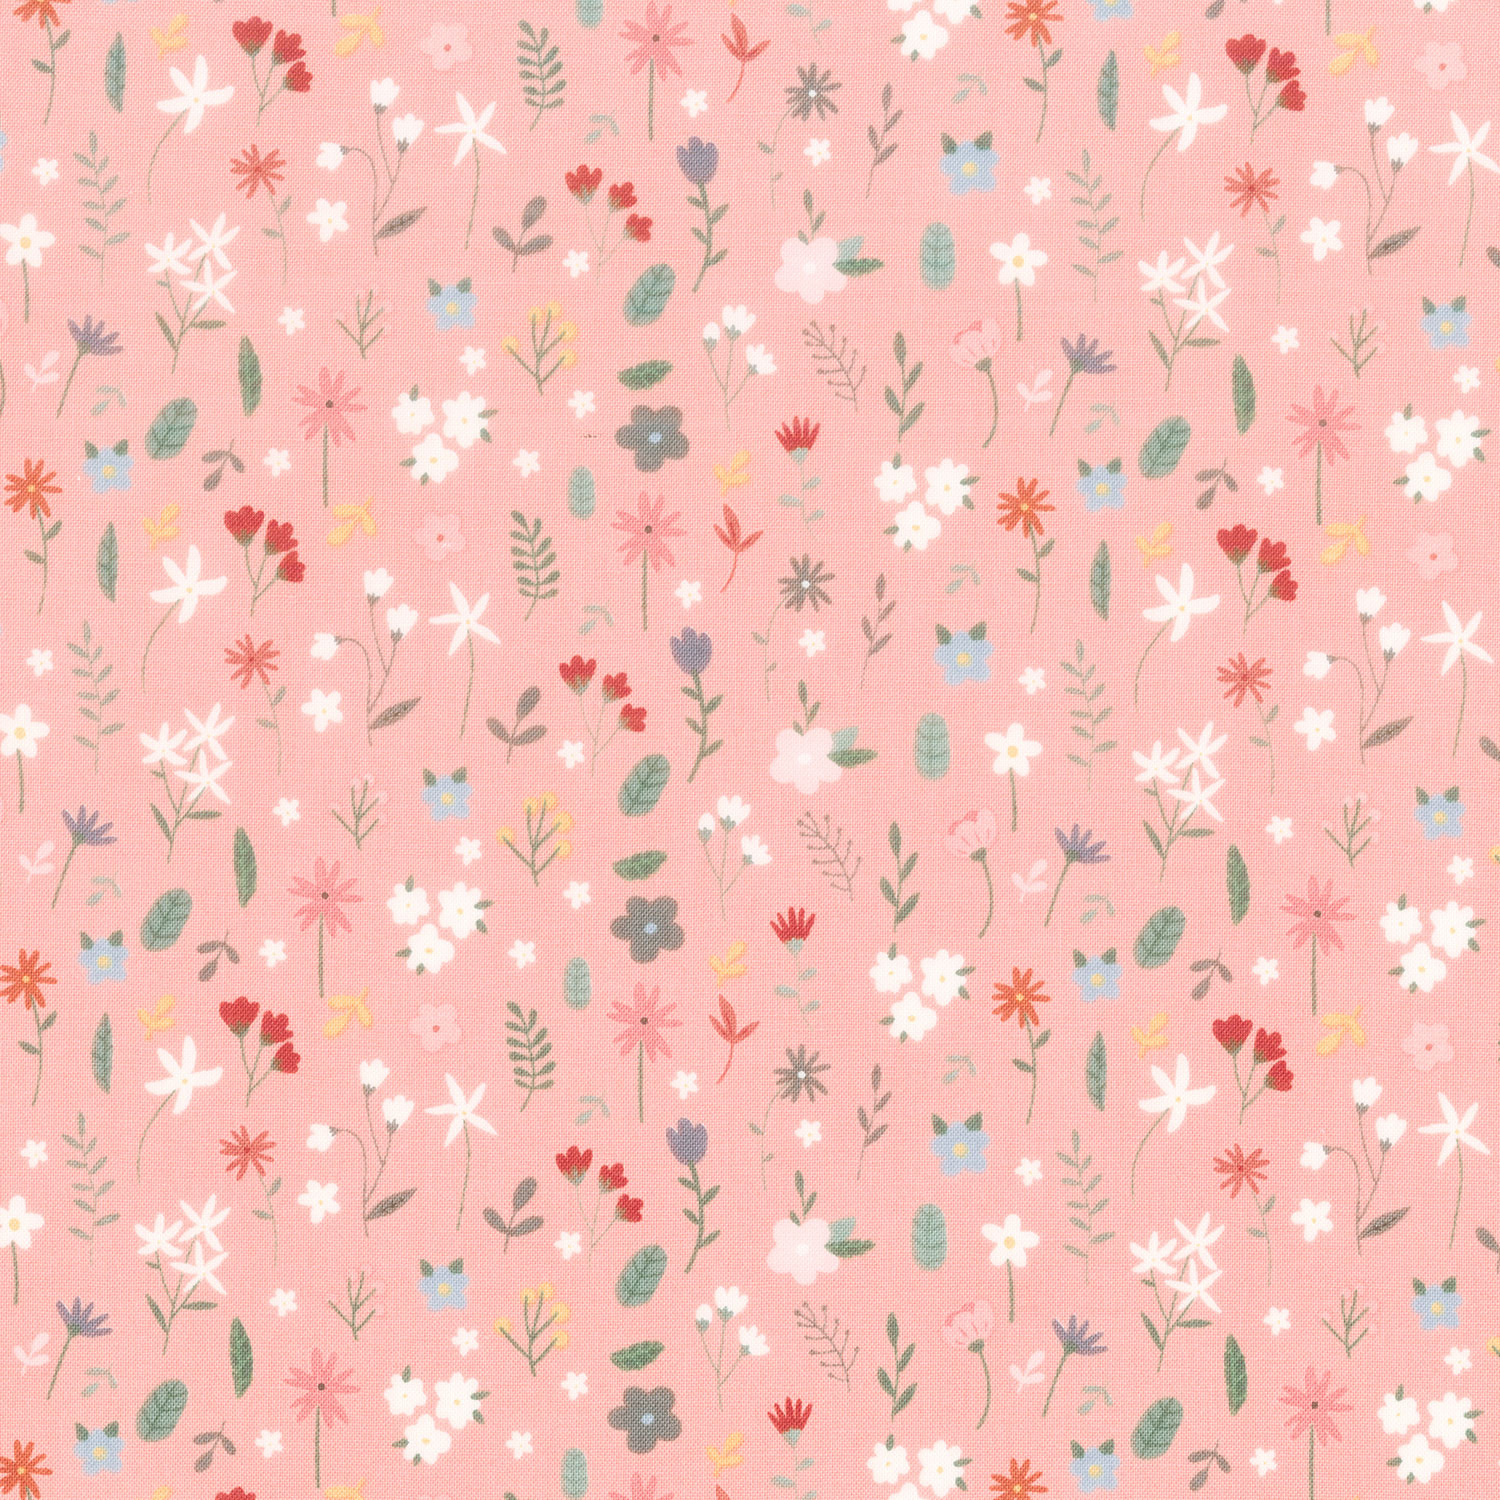 Let's Create - Stems Coral Yardage$11.96Shop →
 Missouri Star Quilter’s Best Blend Crib Batting$14.45Shop →
 Missouri Star 2.5" x 8" Ruler$10.95Shop →
 Missouri Star 45mm Rotary Cutter$19.95Shop →
 Exclusive Missouri Star Jenny TG1600 ProPlus Oliso Smart Iron$199.99Shop →
 Missouri Star Wooly Betty Board - 17.25" x 25.5" Orange Border$98.95Shop →
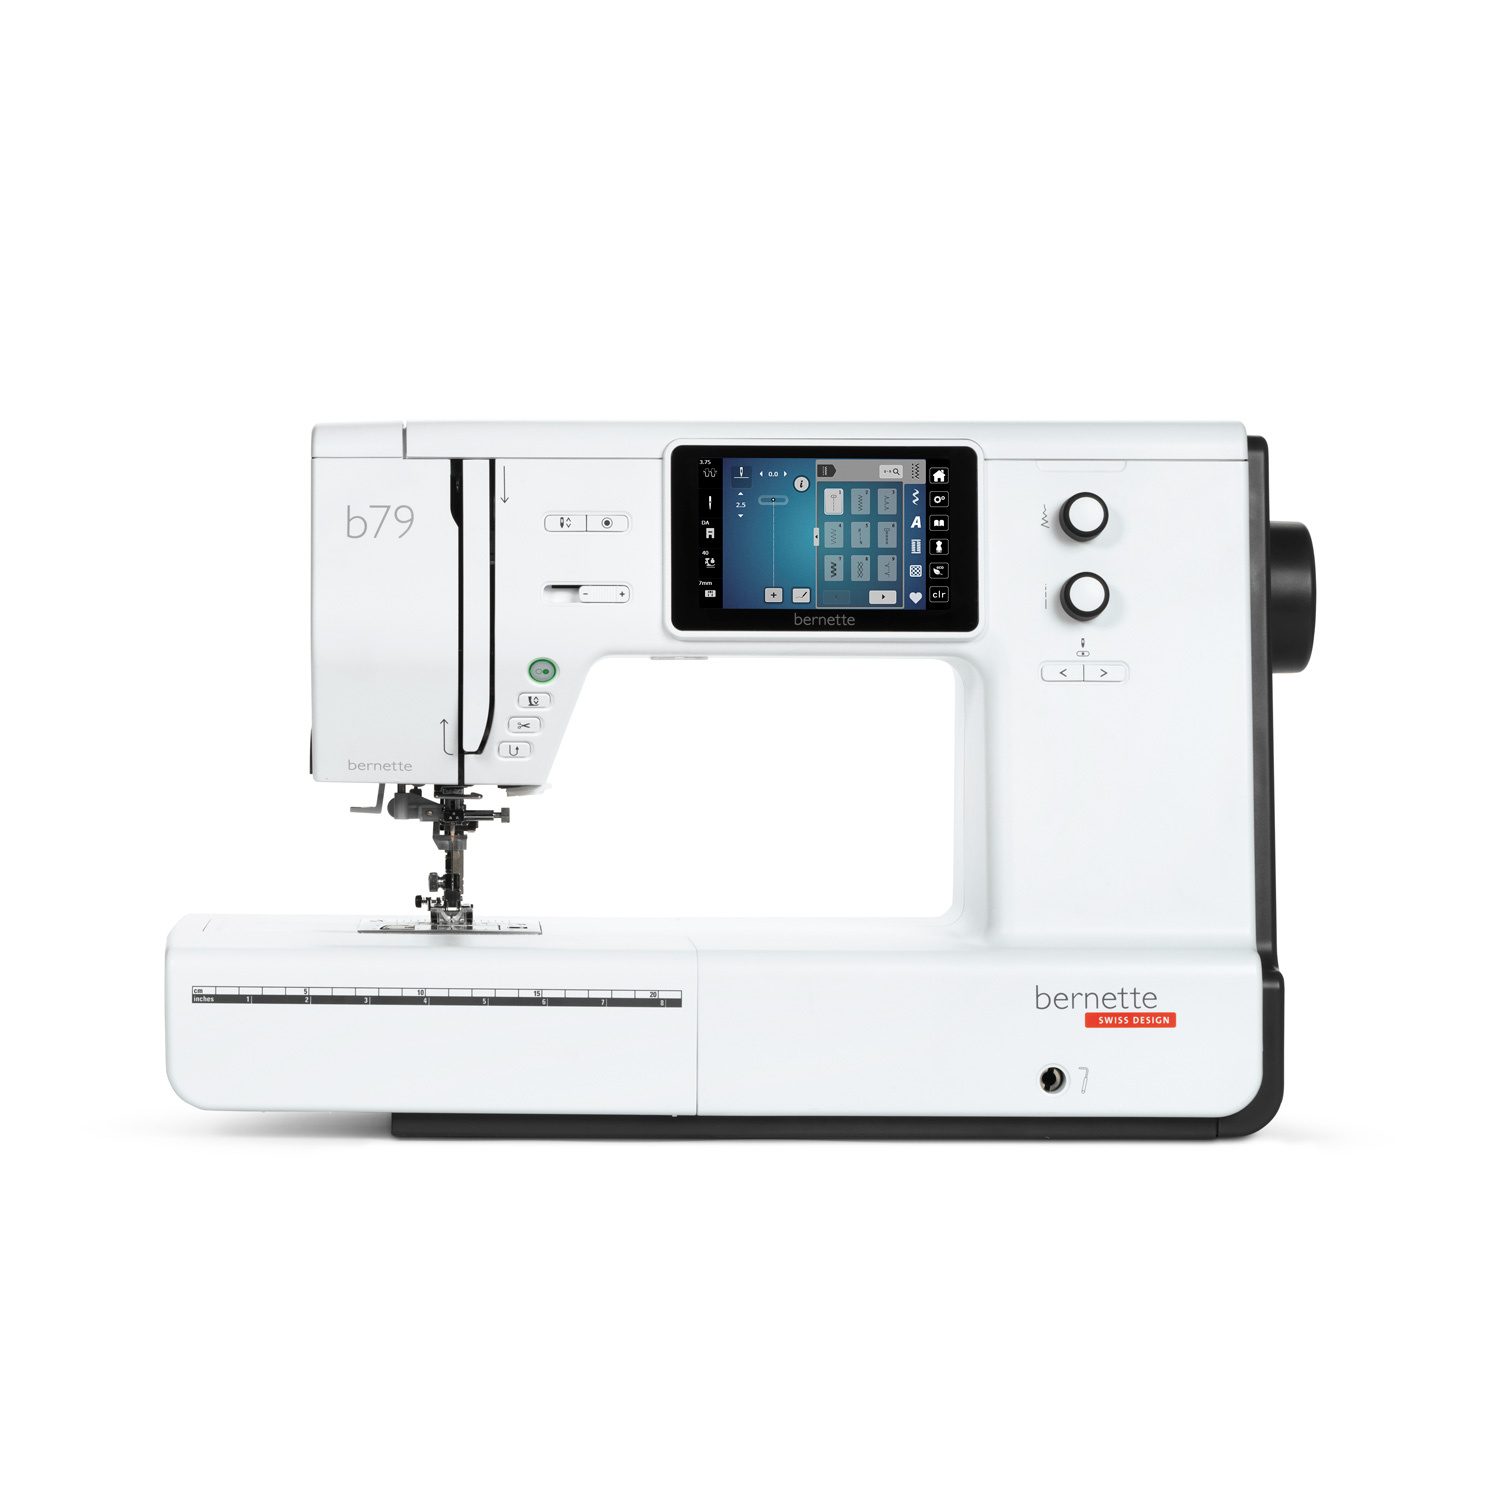 Bernette 79 Sewing and Embroidery Machine$2199.00Shop →
Common Questions
What is covered in How to Make a Make More Wall Hanging - Free Project Tutorial?
Need a reminder to keep creating? Look no further than this adorable wall hanger! Follow along with Misty as she creates the Make More Wall Hanger. Using the Let’s Create fabric collection from Echo Park, this wall hanger features the words “Make More” in a bold font. The perf...
How long is the tutorial video?
The tutorial video is 00:08:52.
Are supplies listed for this tutorial?
Yes. The tutorial page includes the supplies and materials connected to this project.
Is a transcript available?
Yes. A written transcript is available on the tutorial page.
Video Transcript
You know I love words and I love to create designs using the easy alphabet
quilt pattern that I designed. If you're not familiar with that that has all the
letters of the alphabet and it was the inspiration for today's project. I just
changed it up a little bit. So this is super simple to make this project!
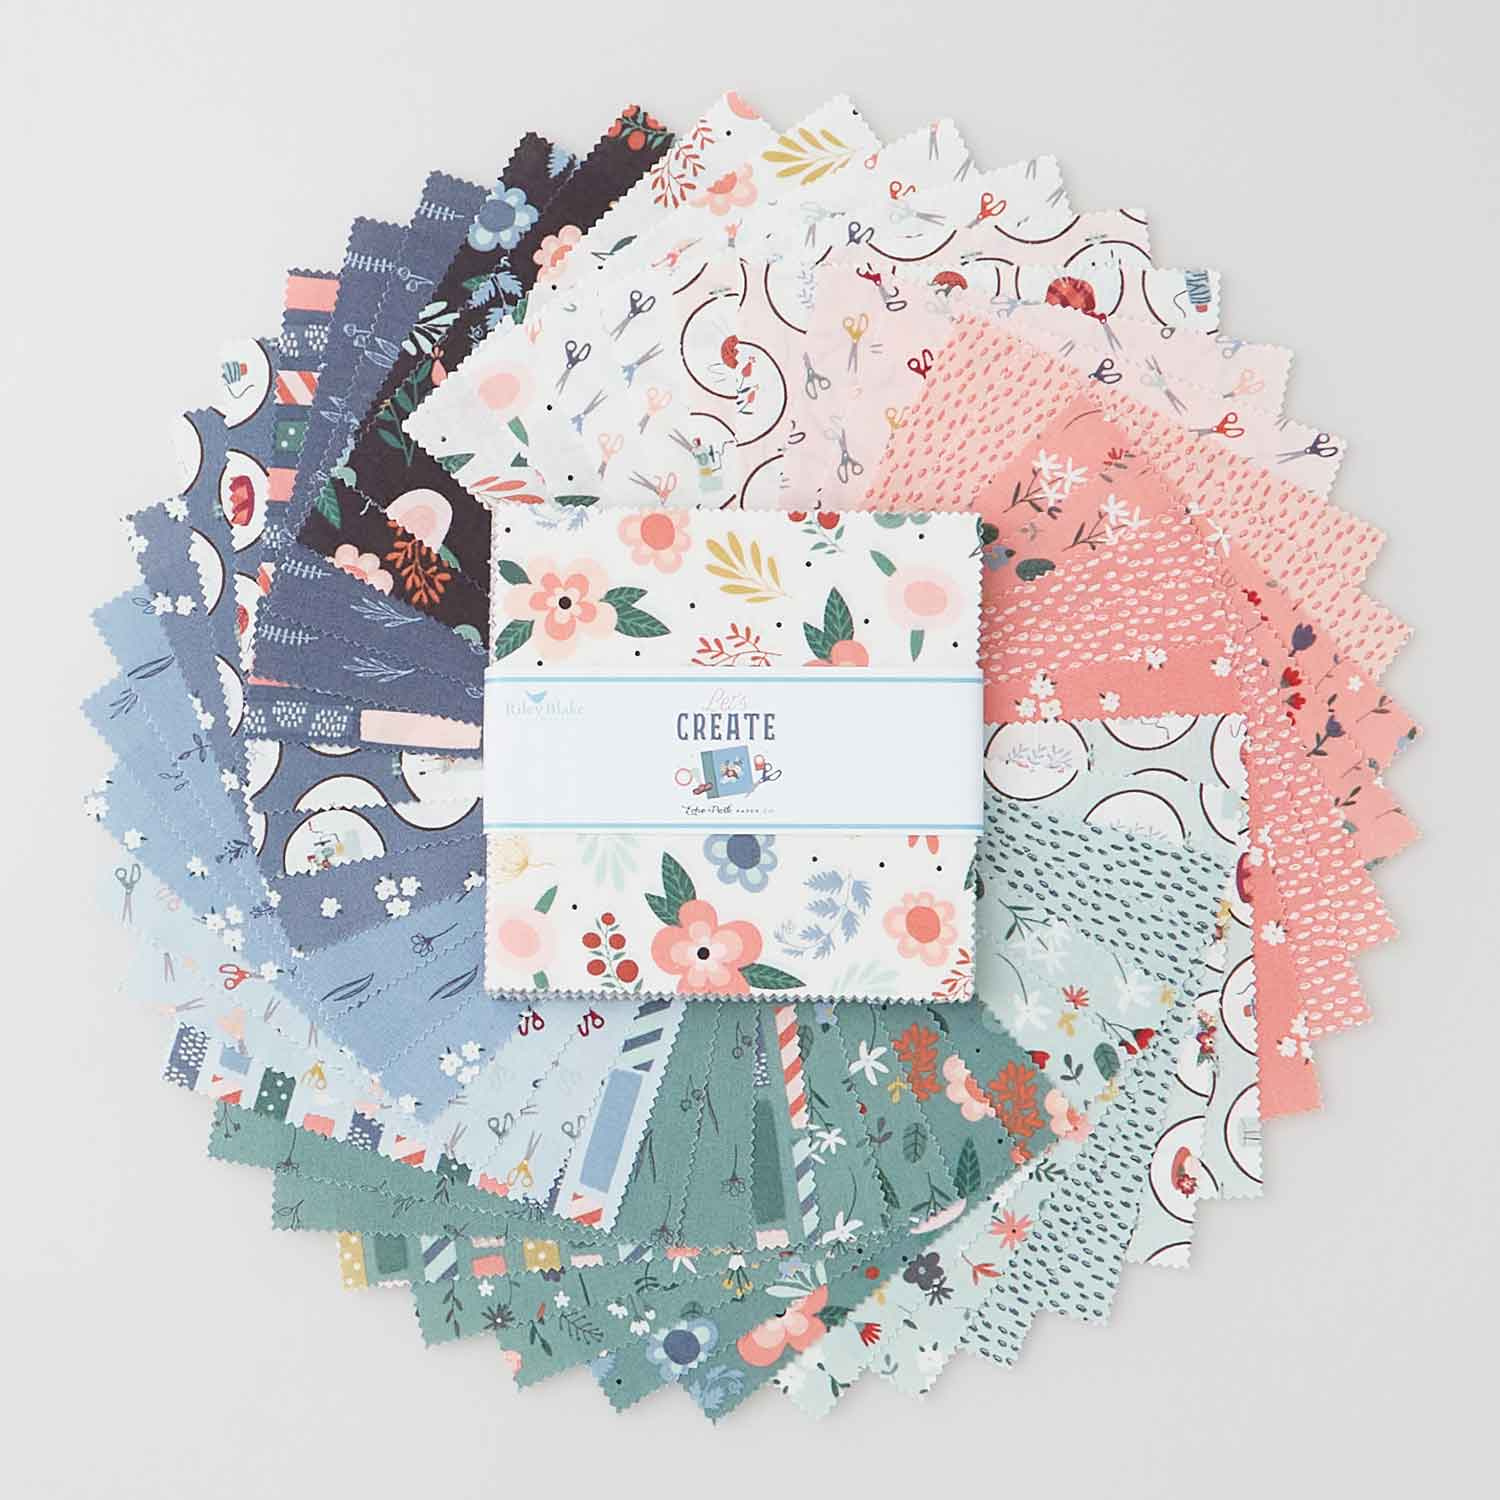
You're going to want to grab one package of 5 inch squares. I used Let's Create by Echo Park Paper Company for Riley Blake Designs and it is just beautiful. I absolutely love this line! So in addition to that, you're also going to need 3/4 of a yard of background fabric. You're going to want to pick whichever one matches your charm pack best. You'll also need a quarter of a yard of your border fabric. I also used the same print for binding, which you'll need a half yard for that. And then you'll need one yard for your backing and so that is what I have used.
Let's go ahead and set this aside and get started. As far as your charm pack is concerned, you are going to pick 25 of your favorite prints and I
just avoided the really lights on the top. So I just pulled from all these
beautiful prints in the back. So let's just grab a few here to get started, make sure we've got some variety. Maybe one of these blues, so pretty.
Then we are going to stack these up and all 25 that you choose we are going to cut in half both directions to make 2 and 1/2 inch squares. So I have my little 2 and 1/2 by 8 inch ruler here. I can lay that right along the side and cut this in half this way and then come back and cut it in half this direction as well. There we go!
So now this quilt is all about the layout. We're going to lay out each letter and a few of them are going to require some half square triangles. So let's go ahead and make that as well. So I'm just going to pick a few of these and we're going to match those up with some of our background to 2 and 1/2 inch squares and I'm going to go ahead and get a pencil and draw a line here. Because for this project we're going to sew right on the line, so we'll just mark corner to corner and we're going to go ahead and make four of these. There we go, all right.
So now I can take my prints and my background to the machine and we're going to sew right on that line. So we'll just make sure they're lined up neatly here. I'm actually going to move my needle to the middle for this
and this is a great opportunity to chain piece. That just means we're going to place one in right after the other. So I'll just keep stacking these and
sliding it in, right after the other one. Chain piecing saves thread and time, because we're not clipping in between every single seam. And one more, just to get us started.
All right, so now we can bring this over here and we can cut these apart. You can use scissors or your rotary cutter. So now we're just going to cut off the excess. If you wanted to save these and have little tiny half square triangles you could stitch a quarter inch away from that line and cut in between. Otherwise these can just go into your scraps. So we will cut that off and do the same with all four of our squares... and one more. There we go.
All right now we can take these and give them a press at our pressing mat. I just like to gently roll the darker fabric back so that my seam is under that dark fabric. There we go and one more just like so.
All right so now let's start laying out some of our letters. So like I said
this is truly all about the layout so I have my piles of half square triangles,
my background squares, and all of my 2 and 1/2 in squares ready to go. So
we're just going to start laying out our letters. So first up is the M. So I just want to make sure that I'm having a variety of prints next to each other. So
I just like to pull from my stack and make sure that I've got different prints
going the whole time. So then we can come in with our half square triangles. Swap this out just like so, and you can just see how quickly it
starts to take shape. Just like this... some different prints... maybe use that one up there. There we go. So there is our M.
So this process is just going to continue with every single letter and really the trickiest part is making sure that you get those half square triangles in the right place. So let's take a few of these and look at the project behind me and see how they fit in. So you can see here's that M that we laid out. For the A, the half square triangles just go on the top two sides. For the K they come in right here. So it turns here, and then here, and then matches up here. And here the E is, simple it doesn't have any. M of course is just
a repeat. The O, they come in on all four corners and then the R is here,
here, here, and here. And then we finish off with the E. So it's super simple. This is just sewing straight squares together from that point.
And then you're also going want to want to sash in between your letters. I just have an inch and a half sashing here that I put between each letter and as that first inner border that's included in your background fabric. Then we finished it off with a 2 and 1/2 inch outer border. It's a super quick and easy project. You can pick whatever saying you want that's going to inspire you for your sewing room.
I hope this is fun for you and you will make more this year!


