
How to Make a Pinwheel Charms Table Runner - Free Project Tutorial
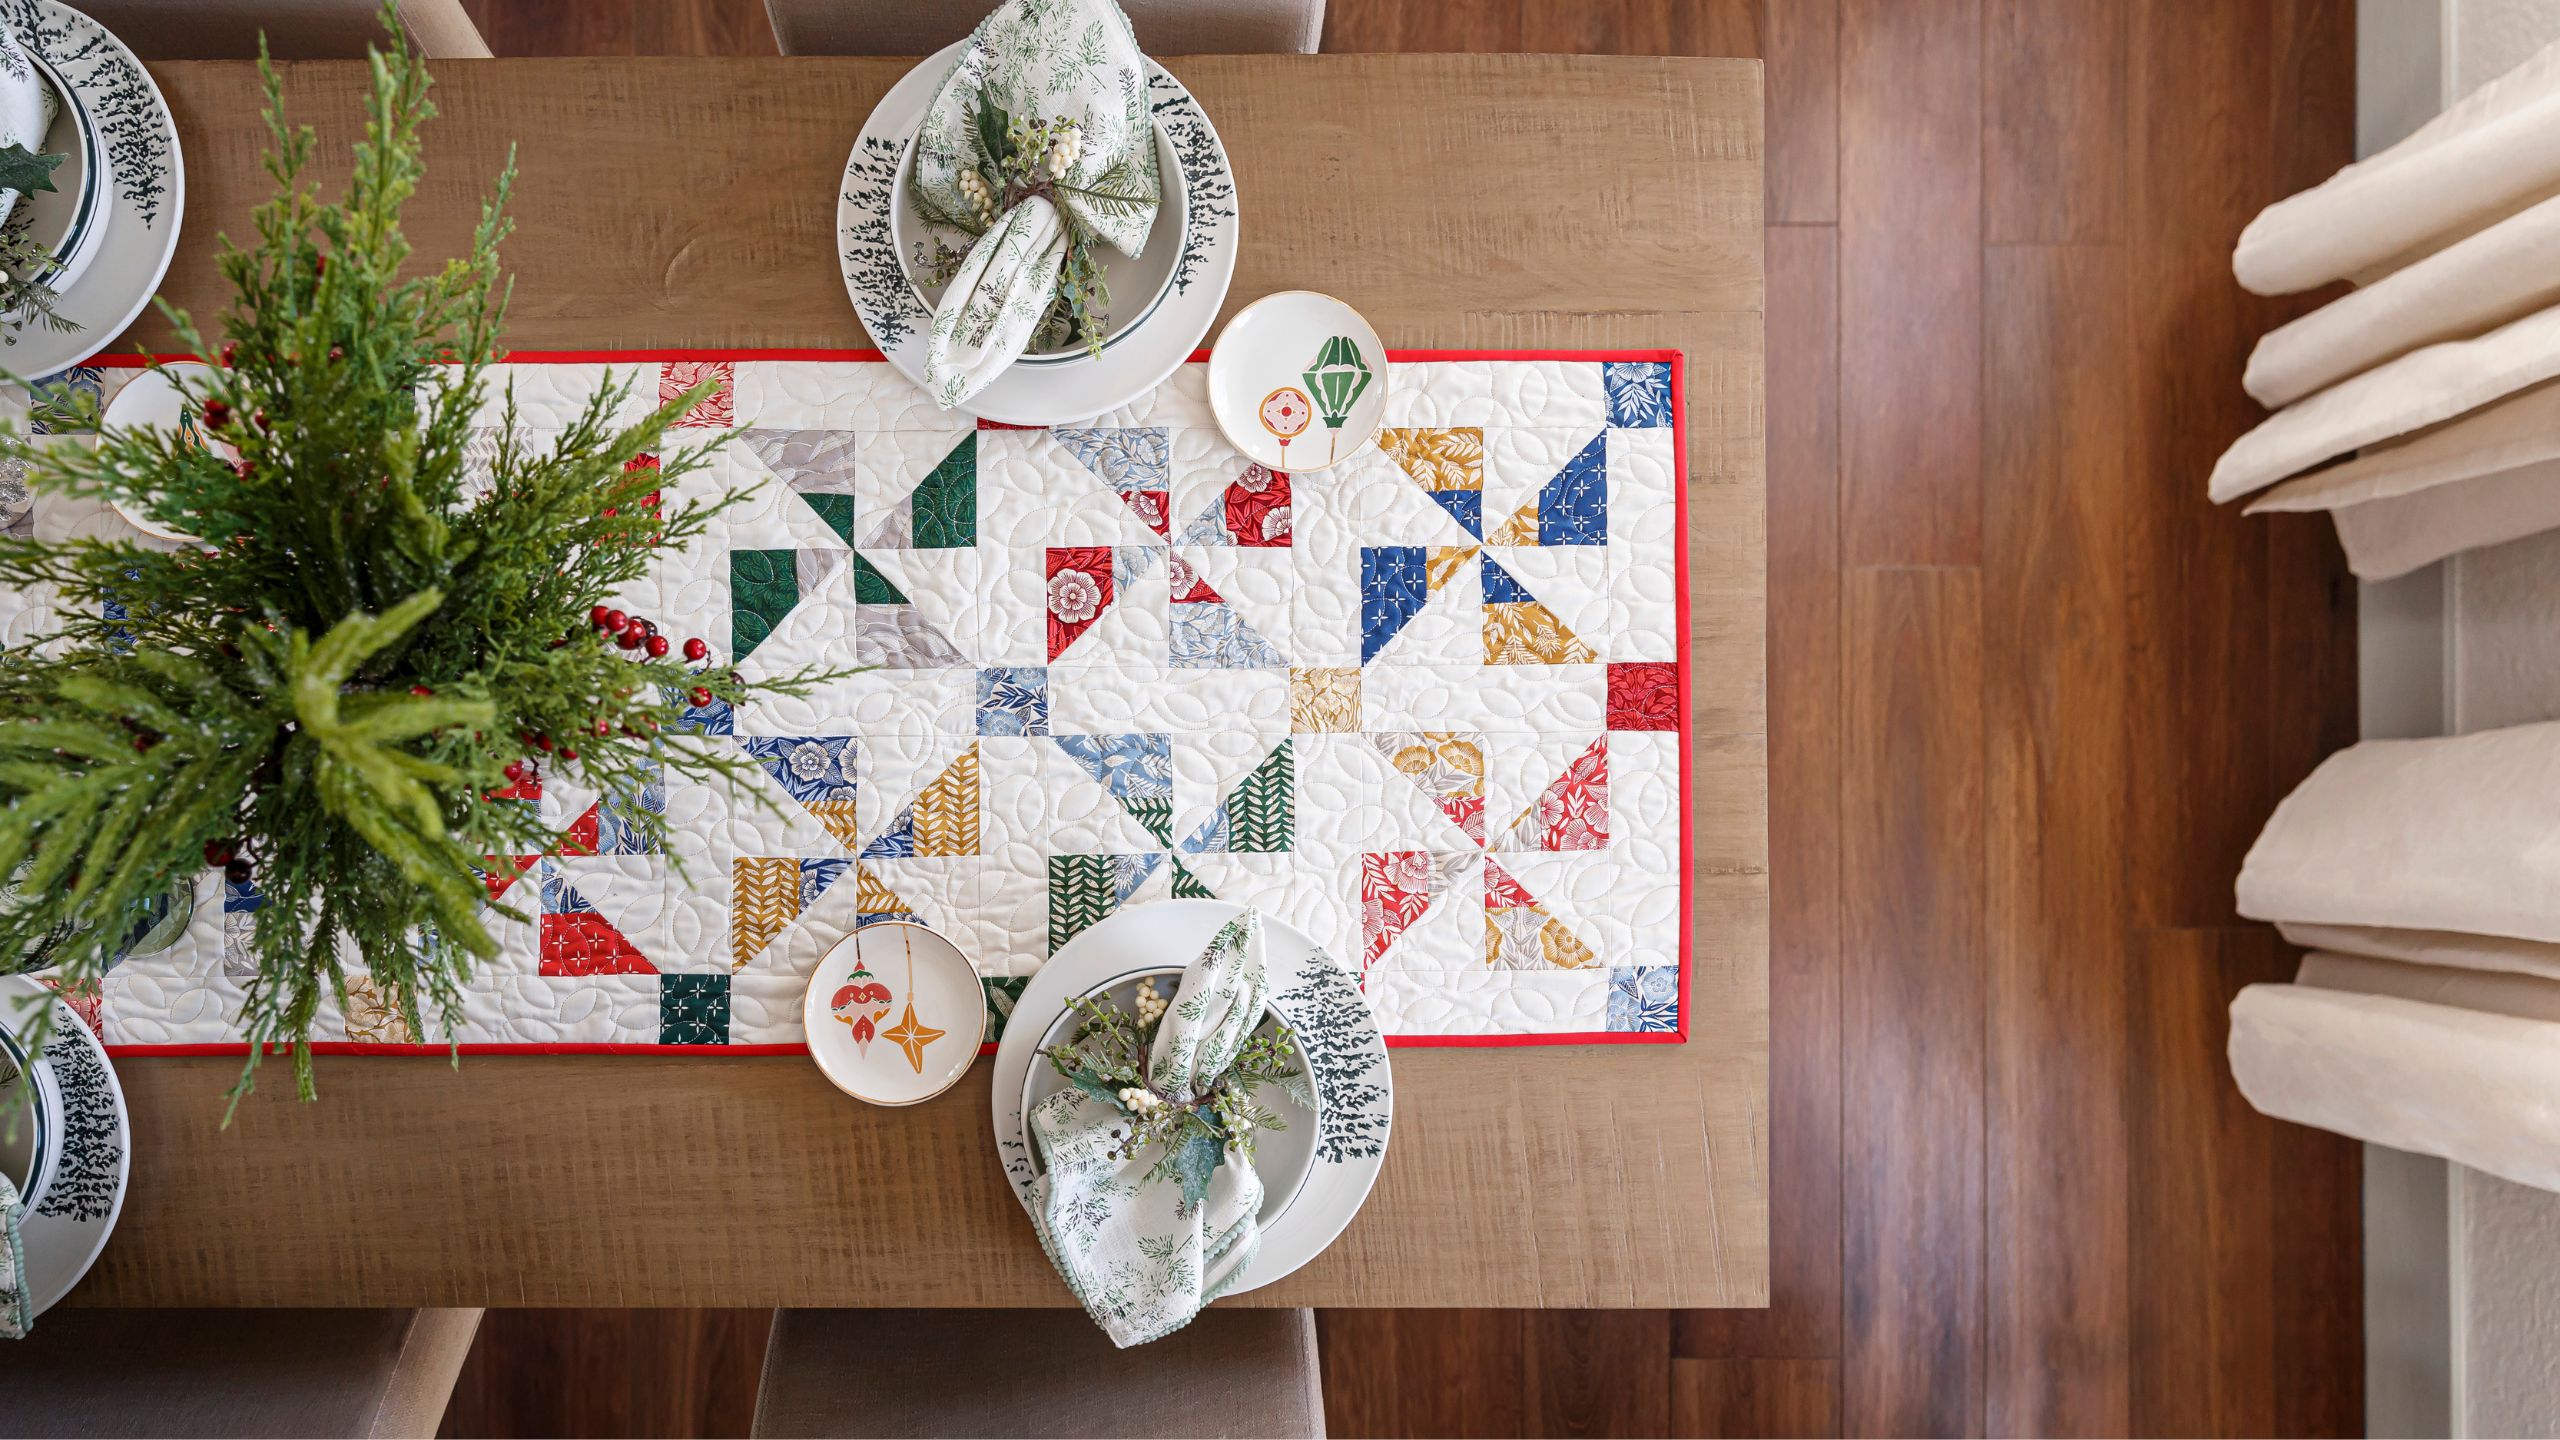
It's a pinwheel party! Join Misty as she crafts a Pinwheel Charms Table Runner—a whimsical pattern that looks downright romantic in floral fabrics. This beginner-friendly project features the Flower Press Charm Pack by Katharine Watson for Moda with Bella Solids Eggshell in the background. How charm-ing!

Instructor
Misty Doan
Misty Doan grew up surrounded by sewing and quilting. She loves spending time sharing tutorials each week each week, and when she’s not stitching up one of her fun sewing projects for home decor, most likely you’ll find her hanging out with her husband and three awesome kids or working on a house project.
Shop this tutorial
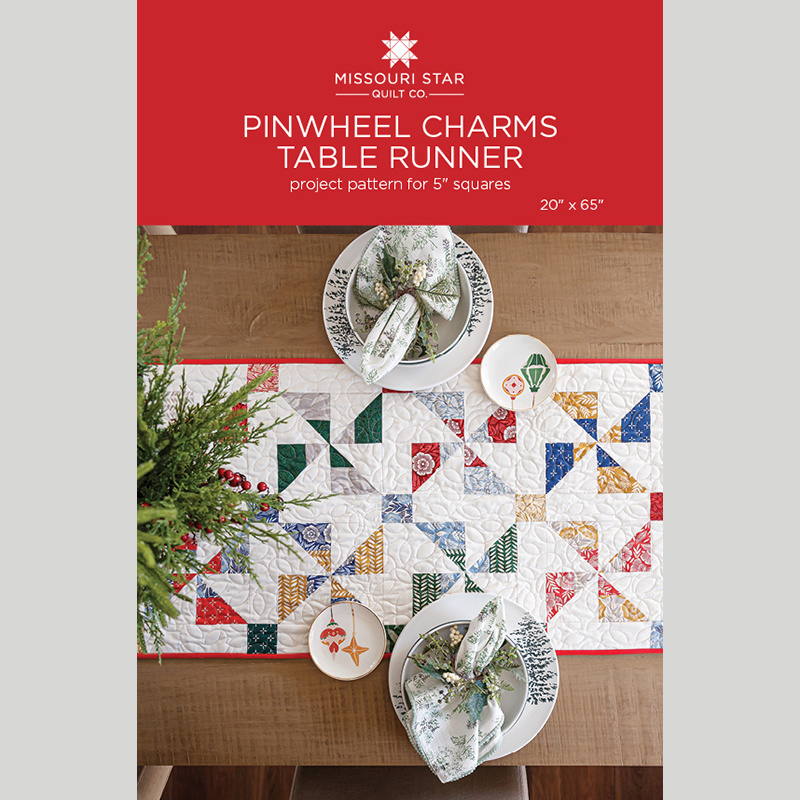 Pinwheel Charms Table Runner Pattern by Missouri Star$6.95Shop →
 Digital Download - Pinwheel Charms Table Runner Pattern by Missouri Star$4.95Shop →
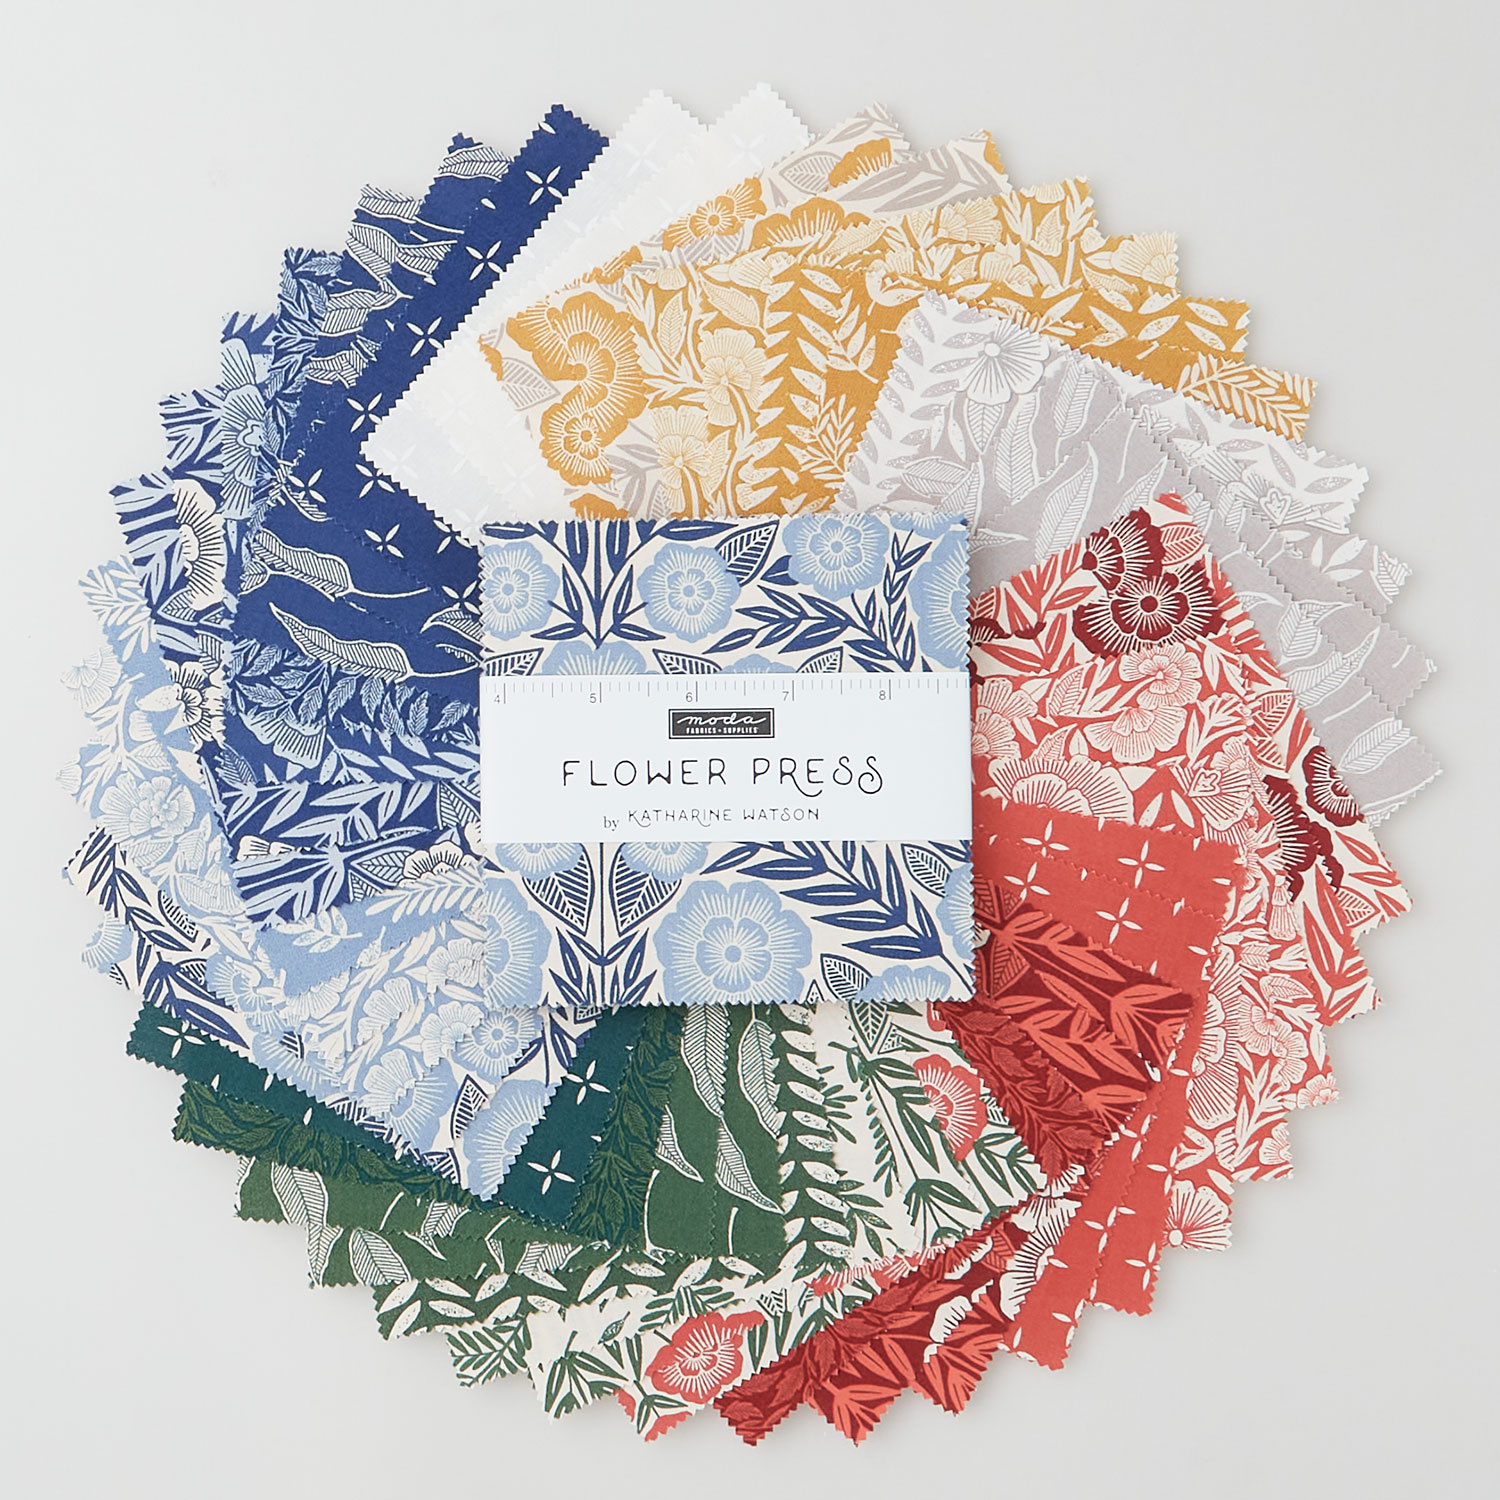 Flower Press Charm Pack$11.45Shop →
 Bella Solids - Eggshell Yardage$8.24Shop →
 Bella Solids - Sumac Yardage$8.24Shop →
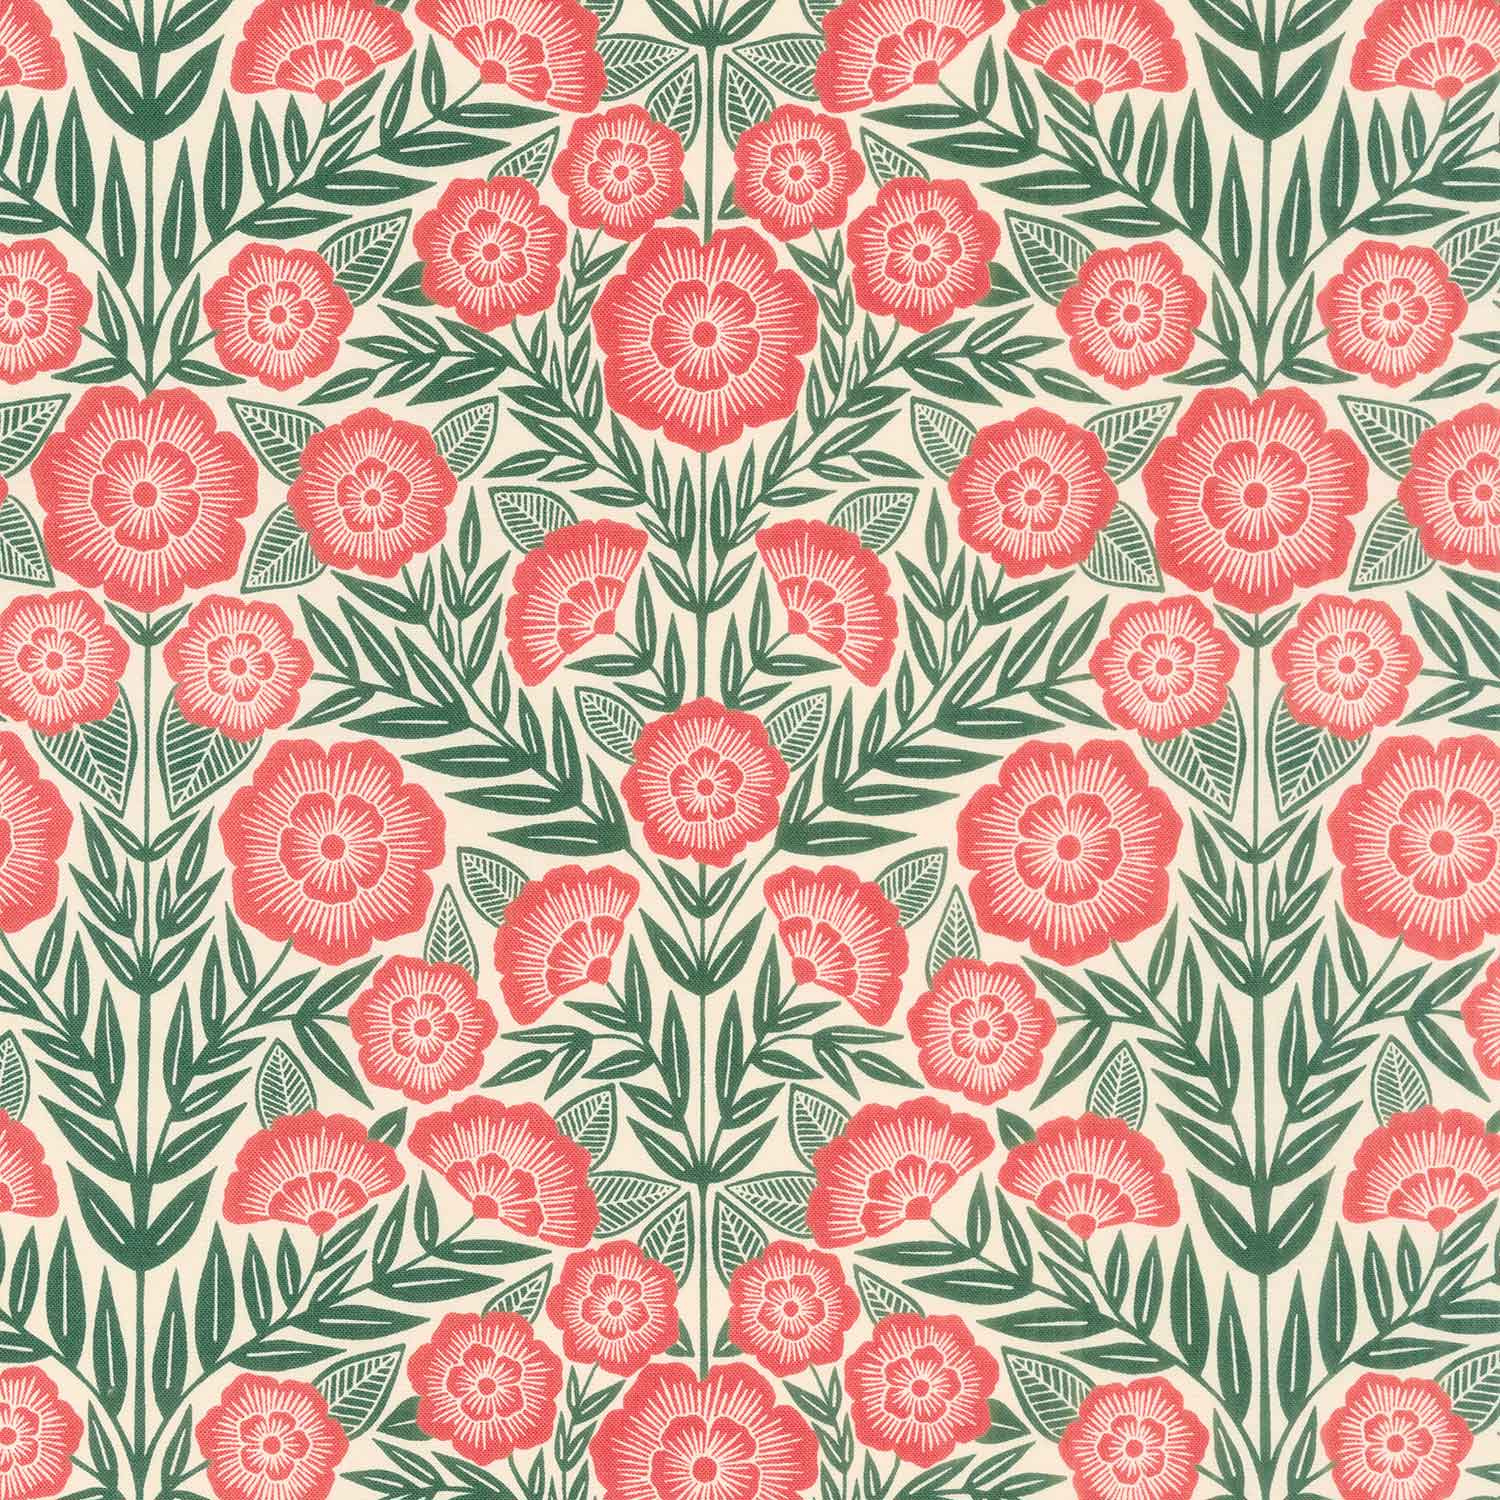 Flower Press - Floral Ecru Ginger Yardage$11.96Shop →
 Missouri Star Quilter's Best Blend Bed/Table Runner Batting$14.95Shop →
 Missouri Star 2.5" x 8" Ruler$11.95Shop →
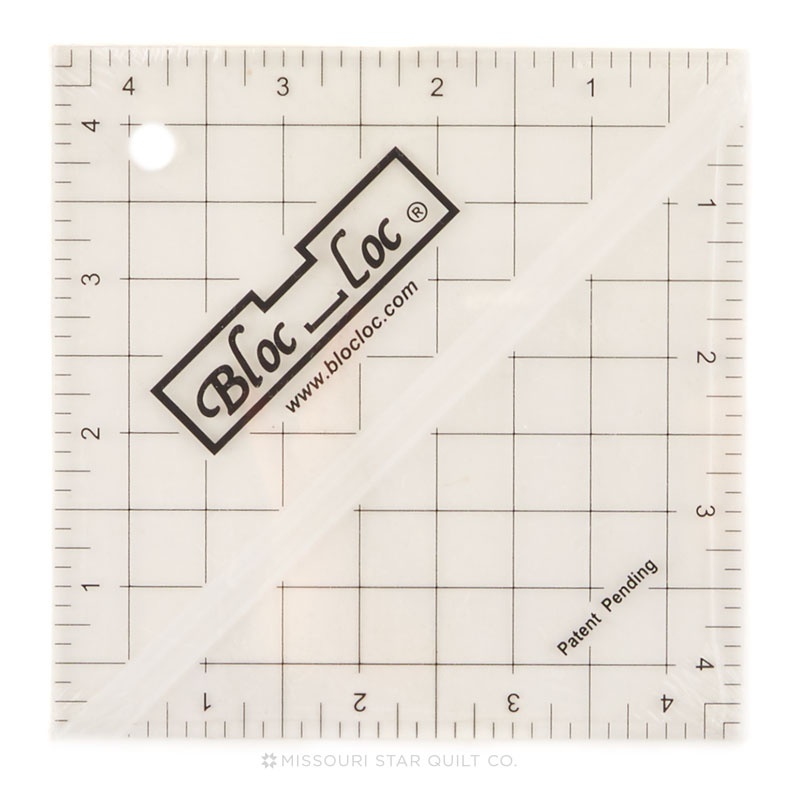 Bloc Loc 4 1/2" Square Up Ruler$25.00Shop →
 Missouri Star 45mm Rotary Cutter$19.95Shop →
 Exclusive Missouri Star Jenny TG1600 ProPlus Oliso Smart Iron$199.99Shop →
 Missouri Star Wooly Betty Board - 17.25" x 25.5" Orange Border$99.95Shop →
 Missouri Star 50 WT Cotton Thread White$7.95Shop →
 Bernette 77 Sewing and Quilting Machine$1499.00Shop →
Common Questions
What is covered in How to Make a Pinwheel Charms Table Runner - Free Project Tutorial?
It's a pinwheel party! Join Misty as she crafts a Pinwheel Charms Table Runner—a whimsical pattern that looks downright romantic in floral fabrics. This beginner-friendly project features the Flower Press Charm Pack by Katharine Watson for Moda with Bella Solids Eggshell in th...
How long is the tutorial video?
The tutorial video is 00:11:21.
Are supplies listed for this tutorial?
Yes. The tutorial page includes the supplies and materials connected to this project.
Is a transcript available?
Yes. A written transcript is available on the tutorial page.
Video Transcript
So this table runner is called Pinwheel Charms and it is so simple to make! First you're going to grab a charm pack - I'm using Flower Press by Katherine Watson for Moda. It's just these beautiful modern florals. I really, really love it. Then you're going to need a yard and a quarter of background fabric. This is the one that I used. I bound it with this beautiful red - you'll need a half yard of that. And then a yard and a half for your backing.
So let me show you how to make this. First up we're going to open up our charm pack and we are going to pick two that are contrasting. I have a few extra here so I'm just going to look through here, maybe these two together. We just want good contrast. So we're going to begin by placing these right sides together and then on two opposite sides we're going to sew 1/4 inch seam.
So let's go ahead and take this to the machine. All right we finished this first side so we can flip it around and go down the other side. Now there we go, trim our threads. Okay so now we can take it to our cutting mat and we are going to cut this in half. This is a 5 inch square, so I can use my little 2 and ½ inch ruler and we can just lay this right along here and cut it in half.
Now I'm going to go ahead and I'm going to take this to the iron and press
these open, roll these back to the darker fabric. There's one and two. If I can get a hold of it, there we go, perfect. All right so now that we have these pressed, we are going to trim it so that they're square. Because right now it is five by four and a half and we want these to measure four and a half inches square. So I'm just going to lay this on the mat and I am just going to trim off a ½ inch from both of these. There's one and the other, just like so. Perfect.
All right so once we have this completed we are going to take 4 and ½ in background squares, and I've gone ahead and drawn a line corner to corner on both of these. We are going to match these up with our strip sets here and we're going to sew a ¼ inch on both sides of that line. I do want to go ahead and point out that I have these oriented the exact same way and I just did that for consistency’s sake. I know if you do it that way this will work out perfect, so you might want to do the same thing.
So let's go ahead and take this to the machine and we'll stick on both sides of that line. Okay we've gone down one side, so now we can flip this around and go down the other. Okay there we go. So let's bring this back over to our cutting mat. I'm going to go ahead and clip these threads and now we can use our ruler and we're going to cut on that line that we drew exactly in between our two seam lines just like so. You'll see when we open these up they're going to be opposites just like so. And so we will have two of each.
So I'm going to go ahead and press these and then we'll square them with the Bloc Loc and I'll show you how it comes together. Okay I have all four of these pressed and you'll notice I have them in two little piles because we end up with matching two of the same and they're opposite of
each other. So now we're going to square these to 4 inches. One thing I
tried to pay attention to just because I'm who I am; I always looked on my ruler to see where this little line would end up and I would say nine times out of 10 it ended up at 1 and ¾. But it looks like my seam is a little wider than maybe when I first made this, which happens sometimes when we're teaching, we go a little faster than we usually do. So this is actually going to end up on so that is 1 and ⅞ inch. So it's the next little notch over.
So let me just check some of these other ones to make sure that that's where it's going to line up, so that I can still get 4 inches. And it does
there, so just take your time and you can check this. It does there as
well and it does there as well, perfect. So just eyeball that at the end of the
day these aren't actually meeting up with one another. So if they're slightly
different, nobody's going to notice. The most important thing is that you square these to four, so let's go ahead and do that.
There's that and we can spin this around and slide it down to four. It's funny, I'm always surprised how one side's going to be really wonky and the other side's going to be like just right. But that's why it's important to take the step of squaring. There we go, there's two. We'll go ahead and square these two as well. And one more. You'll see I'm barely just shaving a tiny bit off, but it's worth it to make sure that they all fit together nicely in the end.
All right, last one, beautiful. There we go. All right, so now we are going to take this and we are going to make them pinwheel. So that happens by putting opposites next to each other just like so. So then we can sew this together into a four patch. So we're just going to put these right sides together and take them to the machine.
All right, I've sewed that first one. I always like to stop and check and make
sure that this is going to open up the way I want it to before I sew the next
one, and it's right. So we're just going to nest this here in the middle where those seams come together and sew down the side. All right and now we can open it up… see it's coming together.
We'll place those two halves together and sew down this long side and our block will be done. Always take a few stitches and then we're going to line up this middle seam so that those will nest. We'll just cruise down and then line up the ends. Okay, there we go. Now our block is all done.
Let's go ahead and give this a good press so it will lay nice and flat, so pretty. All right, look at that it just comes out so cute. I love this block! It looks like you worked so hard to piece this little pinwheel in the middle and you didn't. It's just quick and easy and we love that, right? That's what we're looking for.
So let's go ahead and look at this finished runner and see how the block fits in here, because I did add some sashing and cornerstones. So here is our block just like so and you'll notice we have our 2 and 1/2 by 7 and 1/2 inch sashing strips. So we will start and end every row with a sashing. And there are seven blocks in each row, two rows of seven just like so. Then for the cornerstones from our extra squares, I just cut those in half. So our 5 inch squares in half both directions to get these 2 and 1/2 inch squares and so those just fit in, just like so.
So it comes together really quick and easy. I absolutely love this project! I think it's beautiful. I can't wait to see what you make and I'll see you next time on At Home.


