

How To Make A Pinwheel Party Quilt - Free Quilting Tutorial
 Jenny Doan
- Charm Pack
- Traditional
- Lap / Throw
- Beginner
- Quilt size 57" × 62"
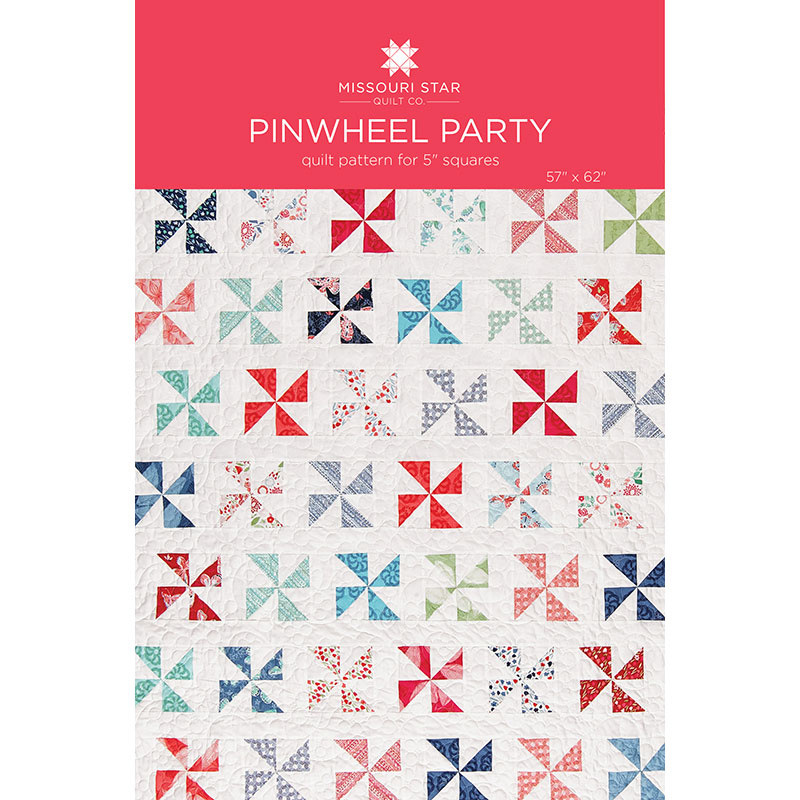
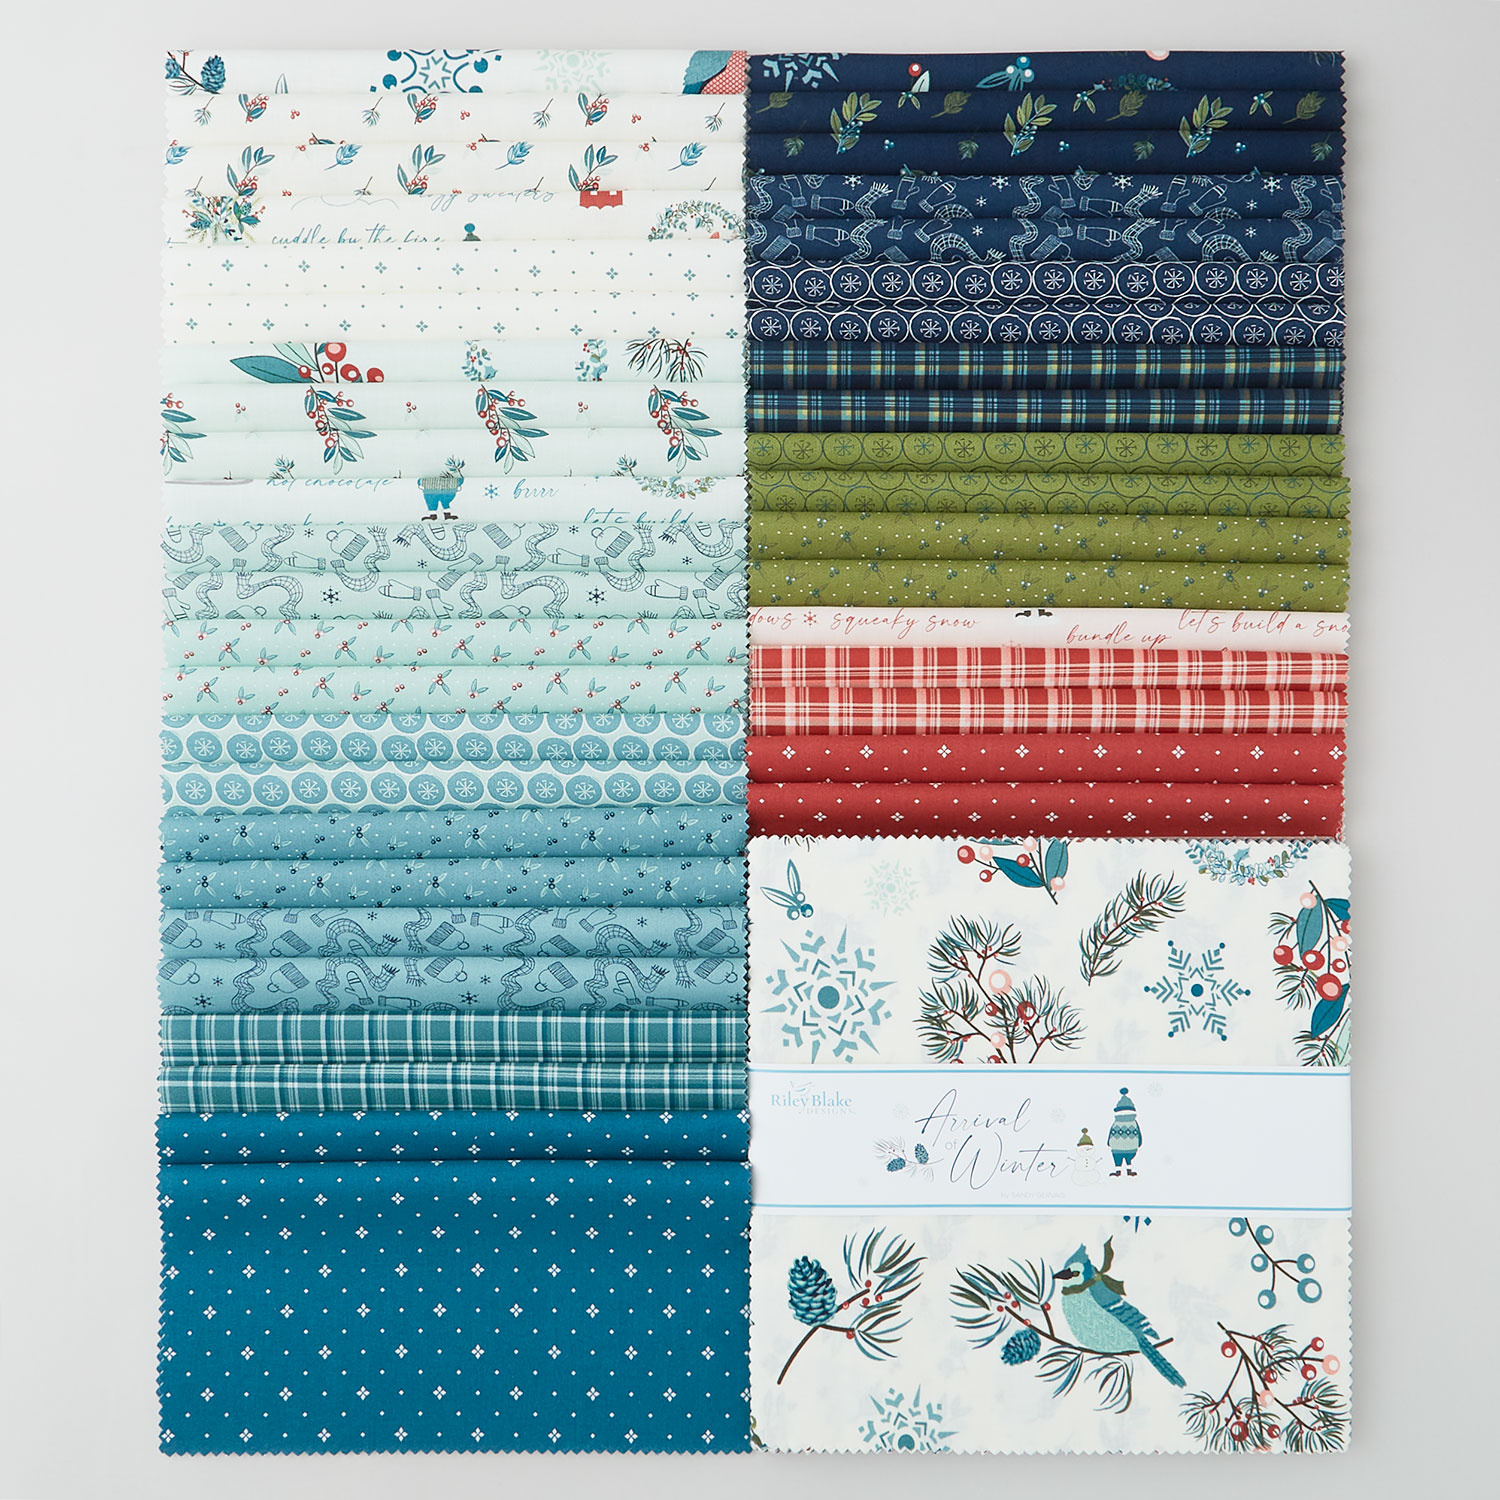
You're invited to a Pinwheel Party—and you'll only need ONE charm pack! Jenny Doan starts this quilt with easy half-square triangles made with Arrival of Winter 5" Stackers by Sandy Gervais for Riley Blake. She stitches pretty pinwheels, then squares 'em with the Clearly Perfect Slotted Trimmer B. Individual sashing is added to each block, and when the whole quilt comes together, there are no seams to match up!
Instructor
Jenny Doan
Jenny Doan is an American quilter, author, and YouTube personality. Jenny started Missouri Star Quilt Company in 2008 and today it is the largest quilting supply vendor in the United States.
Shop this tutorial
 Pinwheel Party Pattern by Missouri Star$6.95Shop →
 Digital Download - Pinwheel Party Pattern by Missouri Star$4.95Shop →
 Arrival of Winter 10" Stackers$39.95Shop →
 Kona Cotton - White Yardage$7.28Shop →
 Clearly Perfect Slotted Trimmers$31.95Shop →
 Arrival of Winter - Branches Navy Yardage$11.96Shop →
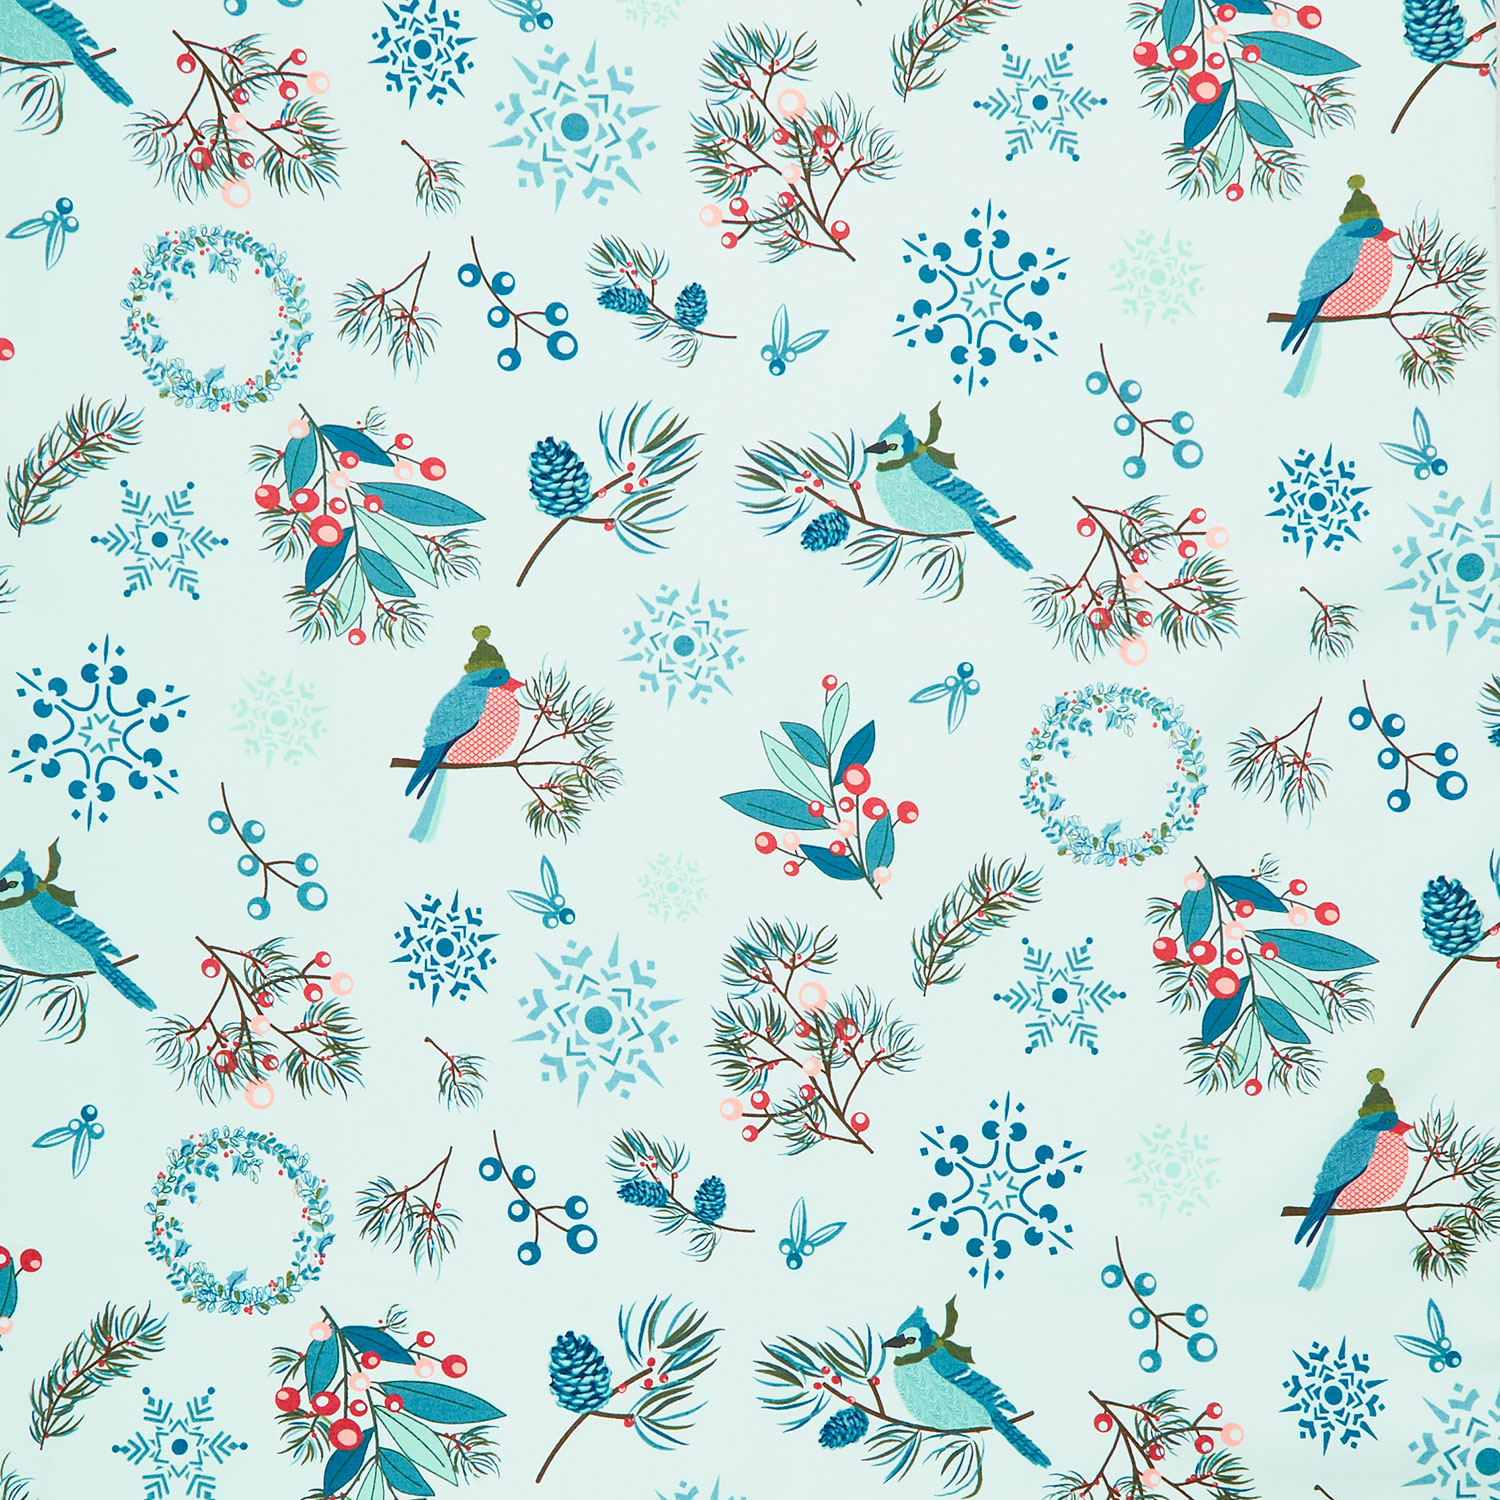 Arrival of Winter - Main Mist Yardage$11.96Shop →
 Missouri Star Quilter's Best Blend Throw Batting$20.95Shop →
Common Questions
What is covered in How To Make A Pinwheel Party Quilt - Free Quilting Tutorial?
You're invited to a Pinwheel Party—and you'll only need ONE charm pack! Jenny Doan starts this quilt with easy half-square triangles made with Arrival of Winter 5" Stackers by Sandy Gervais for Riley Blake. She stitches pretty pinwheels, then squares 'em with the Clearly Perfe...
How long is the tutorial video?
The tutorial video is 00:08:32.
Are supplies listed for this tutorial?
Yes. The tutorial page includes the supplies and materials connected to this project.
Is a transcript available?
Yes. A written transcript is available on the tutorial page.
Video Transcript
Hi everybody. It's Jenny from the Missouri Star Quilt Company, and I've got a fun project for you today. For years in my trunk shows, I've been traveling with this pinwheel quilt and I've never done a tutorial on it. And a pinwheel is one of the easiest and quickest blocks to look amazing without working too hard. So let me show you how to do this.
So to make this quilt, you're going to need one charm pack. This quilt right here is just one charm pack, and we have used Arrival of Winter by Sandy Gervais for Riley Blake. You're going to need some background. We use two and a quarter yards that takes up your sashing and your first inner border. You're going to need an outer border, one and a quarter yards. And because it's a smaller quilt, I did a nice big six inch border out here. For the backing, you're going to need three and three-quarter yards. And we use this beautiful piece right here. Let me show you what it looks like. It's just gorgeous. Look with the birds and the snowflakes. Isn't that pretty? She's so talented, Sandy is. And then of course, three quarters of a yard for your binding. And it will be helpful if you have a squaring tool. And I like the clearly perfect slotted trimmer.
This is a half square triangle quilt, and I love half square triangle quilts and I love pinwheels. They're just happy, they're darling. But when you put pinwheels all altogether, you lose the pinwheel. So I like to sash them. Now, sashing for me has always presented a problem because when you lay those rows together and you open it up and you pin it and you make sure the seams are lined up just right and you sow it, then when you open it, it's all a little off and it just drives me nuts. So I came up with a way to make this really easy, and I'll show you how to do it. So the first thing we're going to do is we're going to cut some five inch squares of background fabric, and we're going to take one of our five-inch squares. Remember, you only need one charm pack for this, and we're going to sew all the way around the outside of this. So let's go ahead and do that because we're going to make half square triangles the easy way. And you can do this with any size square.
My step, it's all pre-cut based, but literally you can do it with any size square. All right. So now if you're going to square this with a square or a block lock, what you'll want to do is you'll want to cut it in half both directions, press them open, and square it to three inches. I'm going to use the Clearly Perfect Slotted Trimmer, and this is Trimmer B, and I'm measuring to three inches. So what I'm going to do is I'm just going to lay it right on that seam line, and I'm going to cut this just like this and just like this. And then I'm going to turn it and I'm going to cut it again. And if I can get it just right, it will line right up on that edge and I will only have to make one cut like that, and we'll do it again. This is a little hack for the clearly perfect slotted trimmer. Here move that out of the way and trim down here. And then one more. So I'm going to line my stitch line with their stitch line three inches.
And I always forget to do the little points right here. I always forget that. But it really helps on pinwheels because there's a lot of fabric that comes together all at once. Now, if you forget to trim your points like I did, you can just simply trim them like this. Just go ahead and trim them. It's worth the time. They get all taken care of. Make sure I got all of mine there. All right, so now what we're going to do is we're just going to press these open like this, all four, we're pressing to the dark side. If you want, and you should probably set your seam. Somebody said, why doesn't Jenny set her seams anymore? I just forget to. I don't know that it makes that big of a difference, but it was something that a lot of people are taught. And so if you want to, go ahead. I have a little point here I didn't get clipped, so I'm going to clip it right now.
So putting a pinwheel together can sometimes be a challenge for somebody who's angrily challenged like I am. So I have a mantra. I do light, dark, light, dark, all seams to the center. So as I'm putting this in, I look, and if my seam has to go to the center and it has to be light or dark, has to have the opposite color by it. When you put a pinwheel together, you want to set it right there and make them all the same way, otherwise you'll have pinwheels going this way and this way, and you don't want that. You want them all going the same way. So let me see how mine are set up there. Yep, just like this. So I'm going to turn mine, I'm going to put mine together just how it's laid out on the board right here. And if I do this and I sow these two and these two, it will be ready to put together in halves like this. All right. So now I'm going to open this up and make sure it still looks like a pinwheel and that we got it right. It does.
So I'm going to fold it over and I'm going to sew this together. Now, you're going to do this 42 times. That's it. Just one charm pack worth. You need a background square and a charm pack square for each one. You're going to sew all the way around it, and you're going to cut them into three inch pinwheels just like this. And then this block should measure five and a half, and it does. Now, the trick to this sashing is that every single block gets a sashing. So we're going to put a sashing on here like this, and we're going to ... I mean, every single pinwheel, we're going to put this sashing on. So you're going to take your two and a half inch background strip, two and a half by five and a half inch rectangle and sew it on there. Put your pinwheel on the bottom because that part does have some bias, and you'll want to make sure that your top piece is anchoring it down. So you're going to sew this sashing a quarter of an inch, and you're going to sew it to the right side of every block.
We're going to go ahead and finger press this down, and I have some more blocks here that are sewn together. So take a look at these like this. Every single block has a sashing sewn to the right side, and you sew it to the next and the next and the next so every row looks like this. We have 1, 2, 3, 4, 5, 6, and then we're going to have seven rows of that. So our row is going to look like this. So because you've put your sashing on the right-hand side of every block on this row, you think to yourself, well, that doesn't work for the next row, but it does because what we're going to do is we're going to flip that sashing around. So this row ends with a sashing. This row starts with a sashing. This row ends with a sashing. This row starts with a sashing. And when you go to sow this sashing in right here, it's just a long two and a half inch strip.
I have one right here, and you're just going to sew that all the way along there because it doesn't match with anything. You don't have to line it up with anything. It's just going to go together so quick and easy, then you're going to put this border in out here, two and a half inch border all the way around the quilt. You're going to end with a nice big six inch border out here, and you are going to have a pinwheel party happening. That's the name of the pattern, pinwheel party. It's 57 by 62. The quilting pattern we used on it is called Christmas Paisley, and it's just a really cute, nice little floral. It can go florally or Christmassy, whatever you want. But this is a really easy way to make a pinwheel quilt without ever having to match up a seam. And we hope you enjoyed this tutorial on the pinwheel party from the Missouri Star Quilt Company.
Hi everybody, it's Jenny from the Missouri Star Quilt Company. We hope you enjoyed watching this video. If you aren't already part of the Missouri Star Quilt Company family, be sure to subscribe so you won't miss a thing. And if you click that bell, it'll notify you every time a new tutorial comes out. See you next Friday.


