

How to Make a Quilted Ottoman - Free Project Tutorial
 Misty Doan
- Jelly Roll
- Pillows & Cushions
- Beginner
- Quilt size 23" × 23"
Watch Misty turn a Jelly Roll Race into a comfy floor pillow for Kaffe Week! Follow along with the Kaffe Classics - Meadow Colorway 2 1/2"" Strips or any roll of your choice, and learn how to make a unique floor pillow with a beloved quilt pattern. Misty says this is a great way to repurpose old pillows, too!
Instructor
Misty Doan
Misty Doan grew up surrounded by sewing and quilting. She loves spending time sharing tutorials each week each week, and when she’s not stitching up one of her fun sewing projects for home decor, most likely you’ll find her hanging out with her husband and three awesome kids or working on a house project.
Shop this tutorial
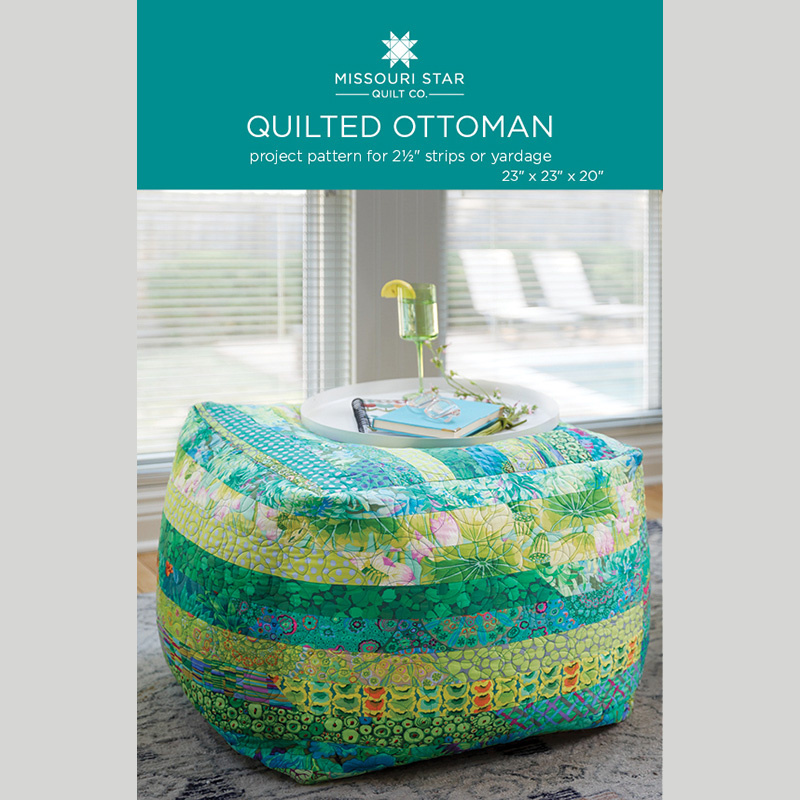 Quilted Ottoman by Missouri Star$6.95Shop →
 Digital Download - Quilted Ottoman by Missouri Star$4.95Shop →
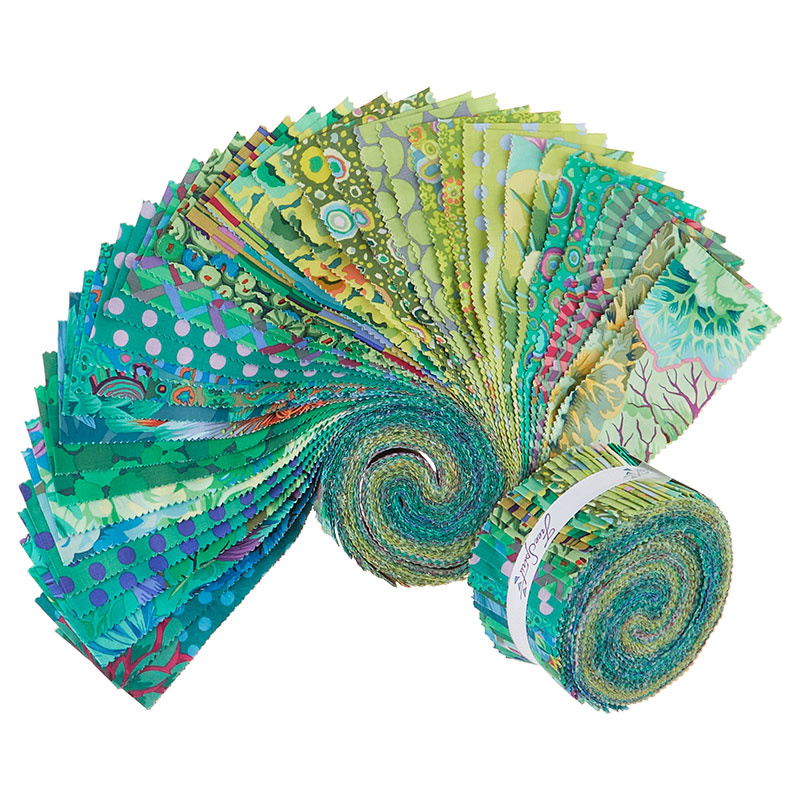 Kaffe Classics - Meadow Colorway 2 1/2" Strips$41.95Shop →
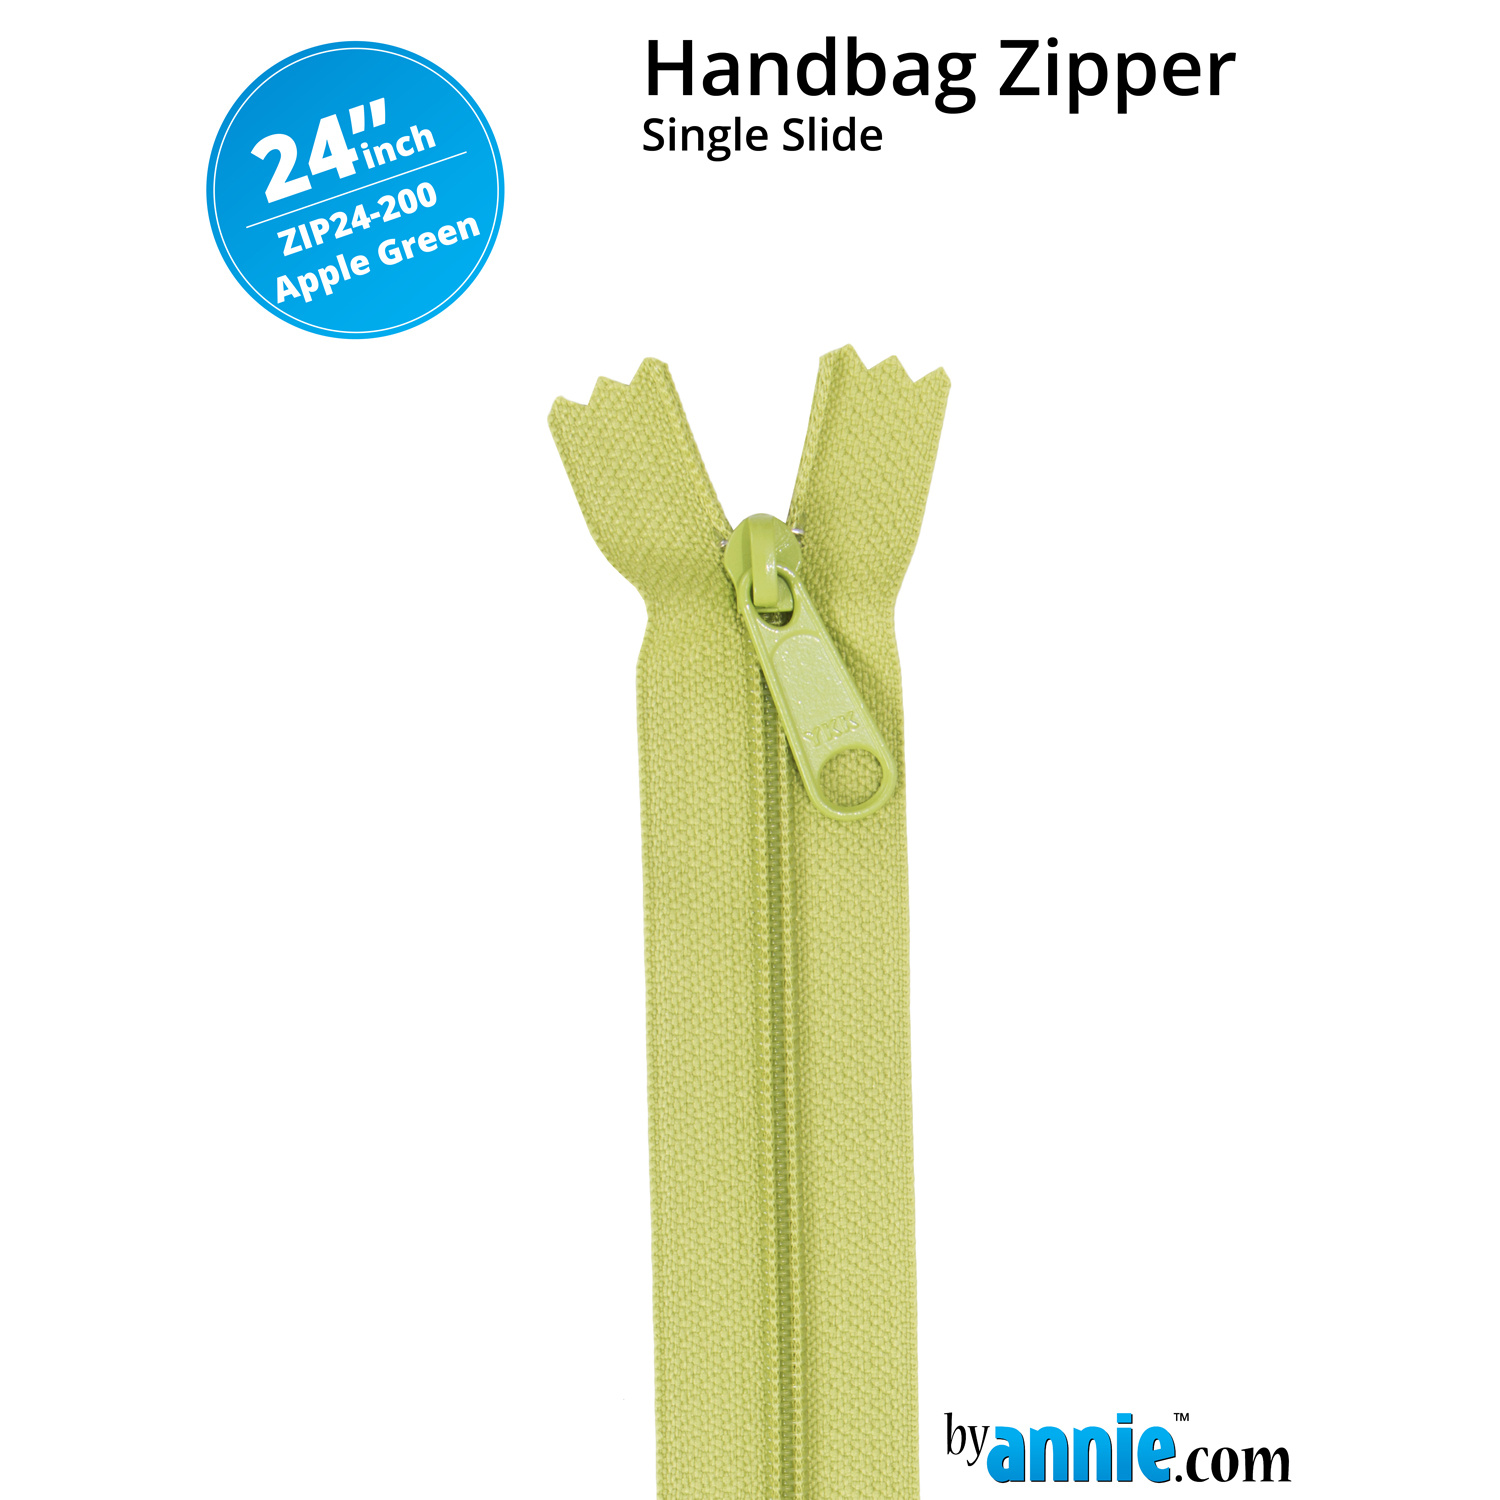 ByAnnie 24" Zipper - Apple Green$4.75Shop →
 Kaffe Fassett Shot Cotton - Khaki Yardage$10.76Shop →
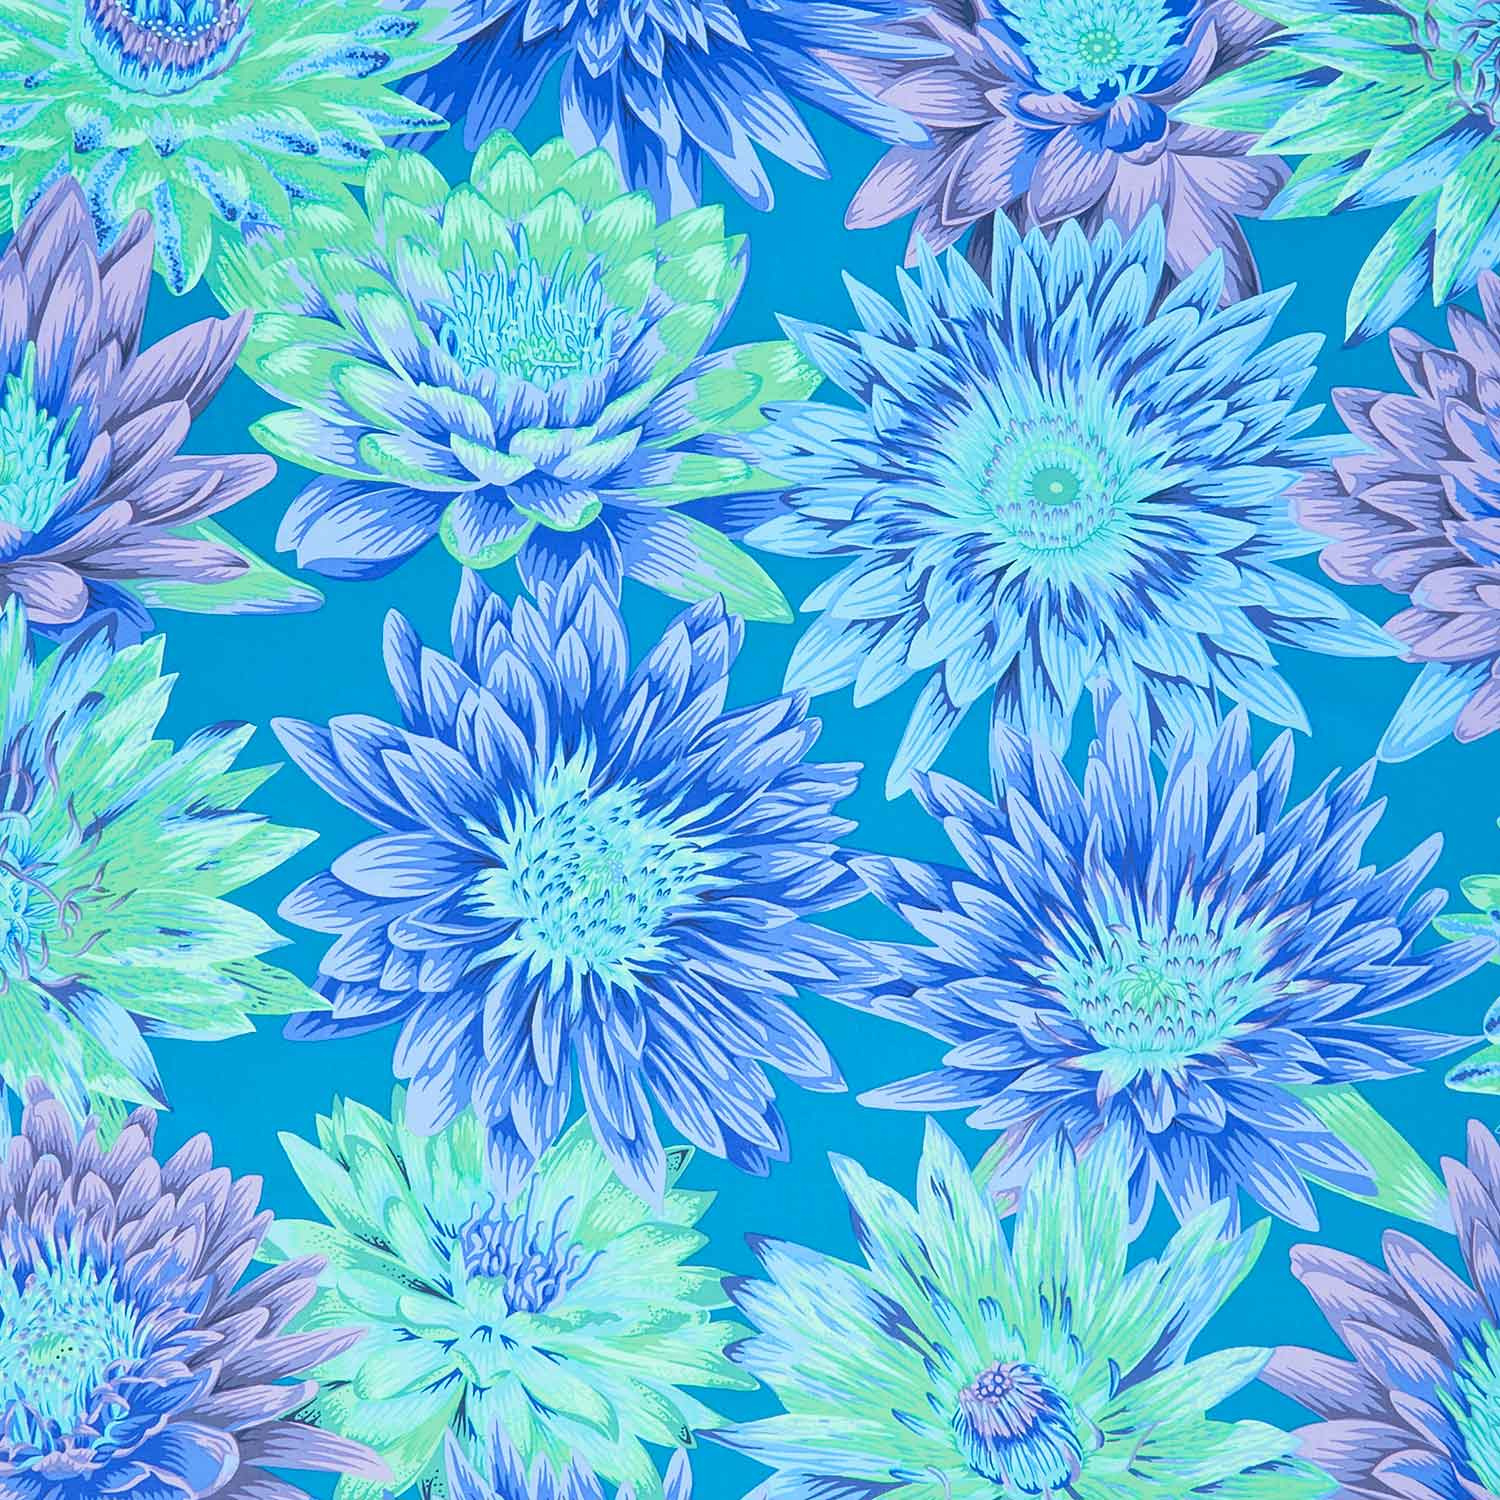 Kaffe Fassett Collective - August 2023 Cool Colorway Tropical Water Lilies Blue Yardage$12.64Shop →
 Missouri Star 5" X 24" Ruler$22.95Shop →
 Missouri Star 2.5" x 8" Ruler$10.95Shop →
 Missouri Star 45mm Rotary Cutter$19.95Shop →
 Missouri Star 8" Everyday Scissors$19.95Shop →
 Exclusive Missouri Star Jenny TG1600 ProPlus Oliso Smart Iron$199.99Shop →
 Missouri Star Wooly Betty Board - 17.25" x 25.5" Orange Border$98.95Shop →
 Missouri Star 50 WT Cotton Thread White$6.95Shop →
 Baby Lock Accomplish - 1500 SPM Straight Stitch Machine$999.00Shop →
Common Questions
What is covered in How to Make a Quilted Ottoman - Free Project Tutorial?
Watch Misty turn a Jelly Roll Race into a comfy floor pillow for Kaffe Week! Follow along with the Kaffe Classics - Meadow Colorway 2 1/2"" Strips or any roll of your choice, and learn how to make a unique floor pillow with a beloved quilt pattern. Misty says this is a great w...
How long is the tutorial video?
The tutorial video is 00:35:30.
Are supplies listed for this tutorial?
Yes. The tutorial page includes the supplies and materials connected to this project.
Is a transcript available?
Yes. A written transcript is available on the tutorial page.
Video Transcript
I hope you guys are feeling brave today. We're going to try something new and I think you're really going to enjoy it. To start off with I made this large ottoman using a Jelly Roll Race quilt, and so this is what inspired this pattern. The pattern actually includes this large size as well as a smaller
size so be sure to pick that up and it'll walk you through all of the details.
First up we need to make our Jelly Roll Race quilt. So I use this beautiful Kaffe Classics Meadow Jelly Roll by Free Spirit. It's all these beautiful greens. And then I used one of the Shot Cottons for my backing. You're going to need 3 1/4 yards of your backing fabric.
So I did this exactly like Jenny's Jelly Roll rRace tutorial. The only thing I changed is I didn't add a border since we're just going to cut this up. So here is my finished Jelly Roll Race quilt. I just did the Arc Doodle pattern all over it for the quilting to hold it all together.
When I do the Jelly Roll Race, if you're not familiar let's just talk a little bit about that. So you're going to open up your jelly roll and I'll move this out of the way so you can see. You're going to take that rubber band off and then you are going to lay it out exactly as it comes off the roll so just like so. Then we're going to pick up one after the other and we're going to join those just like you would your binding so we're going to join that on a
45. Let me go ahead and just show you how to do that.
So I'm just going to take two of my strips and I'm just going to lay them print sides together like so. We are going to sew from this point to this point. So let's go ahead and do that.
You can draw a line here, you can press a line if you want, I am just going
to eyeball it cuz I feel pretty comfortable with that. So now that you've done that you'll take this end and fold it so its right sides up and you'll grab your next strip and you'll add it in the exact same way. Right sides together and we're going to sew it on the 45.
You'll want to look at some of the different ways that Jenny has made the Jelly Roll Race over the years because you can do lots of different things. You could set little 2 1/2 inch squares in between, you can sew them straight across ,you really can just kind of let your heart decide
what you want to do. But the idea is you're going to sew all of these strips one after the other, end to end to end. Then you're going to fold that in half, sew those together; fold that in half, sew those together. Be sure to tune into the video cuz it's really fun.
So now that you have all of that done, we can go back to our finished quilt top. So let's move this out of the way so once you have your quilt all done
you're going to go ahead and have that quilted. So you'll need the backing that's a little bit larger than your top. You'll have the whole thing quilted. I've gone ahead and just trimmed off all of my excess batting and backing close to the edge, but not exact. We're not going to bind it or anything like that because now this is essentially our fabric to make our ottoman. So we are just going to cut this up, which I know can be a little bit scary and
nerve-wracking. I have to be honest, when I was playing with this at home I was a little bit terrified, but now you can see I've made multiples - I'm a little bit hooked! I think you're really going to like this.
So I based the size of this pattern on the least amount of waste possible from this Jelly Roll Race quilt, because I didn't want us to go to all this trouble still piecing a quilt and have a bunch of waste left over. So mine measured roughly 48 by 64 and so I knew that the biggest I could possibly
get is a 24in square across the top but I wanted to give myself room to trim it down in case it wasn't exactly even on my edges. Since I hadn't squared it up exactly so I went with 23 in squares for my top and bottom and then the rectangles actually measure 20 in tall by 23 in across.
So now let's go ahead and lay this out and we're going to mark out all of those measurements on this quilt top. I'm actually just going to use a Sharpie which is what I used at home. You're going to be cutting through this so you're not going to see it anywhere and it's permanent so it's not going to bleed. So let's get that started. We'll lay this all out and I'll meet you back here.
All right so I've moved the extension table off of my machine just to give me a little bit more room to work here and I'm actually going to start by folding this in half. This is the short side of the quilt top over here and so I've got the length going out this way and I'm going to mark on the backing. Just so you guys can see really well what I'm doing and I didn't worry about where the seams landed on the quilt top itself so this is exactly how I did it. So I have this as straight as I possibly can. It ended up pretty square which is always nice. I'm just going to straighten this all out and so now what I'm going to do is I'm going to use my big ruler and I'm going to come from this top corner here and I'm going to measure down 23 in. So I know this is a 24in ruler and so you can see this one is just a little bit smaller so I'm just just barely going to have to trim off this little bottom edge. I'm just going to make a mark right here and then I'm going to come up here from the corner and I'm going to measure down 23 in and I'm going to make a mark. I'm going to do the same thing on this other side 23 in there. So now I know that this should be 23 in straight across and so I can cut straight through this either with my rotary cutter or my scissors. I'm going to use my rotary cutter for this one. Make sure you have a nice sharp blade I'm going to make sure my ruler is nice and straight and we're just going to cut right through, just like so. The first cut is done - that's the scariest part!
Now you're good so now I'm going to turn this again, making sure everything is lined up. Now that I've cut this first cut, I can really use my mat and just help make sure that things are staying straight and neat and lined up. Let me just do some adjusting and it looks like I'm going to cut this right on the 35 in mark of my map for me to get this 23 in square. I'm starting at the 12in, and 12 + 23 is 35 double check your math. Measure twice, cut once, right? So just make sure my ruler is straight here and again we're going to make this big cut. Tada! Our two big rectangles are done. Got some threads right there but look at that we have those two ready to go.
I've got this little bit of my batting that's showing here, that's going to get caught in the seam so I'm not worried about that at all. So now I can set these aside and we'll go ahead and prepare the side panels, all right?
So the top and bottom are these two squares that I've set aside. Now we're going to cut the four side panels and the measurements we're looking for on that is 23 in wide by 20 in tall. Since this is our straight edge that we just cut I'm just going to go ahead and make sure it's still lined up on my mat as best as it can be. Sometimes they get a little bit wonky, so just take your time and readjust. So we're just going to measure down 20 in from that straight edge and we're going to make a mark just like we we did before. I've got my ruler here - this is the 20in line. I'm just going to put a little dot at this back end and then I'll slide up here and do the same.
One thing - I would recommend checking before you cut. This is just double check and make sure that you can still get the same size from the bottom. So there's my 20 inches I know I'm just gonna have this little tiny bit of waste. That's exactly what I'm looking for. So before you cut, double check that because you could just essentially split this one in half to
get all the sizes that you need but we're going to go with 20 in. So I've gone ahead marked both the top and the bottom and now we can cut this straight edge. Let make sure I've got it all lined up.
Now again we can turn this. Just going to make sure everything looks good it does have it lined up straight on my mat there we go and we are coming
over 23 in cuz these are 20 by 23 in rectangles, so again we're just shaving
this tiny little bit off this edge. Now we'll repeat that to get two more of these rectangles out of this bottom section. All right all of the scary stuff is done! We have made all of our cuts and I want to show you this is all the waste that we have. So even though you worked super hard and you
piece this jelly roll race quilt top, you have very little waste and we're going to have this awesome project to show for it!
So just to reiterate we have four 20 by 23 in rectangles, so I have these
stacked up here. Then we have two 23in squares top and bottom and our side panels here. So the next step is on every single one of these I'm going to notch out a 1/4 inch square in each of the corners just to reduce some bulk. I literally just eyeballed this by taking my scissors and just snipping a little square in each one. I'll do that on all four corners of all of my pieces, so let's just go ahead and do that really quick and then I'll meet you back here when it's all done.
All right so we've notched out that quarter inch square in each of the corners on all of our pieces and so now we are going to sew the short
sides of our rectangles, so the 20in sides. We're going to sew each of those together so that we have basically one big tube that is our center section. So let's go ahead and get all of this over here here at the machine. Move some of this out of the way and then we will just start by laying two of these right sides together. And I can line up those little notches that I cut out and then I'm just going to sew a quarter inch seam all the way down and I do back stitch at the start and stop.
There we go just lining up the ends. If you need to pin or clip be sure to do that whatever makes you most comfortable. Then back stitch again. Now I can open this up I'll add one more here here and we'll just keep going until we have these all sewn together. All right, we will add one more and then we'll close this up into a big loop. Again just lining up those notched corners, back stitching and sewing all the way down. All right, now I'll just pull these two ends together move all that bulk out of the way and do this final seam of the middle section. I always like to take a few stitches there at the beginning and then go back and line everything up and just zoom down the side. Then make sure my ends are matching and we're good to go! Okay, we have our whole middle section done.
I'm just going to flip this out so you can see how it's starting to come together. Look at that! We've got our four panels. I do want to point out that very rarely do these seams match up exactly. I actually did pretty good on this one - I'm a little bit impressed with myself. But I just didn't worry about that at all because when we add the top and bottom
they're going to be going different directions anyway. You know, just have fun with it. It's okay if it's off! I love all of these beautiful bright florals that just are going to add a lot of punch to the room when we get it all done.
So now we get to worry about our zipper. First things first. I've got this big green zipper. We're going to set this section aside for just a little bit and we are going to take one of our top squares. So what I did is I line this
up along the edge. This zipper is larger than I need and so I'm actually just
going to trim this down. I think this is a 24in zipper - it is - and I can trim this down to probably 20 for what I need. So I'm just going to make sure the head of my zipper is out of the way and then I will use my ruler and my rotary cutter (wherever I've hidden it, there it is). And we'll just trim this down. So I'm going to trim about 4 inches off of that, make sure I'm good to go. I think that looks great.
I am going to go ahead and turn this around and I'm going to cut off this big metal piece just because I don't want to risk sewing through that later. I'm just actually going to go ahead and trim that right off, there we go. So now I'm going to take this to the machine and I'm going to sew across
both of these ends just to secure it and make sure that my zipper doesn't accidentally slide off somewhere in the process. That can be fixed but it's easier if we just make sure it doesn't happen. This is a nylon zipper so we can sew right across it so I'm just going to back stitch a few times on this side and then turn around to this side as well making sure that stays exactly lined up and just sewing over the end. Now we have that secure
and we don't have any of those metal stoppers in the way that we can risk running into later.
So now we're going to take one of the long sides of our 23in square and we're going to place this right sides down. I just kind of eyeball and center this in the space. Make sure that the zipper head is away from where I'm going to stitch and let me grab some pins because I do want to pin this in place. You could use clips if you want, whatever you prefer. I just want to make sure I've got it even across the top and I don't want to have to fight with this later. So this would be another opportunity if you have a special zipper foot for your machine, you could swap that out. The foot that I have on the Accomplish is really narrow so I can do this without changing it.
So I'm just going to pin across here in just a few places, just to make sure it's nice and secure. Just put a couple more in and one more there we go
oops get that one to go through a little dull there we go. So now I'm going
to sew oh about a quarter inch away from this opening and you can see how it goes all the way down. I'm just going to sew about quarter inch away as close as I can get all the way down this long side of the zipper. We're going to back stitch at this top and the bottom. So you can see I have this narrow foot and I can get really close to that edge. So back stitching and before I get to that pin I want to move that out of the way. We're just going to roll down the side here - just try and make sure it stays up lined up with the edge of our square. Now that I have gone a little ways I'm going to keep my needle down, lift my presser foot, and I'm actually
going to slide this zipper head up out of the way so I don't have to worry about it anymore. Now we can just continue all the way down.
There we go. I have stitched all the way along this long edge. I used white
thread just because I wanted to make sure you guys could see against the green, but I would probably use a matching thread both for this stitching and for the top stitching we're about to do. One thing I like to do at this point is just kind of roll this back. If I don't like how close it is to the zipper, you can come back and take another line of stitches if you want. Because I do want this to be as close to that zipper tape edge as possible. So I think I'm going to do that. I'm going to come in just a little bit tighter.
Now that I already have this row of stitching, I don't have to worry about pinning it again. I just want it to be a little bit neater before I top stitch, so let's go ahead and do that. Now I can slide the zipper head all the way the other direction and we will just do one more line of stitches. I'm just going to try and be even closer to that opening.
All right, I'm going to go ahead and move the zipper head the other direction, out of the way. There we go. Now I can roll that back again - that's more what I'm looking for! I just want that really close - you can see how nicely that's going to lay now.
So now that I have that, you can press this if you want. Because of the bulk of the batting I found that it doesn't really stay. You kind of just have to
make it behave a little bit and we're going to top stitch right along this edge. So if you want to lengthen your stitch a little bit, that looks really
nice. Again I would use matching thread that would blend in. I'm going to go ahead and stick with the white for you guys. So I'm just gonna lengthen that a bit, roll this under and I'm starting my stitching right at the edge of my zipper tape. Do one little back stitch and we are just going to stay as
close to that top edge as we can. Pause again, lift my presser foot, so I can move this out of the way. It's a great way to break a needle. You don't want to sew too close to the zipper head. All right and back stitch again.
You can see how nice that looks. We've got this beautiful finished edge right along this side of the zipper, which is exactly what we're looking for. Now I'm going to open this up a little bit and we are going to add our zipper to this middle section just like we did here. So I just pick one side, since all of the sides measure the same. We're just going to want to put this face down and again again we want to make sure that this is centered. So I like to line up my piece, move this out of the way to make sure you guys can see what I'm doing here. I'm lining up these edges and I can kind of eyeball and make sure that I have just that quarter inch overhang on each side. Then we're going to pin in place, just like we did before and repeat all of those steps to attach the zipper to the other side.
So let's go ahead and put a few pins in and then we'll do our stitching, flip it over and do do the top stitch. There we go all right and now let's take this to the machine. So because you're dealing with even more bulk since we're adding this to the middle now, just make sure everything is out of the way. You don't want to accidentally sew through more layers than you want. You will be very sad. So since I made that adjustment before I'm going to go ahead and do this line of stitching a little closer since I know what I'm looking for. We are going to back stitch at the start and just zoom all the way down. Getting close to that zipper heads so we have to maneuver under here, slide that out of the way again, and then put our presser foot back down. Make sure everything's staying lined up. All right, almost to the end here and we're just going to back stitch. All right, so now that I have that, I can flip this over, zip it up, make sure everything is going to lay nicely. Then we're going to roll this side back and we're going to do that same top stitching that we did before. So let's go ahead and do that and I'll meet you back here when that's all done.
All right, that is all done! Our zipper is installed. You can see how nice that looks. We've got our top stitching. So now all we need to do is sew the
last little bit of this side and attach this to our whole loop that we made. So I'm actually going to flip this back, so that we are looking at the wrong sides again and we are going to pinch these two edges where the zipper meets and we're actually going to come back. You can see where that top stitching is we're just going to kind of curve to catch that bottom edge and then come back and finish off these little sides on both sides of our zipper.
So what that's going to do is it's just going to hide the start and stop of our zipper underneath that seam. Because we have a nylon zipper we can sew right through it. So I'm just pinching it want to make sure you guys can see what I've got here. We're just going to sew that little bit straight across. So we're going to take that little pinch section - it works out to about no more than 2 in that we're going to stitch on this side. We're going to loop through there, just making sure that we stay at that quarter inch and finish off in the corner. So if you need to flip it over, if it's easier to start at the corner and avoid the bulk of the zipper you can do that, but it's the same idea.
So I'll do that. I'll flip this here because sometimes it's easier to start away from the bulk. So back stitch in that corner and then we're just going to sew a 1/4 inch until we start to see our zipper stitching which is right there. And then we're just going to arc a little bit in, just like so, and back stitch over that. There we go! So let me go ahead and flip out this side so you can see kind of what you're looking for. It's just going to catch that corner and pinch it and finish off that edge which is exactly what you want .
So let's do that same thing on the other side. So we're going to move that bulk out of the way, line up these two ends, pinch it together and sew and catch that that edge of the zipper just adding a little bit more security to
that, since sometimes zippers can get a lot of abuse. It's where some of the tension goes on a project. Okay lining up that corner, back stitching making sure this is all staying lined up. We're going to come down and curve in. All right perfect!
Now that we've done that we can go ahead and line up the other three sides of this square. So what you're going to do is you're going to match up all of those notches in your corners and we're just going to start at one side and sew all the way around. Then we'll have what is essentially the bottom of this ottoman complete. So let's go ahead and do that. The trickiest part about this step is just making sure you don't have any extra bulk in the way. It's really not hard. You're still doing just straight sewing. So we're just lining this up, and as I get closer to this bottom edge, I want to make sure that those little notches are going to meet up. Everything looks good, back stitch and then we can rotate and keep going. Now we'll sew this side. Here's our last seam for the bottom of our cube. Just line it all up. Okay we're getting so close it's so exciting!
So the whole base of our cube is ready to go. It's inside out. You can see here is our zipper on this side. Let me just flip it out so I can show you how this is starting to look, because I think you will be so excited and surprised when you see how simple it is and how neat the the corners turn out. It just works out so well! So there you go, it's really starting to take shape, our big bean bag Ottoman.
So the the one thing you want to make sure of, because we're about to close this all up, is that you have your zipper open at least halfway. We are still going to have it wrong sides out and we're going to add this last square to the top to finish it off. So just like on the bottom, we're just lining up those notches and we're sewing around all four sides again. Just make sure your zipper's open so it's easy for you to turn this when it's all done!
So let's go ahead start with this side here we'll zoom all the way around
and I'll meet you back here when it's done.
Okay you guys that is it! We have finished all of our sewing. So now we just find our zipper and we can flip this right sides out, just like so. This is so
exciting! Then you just want to reach in there and poke out all of your corners. Make sure those are laying nicely and your big floor ottoman is done! I just bought these bags of bean bag filling online. I just Googled bean bag filling and it took two big bags that were super full to fill this giant ottoman. It was actually pretty affordable to buy them, so wasn't bad at all. But so it is just full! My kids absolutely love this. They fight over it like every day to sit on and do their homework or watch movies or read a book - it's so fun!
So remember this is the large size. This is using the Jelly Roll Race. I do want to show you this is the smaller size. So for this one I just used yardage. I didn't piece this at all, I just used yardage and then did some all over quilting. So if you have fabric that you love, that you want to have as a home decor project even just like a cross-hatch quilting or straight line quilting would be perfect. And you could do all of it on your domestic machine also. So if you don't want to quilt it, grab some canvas or something like that and then you could just make it out of canvas and it would be so, so fun! So these are the two sizes.
I hope you enjoyed this tutorial on the Quilted Ottoman and I'll see you next time!


