

How to Make a Squared Away Table Runner - Free Project Tutorial
 Misty Doan
- Charm Pack
- Modern
- Table Runner
- Beginner
- Quilt size 16" × 59"
Think it's time for a new table runner? So does Misty! Today, Misty shows you how to make the darling Squared Away Table Runner with the Bloomsville Charm Pack. Follow along and learn how to make this simple yet sweet runner.
Instructor
Misty Doan
Misty Doan grew up surrounded by sewing and quilting. She loves spending time sharing tutorials each week each week, and when she’s not stitching up one of her fun sewing projects for home decor, most likely you’ll find her hanging out with her husband and three awesome kids or working on a house project.
Shop this tutorial
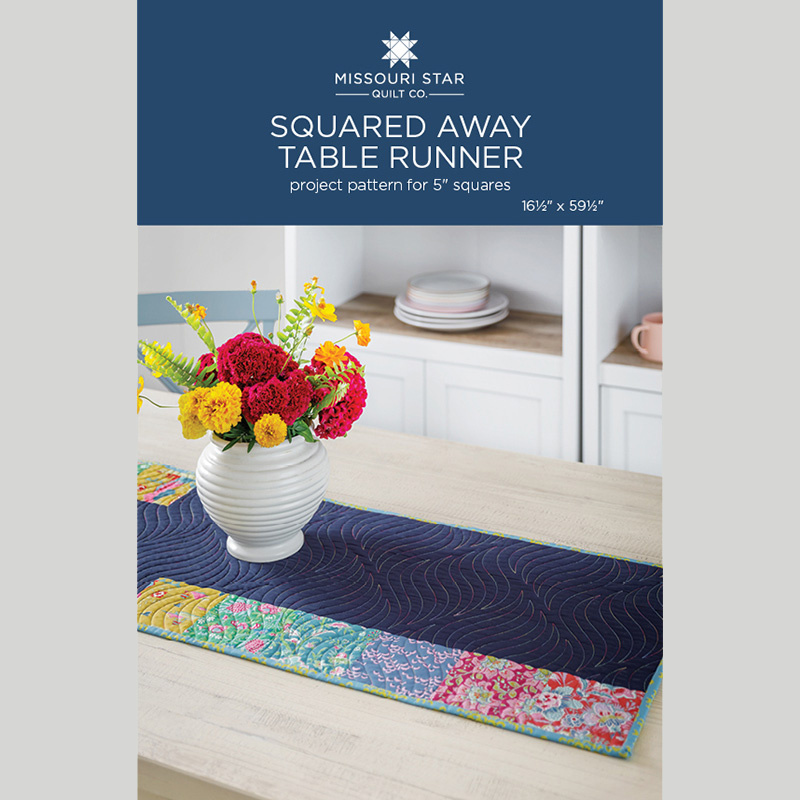 Squared Away Table Runner Pattern by Missouri Star$6.95Shop →
 Digital Download - Squared Away Table Runner Pattern by Missouri Star$4.95Shop →
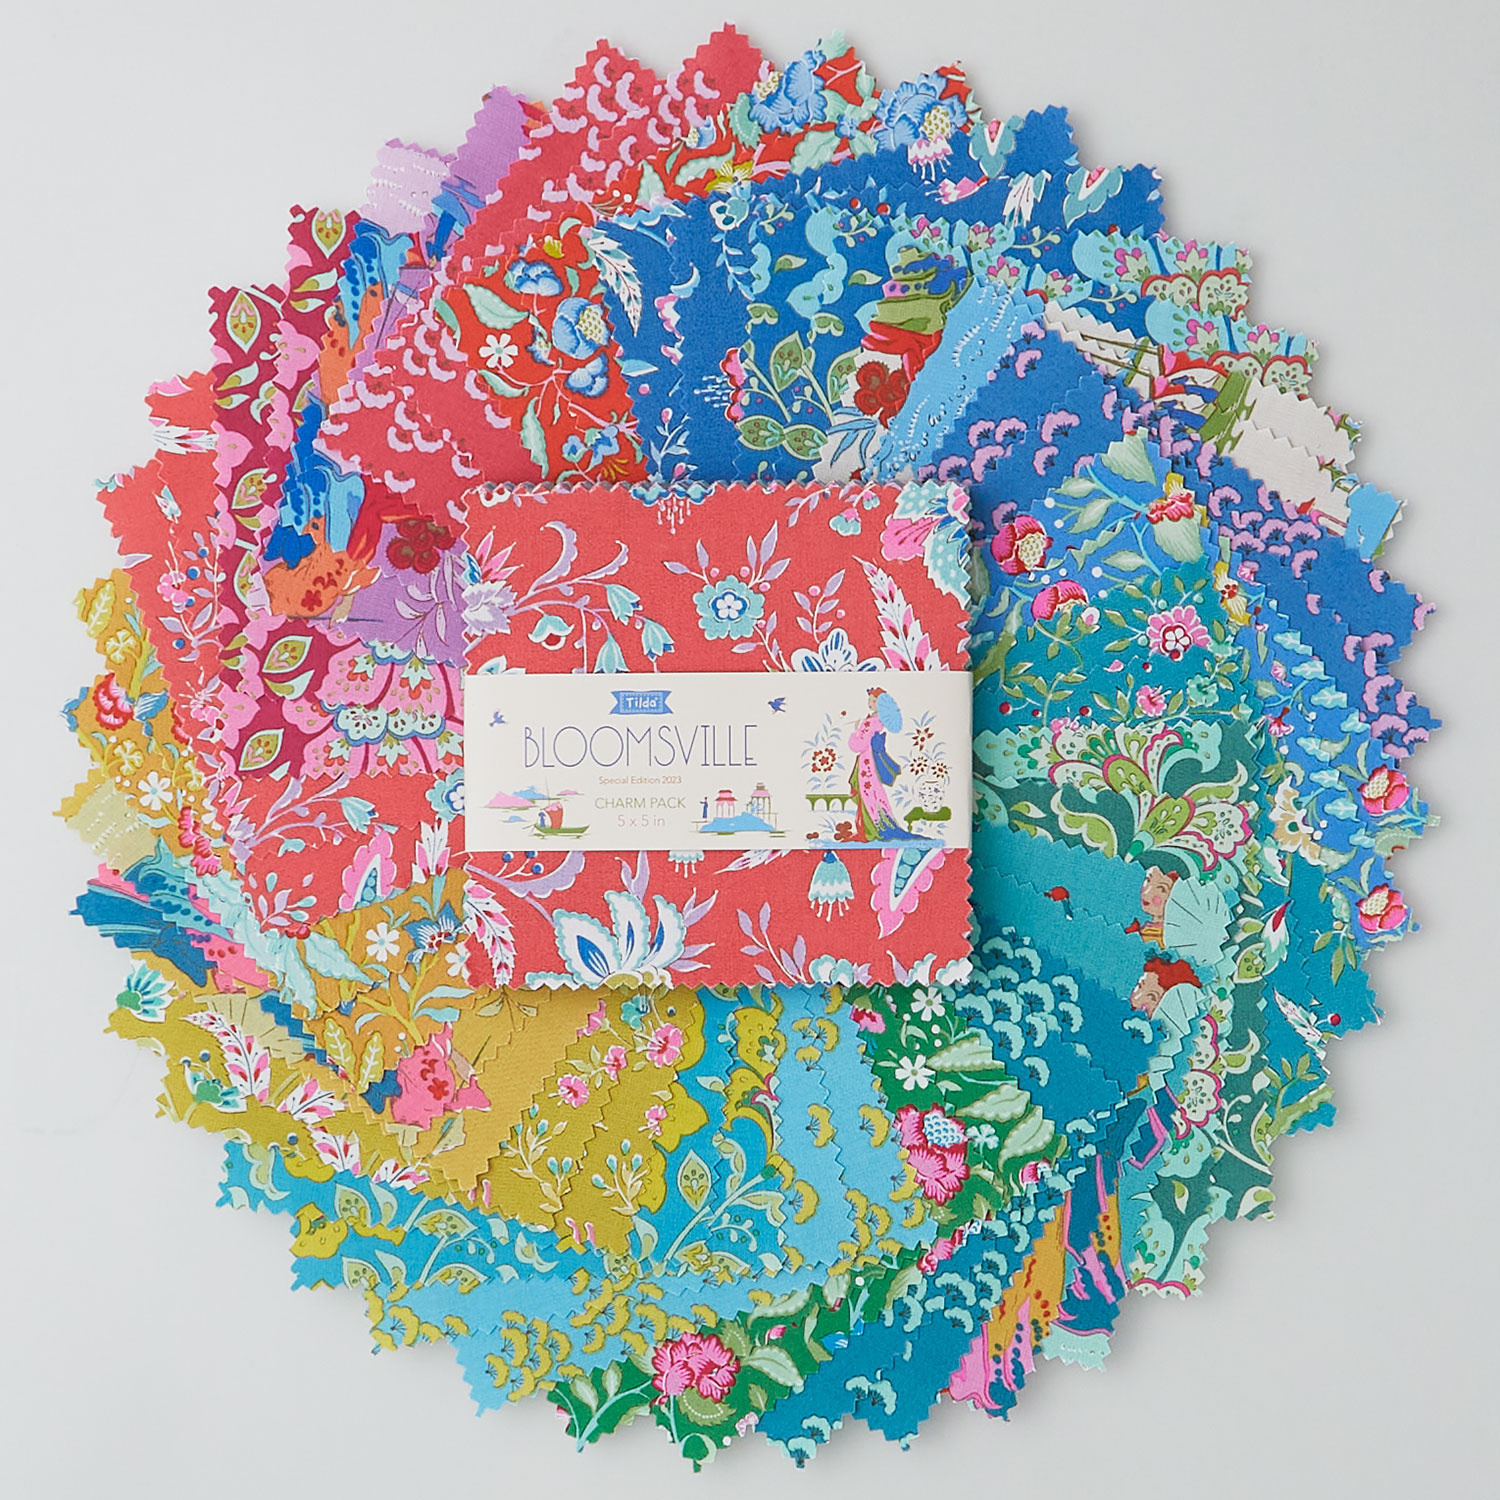 Bloomsville Charm Pack$20.95Shop →
 Kona Cotton - Navy Yardage$7.28Shop →
 Kona Cotton - White Yardage$7.28Shop →
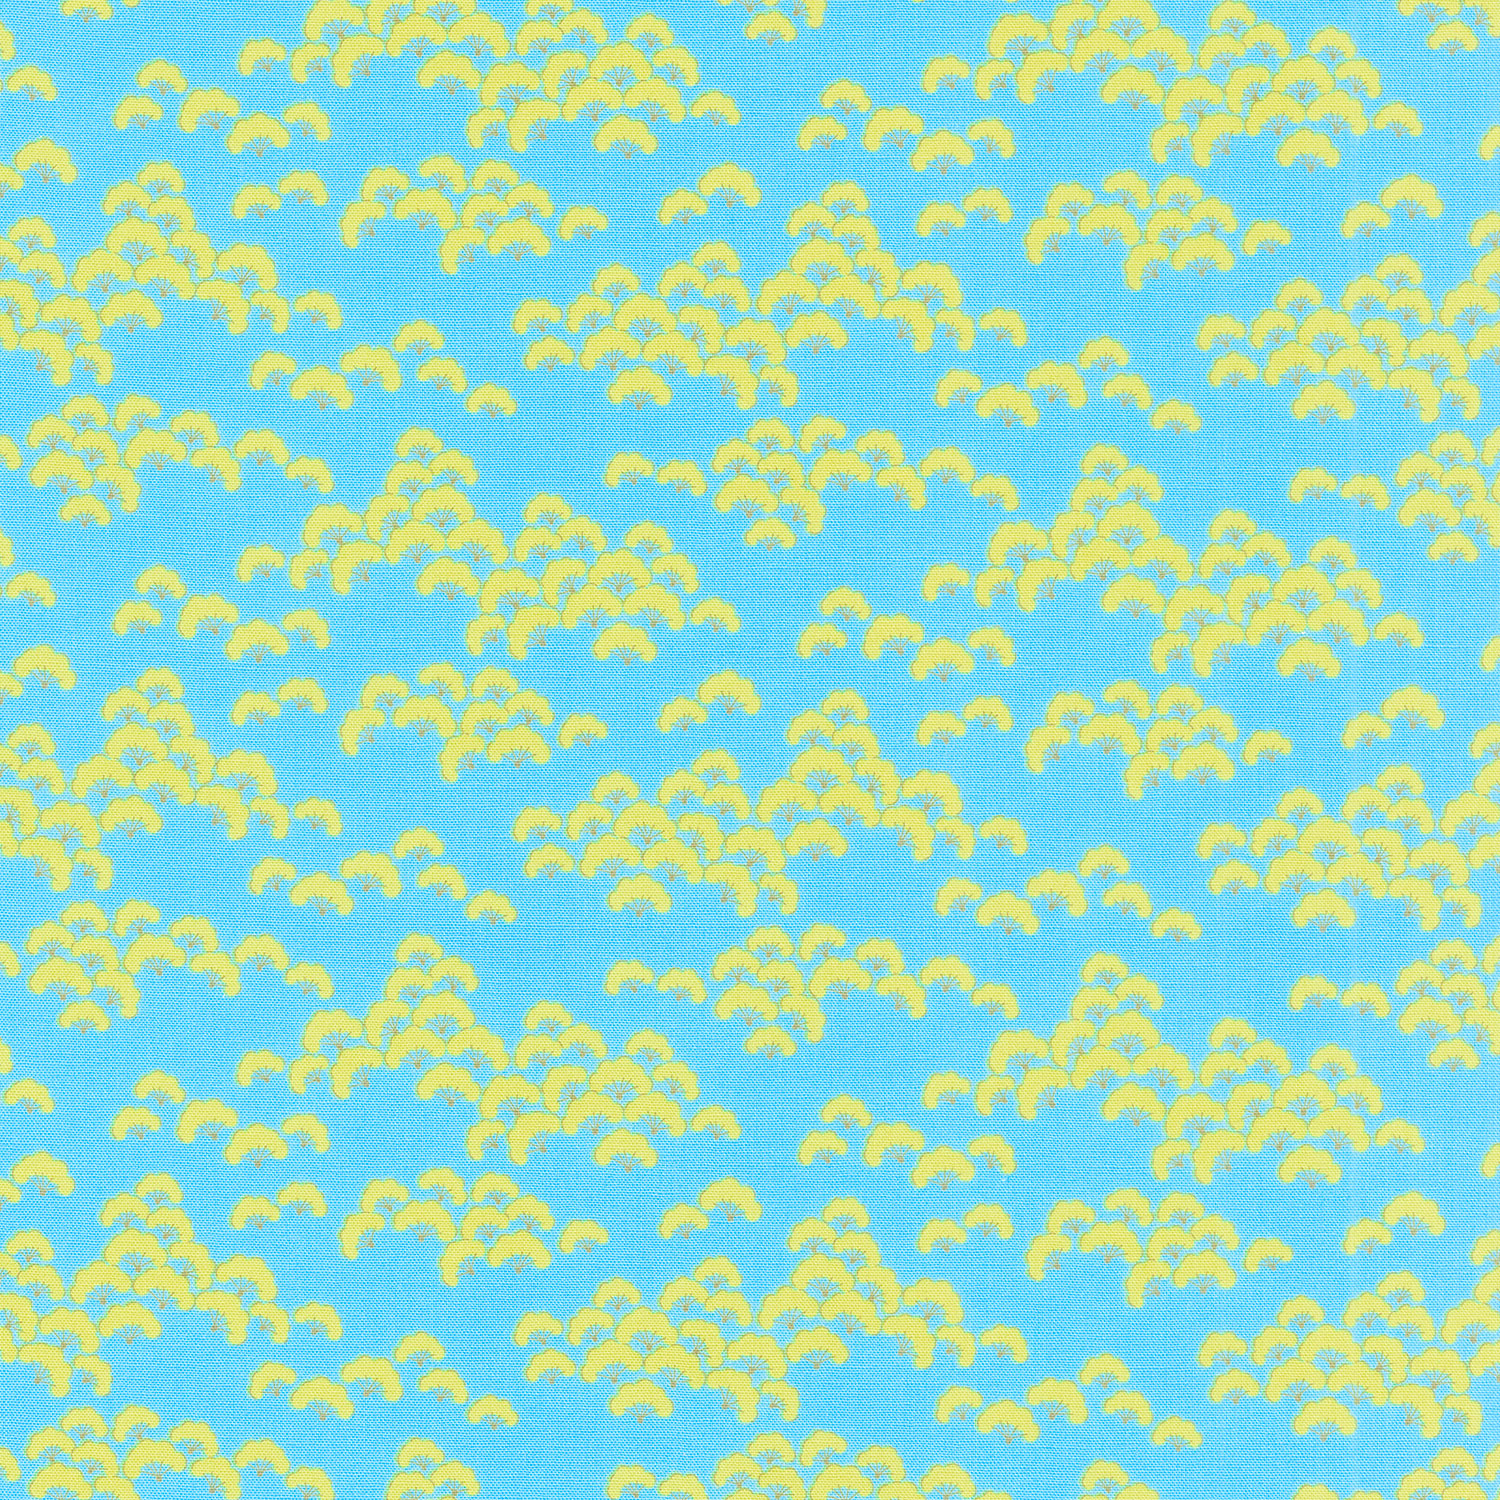 Bloomsville - Cottonbloom Sky Yardage$14.96Shop →
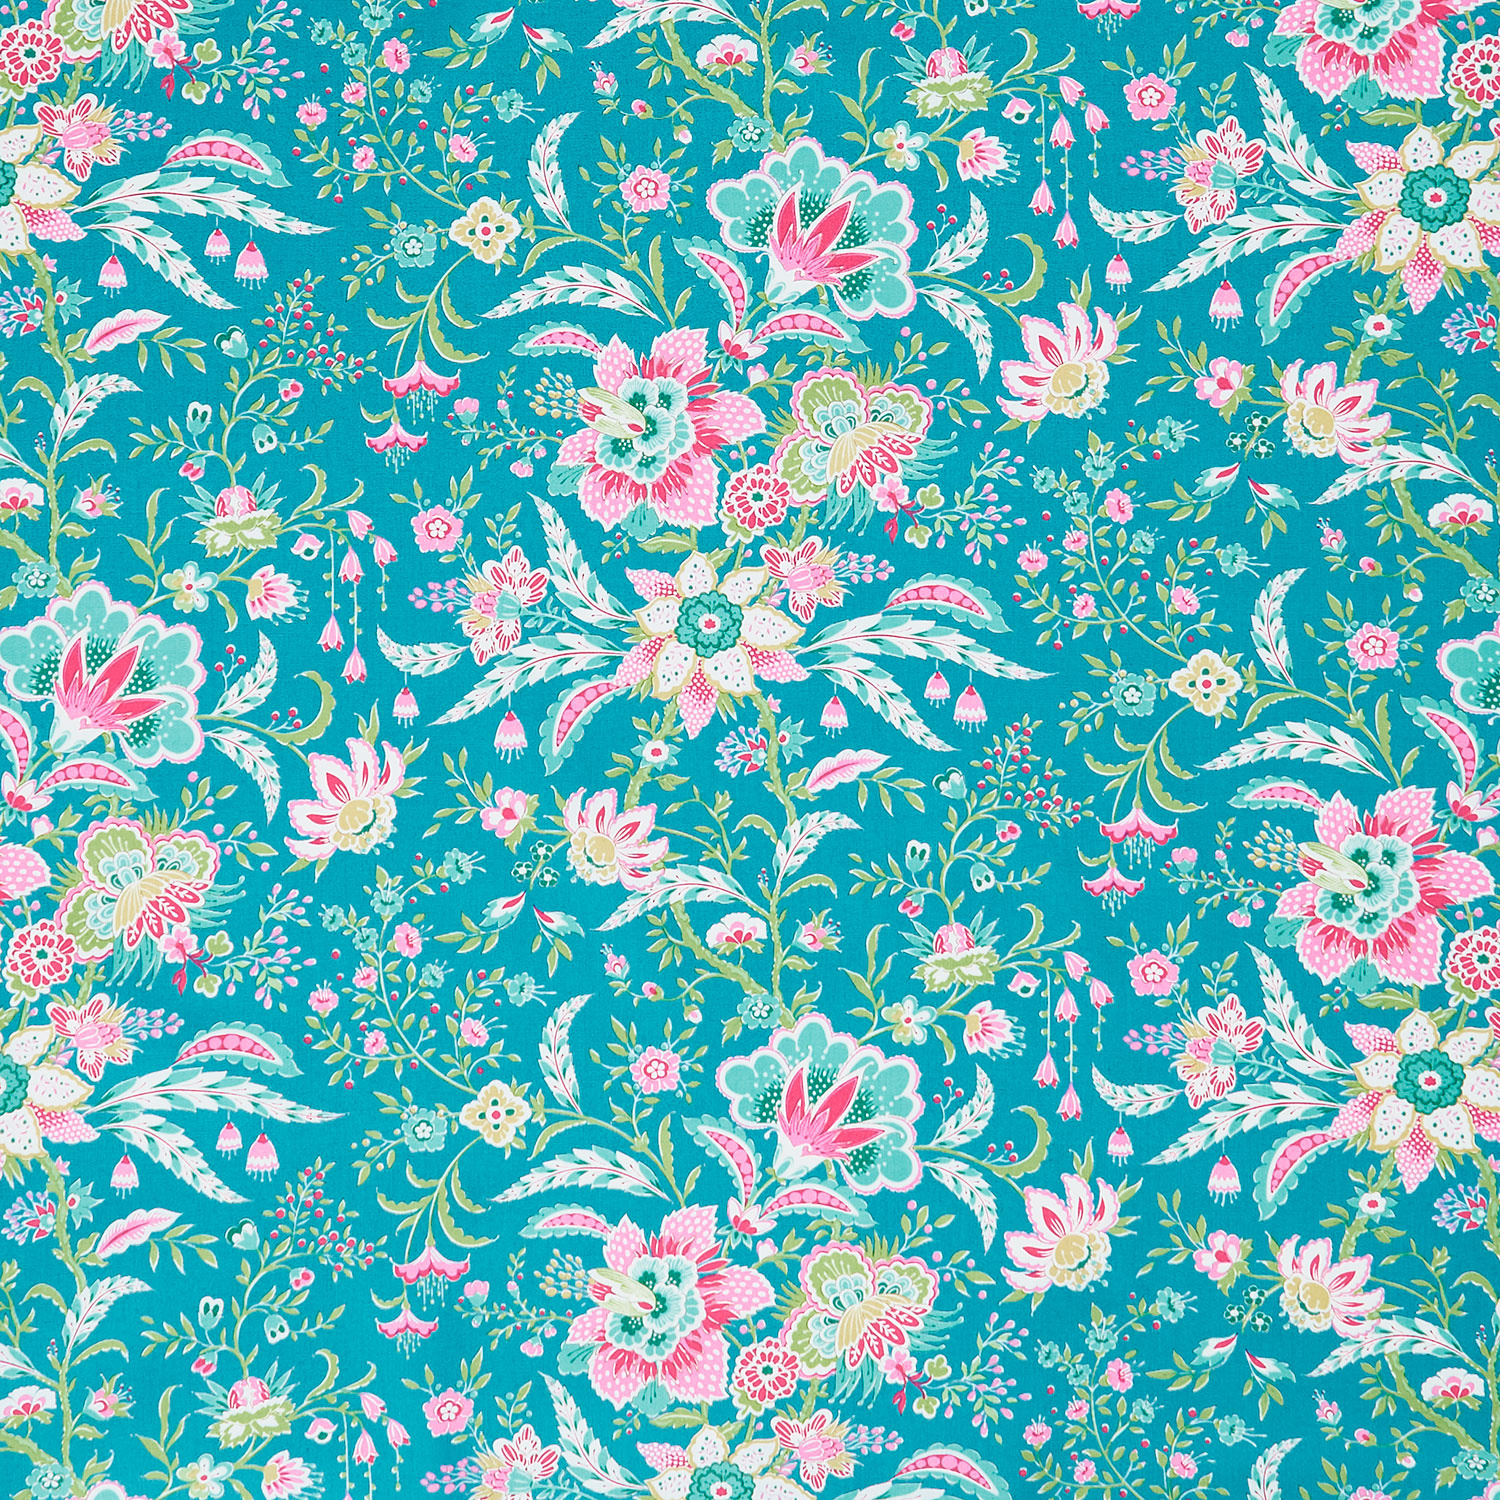 Bloomsville - Late Bloomer Lagoon Yardage$14.96Shop →
 Missouri Star Quilter's Best Blend Bed/Table Runner Batting$14.95Shop →
 Missouri Star 5" x 15" Ruler$15.95Shop →
 Missouri Star 6" X 24" Ruler$25.95Shop →
 Christopher Thompson 24" x 36" Reversible Cutting Mat$64.95Shop →
 Pigma Micron 05 Pen .45mm Black$3.25Shop →
 Exclusive Missouri Star Jenny TG1600 ProPlus Oliso Smart Iron$199.99Shop →
 Missouri Star Wooly Betty Board - 17.25" x 25.5" Orange Border$98.95Shop →
Common Questions
What is covered in How to Make a Squared Away Table Runner - Free Project Tutorial?
Think it's time for a new table runner? So does Misty! Today, Misty shows you how to make the darling Squared Away Table Runner with the Bloomsville Charm Pack. Follow along and learn how to make this simple yet sweet runner.
How long is the tutorial video?
The tutorial video is 00:17:20.
Are supplies listed for this tutorial?
Yes. The tutorial page includes the supplies and materials connected to this project.
Is a transcript available?
Yes. A written transcript is available on the tutorial page.
Video Transcript
Okay, so I wanted to make a really simple table runner because we have this great variegated thread in our machine quilting department and I really wanted that to be the star. Ío I'm calling this the Squared Away table runner. You're going to want to pick up one pack of your favorite five inch squares - I'm using Bloomsville by Tilda. It's just these gorgeous florals. If you're a Tilda fan you know it's just beautiful. You'll need three quarters of a yard of your background - I use this great navy. And then for the backing you're going to need a yard and a half and also a little bit for your binding.
So let's go ahead and set this aside and I'll walk you through how to make it. So like I said I wanted something super simple so I just have six five inch
squares going top and bottom and I chose kind of a gradient layout for this. So you can see it goes yellow to red through the colors that are in this
charm pack and I alternated that on the opposite side. So this one goes yellow to red and up on the top it goes red to yellow. So we're just going to pick six. If you have matching great if you don't this is still going to look great even if it's six different scrappy five inch squares, so don't fuss too much about it. And the beautiful thing about this is you could add more squares if you wanted. You could add less if you need a shorter runner. It's just really versatile for you to customize for whatever you're looking for and it's super quick to put together for gifts.
So I'm just going to follow this same pattern that I have, but when you're
making yours be sure to just play with it and have fun. There's no right or
wrong way. So we have these ready to go and so I am going to just start sewing one after the other. Now in this particular collection there are a few prints that are directional, and so if you have one of those you might just want to decide which way of your runner is up or maybe you don't care at all and they can go every which way. Just keep that in mind if you have a directional print.
So we're just going to start sewing these together with our quarter inch
seam, one after the other. You can tell for my version we get six in a row so I'm just going to pick up one after the other and add them.
So here's one of those prints that's a little bit directional. You can see the
birds all go up one way and we have these little houses that need to go
facing upright. All right. And these little trees kind of want to go upright as well. So just something you want to keep in mind. And one more print here to add to the end and then we have our six together. I've sewn all six of these end to end and let's go ahead and give these a press. We just want it to lay flat. There's nothing we have to worry about matching up or anything like that.
So we'll just roll those seams back and make sure it lays nice and flat from the top. And so you'll see here's this one and I have the other one done
and they're just opposites and so that's what you're looking for. Or that's what I chose to do on this particular one.
So now from your background you're going to want to cut two five inch strips and two eight inch strips and that's what you're going to need for one runner. So to start with I just took my five inch strips and I'm going to go ahead and stack these up and cut the selvage off. So let's just line these up here, make sure they're straight on my mat and then we'll get rid of this selvage so that that doesn't get caught in our final project. There we go.
Now I'm just going to sew one of these to each of my pieces. So this one I'm going to sew onto the yellow side, which means I'll want to do the same with the other one because we want them to be on opposites does that make sense.
There's that one and then from our other piece we'll add that to the yellow again. There we go and so let's go ahead and press both of these again just making sure everything is laying flat. I do like to roll this seam to the dark side since I'm using a darker fabric. This is just a little bit wrinkly so I'm going to go ahead and press this whole thing, just so I don't have to fight with it later.
So there's that first one and we can just set this aside for a minute and go
ahead and press the other one. There we go. Ío one thing I want to point
out is this is a lot longer than the finished runner that I chose to make and
so this is step one of you being able to decide how long or how short you want this to be. The finished one I made I measured to 60 inches and so I did that by simply laying it on my mat and knowing that this needs to come over to 30 inches. Ío I just line this up and then slid my print down until I got to where I needed to be. So it took a little bit of figuring, but I knew I didn't want to actually cut off any of those five inch squares and
so I just adjusted it slightly just like you're seeing me do here. And then I make sure that it's lined up at the zero and then I can come back and this lines up exactly with the 30. And so we'll just lay our ruler here, and grab my rotary cutter, and then we can just trim that off. So now I know that this strip measures 60 inches. And I just cut a little bit off. So if you didn't want to trim this you could leave it this full length and then when we add our middle strip you'll just make it match. So really totally up to you. You can make this shorter if you wanted - there's no right or wrong way.
So let's go ahead and do that same thing to the other side. We've got this folded, looking for that 30 inch measurement. Just need to slide that down
too far. You can see it just takes a little bit of figuring if you have a smaller mat you can just use your ruler to measure. Or just you know measure a little bit at a time so that you make sure you have that all lined up in the end. But for me I just laid it across this way. So there we go, there's my 30 inch mark again, ready to go. Just make sure everything is nice and straight and then we'll trim this off. All right. And there's our little bit of waste.
So now let's get the center section ready to go. So for just following along with the pattern, it's going to just have you sew your two strips together. I've gone ahead and sewn these here, but what I did because I knew I wanted to make more than one and have these for gifts, I went ahead and
cut three of these center strips and then I just cut it in half. Then I would have enough to do two of the middle sections. Does that make sense? So
really quick and easy to make for gifts.
So I have this long strip ready to go and now we're just going to add. Let
me move this one out of the way. So you guys can see here we're going to add one of our strips to the top and one to the bottom. I'm not going
to trim this one up yet because I want to be able to square my runner up at the end. So you can see here how this is just going to line up and we're going to sew this down. Then I'll come back and I'll add the other strip.
So it goes this way and so let's go ahead and sew these nice big long strips on here. Take this to the machine and you can see how quickly this is going to come together. It'd be a really fun project to practice your own free motion quilting on. Do some fun patterns in between. Let's just go ahead and zoom down this side. Just take your time in between and make
sure everything's staying lined up.
So we have that all done and you can see that this is uneven on this end here. I'm not worried about that at all at this point. So now I'm just going to go back and I want this one to be opposite. So I'm going to start with the background side of my strip that's why we went ahead and cut these
even at the beginning. So now we can take this to the machine and run down this long side. So we'll just line this up, sail down the side. Now I'm using white thread so you guys can see here but I would not do that. Normally I would change this to a dark thread, so just keep that in mind.
When you're sewing big long strips like this you want to be careful not to tug. You're just letting the machine do the work. The only thing I'm doing is making sure everything stays lined up, but you'll get some puckering and pulling if you're tugging too hard on the fabric. Almost there. All right we did it.
So now let's give this a really good press. I'm going to take some time over
here at the iron to make sure everything is laying smoothly. And so let's just roll this back all the way down the length of the runner. Can you believe how quick this comes together? You can see why it'd be great for gifts. Okay and then come back and press the opposite side as well, just so the seams are really smooth and we don't have any errors when we go to trim off the other end.
All right, there we go it's all pressed. So now let's lay this on the mat here.
Because we lined everything up on the opposite side this is the only end
that we need to trim up. So I'm just going to make sure this is nice and
straight on my mat and you'll notice these are a little bit off even though I
trimmed them to the same side early or same size excuse me early on but none of that matters. Because we can just line this up and trim it off because this is our background. Because they're going opposite directions everything's going to be square in the end. Let me actually swap this out for a longer ruler so we can cut this in one long cut, but you see what I mean. We have our five inch square here - I just make sure everything's lined up with that. I'm actually going to slide this over so it's right on that number. Then we just have this straight cut all the way through. Just like so, there's our waste. And now our runner is ready for quilting.
Isn't that so quick and easy? The other thing I want you to keep in mind is you could do a few small blocks in this same concept. If you don't want to just have these simple squares and instead of doing a bunch of work for the whole runner you can have a little bit of Pop just on either end.
So let's talk a little bit about the quilting. Let me move this out of the way
and we'll pull back our finished runner here. So you can see how great this
turns out. I used the Time Warp pattern, which is one of my favorites. It's just a really kind of modern and simple pattern that still provides a lot of movement which I love in my quilting. We used this great rainbow variegated thread which ties in with the kind of ombre rainbow layout we did of those five inch squares. So I just love it I love it with this navy background. You can see both sides it looks beautiful. There's our
backing. I know some people have a hard time with dark backgrounds so I went ahead and made it with white so you could see that as well. It still looks beautiful with that variegated thread. So just play with it maybe try out your own free motion quilting or straight line quilting. This is a great project to let that quilting really shine.
So I hope you enjoyed this Squared Away table runner and I'll see you next time on At Home.


