
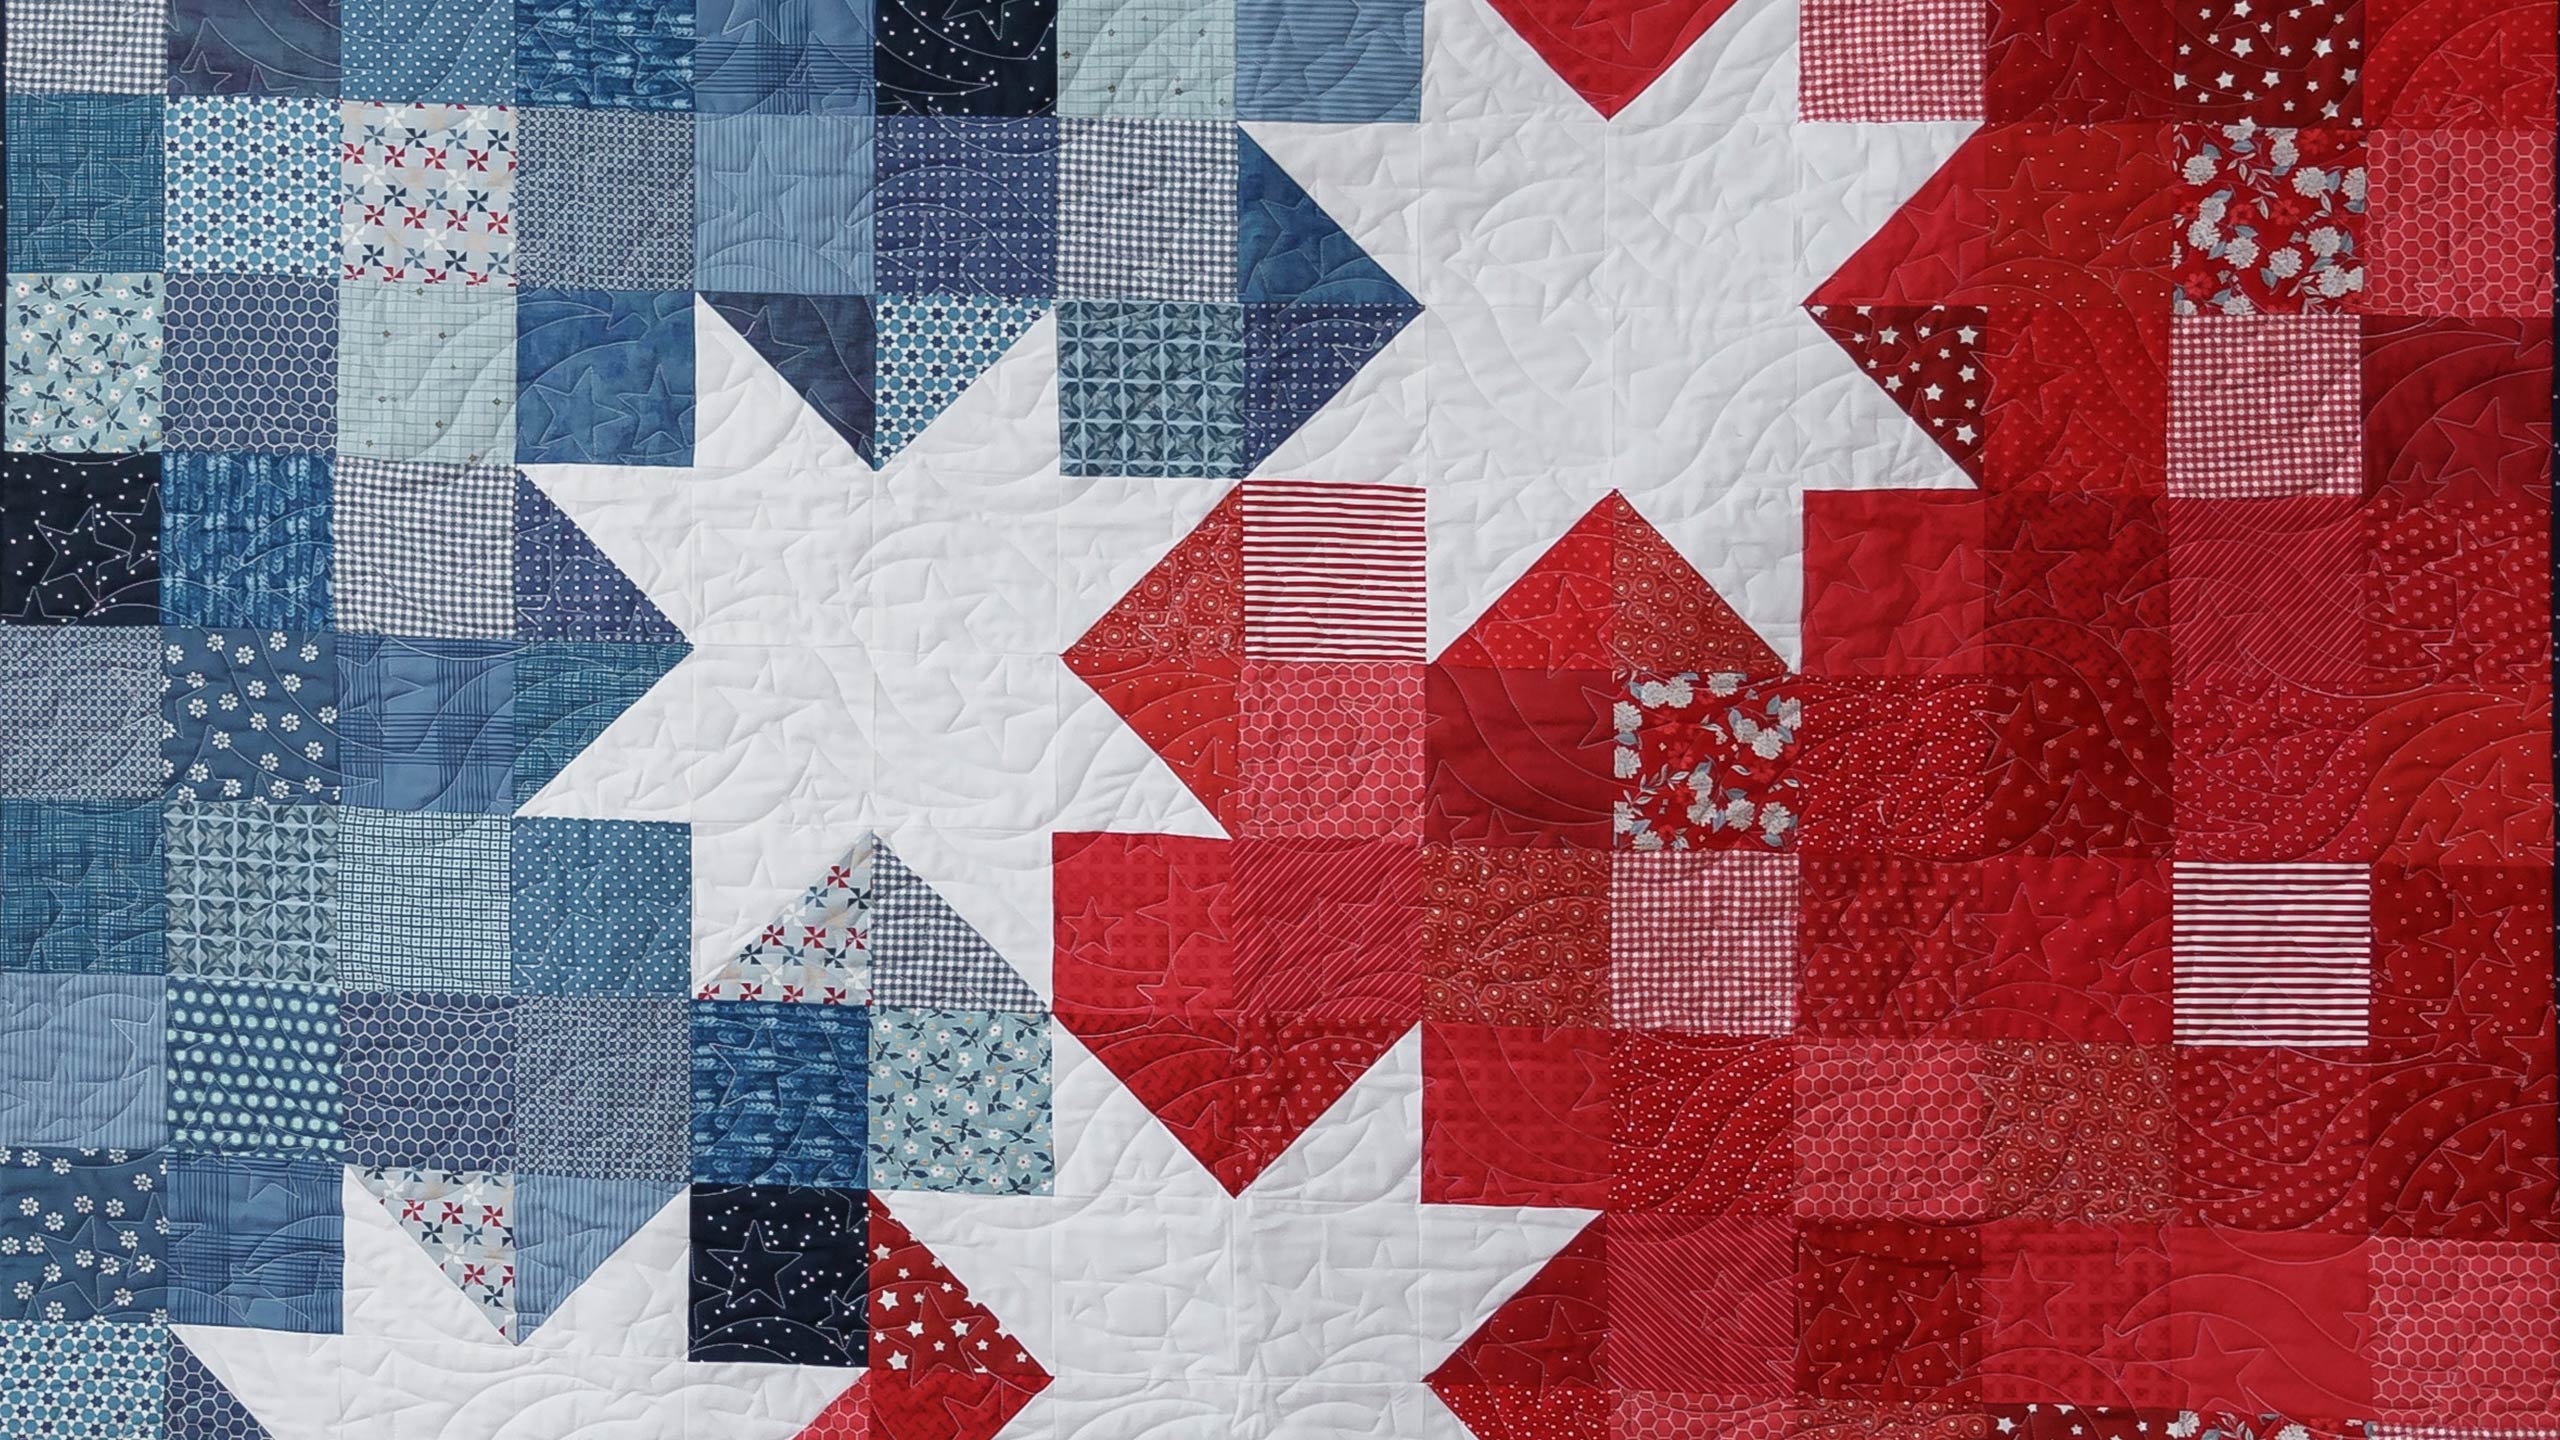
How to Make a Star Spangled Variation Quilt - Free Quilting Tutorial
 Jenny Doan
- Charm Pack
- Modern
- Lap / Throw
- Quilt size 63" × 72"
Jenny Doan is stitching up a parade of patriotic patchwork with a new pattern by Trisha Perry. This quilt is made with precut layer cake squares—Americana Reds and Americana Blues—made exclusively for Missouri Star by Riley Blake. The piecing is easy: simple squares and half-square-triangles, with enough left over for an entire second quilt!
Instructor
Jenny Doan
Jenny Doan is an American quilter, author, and YouTube personality. Jenny started Missouri Star Quilt Company in 2008 and today it is the largest quilting supply vendor in the United States.
Shop this tutorial
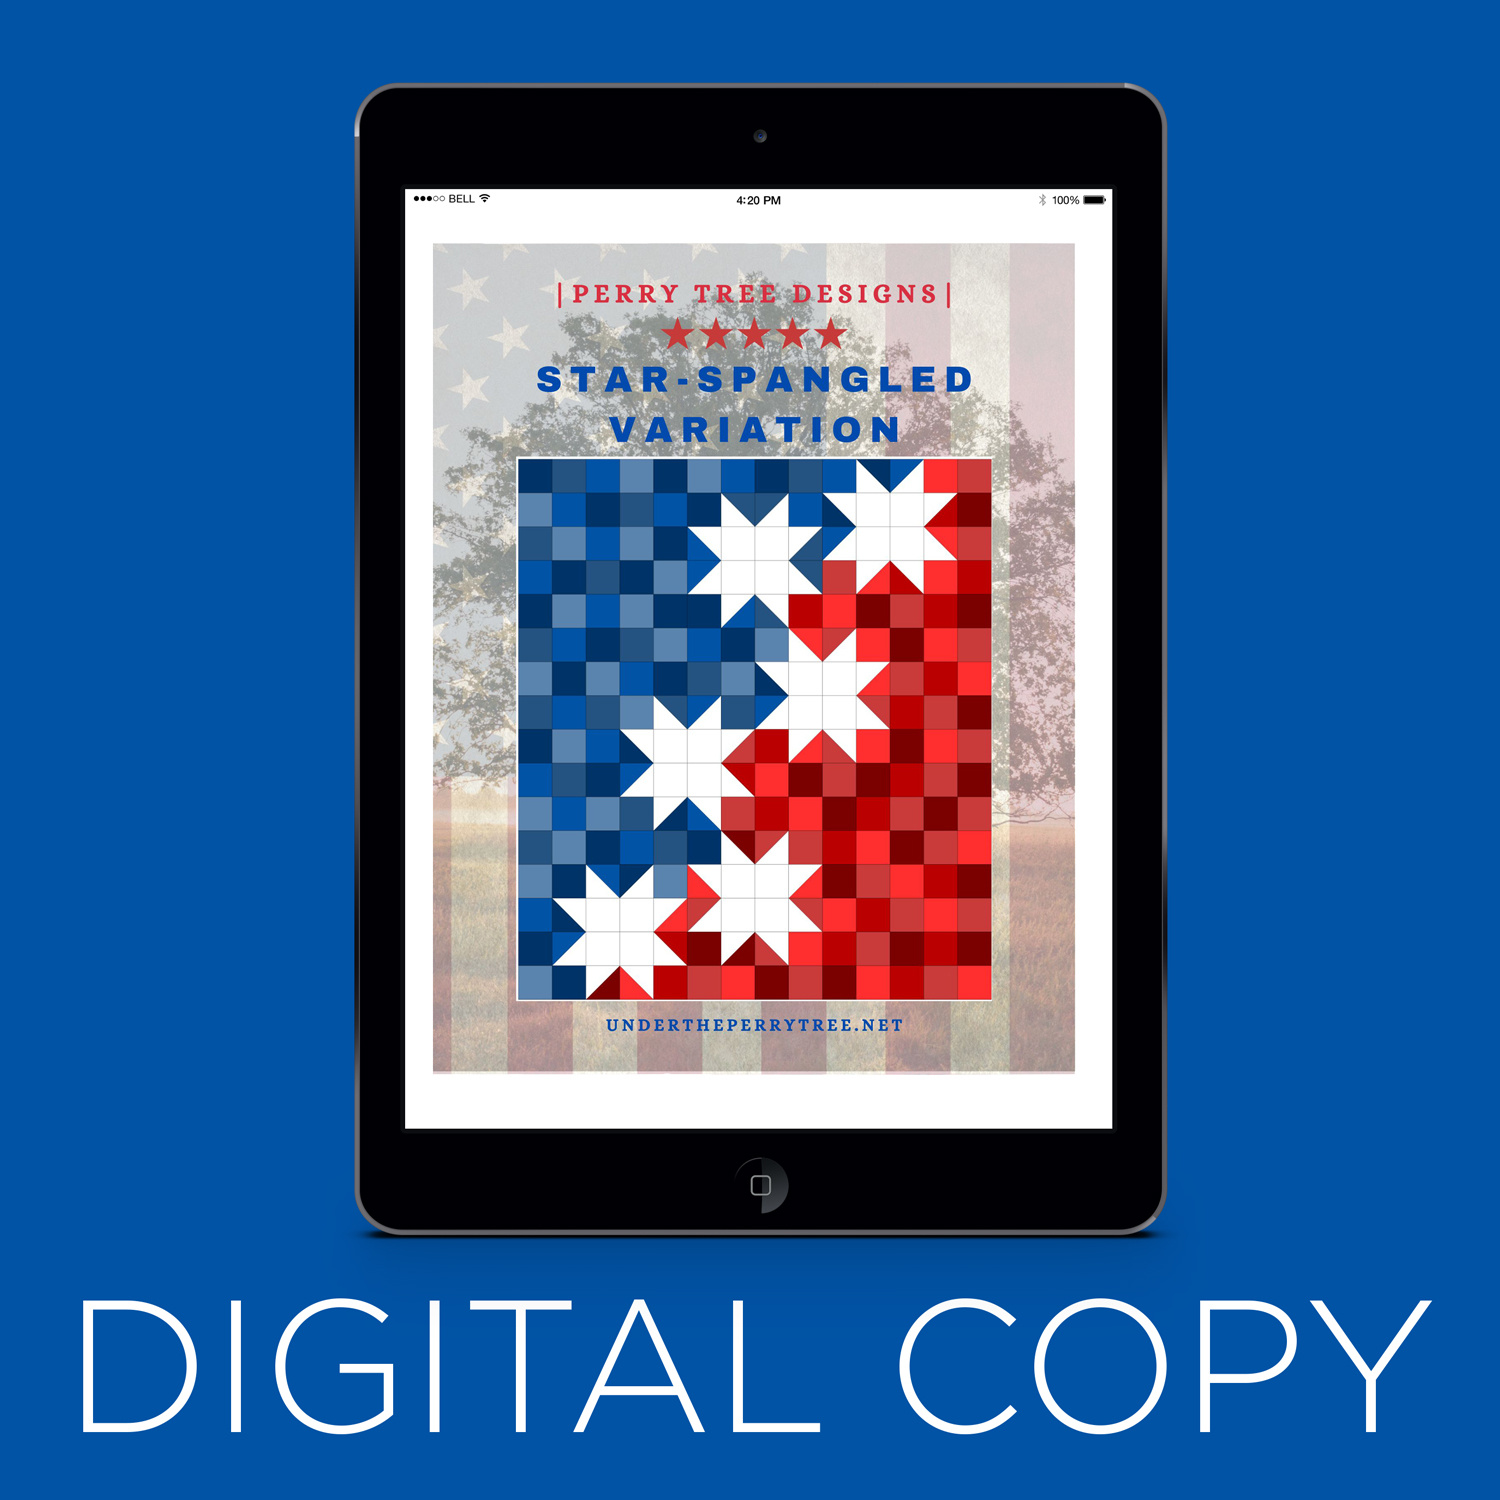 Digital Download - Star-Spangled Variation! Quilt Pattern$7.00Shop →
- Digital Download - Star-Spangled Variation! Quilt Pattern$7.00Shop →
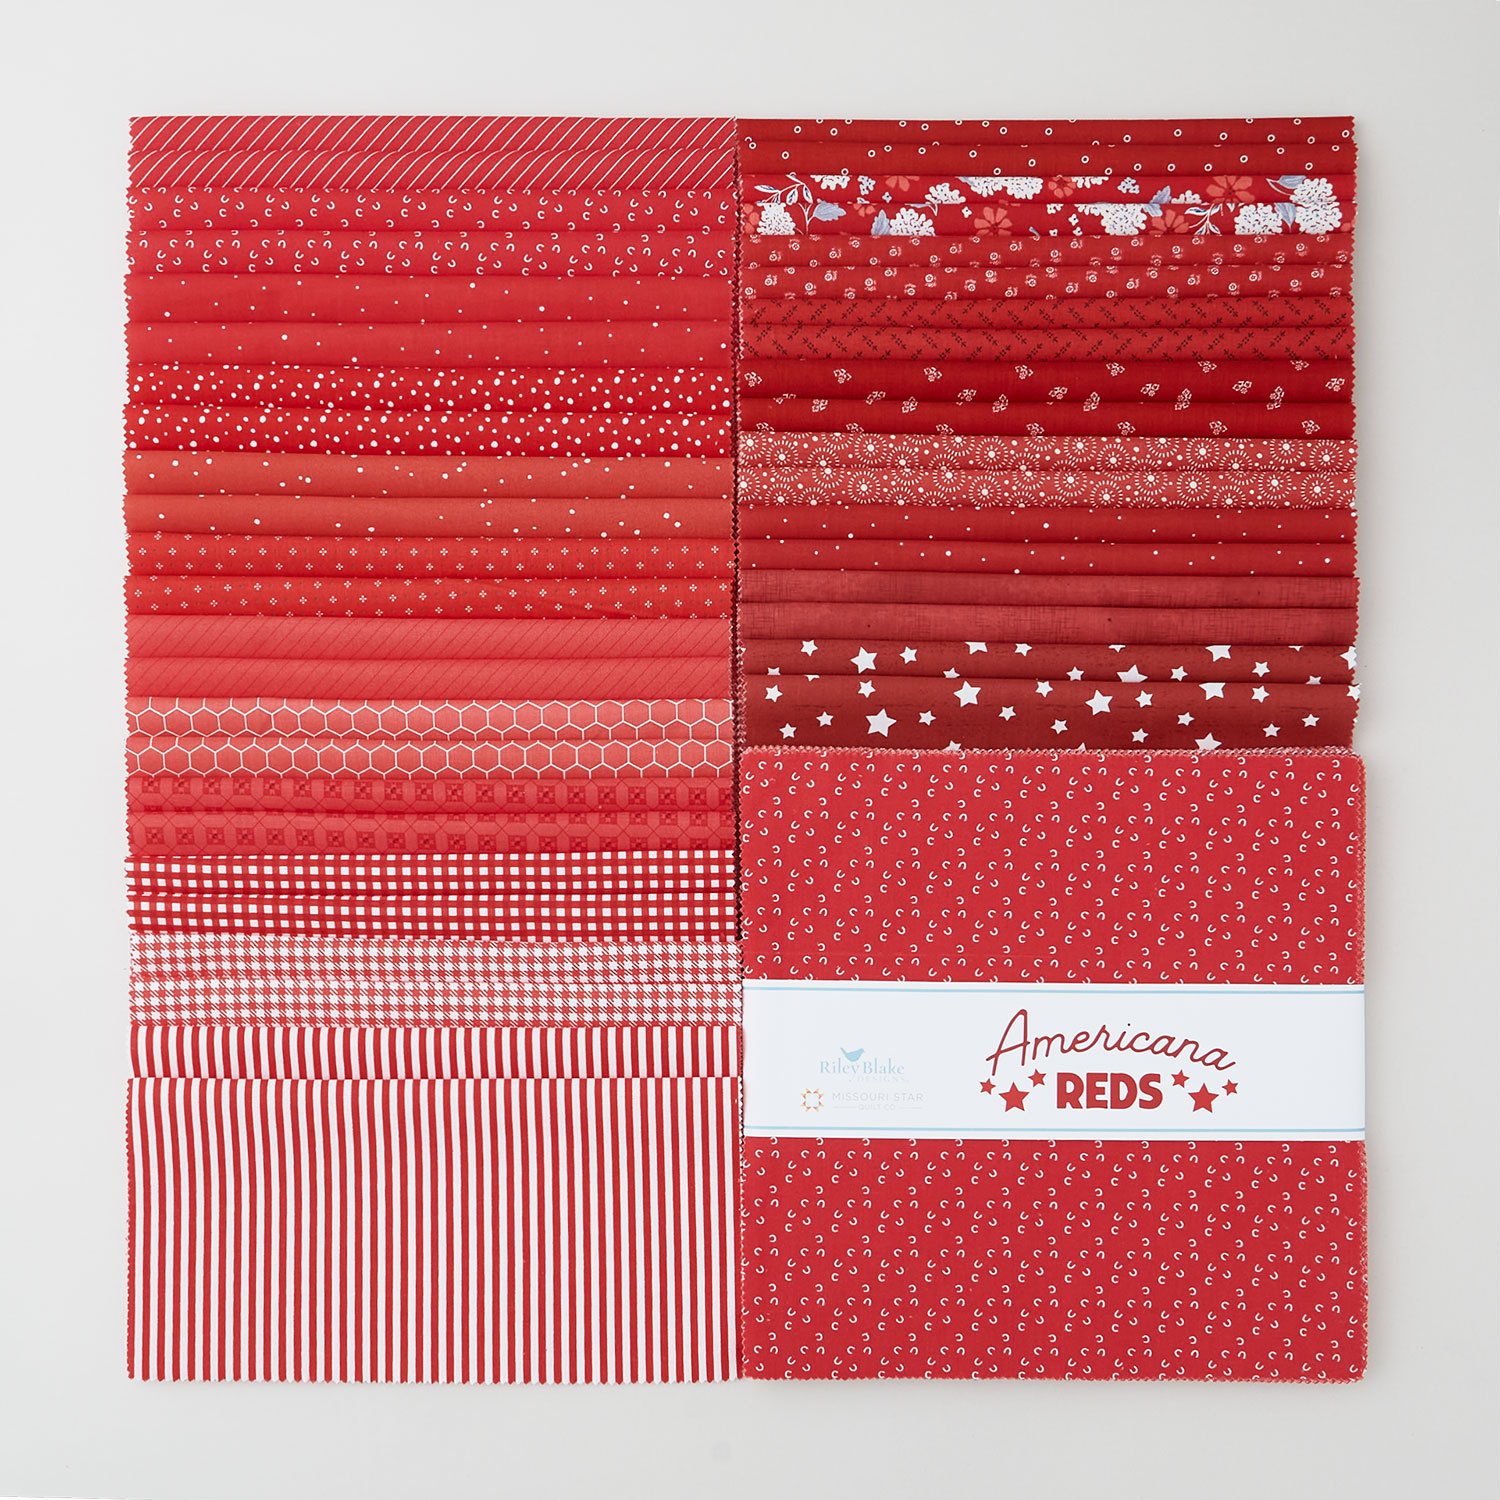 Americana Reds 10" Stackers$39.95Shop →
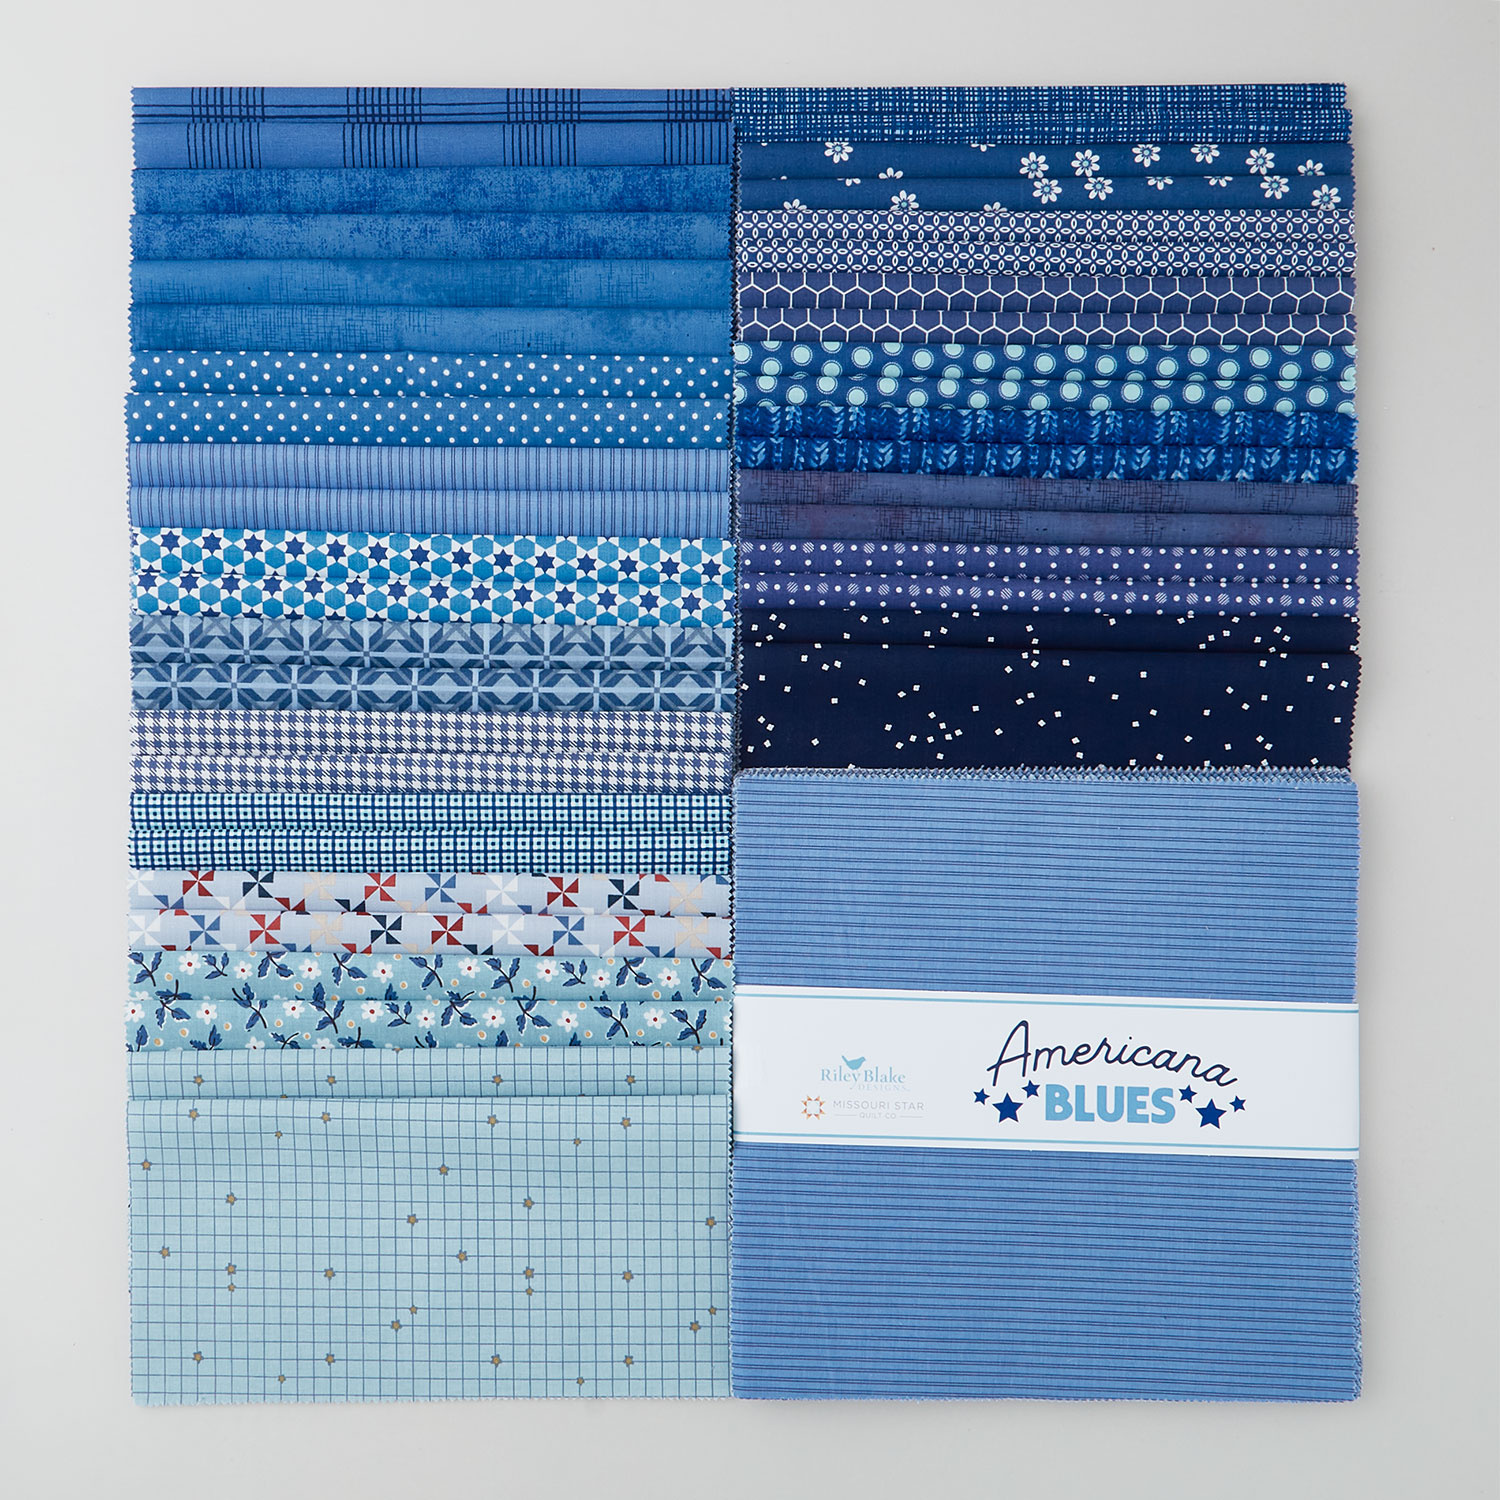 Americana Blues 10" Stackers$39.95Shop →
 Kona Cotton - White Charm Pack$9.95Shop →
 Kona Cotton - White Yardage$7.28Shop →
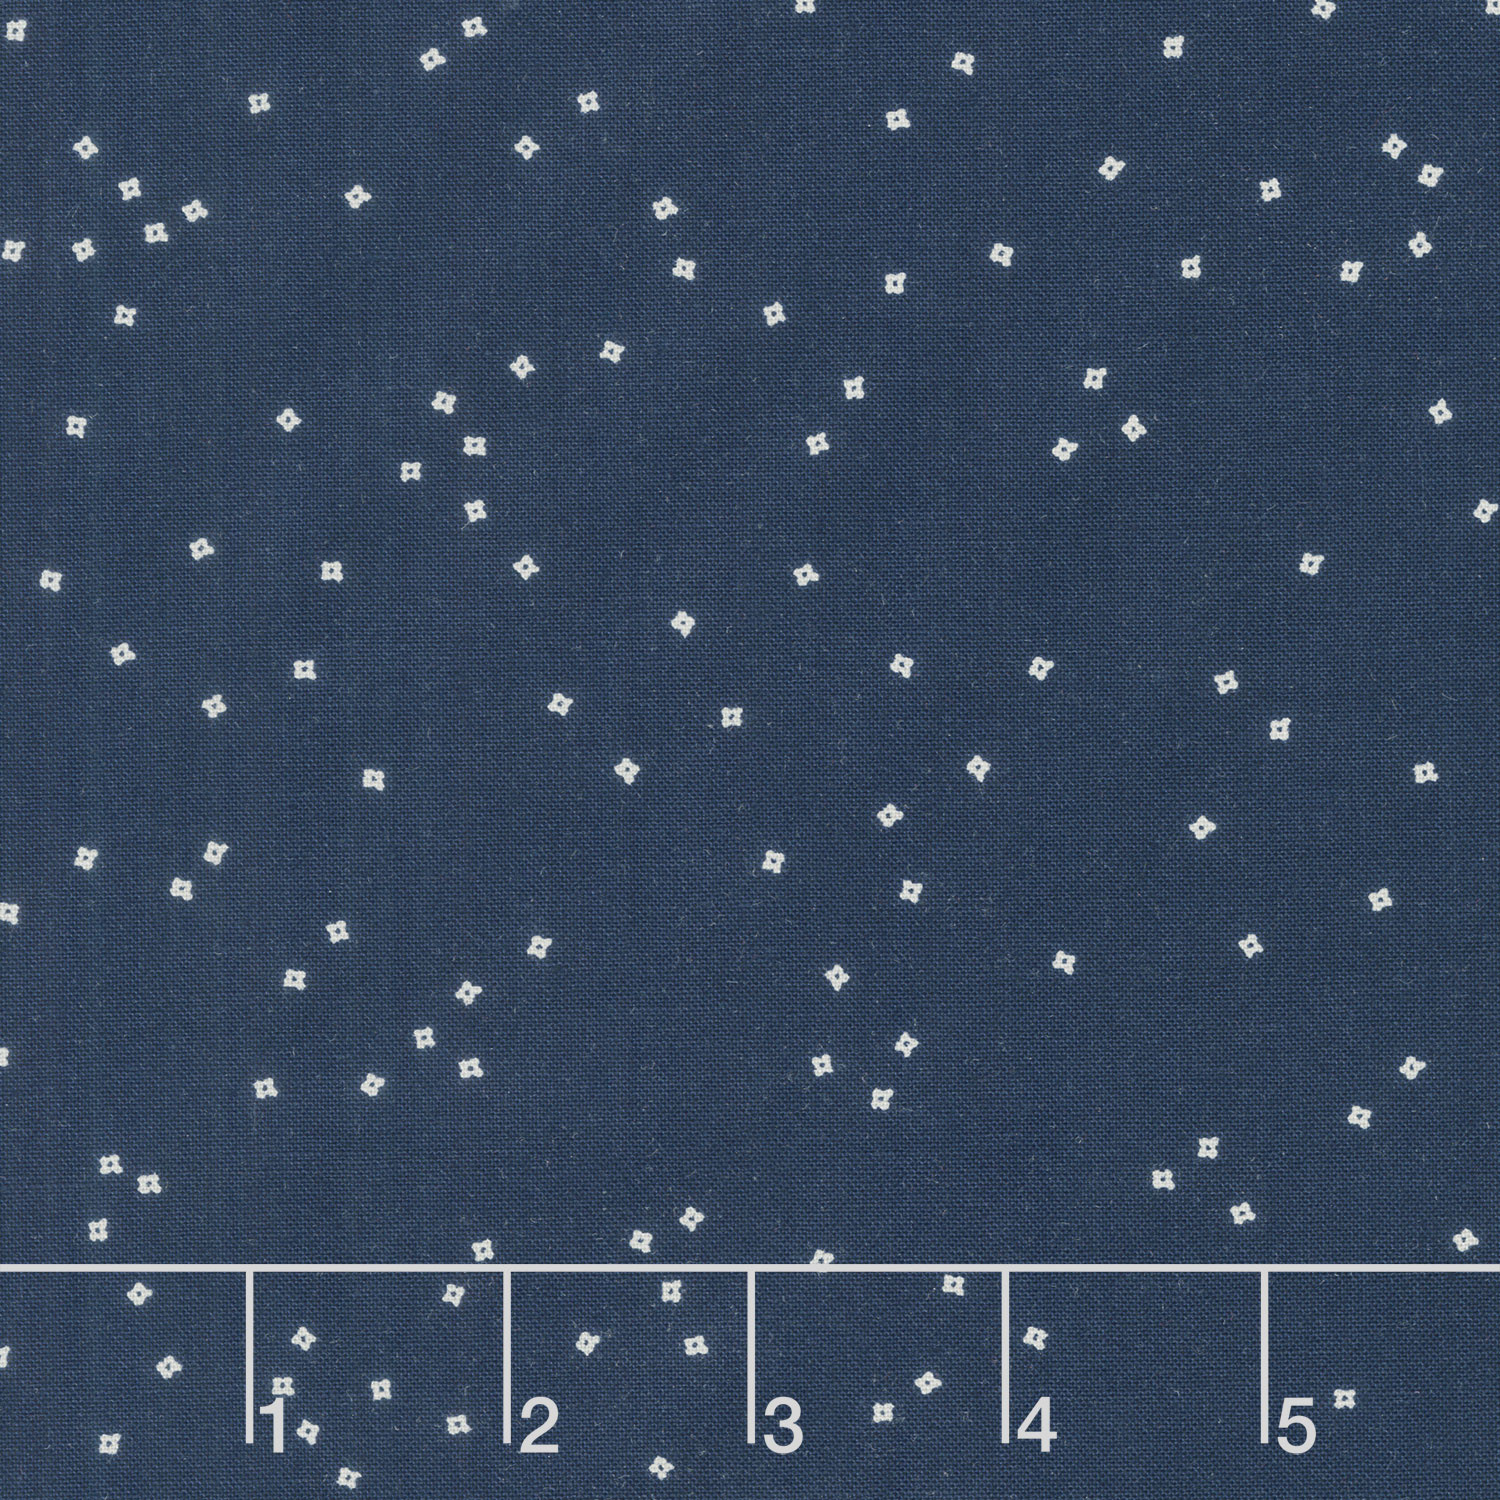 Blossom - Tiny Flower Navy Yardage$10.76Shop →
 Missouri Star Quilter’s Best Blend Twin Batting$26.95Shop →
Common Questions
What is covered in How to Make a Star Spangled Variation Quilt - Free Quilting Tutorial?
Jenny Doan is stitching up a parade of patriotic patchwork with a new pattern by Trisha Perry. This quilt is made with precut layer cake squares—Americana Reds and Americana Blues—made exclusively for Missouri Star by Riley Blake. The piecing is easy: simple squares and half-s...
How long is the tutorial video?
The tutorial video is 00:12:20.
Are supplies listed for this tutorial?
Yes. The tutorial page includes the supplies and materials connected to this project.
Is a transcript available?
Yes. A written transcript is available on the tutorial page.
Video Transcript
Hi everybody, it's Jenny from the Missouri Star Quilt Company, and I am super excited about today's project. Let's take a look at this quilt behind me.
Isn't this gorgeous? This is actually the most fun and the easiest you're going to have making a quilt that looks amazing. So let me tell you how this came about. I was scrolling through Instagram, looking at pictures of things, and I came across this quilt and I love clever things. And this was on Trisha Perry's site and it's Perry Tree Designs, and she had this little baby quilt that was made with three inch squares. Now that's important to remember because this can be made with any size squares, but you guys know I use precuts. So I right away contacted her and said, "Can you rewrite this pattern so that it's five-inch squares so we can use a layer cake with it?" And she did. And so it's called Star-Spangled Variation, and it's just a darling little quilt. And so right away she sent me the pattern and I right away made it and I made it in my scraps and I made it in red and green because it was just before Christmastime.
Natalie, can you help me hold this up? I want to show you how cute this is because again, this is something that you can make in any color. Look how cute that is. Isn't that adorable? And I just used all my scraps and it's so, so cute. Anyway, I love it.
So then we started gathering fabrics for it, and Riley Blake put together a couple of layer cakes that are red and blue so that it works perfectly. So to make this quilt, what you're going to need is two layer cakes, one of red and one of blue. And I love how Riley Blake does these collections where it's just all the different blues together from all their designers. You know they gather them all up. Here's a red one right here, and they're just lots of different colors and lots of fun. Then you're going to need a little bit of binding. I use three-quarter of the yard for binding, but also the backing on this one is, let's see, four yards or two yards of a 108. And so I did four yards of this little star that's part of that collection, and I just think it's beautiful.
The quilting pattern I used on this is called star-spangled, and I love the movement of it and the little stars, I just think it's perfect for this quilt. I did the same pattern on the red and green. So whatever you make it because it stars, it works. And then you're also going to need a couple of charm packs or a yard and a half of background fabric if you want to cut them up. To me, since I was going with all five-inch squares, I just used the charms to make my stars that are right here. And then it's helpful to have this five-inch ruler just to check against yourself. But as long as you have something that will measure five inches, it'll work perfectly.
All right, so let's talk about how to make this because it's so easy. The only thing you have to sew on here other than the blocks together are the little half square triangles. Now what we're going to do with our colors is we're going to grab a little stack of these, and all of these squares are cut twice. So you can actually use charm packs for this that are already cut. I just wanted a lot of variety and I wanted to make sure I had enough. So I have a little stack going right here. And when you cut your layer cakes, you're just going to lay a ruler along the edge because these are going to be five-inch squares. So it's super easy just like this and this. And I think... How many do I have here? Let's see. 1, 2, 3, 4, 5, 6, 7 pieces of fabric and Olga went right through it. By Olga, I mean our rotary cutter. Anyway, so you're just going to stack up all your reds and you're going to stack up all your blues, and then we're going to start putting them together.
Now, I'm going to go ahead and cut some blues because I want to show you how I laid this out. Again, I'm just going to grab a little stack and just cut them in half, both directions. All right. Okay. So to the pattern, you can do it from the picture. The pattern is super helpful and it's a PDF that there'll be a link to on the site. But as you go through here, it'll tell you like... If you want to do fabrics and you want to do it scrappy, she has five mid to dark blues and five mid to dark reds and a yard and a quarter of white. She has it all in here for you. I have it down here, a hundred blue squares, a hundred red squares, and 72 white squares. And you'll have some of these leftover at the end, but I made a second project with that, I'm going to show you too. All right.
The only thing you really need to sew on here are these to make the stars. Now, because all of our blocks are five inches, you want your half square triangle to stay five inches. So this is something we don't usually do with half square triangles. And what we're going to do is we're going to take our white five-inch charm pack and we're going to draw a line.
And then usually with our half square triangles, we sew on both sides or we sew around or we do something. With this, you're going to be shocked. We're going to sew right on the line. When you have a half square triangle and you want it to remain the same size as the squares you're working with, you sew right on the line. So what that's going to do for us is it's going to give us a five inch, half square triangle, but you're going to have a lot left over. So what I'm going to do actually on this is I'm going to sew on the line and then I'm going to come out a half an inch and I'm going to sew again. And so I'm going to sew two so that I can have this little half square triangle for another project. And I made another project, so I have to show you that as well.
All right, let's see here. We're just going to sew straight across. And then we're going to flip this around and we're going to sew down the other side. All righty, and we're going to cut that. And then we're just going to cut these in half. So when you sew on the line again, you get a half square triangle that is the same size as your block. So we're going to do this and we're going to press it open. So we're going to press this and we're going to measure it and make sure it stayed five inches. This was just a check for me to make sure that it was careful and things were still lined up and it looks great. We have the line here and we can see that it looks great on all sides. And then you have this extra piece out here, and we're just going to set that over there for now.
So the whole thing about putting this thing together is just following the outline. This is all the sewing you're going to do, is the half square triangles. You don't have to just make one, you make a few. And so then you're going to start looking at how these go together. Basically, all the sewing you're going to have to do is with these half square triangles until you're ready to put your rows together. And then you're just sewing straight lines of these five-inch squares because this is going to read as a five-inch square. So you're going to cut out all your layer cakes, you're going to have your piles and stuff, and you're even going to need some whole white ones, and you're going to have all of your half square triangles done. That's going to be about... I think it's like 24, 25 of each color, and then we're ready to put our quilt together. So then you just have to follow the diagram.
And so when I did mine, I took the front page and I lined off that row and I wrote 1, 2, 3, 4, 5, 6, 7, 8, 9, 10 blues, and a half of a blue and a half of a blue and two reds. So I wrote that right in the margin. So then I finished that row and then I was onto the next row. So I literally was counting them and putting it together. Now she does have a fun grid in here where you can color it, you can put it together, you can do whatever you want to with it, but it tells you just where those half square triangles go and so that you can put your whole quilt together. So basically then it's just following along with the diagram and making sure that yours ends up that way.
Right here you'll notice... Let me show you how this one goes. Let's talk about this third row here. So we've got 1, 2, 3, 4, 5 blues, and then we've got this half blue like this, and then two five-inch white squares and the half blue again. And then this confused me a little bit. So it's a half blue again, but it's pointed this way. And when you get the star altogether, you can see right away if it's right or wrong. So then it's two whites, a half red and the regular five-inch square. So you can see that it all works together when you start it going, but when I was sewing the row together, I was like, is that one really that way? I'm so angrily challenged, I had to work on it. So follow that diagram and these things are going to work out for you and it's going to be great.
But as you noticed, I had these leftover, and since this is based on a square, I actually had enough of my five-inch pieces left over to square them to the size of this half square triangle. And so I think I... I am not sure what size this one ended up being. Let me see. This one I think. Four inches. I bet I cut it down to three and a half because I never actually draw the two lines. I just sew one and sew the other. So I bet I cut it down to three and a half. And so then I had to cut my little squares down to three and a half. So out of this fabric that you have here, I got this big quilt and then I got this smaller quilt. Look how cute this is. Isn't that darling? It has a little less stars.
And because of the number of fabrics I had, I think I added an additional border across the top. So this one, the star comes right to the top, and with all your extra pieces, you get this little quilt. Isn't this darling? It's so cute. It's a perfect little size. It is 45 by 42, and so it's a great little baby size and/or picnic or whatever, and it can be as big as you want it to be because you can just keep adding things. But also, our big quilt here measures 63 by 72. So it is also a great size for this quilt.
So I want to say thank you to Trisha Perry for letting us use her pattern and for rewriting it to the five-inch squares for those of us who love precuts. I just think it's super fun and super clever, and I just am really grateful that she let us use it.
Anyway, I hope you have fun with this, and I hope you enjoyed this tutorial on the Star-Spangled Variation by Trisha Perry for the Missouri Star Quilt Company.
Hi everybody, it's Jenny from the Missouri Star Quilt Company. We hope you enjoyed watching this video. If you aren't already part of the Missouri Star Quilt Company family, be sure to subscribe so you won't miss a thing. And if you click that bell, it'll notify you every time a new tutorial comes out. See you next Friday.


