Skip to content

Free quilting video tutorials from Missouri Star

Quilting Tutorials
How to Make a Sticks and Stones Quilt - Free Quilting Tutorial

How to Make a Sticks and Stones Quilt - Free Quilting Tutorial

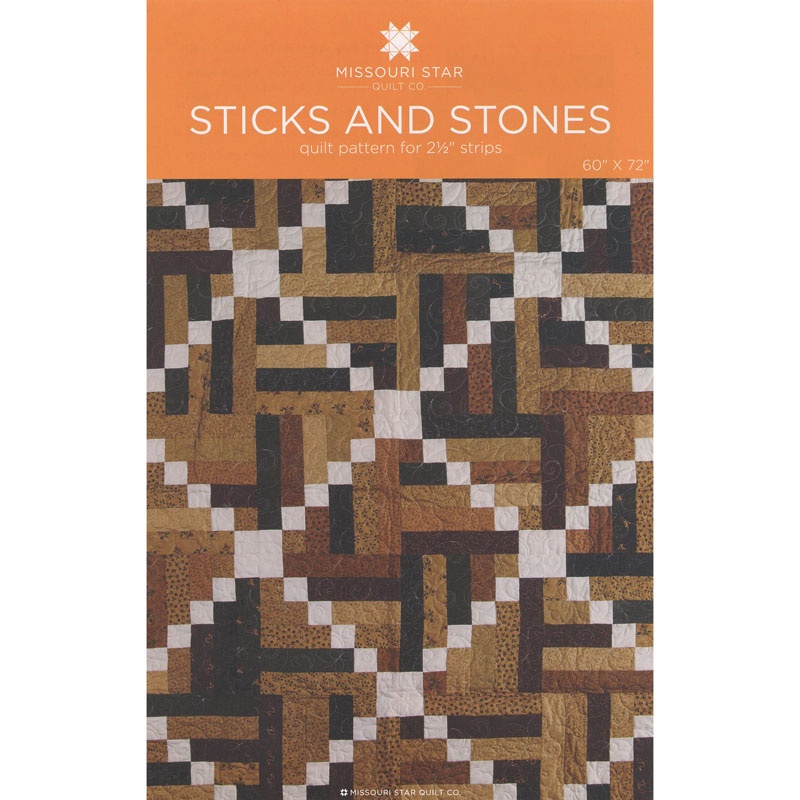
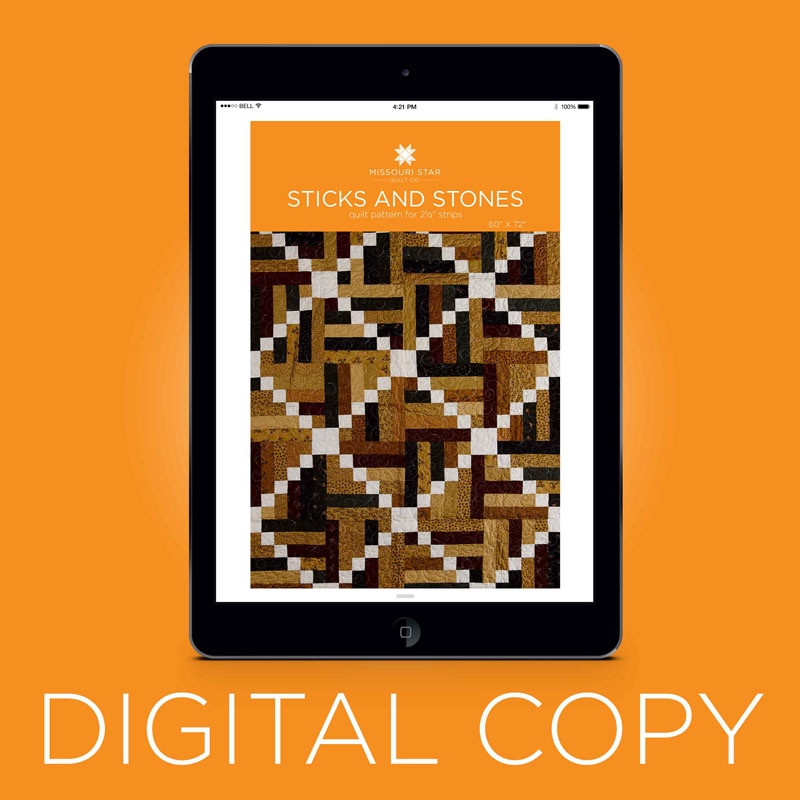
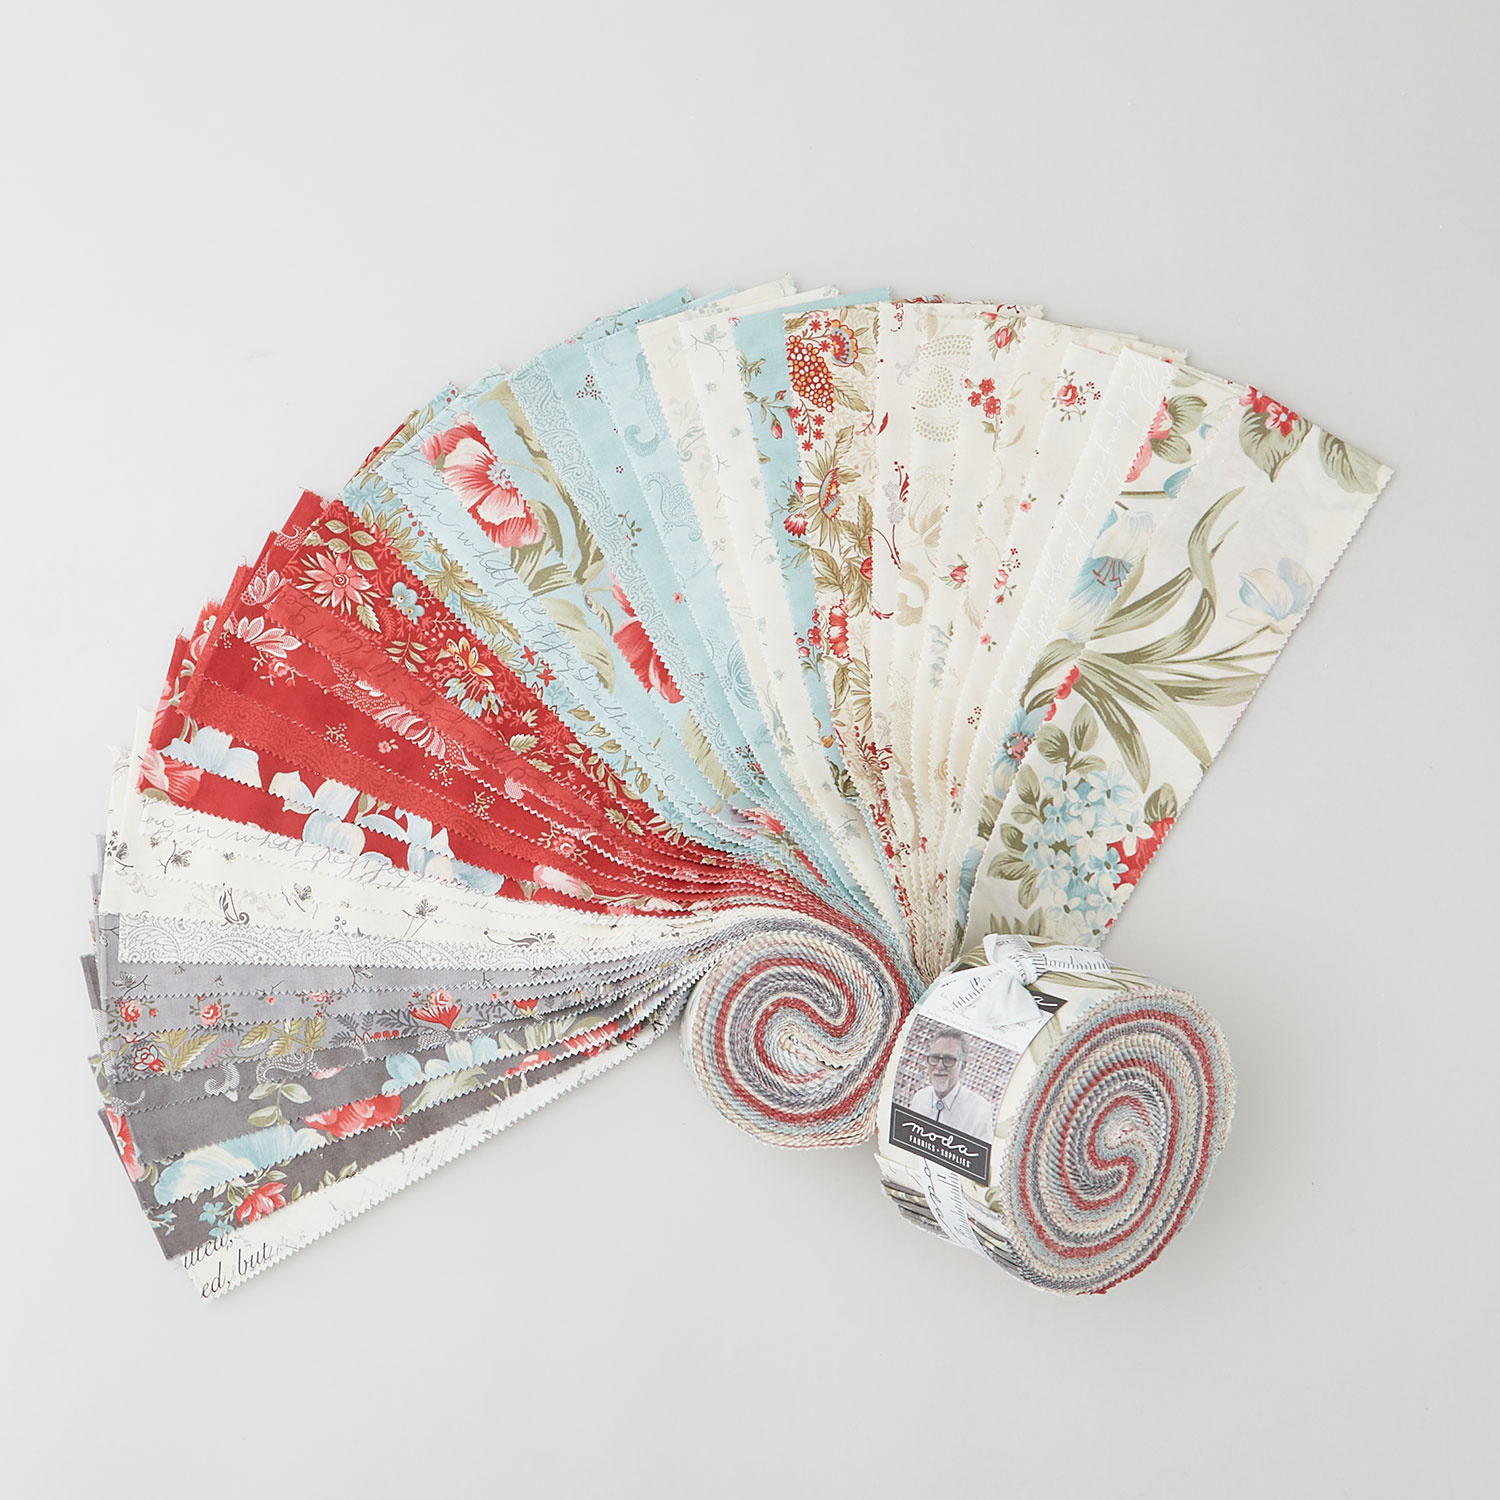
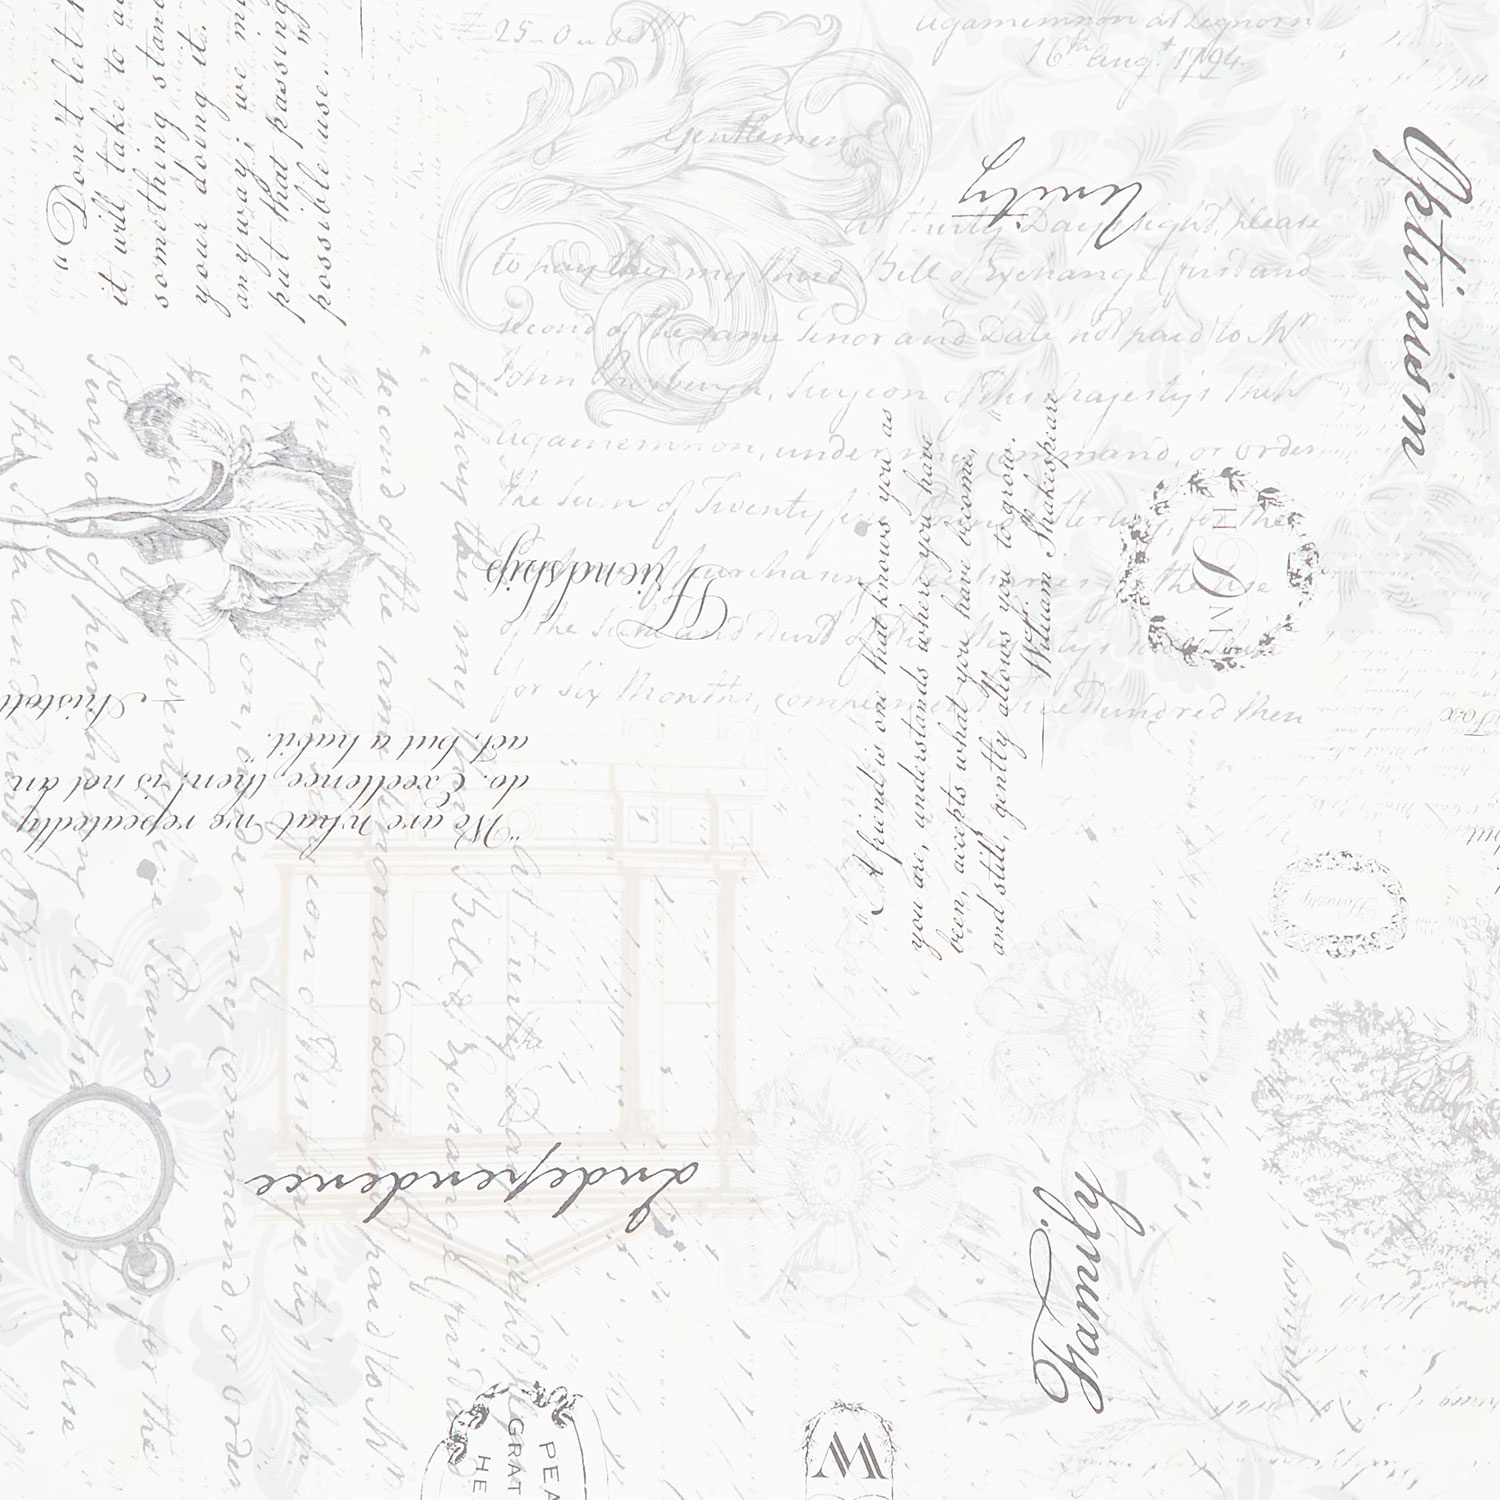
Sticks and stones may break my bones, but quilts will always warm me! This week, Jenny Doan is remaking a Missouri Star classic with 2.5 inch strips of precuts fabric. She is using a jelly roll from Collection for a Cause: Etchings by Howard Marcus for Moda Fabrics, and the scraps become a dynamic piano key border.

Instructor

Jenny Doan

Jenny Doan is an American quilter, author, and YouTube personality. Jenny started Missouri Star Quilt Company in 2008 and today it is the largest quilting supply vendor in the United States.

Chapters

  1. 0:00Intro
  2. 0:29Supplies
  3. 2:18Preparing the strips
  4. 5:29Laying out the strips to create a block
  5. 11:30Showing finished half blocks
  6. 12:10Making whole blocks
  7. 13:09Assembling the blocks
  8. 14:03Making sure cascading rows shows up
  9. 14:36Making a piano keyboarder and done!

Common Questions

What is covered in How to Make a Sticks and Stones Quilt - Free Quilting Tutorial?

Sticks and stones may break my bones, but quilts will always warm me! This week, Jenny Doan is remaking a Missouri Star classic with 2.5 inch strips of precuts fabric. She is using a jelly roll from Collection for a Cause: Etchings by Howard Marcus for Moda Fabrics, and the sc...

How long is the tutorial video?

The tutorial video is 00:16:43.

Are supplies listed for this tutorial?

Yes. The tutorial page includes the supplies and materials connected to this project.

Video Transcript

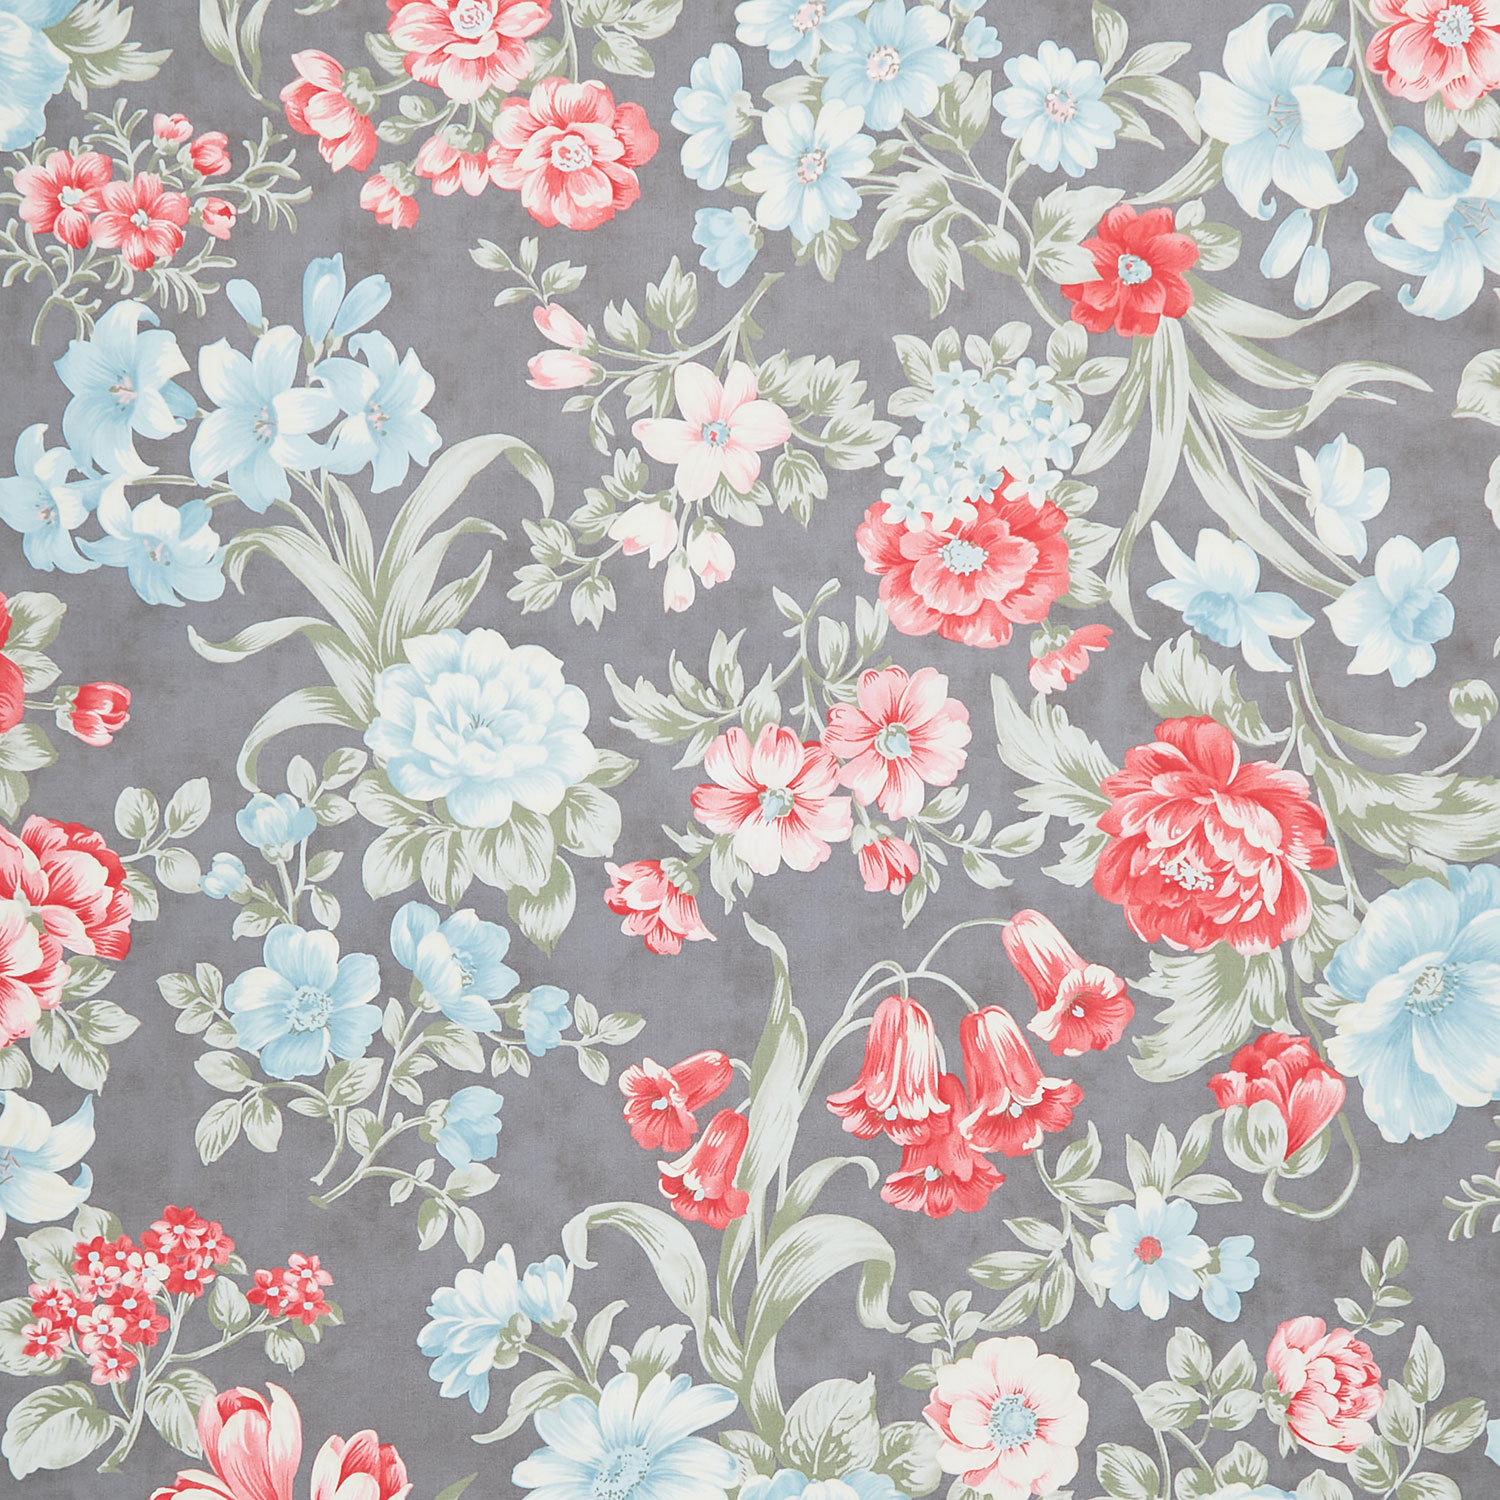
hi everybody it's Jenny from the Missouri Star Quilt Company and I am here with darling Natalie today because we have a favorite 15 for you and this quilt is called sticks and stones and it's just it's really cool it's really cool because this is the block right here and how you put this block together with these graduating squares makes it crisscross throughout the whole quilt and it's super easy to make and super fun and perfect for a jelly roll it is perfect for a jelly roll so let me show you how to make this so to make this quilt you're going to need one packet of 2 and 1/2 in strips and we have used collections for a cause etchings by Howard Marcus and three sisters for Moda fabrics and it's a gorgeous line of fabrics as you can see beautiful it is beautiful you're going to need some background right here and your background is going to be 1 and 3/4 yards and that takes care of your little bit of borders you can see we have like a piano key border out here but this Fabric and this inner border Fabric and our squares all comes out of this one and 3/4 yard cool it makes a really cool effect you know having those borders kind of combined in the same color it just looks it does really and I did this because I'm really scientific about things and I ran out of squares so I put in the solid border scientific but also you want to make the best use of all your fabric so you got you got to use everything which I think very cool I did and you know that's usually what I do is I you know I do use it all and then I like have to figure out from there and that's how kind of how I design so the backing is four yards and this is our backing right here and I love any fabric that has words on it I just think it's beautiful and this has Brave compassion loyalty encouragement it's just a great optimism pretty line of fabrics and that's this right here I love that and it's just four yards and so I want to show you how to make this because it's way easier than you think okay okay all right let's do [Music] it okay so the first thing we're going to do is we're going to go through and we're going to grab some strips and ordinarily I would leave my strips folded in half and cut them that way but because we need so many different cuts I'm going to open them up and I'm going to stack I don't know four five I think four sounds good yeah however many you feel comfortable cutting through without kind of getting them crooked let's put some get some different colors on here you want to match up your little salvages down there can you straighten these out down here yep I'll I'll I'll leave you over the the tail end of things straightening at the at the back end that's right okay because we got lots of cuts to make and you need to pull it you have a little oh that's me never mind there we go and then I'm going to put one more I'm going to put this nice dark gray so I think I have five okay so whatever you feel comfortable with go ahead and do them now whenever you're cutting out uh lengths different lengths you want to start with your biggest ones and so I'm going to start here by cutting my salvages off right here and then I'm going to use this ruler and I I love this ruler for this reason I need a 10 and 1 half inch strip and what I can do is I can actually just slide this right here so that from 1 to 10 and 1 half I can see that that takes up the whole strip so that's great I'm going to do this and I'm going to set these up here next we have 8 and 1/2 so 10 and 1/2 yeah make sure lined up then we have 6 and 1/2 and you're going to do this to your whole roll so if they get a little off you can always reposition a bit yeah and you can just slice that little Edge so it's nice and straight again too yep eight and2 so we're at 6 and 1/2 can't go too far I'm stuck by my sewing machine okay all right so I'm going to I'm just going to come in a/4 of an inch more like this and then I'm just going to trim this edge off right here so that I know that they're know that there's six press that fold that might make it easier to cut I'm just going to I'm just going to do this and just trim it off okay and that's why it's better kind of to have a nice long place where you don't move your strips because then you'll be able to just keep cutting along like this you so after 6 and 1/2 you go to 4 and 1/2 like this mhm and then you go to 2 and 1/2 so then you cut one 2 and 1 half right here and you just leave those there now this little piece of extra right here this is going to be our little piano key Bard out here and so we want to cut those 4 and 1/2 so we're just going to go ahead and cut this one 4 and 1/2 and this one 4 and 1/2 and it leaves you with this little bit here and then these we're going to set keep those away from our sets so that we know that those are for the border right all right then you need to take your your background Fabric and you're going to cut 2 and 1/2 in squares lots of them we're not going to give you the number cuz it's it's 120 but don't be scared by that it's fine you get like 20 or what 16 out of a strip yes so you'll just cut strips a bunch of strips yeah and you'll cut them into 2 and 1/2 in squares and we're going to put a white block at the end okay then we're going to start with this one and we'll put a white block here and then this needs a little 2 and 1/2 out here so let's pick one of these perfect that's cute all right next we have this 6 and 1/2 here all right and it will also have a white square see how this chain is beginning to form nice and then this will have a 4 and 1/2 on the other side right here so now we have half of the block laid out and a hack is that you can actually make just this block over and over again and flip it and it will work but to show you guys how this is all going to look I'm going to go ahead and keep laying out this block so so you're going to put a 4 and 1/2 yes and a block and then you could put a two and A2 all the way down here oh for the next row but we need the six over here so we're going to put this six very cool and the way I remember is because my blocks are going to go like this you know and it's going to end it's going to end with this one that's and so here we have we'll put a little red one out here and then we'll put this one over here this one's going to go here mhm and then in here goes the8 and 1/2 and we will put oh we might have to switch use that gray one or this one even yep that's a pretty one and so this is the whole block this way very very Co but this is the same as this one flipped around so shall shall we sew some together yeah all right so I'm going to do these two to pick up a strip um you can just hand me whatever strip you want me to sew together okay we could do the we could do the the two ends if you want I'll just have you put the white block on every one okay which is how I think it you which is just exactly what you were that's right and then I'll press these and I'll give you back the ones that go together all right here's these okay and then this one goes together now the one of the nice things about having uh putting a solid in here is that there's no right or wrong side to it and so you can use either side so there's that okay so once you know you're down to like your eight and 1 halfs it's always going to have another square or another strip on the end the 8 and 1/2 is going to get a 2 and 1/2 and the 6 and 1/2 is going to you know so forth and so on I mean it's that's a lot of math but you know it's going you know it's coming yep we got it there we go and make sure as you're laying them back down that that is happening you know that cascading is happening thank you you're welcome thank you for making sure I was going to sew the right end of that yep got you there we go and this one oh this one must be the end one no I must have sewn it wrong it's okay it's all good it's all good yep all right let's sew it let's fix it I'm working on it she going to do the Jenny rib there we go okay there we go and we're going to sew qu of an inch right here and then that goes in there that's right all right so now what we're going to do is we're just going to start sewing these together and again Watch to make sure that when you pick up this white should never match up with a white it should be the next one down you know it should Cascade St steps yeah and so I'm just going to start here and I like to take a few stitches and then line those up and then the rest of this just sews on and then we're going to add the next one so we'll open this up and then this one goes here and also there are little seams on here where you can match these up so you make sure that your your little Corners line up all right then I'm going to sew these two together and this is another one of those really fun quilts that look like you worked so hard and it really it's just sewing Little Stitches together so we've got this one this one and this one there we go and then you can press this one and we can show you what we mean by flipping them around right all right there we go press that one that okay you will see the magic of this begin to happen hang on I just got to get my seams to lay flat just the way I like them just the way you like them all right well all right so see how this the way these run is identical to the way these run like this y but when you put these together if you flip them around like this they'll line up and Cascade perfectly I love it so then we can just you know what I want to do we have two half blocks over here let's mix these so they're not the same right so again this is the same all your blocks are going to be the same but we're going to flip this and look at that but this one is two Blues do you want to use this red instead oh but then you have two white ones well whatever will we do matter I'll do the Blues there we go all right perfect I love it so then we'll sew these two together and that will make our whole block all right now let me sew these two okay and then we'll show you how we put these together all righty here's one more to press okay I'm going to clean these up right here and you're going to do this to your whole uh your whole jelly roll so once you get your blocks done and they're all stacked up you're going to need 20 of these blocks and what we're going to do is we're going to rotate them so you can see all of these are stacked going exactly the same direction but what we're going to do is we're going to put them together so they Cascade so see how this goes up and down and if you always put match your white squares together it's going to make this beautiful Cascade like this so let's take one of these I'm going to take this block and I'm going to go back here to the quilt and show you how they fit in here so this one starts here like this and you can see how the white square ends up you're going to match the next one you're going to match it like this so that rotate kind of like mhm they just rotate back and forth back and forth like this and so we've got 1 2 3 four by one 2 3 4 five so 20 blocks and it just comes together so quick easy now you do want to make sure because there's some pieces in this line that don't pop against that white and you want to make sure that your cascading rows really show up because that's where the you know the real punch comes in for this quilt is if you see those cascading rows and while this is a beautiful line of fabric and we needed to use all 40 strips if I'd had more I probably wouldn't have used these lighter ones yeah I guess if you wanted to you could cut a piece of Border fabric AB a print in and out absolutely or pick a different background so then once your quilt is done you have a whole stack of these from cutting all your strips and this is where you're going to make your piano key Bard and what I do with a piano key Bard is I take these four and a halfs and I'm just going to sew them together like this two at a time and I'm going to sew a bunch of twos like this and then I'll sew two more just chain piece a bunch yeah I'm just going to grab from my whole big pile and just keep keep sewing these together and when you get a bunch sewn like this I mean this is only two but you'll see what I mean so then you can you take those two and put them together and then you would take four and eight like yeah that's exactly what I do so then I I'll do sets of fours with all of them then I do sets of eights and then I start attaching them to each other until you have this nice long border and so then you're able to put it I didn't have enough again to go all the way around so I just started here from the middle did across the top and down the side as far as I could go and then I filled in cuz this is these are 4 and 1/2 in wide so your border piece down there is going to be 4 and 1/2 as well but first I put a little 2 and 1/2 in Border and then I put these on out here and so the quilt ends up being what is it uh 60 by 72 60 by 72 and so it's a great size quilt the quilting pattern on this is called cotton seed yes cotton seed it's a really cute pattern cute it kind of looks like a little Cloud it does it looks like it's just a fun little quilting pattern anyway much easier than you thought and we hope you enjoyed this favorite 15 tutorial from Natalie and I on the Sticks and Stones quilt from the Missouri Star Quilt Company hi everybody it's Jenny from the Missouri Star Quilt Company we hope you enjoyed watching this video if you aren't already part of the Missouri Star Quilt Company family be sure to subscribe so you won't miss a thing and if you click that Bell it'll notify you every time a new tutorial comes out see you next Friday

More Jelly Roll tutorials

See all