
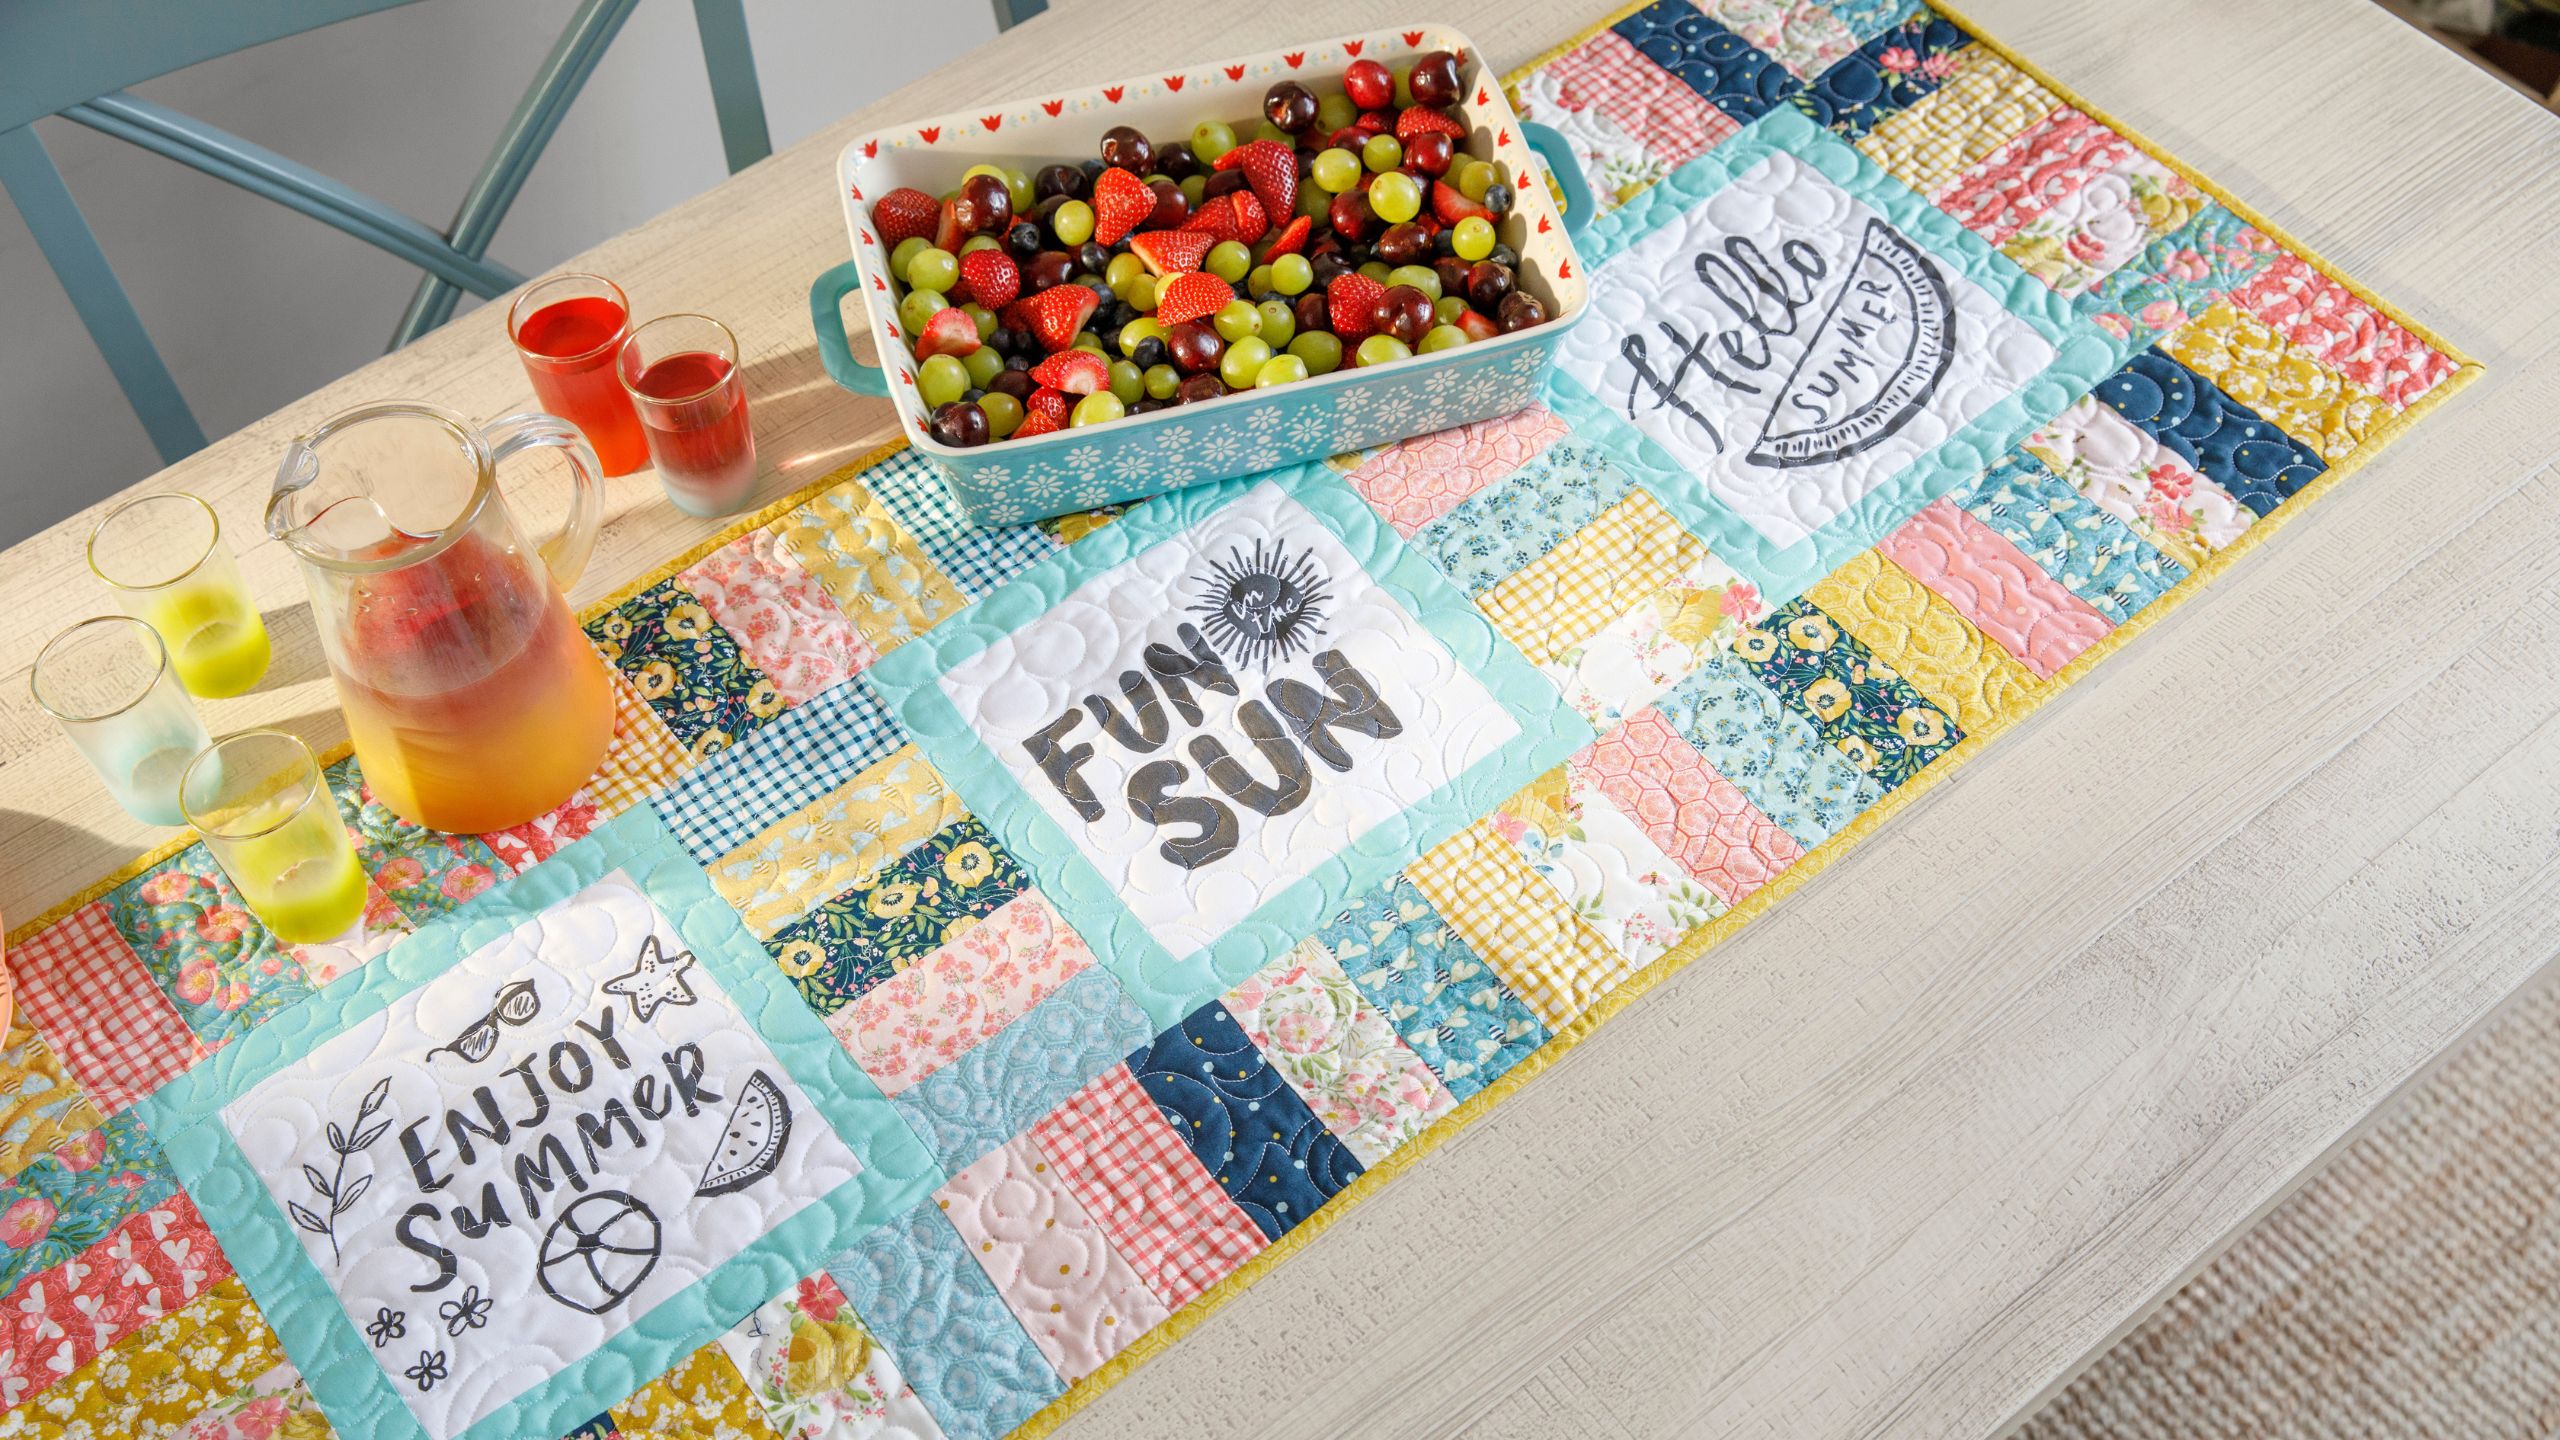
How to Make a Summer Charm Keys Table Runner - Free Project Tutorial
 Misty Doan
- Charm Pack
- Traditional
- Table Runner
- Beginner
- Quilt size 32" × 31"
This project is as sweet as honey! Join Misty as she re-creates the Charm Keys Table Runner by Amy Latta using the Honeycomb Hill charm pack from Riley Blake Designs. Follow along and watch Misty make a room-brightening table runner with these bee-utiful 5" squares!
Instructor
Misty Doan
Misty Doan grew up surrounded by sewing and quilting. She loves spending time sharing tutorials each week each week, and when she’s not stitching up one of her fun sewing projects for home decor, most likely you’ll find her hanging out with her husband and three awesome kids or working on a house project.
Shop this tutorial
 BLOCK Magazine 2022 Volume 9 Issue 5$7.99Shop →
 Digital Download - BLOCK Magazine 2022 Volume 9 Issue 5$6.99Shop →
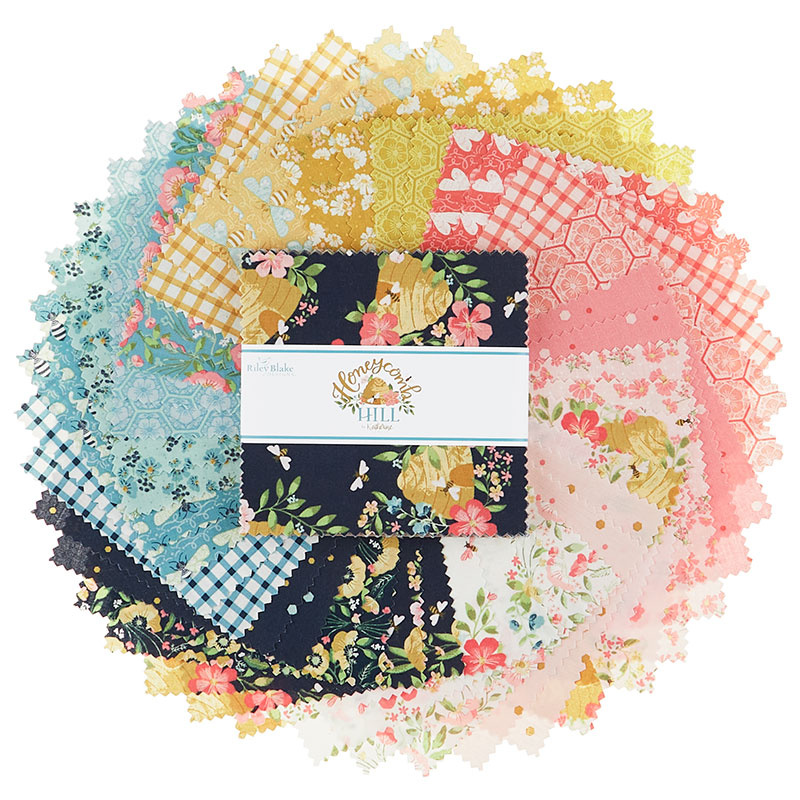 Honeycomb Hill 5" Stackers$11.95Shop →
 Designer Essential Solids - Seabreeze Yardage$8.64Shop →
 Confetti Cottons - Crayola Solid Color Riley White Yardage$7.76Shop →
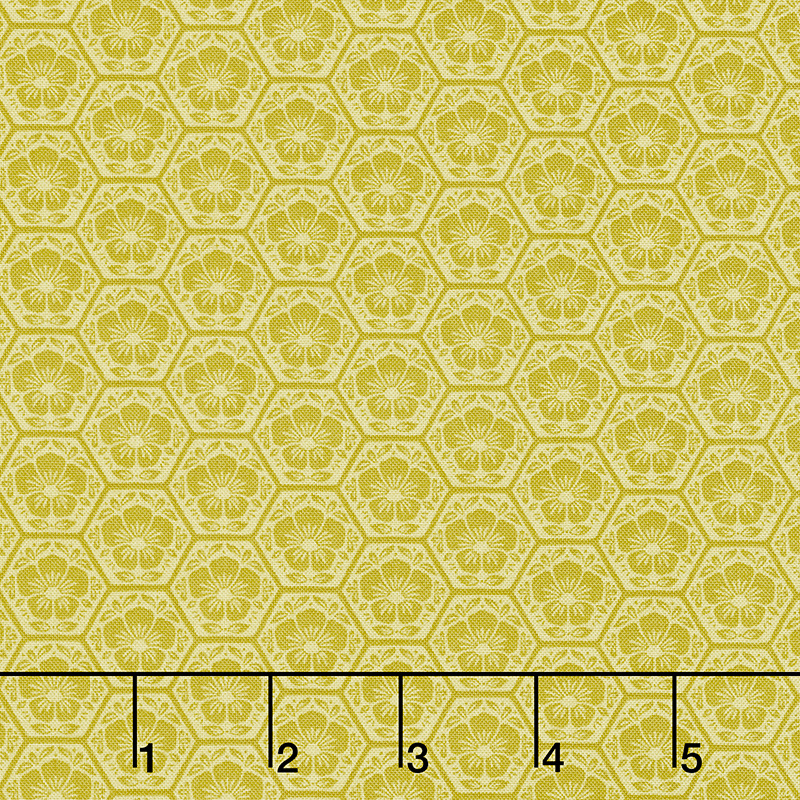 Honeycomb Hill - Honeycomb Curry Yardage$11.96Shop →
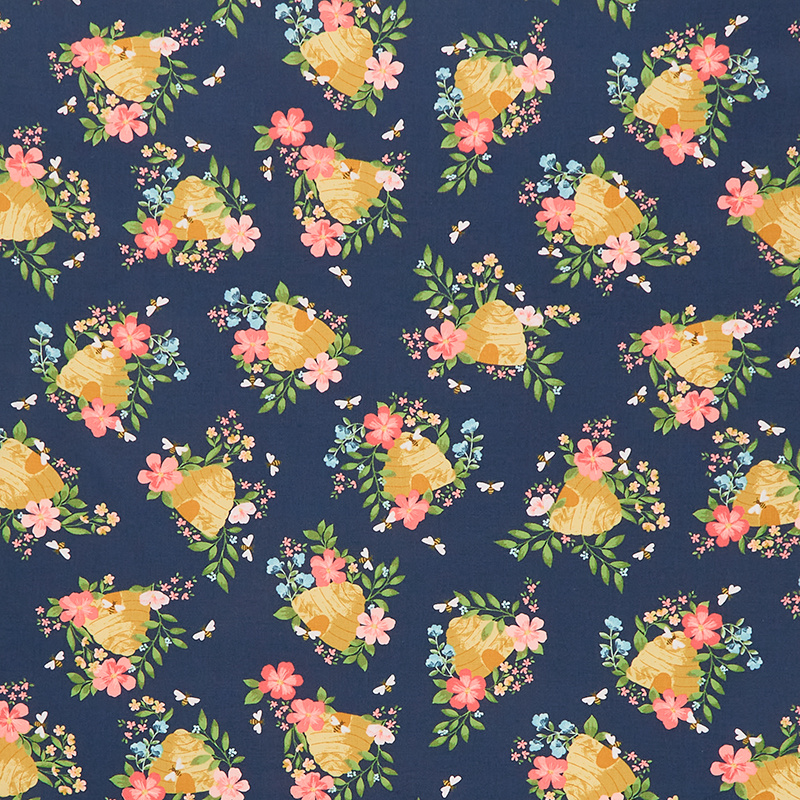 Honeycomb Hill - Main Oxford Yardage$11.96Shop →
 Missouri Star Quilter's Best Blend Bed/Table Runner Batting$14.95Shop →
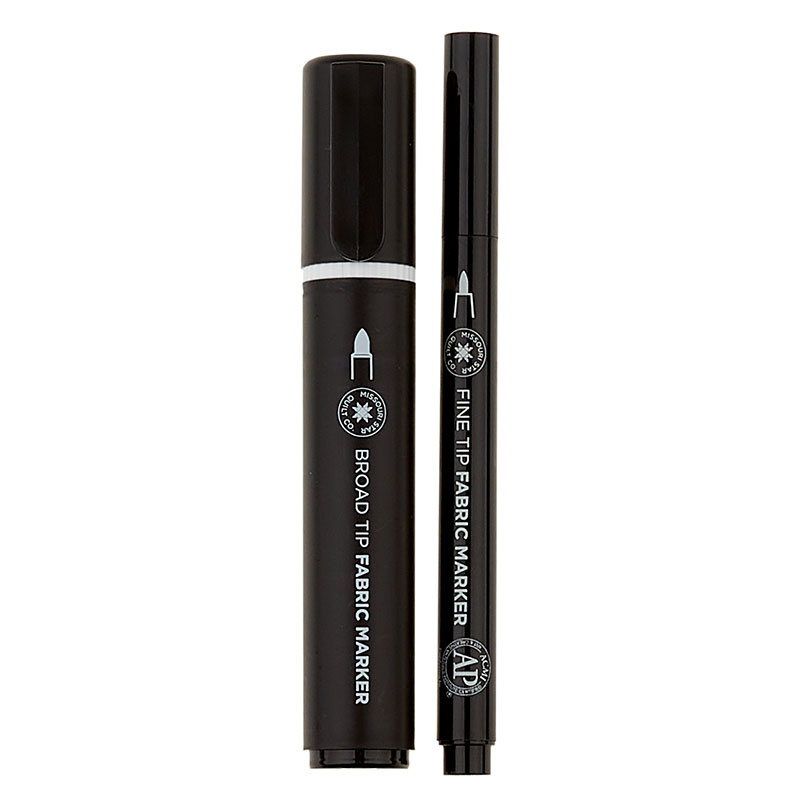 Missouri Star Markers 2-pack Black$6.95Shop →
 Missouri Star 2.5" X 15" Ruler$13.95Shop →
 Olfa Splash Aqua 45mm Rotary Cutter$18.75Shop →
 Exclusive Missouri Star Jenny TG1600 ProPlus Oliso Smart Iron$199.99Shop →
 Missouri Star Wooly Betty Board - 17.25" x 25.5" Orange Border$98.95Shop →
 Missouri Star 50 WT Cotton Thread White$6.95Shop →
 Baby Lock Accomplish - 1500 SPM Straight Stitch Machine$999.00Shop →
Common Questions
What is covered in How to Make a Summer Charm Keys Table Runner - Free Project Tutorial?
This project is as sweet as honey! Join Misty as she re-creates the Charm Keys Table Runner by Amy Latta using the Honeycomb Hill charm pack from Riley Blake Designs. Follow along and watch Misty make a room-brightening table runner with these bee-utiful 5" squares!
How long is the tutorial video?
The tutorial video is 00:15:16.
Are supplies listed for this tutorial?
Yes. The tutorial page includes the supplies and materials connected to this project.
Is a transcript available?
Yes. A written transcript is available on the tutorial page.
Video Transcript
When I saw this project by Amy Latta in this issue of Block (it's Volume 9 Issue 5) it was all done in black and white and she talked a lot about using hand lettering in the center of this runner. I just loved it! And now that summer is on its way, I wanted to make a summer version so our designers created these great printables that are all summer themed. So you can go to the link and download these so that you can make your
own summer version. Be sure to pick up a copy of Block for the pattern (as
well as some other projects).
To make this you are going to need two packages of five inch print squares, a quarter yard of a coordinating color, a half yard of light background fabric ,one and a half yards of backing fabric, a half yard of
binding, and our Missouri Star Fabric Markers.
All right, first up we're going to select one of our printables and I'm going to start with this Summer Lovin'. I think it's really cute. So I am just going to lay this on my cutting mat. This is what I did for all of mine. And I'm
going to use a little bit of masking tape or whatever tape you have lying
around, washi tape would work. Just going to rip off a little chunk and tape this down, just so it won't shift on me. And then I had some spare 10 inch
squares so that's what I used for my background fabric, but you could also cut yours out of the yardage that was included in those supplies.
So I'm just going to kind of center this over the top and then tape the edges of the fabric as well. Amy did some great videos with us where
she talks all about using hand lettering and these fabric markers to make labels but you could absolutely obviously use those techniques on any size block that you want to make, which is so fun. I just think that there's so many options once you figure out this like hand lettering skill and if not you can just use these printables that we've created.
So to start off with I'm going to use the finer tip of my marker and I'm just going to go through and I'm going to trace right on the edge. I don't know if you guys can see on the camera but I can see easily through this fabric
and I'm just going to make my way all the way around. One thing I learned as I was doing this is it's much more forgiving than I thought it would be. And now I'm kind of hooked!
All right and then we can go back in and fill up fill in all of those thicker
areas with our wide tip marker until it is all done and it looks like this. I
just think it comes together so quick like I said I got really hooked I had to
make one of each of these, so I did all of the traceables.
Then we can just move the paper out of the way for now and we did leave a little bit of extra room. Like I said I'm working with a 10 inch square and we are going to now trim this down to eight and a half. If your design isn't perfectly centered once you trace it, you have a little bit of room to trim it up so that you're happy with that placement. So let's go ahead and do that.
By trimming my edges, I know I want it to be eight and a half. I'll go one two three four and a quarter and just make sure that I have plenty of room around the edge. Double check this way as well. This is what I'm considering my center line. One two three four and a quarter. So before I trim I just kind of use my ruler as a guide to make sure I'm not going to sew into this with my quarter inch seam and this looks really good. So let's go ahead and cut this now, and I'll rotate this around and I know this needs to come over eight and a half. Now we can turn this, trim it this way
there we go that looks great!
All right, so now we are going to add our accent fabric. I use this fun teal and I'm going to start by adding a one and a half by eight and a half inch strip to the two sides of our square. We'll just line this up here and zoom down the side. We can flip around and do the other side the exact same way. All right, now I'm going to go ahead and press those back. Perfect now that I have those two strips on, I can go ahead and add my one and a
half by ten and a half inch strips to the top and bottom. So let's go ahead and do that. Just making sure it's all lined up and we can zoom on down.
All right, add this last one, there we go. And now we can press that back.
All right, there, that is all done. I love that little pop of color around the edge.
And now we can break into our charm pack. I used Honeycomb Hill by Katherine Lenius for Riley Blake designs. This is such a fun summery collection - it's got some honeycombs and bees. You know it's just really happy. So we can just open this up and I just stacked a few different ones together, because we're going to cut all of our charm pack squares down into two and a half by five inch rectangles. So I'm just going to make sure I've got some variety here, pick a few different colors from the pack, different prints. That one's fun. How many do I have now? Three four five
let's pick a few more! This one, and this one. There we go.
I usually only like to cut through three or four at a time just because they can shift on you. So I'll split up my stack, but like I said you would use
all of your squares and cut them down into these rectangles. I'm just going to cut a few, there we go. We can just make ourselves some piles to work from. Just going to make sure that these are laying pretty straight. Sometimes they like to shift, so just take your time.
So then now we're going to start sewing these together, first in sets of five. So I'm just going to grab a few different ones here, mix these up. We can just start adding them together. There we go. So then I can just stack
these up one after the other and add five together. Some of the magic of this design is just that they're scrappy, so just make sure you have some variety in your rectangles. And I'm not even going to press until the end, so we'll just open that up and add the next one right to it. One more...just kidding!
All right so once I have those all sewed together we'll just go ahead and press them so that they lay nice and flat. I don't really worry about which way the seams are going just because it's not a huge deal. You only
intersect at the top and bottom occasionally, so you don't really need to
worry about it.
So then let's talk about the two projects that are included in Block magazine, because you have both this runner that you see behind me and a couple of pillows.
So to start off with, when we're making the runner you are just going to
fit your five inch by two and a half inch rectangles. The five of them together will line up right with your square that we made. And you'll add
one in between three of your blocks. So you can see we've got three of our blocks that we made across and so four sets of five and then top and bottom on the runner are 24 of these rectangles running the length of that. So that's how you'll make the the front of the runner.
For the pillow you're just going to mix it up a little bit. We are going to take our sets of five, or one of our sets of five I should say. I'm going to make sure this is nice and straight because we're going to cut this in half actually
so that it is only two and a half inches wide. And this will serve as the two sides. You can even swap it around if you want it to be a little bit different.
And then for the top and bottom we're actually going to add a couple more to this because we're going to need seven total. So I've got one here.
Let's see make sure I've got something different than what I have on my ends here and see if I can find one I like. How about this yellow, maybe we'll do it this way and it'll be really different.
So I'm going to add these two to the end. All right and one more oh and we can press those. All right, go ahead and move this out of the way for now because we're going to do exactly like we did with the sets of five and we're going to cut our now sets of seven in half just the same way. There we go, voila!
Now we can bring these back in and you can see how this is going to come together. I'm going to flip these around just for some variety. So just like that you have your pillow front. You can see you'll just sew these two short sides on first and then your top and bottom. I just love this project - it's so quick and easy! Great if you want to make someone a gift for their home.
And the thing I love the most about it is because you're designing the center, you can make it for any reason, any season. It's really adaptable!
So be sure to check out Amy's videos on more tips and techniques on using these markers. And be sure to pick up this issue of Block magazine so you can have even more creative inspiration and I will see you
next time!


