
How to Make a Summer in the Park Quilt - Free Quilting Tutorial
 Jenny Doan
- Jelly Roll
- Modern
- Double
- Beginner
- Quilt size 74" × 82"
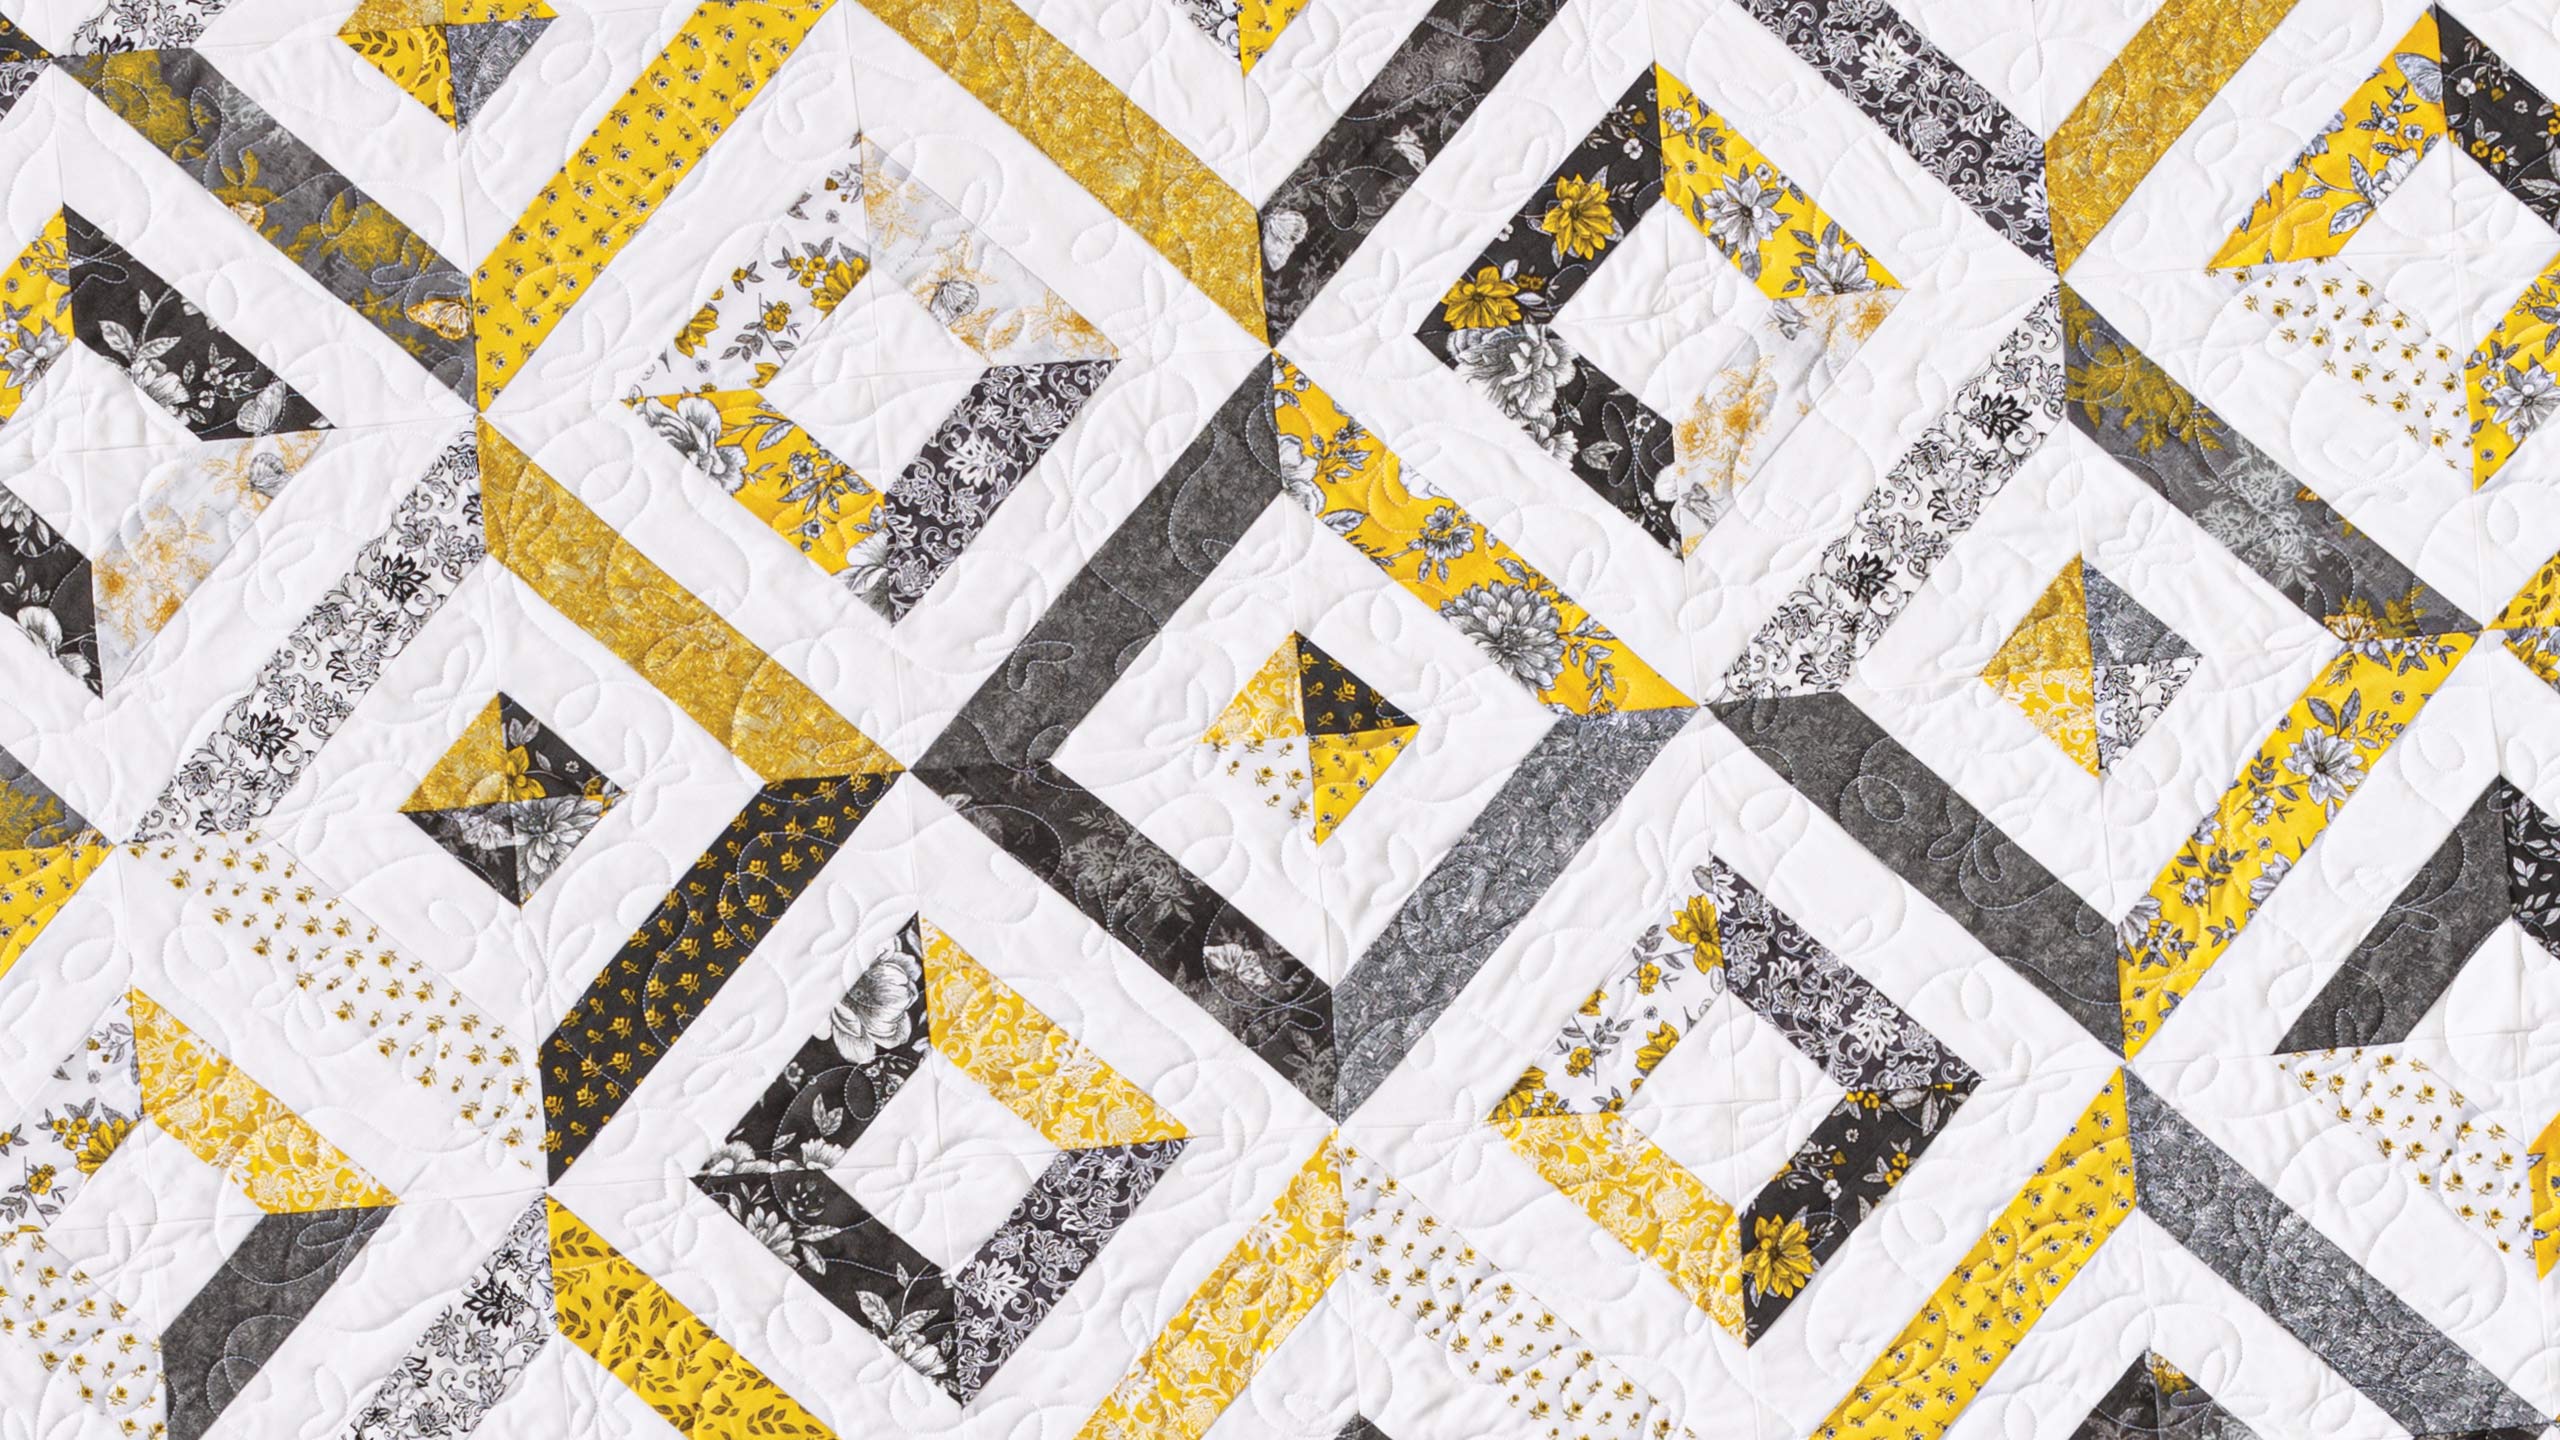
We’re celebrating 15 years of patchwork paradise with 15 of our most beloved patterns. This week’s remake is Summer in the Park. Get ready for dreamy “dog days'' with one of Jenny’s all-time faves. Summer in the Park is a jelly roll pattern made with easy strip sets. Jenny is using fabric from the Belle collection by Whistler Studios for Windham Fabrics, and the whole thing is quilted in butterflies. We’ve loved this quilt for 13+ years, and we're excited to share our newest tips and tricks!
Instructor
Jenny Doan
Jenny Doan is an American quilter, author, and YouTube personality. Jenny started Missouri Star Quilt Company in 2008 and today it is the largest quilting supply vendor in the United States.
Shop this tutorial
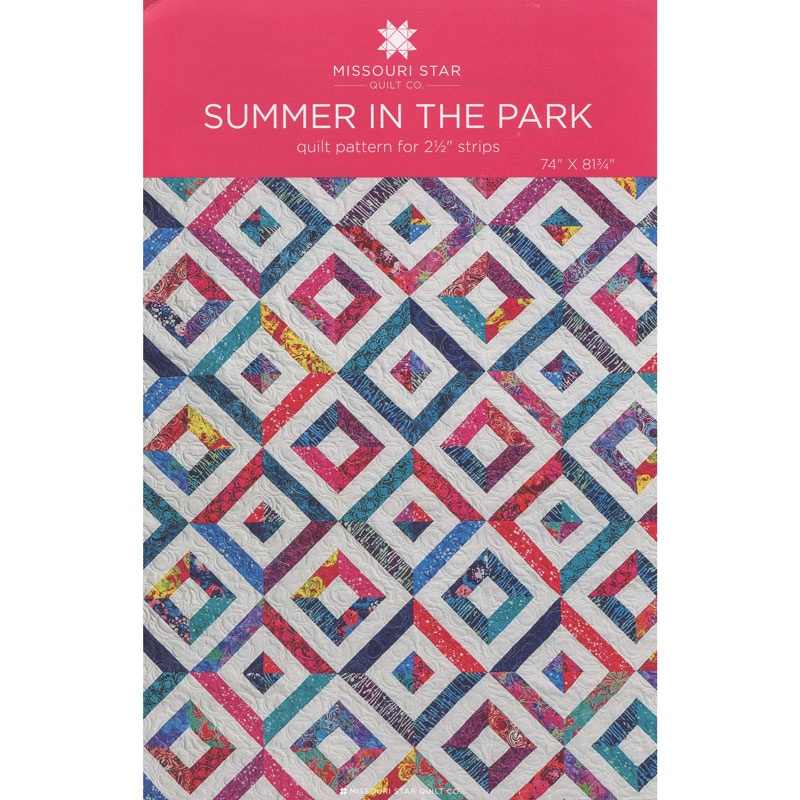 Summer in the Park Quilt Pattern by Missouri Star$6.95Shop →
 Digital Download - Summer in the Park Quilt Pattern by Missouri Star$4.95Shop →
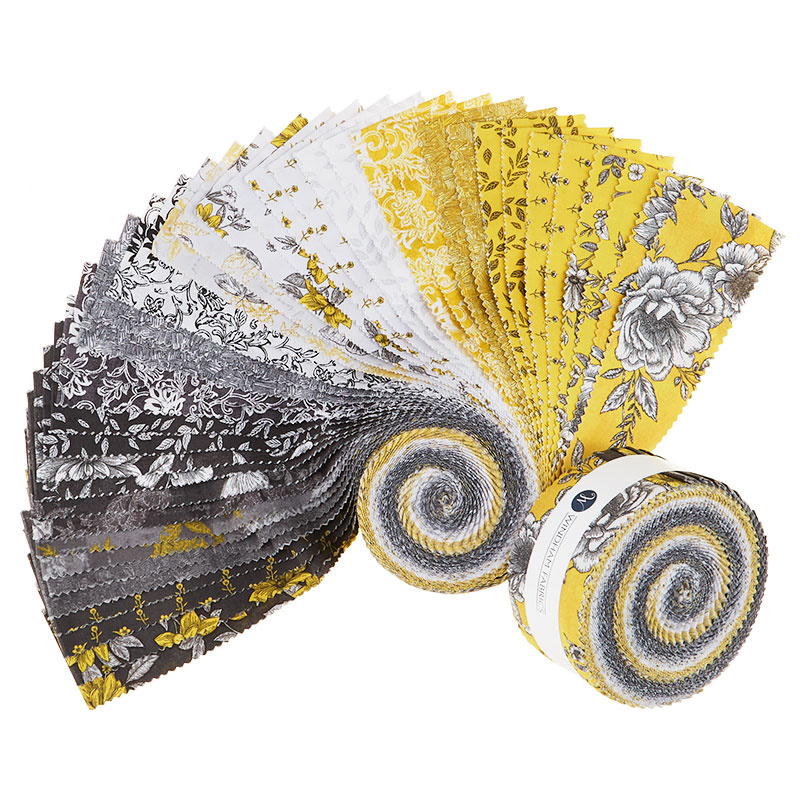 Belle 2 1/2" Strips$37.95Shop →
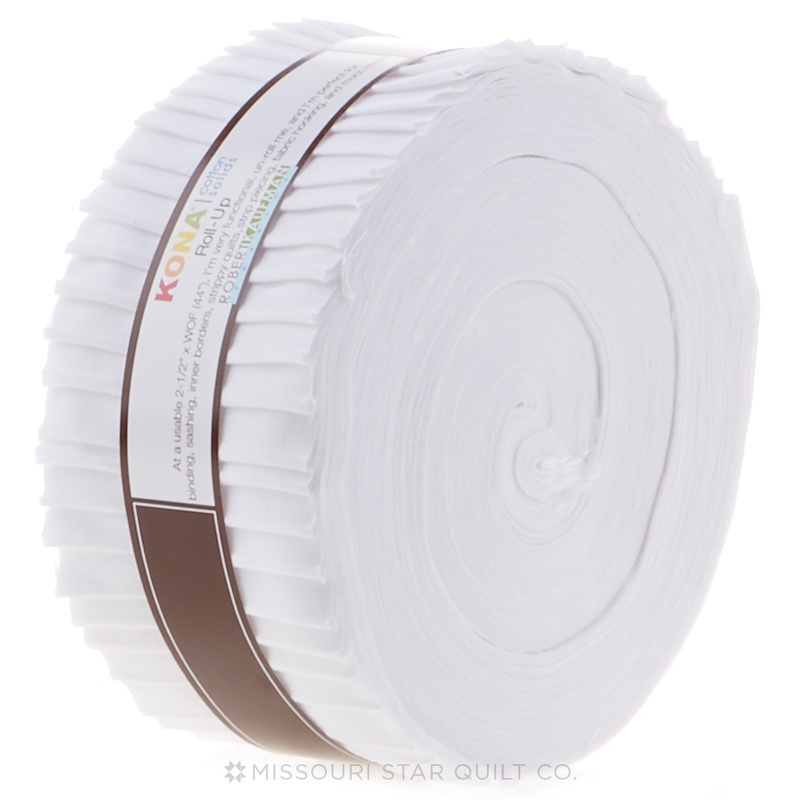 Kona Cotton - White Roll Up$30.95Shop →
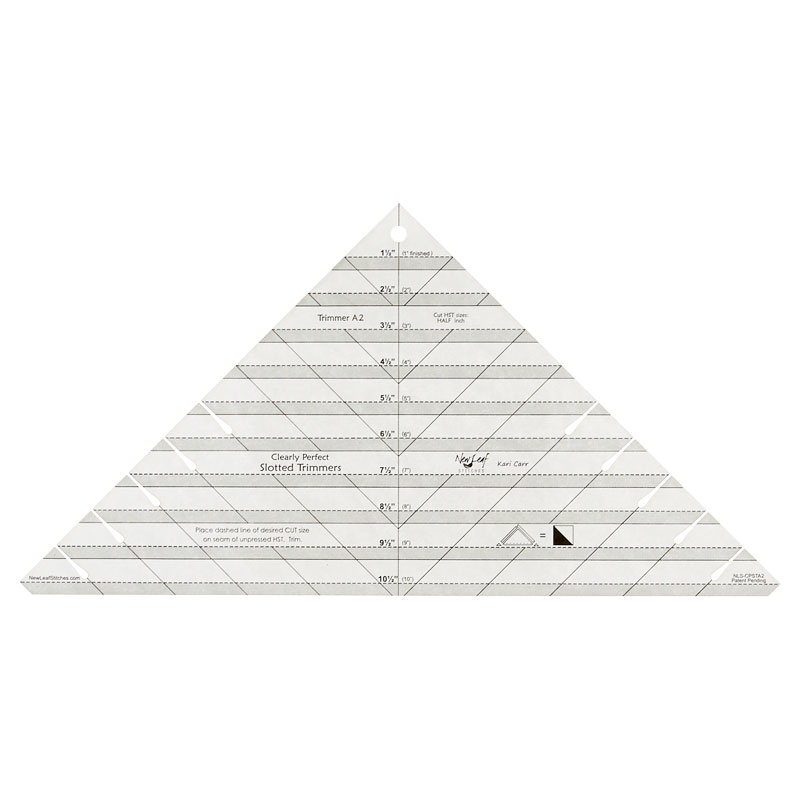 Clearly Perfect Slotted Trimmer A2$26.95Shop →
 Kona Cotton - White Yardage$7.28Shop →
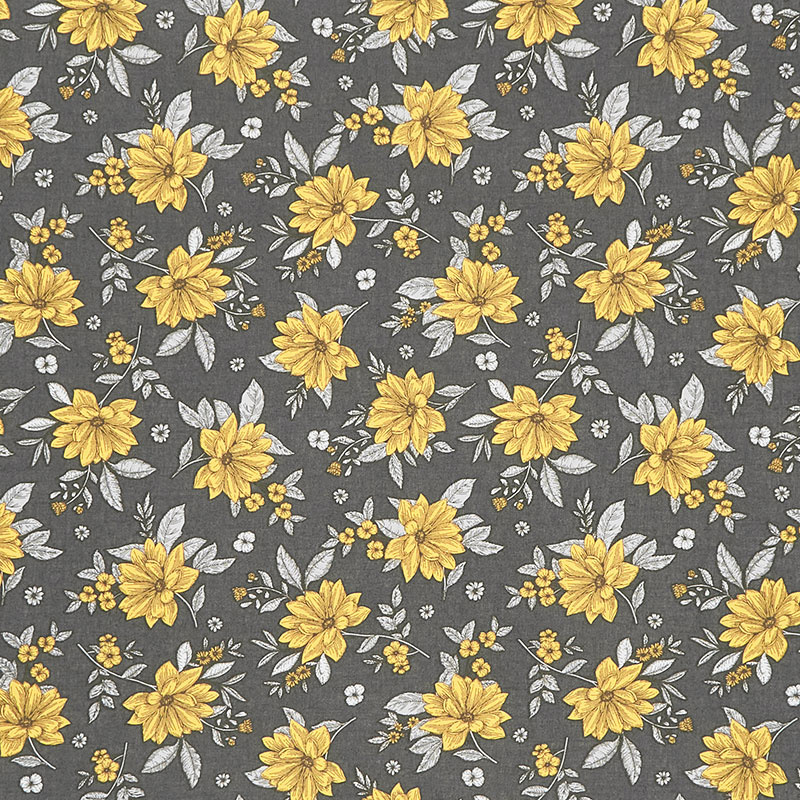 Belle - Floral Fantasy Charcoal Yardage$11.96Shop →
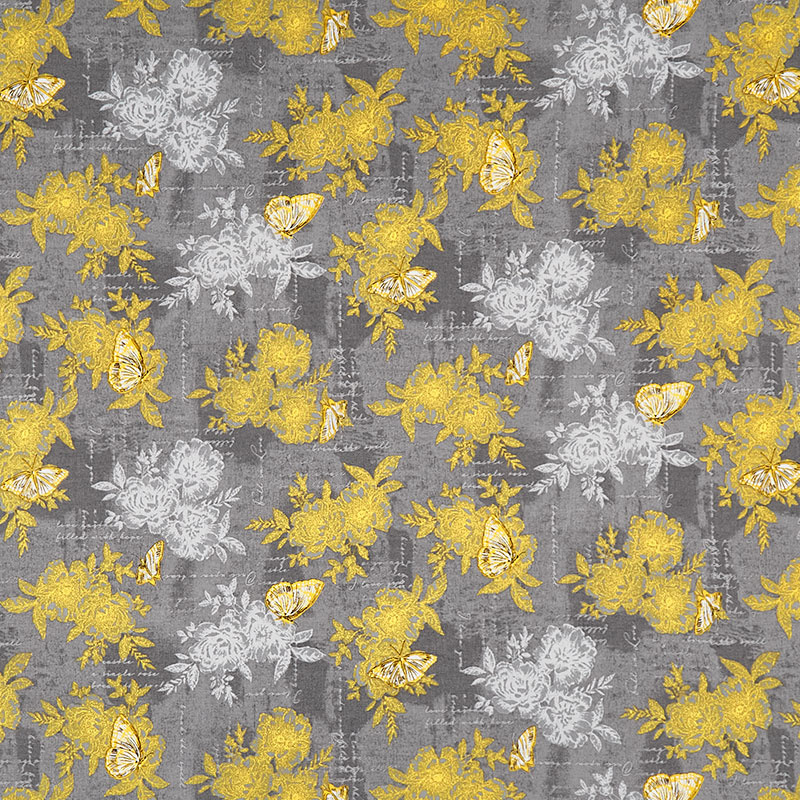 Belle - Once Upon A Time Graphite Yardage$11.96Shop →
Common Questions
What is covered in How to Make a Summer in the Park Quilt - Free Quilting Tutorial?
We’re celebrating 15 years of patchwork paradise with 15 of our most beloved patterns. This week’s remake is Summer in the Park. Get ready for dreamy “dog days'' with one of Jenny’s all-time faves. Summer in the Park is a jelly roll pattern made with easy strip sets. Jenny is...
How long is the tutorial video?
The tutorial video is 00:11:38.
Are supplies listed for this tutorial?
Yes. The tutorial page includes the supplies and materials connected to this project.
Is a transcript available?
Yes. A written transcript is available on the tutorial page.
Video Transcript
Hi everybody, it's Jenny from the Missouri Star Quilt Company, and today we're talking about our favorite 15 and we're bringing back Summer In The Park. Summer In The Park has been one of our just most loved tutorials and it's fun to make and it's amazingly easy and amazingly quick, and I just think you're going to enjoy it. We brought it back in this new fabric and we can't wait to tell you about it. To make this quilt, you're going to need one roll of two and a half inch strips, and we have used Bell by Whistler Studios for Wyndham, and you can see it's just a gorgeous line. You're also going to need one roll of background strips, and we used a plain white. For your border, you're going to need one and three-quarter yards, and that includes the binding because we bound it in the same color as the border, and that's a four and a half inch border. For your backing, you're going to need five yards or two and a half yards of a 108. And this line is just so fun with these butterflies.
Let me just show you the backing real quick right here. Isn't this beautiful with the little butterflies and we also quilted it in a little butterfly pattern. It's called flutterby, and it's just really darling. This makes a quilt that is 74 by 81. It's a great size quilt. And remember whenever you're working with precut, if you want a bigger quilt, just double up your precut and make more squares. Let me show you how to do this. To make this quilt, you're going to need two strip sets. It is exactly like making a nine patch because one strip set is going to be two colors and a background, and the other strip set is going to be two backgrounds and a color. And so I have sewn a white strip to this one right here, and we're going to go ahead and add a colored strip to that. And let's add this pretty one right here. So we'll add this gray. Actually, let's add a yellow. This yellow is so sunshine and pretty.
And so what I'm going to do is I already have sewn these two together, and so I'm going to put my yellow over here on this side, which will make it the strip set that has two colors and a background. So we'll go ahead and sew this down over here. And I'm just adding it to the side and sewing a quarter of an inch. All right, so now what I'm going to do is I'm going to press this open and we're going to iron our seams to the dark side. I'm just basically going to roll this back and keep my seam against the yellow. When you're using a background, especially a white and you have a darker color, which yellow isn't really darker but it's darker ish, you might want to just go ahead and put that seam to the darker fabric and it will hide it rather than having it peek out and see it through the background.
All right, now we're going to set this one aside and we're going to make a strip set that has one dark color and two backgrounds. So again, I've sewn these two together. Now I'm going to add my background over here on this side and we'll sew a quarter of an inch right down the side. You're going to do this to all your strips. You'll make two strip sets like this for each set of blocks you're going to do. You're going to go ahead and sew these strip sets together. You'll have 13 strip sets of each type to make this size. Then what we're going to do is we are going to go ahead and press this one again to the dark. So I'm going to just roll this one back. So if you go ahead and just lay your piece, open it up like this, I feel with my fingers to make sure that it's rolled back underneath, and then what this will also do is when you sew these blocks together, it will enable them to nest better. So we're just going to roll this one.
And again, you want no pleats or creases in this. You want to make sure it's pressed nice and flat and then take a look, make sure. Oh, we have a little place where it's coming up right here and then down here. But overall, we did pretty good. All right, so once you get all your different strip set sewn, you're going to choose two to go together, and we're going to choose these two and we are going to put them right on top of each other and we are going to make a tube. So we're going to sew along here and we're going to sew along here. Your salvages are all different lengths and sizes. I'm just lining up my colors and then I'm just going to go ahead and match these up and sew a quarter of an inch down the sides. So let's go ahead and do that like this. Make sure they stay nice and lined up.
Then we're going to come around here to the other side and sew it down to also a quarter of an inch. Make sure they're lined up. Now comes the fun part. Now, when I first taught this, I did it with a ruler. I didn't know any different. We didn't have the same tools then that we do now. And so now we've got things that make it a little bit easier for us. But I'm going to go ahead and trim off these little salvages right here so they're a little shorter. And then I'll show you. The pattern is written to use a 12-inch ruler, and basically what we're doing is we're using a ruler that has diagonal lines on it. What we're going to do is we are going to make a little cut right here. We've lined up the 45 along our seam and it's sticking up over here and that's all fine, but we've lined up that 45 like that and we're cutting this off. And then what we're trying to do is make a square.
So we're going to flip this around, and then you're going to lay your 45 on the top row and you're going to line it up until it comes even with this point. So scoot it over, scoot that 45 over right there. This is on your stitch line, like this, and I'm cutting this left-handed. So if you ever feel like you're cutting a weird direction, flip your strip the other way and that will work. So then we're cutting this, and then we're going to come down here and we're going to cut this and keep this one on our. Here, we'll slide our 45 over like this. And this doesn't come to the top of the fabric again. It comes to where the seam starts, where the stitches are, like this. All right, so here's two, and I'm not going to show you those yet.
What we have now that we didn't have then, is we have these clearly perfect slotted trimmers, and these are great for this type of thing because you're just going to literally lay your stitch line along their stitch line and you're going to make a cut and it makes the square. And we're going to flip this like this. You flip your ruler and you're going to come along here and you're going to make this cut. We're putting this on their stitch line, on our stitch line, like this, and you're just going to come and keep doing that as you go along. I think I'm on the eight and a half line here. And so the important part is, in our pattern it says eight and a quarter. And that's an odd measurement, but that's what you get when you're doing it with a ruler or a tool that may not always make things perfectly accurate. It's what happens when your seam allowance is a little off. All those things can affect that, but if you do it with this, this will give you a perfect eight and a half inch square.
And so I love that we have new tools now. How many years later? I don't remember how long ago that was, but it was quite a few years, and so this makes it a lot easier for me to cut it, although it does work with a square. And then you get this, and this is so fun. So let me press some of these open. Let me show you how these go together. One of them, because you're cutting from the top and the bottom, your squares are going to look different. And I love how that happens with the same strip set. You'll have four that have the large floral and four that are the gold, and it just makes it really fun when you start putting things together. This is another one of those blocks that you can do a lot of things with.
Once you get all of your blocks pressed, aren't they so pretty? They're just so fun. Now, you should get six from a strip set, so you can't make a full block with them, but you can do some fun things with twos. And of course, on our quilt behind me, you can see we completely scrapped it up. Look how this goes together. Isn't this fun? Here we've got this one and this one. There's that. If we flip these around, we've got this. So many options out of two blocks. So let's take a look at the quilt behind me. All right, so this, you can see it's completely scrappy. None of these match, we didn't try to do any matching at all because you have six, you don't have eight. And so with six, you only get halves. So you can sew them together in blocks. X blocks or square blocks is like this, whichever you prefer.
I did it in rows. And so you're going to have one, two, three, four, five, six, seven, eight by one, two, three, four, five, six, seven, eight, nine. So 72 blocks total out of your 13 strips. It goes together so fun and easy. It's really quick to make. It was fun way back then and it's still fun now. And we hope you enjoyed this remake of one of our favorite fifteens from the Missouri Star Quilt Company.
Hi everybody, it's Jenny from the Missouri Star Quilt Company. We hope you enjoyed watching this video. If you aren't already part of the Missouri Star Quilt Company family, be sure to subscribe so you won't miss a thing. And if you click that bell, it'll notify you every time a new tutorial comes out. See you next Friday.


