
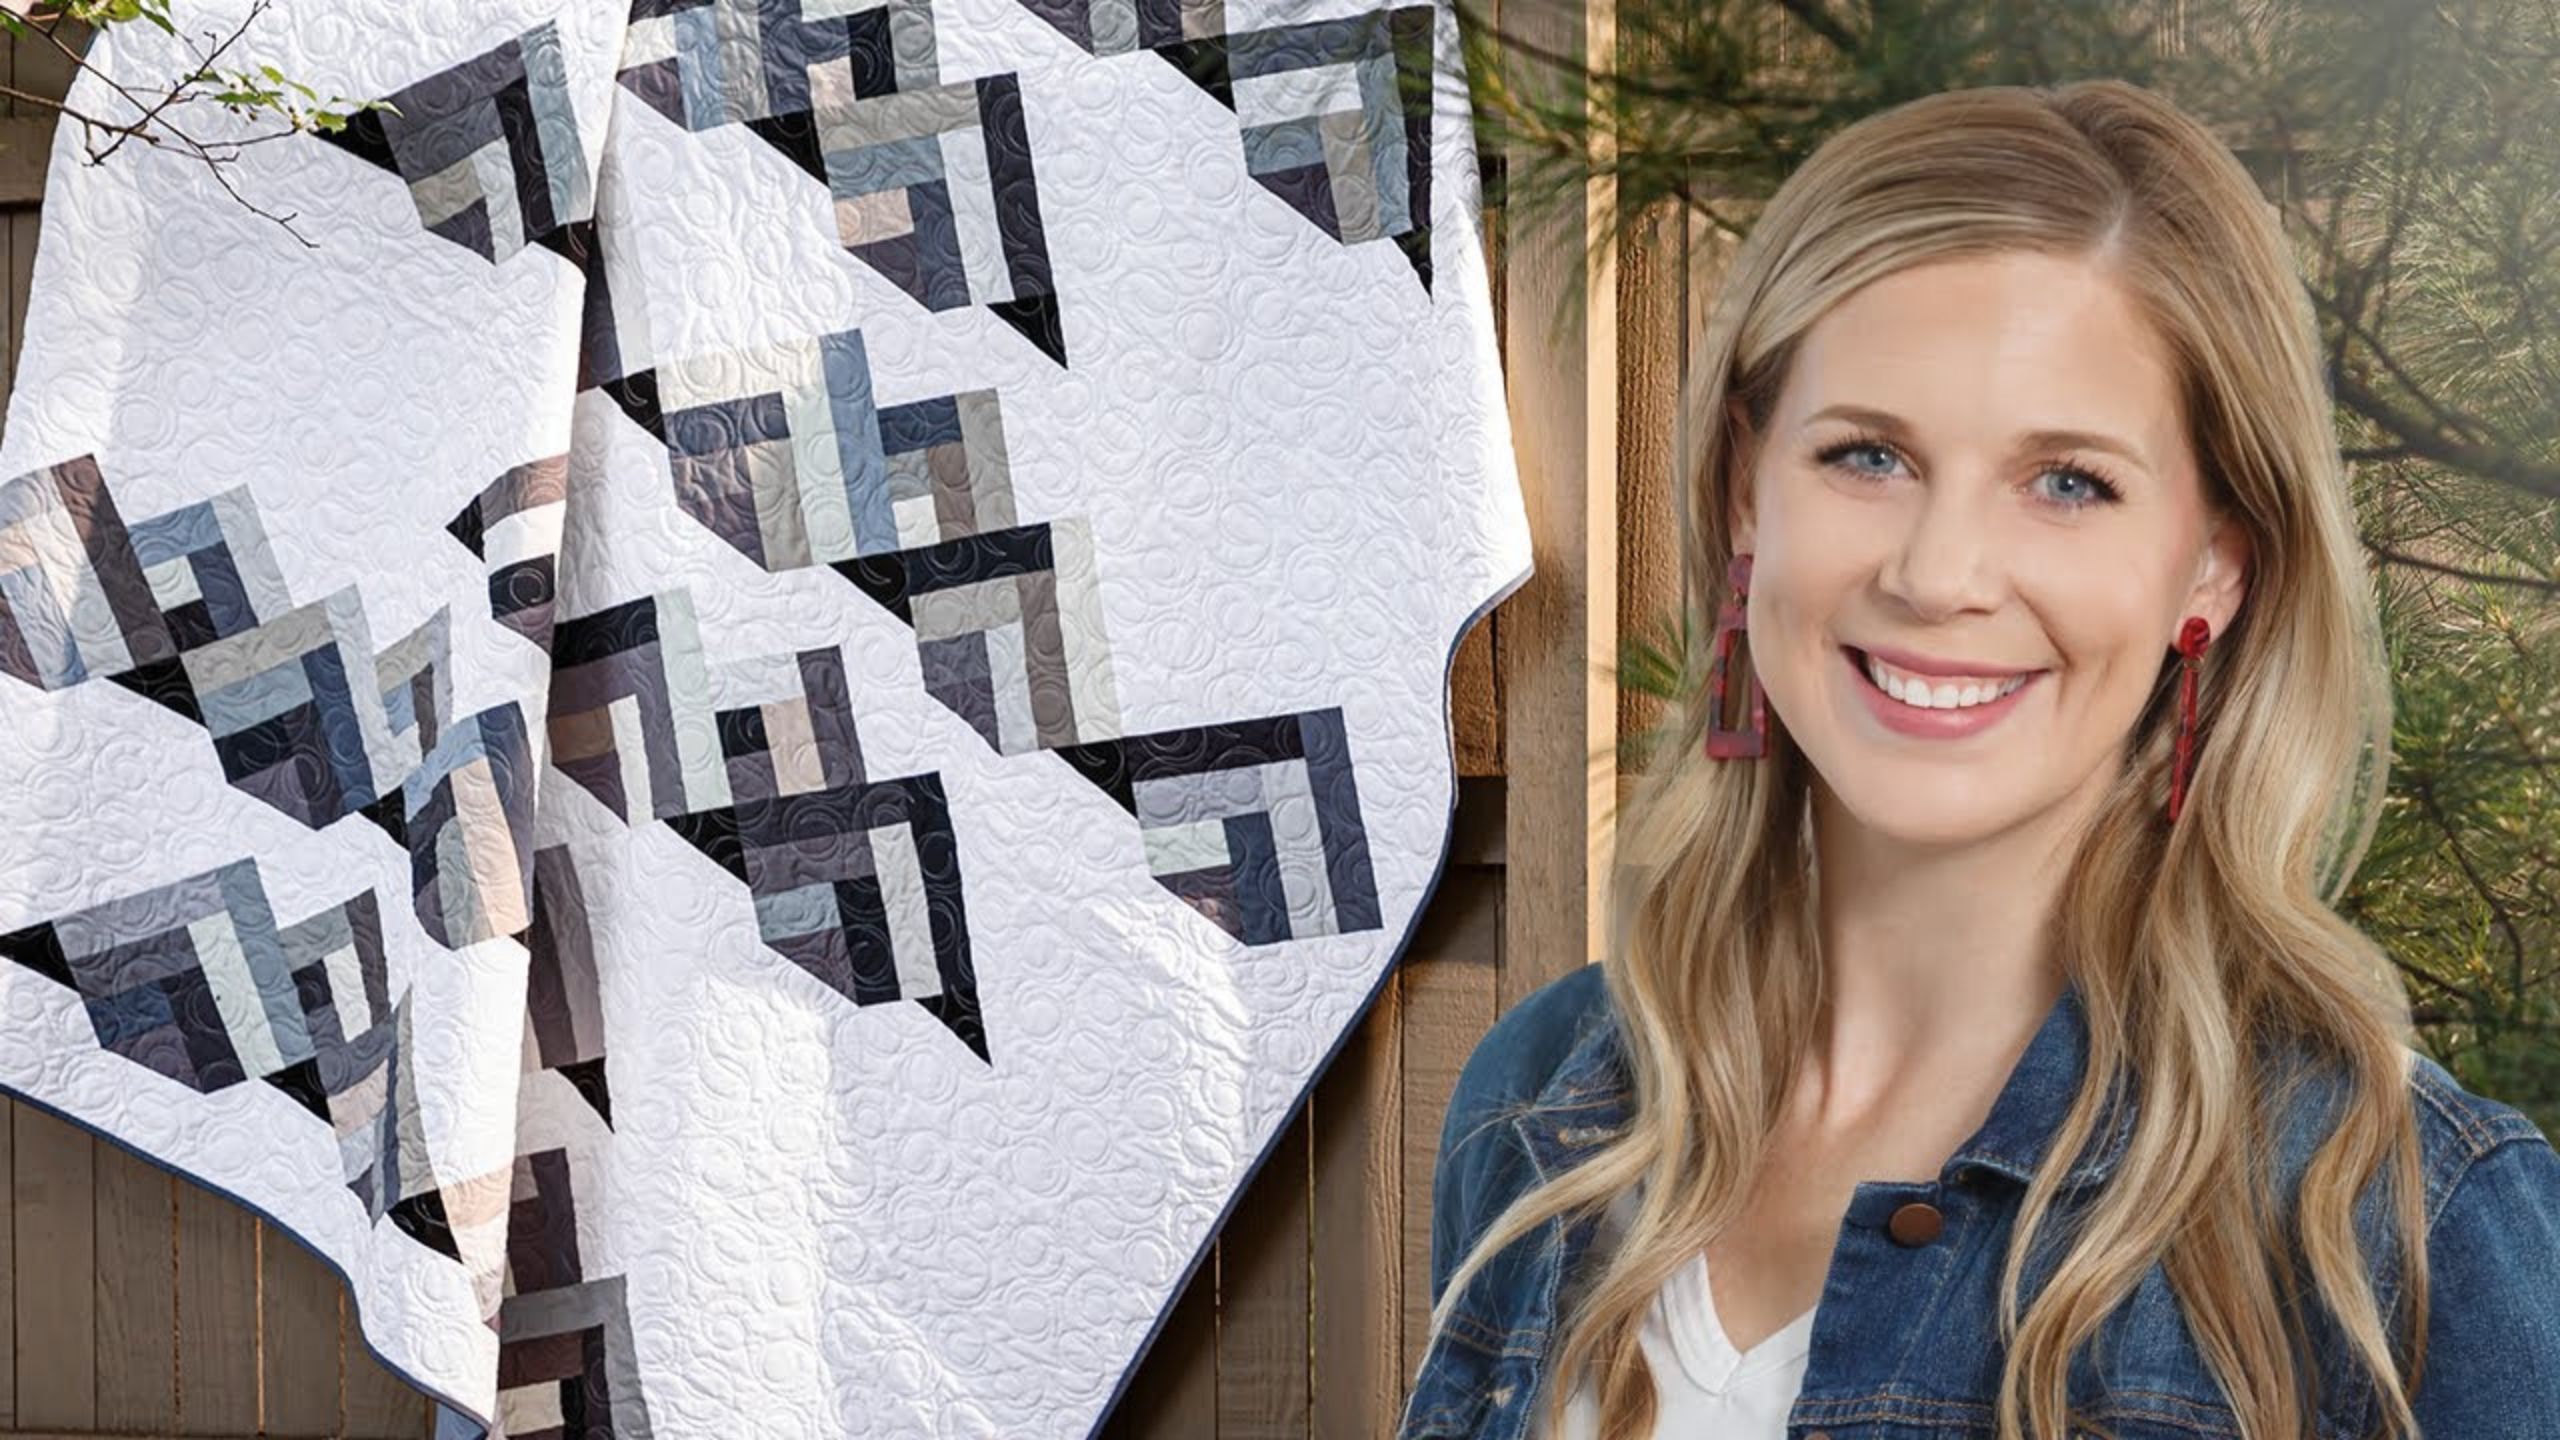
How to Make a View From the Top Quilt - Free Quilt Tutorial with Misty Doan
 Misty Doan
- Jelly Roll
- Modern
- Twin
- Intermediate
- Quilt size 82" × 82"
We're here to top off your week with another breathtaking quilt project! Misty will show you how to piece this beautiful mountain peak quilt using the new Missouri Star pattern and lovely Kona Cotton fabrics. The design is simple yet scenic and can be created with any colors that strike your fancy!
Instructor
Misty Doan
Misty Doan grew up surrounded by sewing and quilting. She loves spending time sharing tutorials each week each week, and when she’s not stitching up one of her fun sewing projects for home decor, most likely you’ll find her hanging out with her husband and three awesome kids or working on a house project.
Shop this tutorial
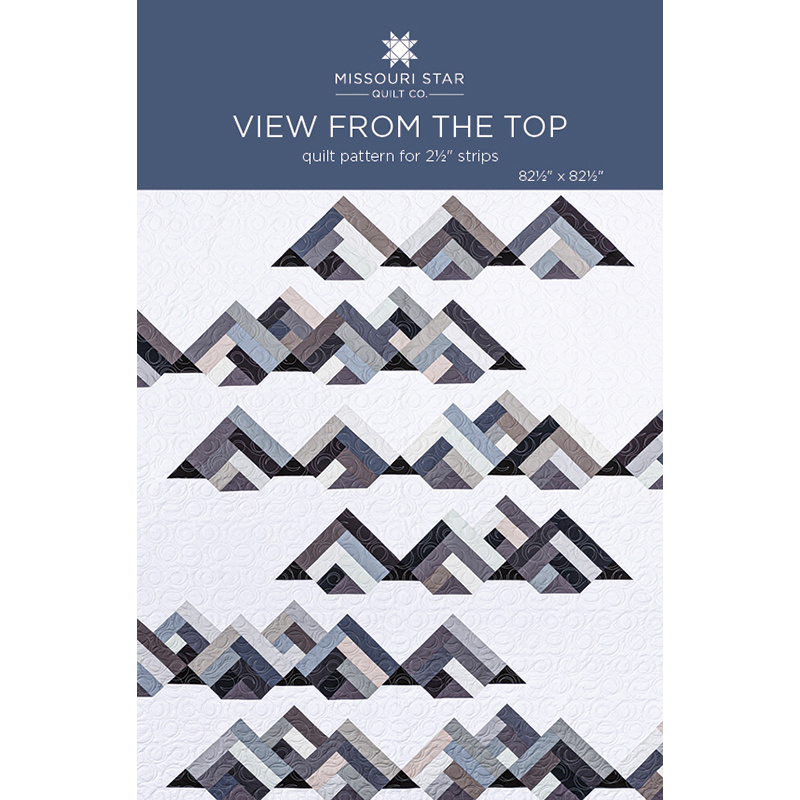 View From the Top Quilt Pattern by Missouri Star$6.95Shop →
 Digital Download - View From the Top Quilt Pattern by Missouri Star$4.95Shop →
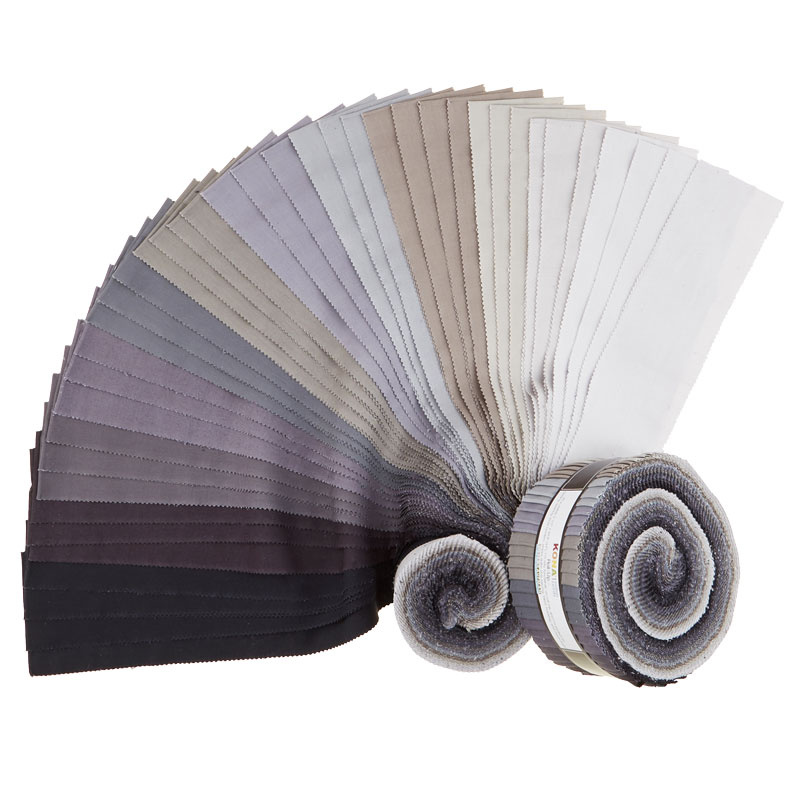 Kona Cotton - Gray Area Roll Up$30.95Shop →
 Kona Cotton - Coal Yardage$7.28Shop →
 Kona Cotton - Black Yardage$7.28Shop →
 Kona Cotton - White Yardage$7.28Shop →
 Kona Cotton - Chalkboard Yardage$7.28Shop →
 Kona Cotton - Shark Yardage$7.28Shop →
 Missouri Star Quilter’s Best Blend Full Batting$32.45Shop →
 Missouri Star 4.5" x 4.5" Square Ruler$6.95Shop →
 Missouri Star 5" x 15" Ruler$15.95Shop →
 Missouri Star 2.5" x 8" Ruler$10.95Shop →
 Olfa Splash Aqua 45mm Rotary Cutter$18.75Shop →
 Exclusive Missouri Star Jenny TG1600 ProPlus Oliso Smart Iron$199.99Shop →
 Missouri Star Wooly Betty Board - 17.25" x 25.5" Orange Border$98.95Shop →
 Missouri Star 50 WT Cotton Thread White$6.95Shop →
 Elan 8" Dressmaker Scissors$20.95Shop →
 Baby Lock Accomplish - 1500 SPM Straight Stitch Machine$999.00Shop →
 Bloc Loc 4 1/2" Square Up Ruler$25.00Shop →
 Clearly Perfect Slotted Trimmers$31.95Shop →
Common Questions
What is covered in How to Make a View From the Top Quilt - Free Quilt Tutorial with Misty Doan?
We're here to top off your week with another breathtaking quilt project! Misty will show you how to piece this beautiful mountain peak quilt using the new Missouri Star pattern and lovely Kona Cotton fabrics. The design is simple yet scenic and can be created with any colors t...
How long is the tutorial video?
The tutorial video is 00:16:10.
Are supplies listed for this tutorial?
Yes. The tutorial page includes the supplies and materials connected to this project.
Is a transcript available?
Yes. A written transcript is available on the tutorial page.
Video Transcript
So like I said my husband has become quite the mountain climber. He had a amazing adventure in Africa last year and climbed Mount Kilimanjaro and he is off on other adventures this year. He has really found that he loves climbing mountains and I just think that's incredible. I don't climb mountains, but I do design quilts so I thought I should make him one and I'm really excited to show you how to make it. It's very simple blocks set on point. So let's dive right in and I'll show you what you need to make it.
First up you're going to need a roll of two and a half inch print strips. Then you'll need four and a half yards of your background fabric, a half yard of two accent fabrics (one light to medium and one dark), and then you'll also
need a squaring tool of your choice so we can square up some half square
triangles.
All right so this quilt is made up of a few different blocks and we are going to begin by making some half square triangles because they are kind of the foundation for a few of our blocks. So I have a black five inch square and a coal five inch square those are the two colors that I chose. I've paired them each up with a background five inch square.
So the method I'm going to use this time is the two at a time, which means we are just going to draw a line corner to corner on our background square just like so. I'll do the same on this one. Make sure they're lined up
and then we can take these to the machine and we'll sew a quarter inch on both sides of the line. So I'm just going to bring them both with me so that I can chain piece one after the other. So now that I've come to the end of that one I can just slide this one in right behind, and come down the other side of the line that we drew.
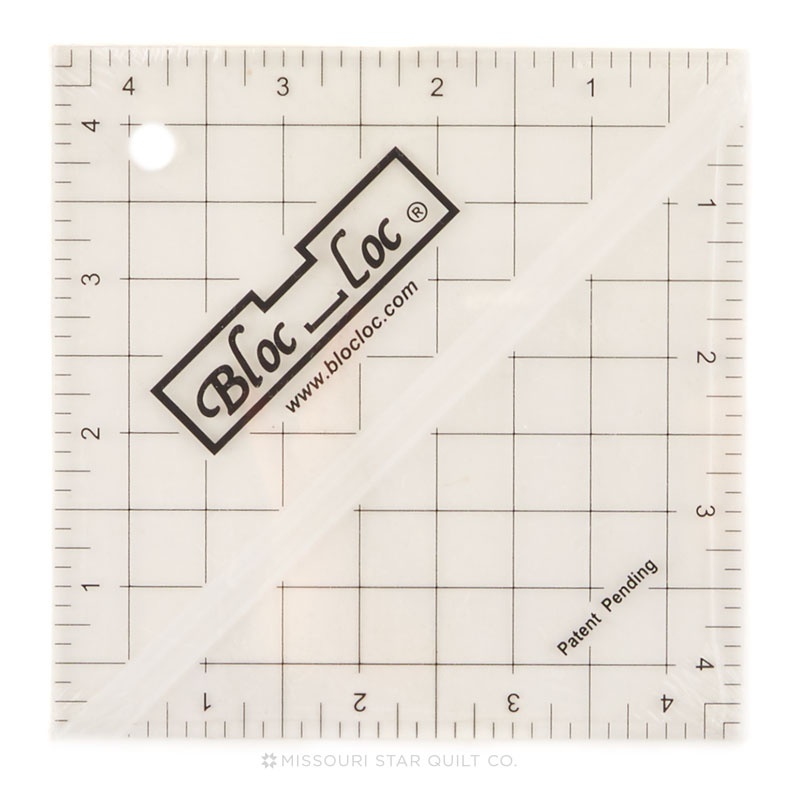
All right there we go. Now we can trim these apart. So I'm just going to cut right on that line, there we go, and you'll see now we have two half square triangles of each color. Let's go ahead and trim this one apart and then I'm going to press these open. I like to use a Bloc Loc when I'm squaring my half square triangles, but if you have a Clearly Perfect Slotted Trimmer, you would just square it prior to pressing it.
Press these back to the dark side, so my seam is under the darker fabric. All right there we go. These are all pressed and ready to go so I'm going to
use a Bloc Loc like I said and the number I am looking for today is four inches, so we have plenty of room. You could square these up to four and a half but we want four, so I'm just going to slide this down make sure my seam is locked in, trim off these two sides. And I'm going to spin this around, slide it down so this lands right on the four inch line, and trim these other two sides. There we go now it's nice and squared up!
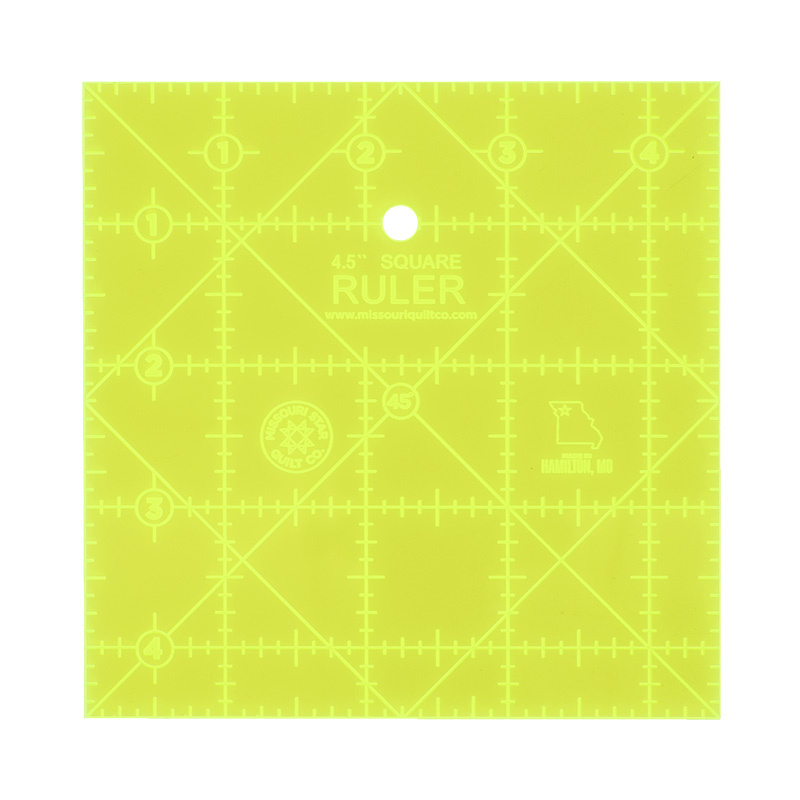
Let's go ahead and do one more and I'll show you with a regular ruler here. So this just has that 45 degree line running down the center that serves kind of the same as the notch of the Bloc Loc, but it just won't lock into the seam. So you'll just have to hold it down, we can trim, and trim. There we go. And then again we're just looking for that four inch line and making sure that the 45 runs right along the seam, there we go. Squared up and ready to go.
So now we can set these aside and we'll move on to block one. All right so this is what I'm calling block one as you can see it has one of our half square triangles and then kind of a quarter Log Cabin. SSo let me show
you how we're going to make this.
We are going to start by opening up our pack of two and a half inch strips and I just mixed it up so I got a lot of variety. We are going to need two two and a half inch squares, two two and a half by four and a half inch rectangles, and one two and a half by six and a half inch rectangle.
So we're going to start by sewing these two together and then I'm going to bring all of these over because I can just build one after the other right here at the machine. So we'll begin with our two and a half inch squares.
I'm going to press this back - when you're doing blocks like this it is
nice to have your iron close by - and then I'm going to add my two and a
half by four and a half inch rectangle. It's one to shift on me - just make sure it stays nice and straight. And we'll press this one back. Now I'm going to add to this side, roll that back, and then my last strip will go on this
side. All right so you can see how quickly that comes together.
So that is going to be the bottom of our block and then our half square triangles that we squared up earlier are it's going to go up in this upper corner. For this block I used the black accent fabric every single time, so
that is what you're looking for. And then I have some background rectangles that are four by six and a half that are just going to set in on either side. You can see when you sew it together this is how that block looks.
So let's go ahead and move on to block two. Block two is really similar to block one - it just does not have that half square triangle in the outside corner. So we're going to start with that same quarter log cabin, but we're going to move these pieces from block one and we're going to swap it and add a four by six inch rectangle. And a 4 by 10 inch rectangle actually
goes like this, and then they sew together. And there is your block - super simple.
So now let's move along to the next one. So then block three is a little bit
different. It looks like this. So we're actually going to start with our half
square triangle this time. So I have one of our coal - that's the lighter half
square triangles that we made. That's going to begin as our first piece and
then same as our smaller quarter Log Cabin, I just have cut my strips to the various sizes. So we're going to start with two and a half by four and add to this side and then we'll build out as we go. So I'm going to go ahead and bring these to the machine as well. And we'll add the next one onto this side, press in between, and just keep adding to those two sides. We'll put that last strip on and this block will be done.
All right let me give that a press. All right so here is that block. You can
see these are really starting to come together now. So we just have one more block that requires some piecing, so let me show you that one as well.
So for this our last block you are just going to need a 10 inch background
square. So if you have you know some layer cakes lying around this will save you some cutting. And then I'm going to snowball it with a four inch
black square. And we are just going to sew corner to corner. So I'm just sitting this in one corner lining that up and then we'll trim off the edge
and this is what that last block looks like.
So let me move all of this out of the way and we can talk about the layout. All right, so the layout on this quilt is really fun obviously. I've created a
version that you can follow along exactly, but you can use these blocks
that you've made to create your own unique mountain range. So I really want to encourage you to play with them. So the base of the mountain is kind of what I consider this block to be and this whole quilt is put together on point. So I'm just going to set a couple of these together, and then you can see when we bring this block in it adds that secondary peak behind.
And when we add this one below it kind of carries our mountain range across, which is what we're looking for. And so also sometimes you will have an empty space below, and that's where this block comes in.
So it's just giving you all of the variety that you're looking for. You might even have a completely blank block that you need and that again is just a 10 inch square. So just play with it and create the mountain ranges
that you see in your mind or maybe you've seen from the top when you've
climbed to the top of the mountain.
Now let's talk about the setting triangles, because when you're making a
quilt that's on point you do have these triangles that will be on the side. So
let's just slide this out of the way really quick. To make the setting triangles you are going to take 12 inch squares, that's what I have here, and we are going to just cut them in half corner to corner. So you'll see once that's done you'll get a big piece that looks like this. And then along the bottom of the quilt I want to point out you will need setting triangles that look like this to finish off the bottom of that last row of your mountain range. So that's done just like you did your 10 inch squares. You're just going to sit that four inch corner on the corner of your setting triangle and snowball. And so let's take all of this over to the quilt so you can see it and how it fits in there.
All right let me walk you through how each of these blocks fits into the quilt. Here is block number one that we started with and you can see it sets in right there like that. And then let's move on to block number
two. So for block number two - that's this one here - here's a place where that one fits in. And that's just when it doesn't run into another mountain range it has that you know clear sky top. So we'll set that one aside. Here is block three - it's kind of the body of our mountains. We use a lot of
these, there you go. And then lastly block four. They just sit right in there
pretty easy.
So I hope you enjoyed this quilt. I loved designing it. It was super fun to have these blocks come together and create these really fun unique mountain ranges to celebrate Jake's accomplishment. So I hope you enjoy
making your own View from the Top quilt!


