
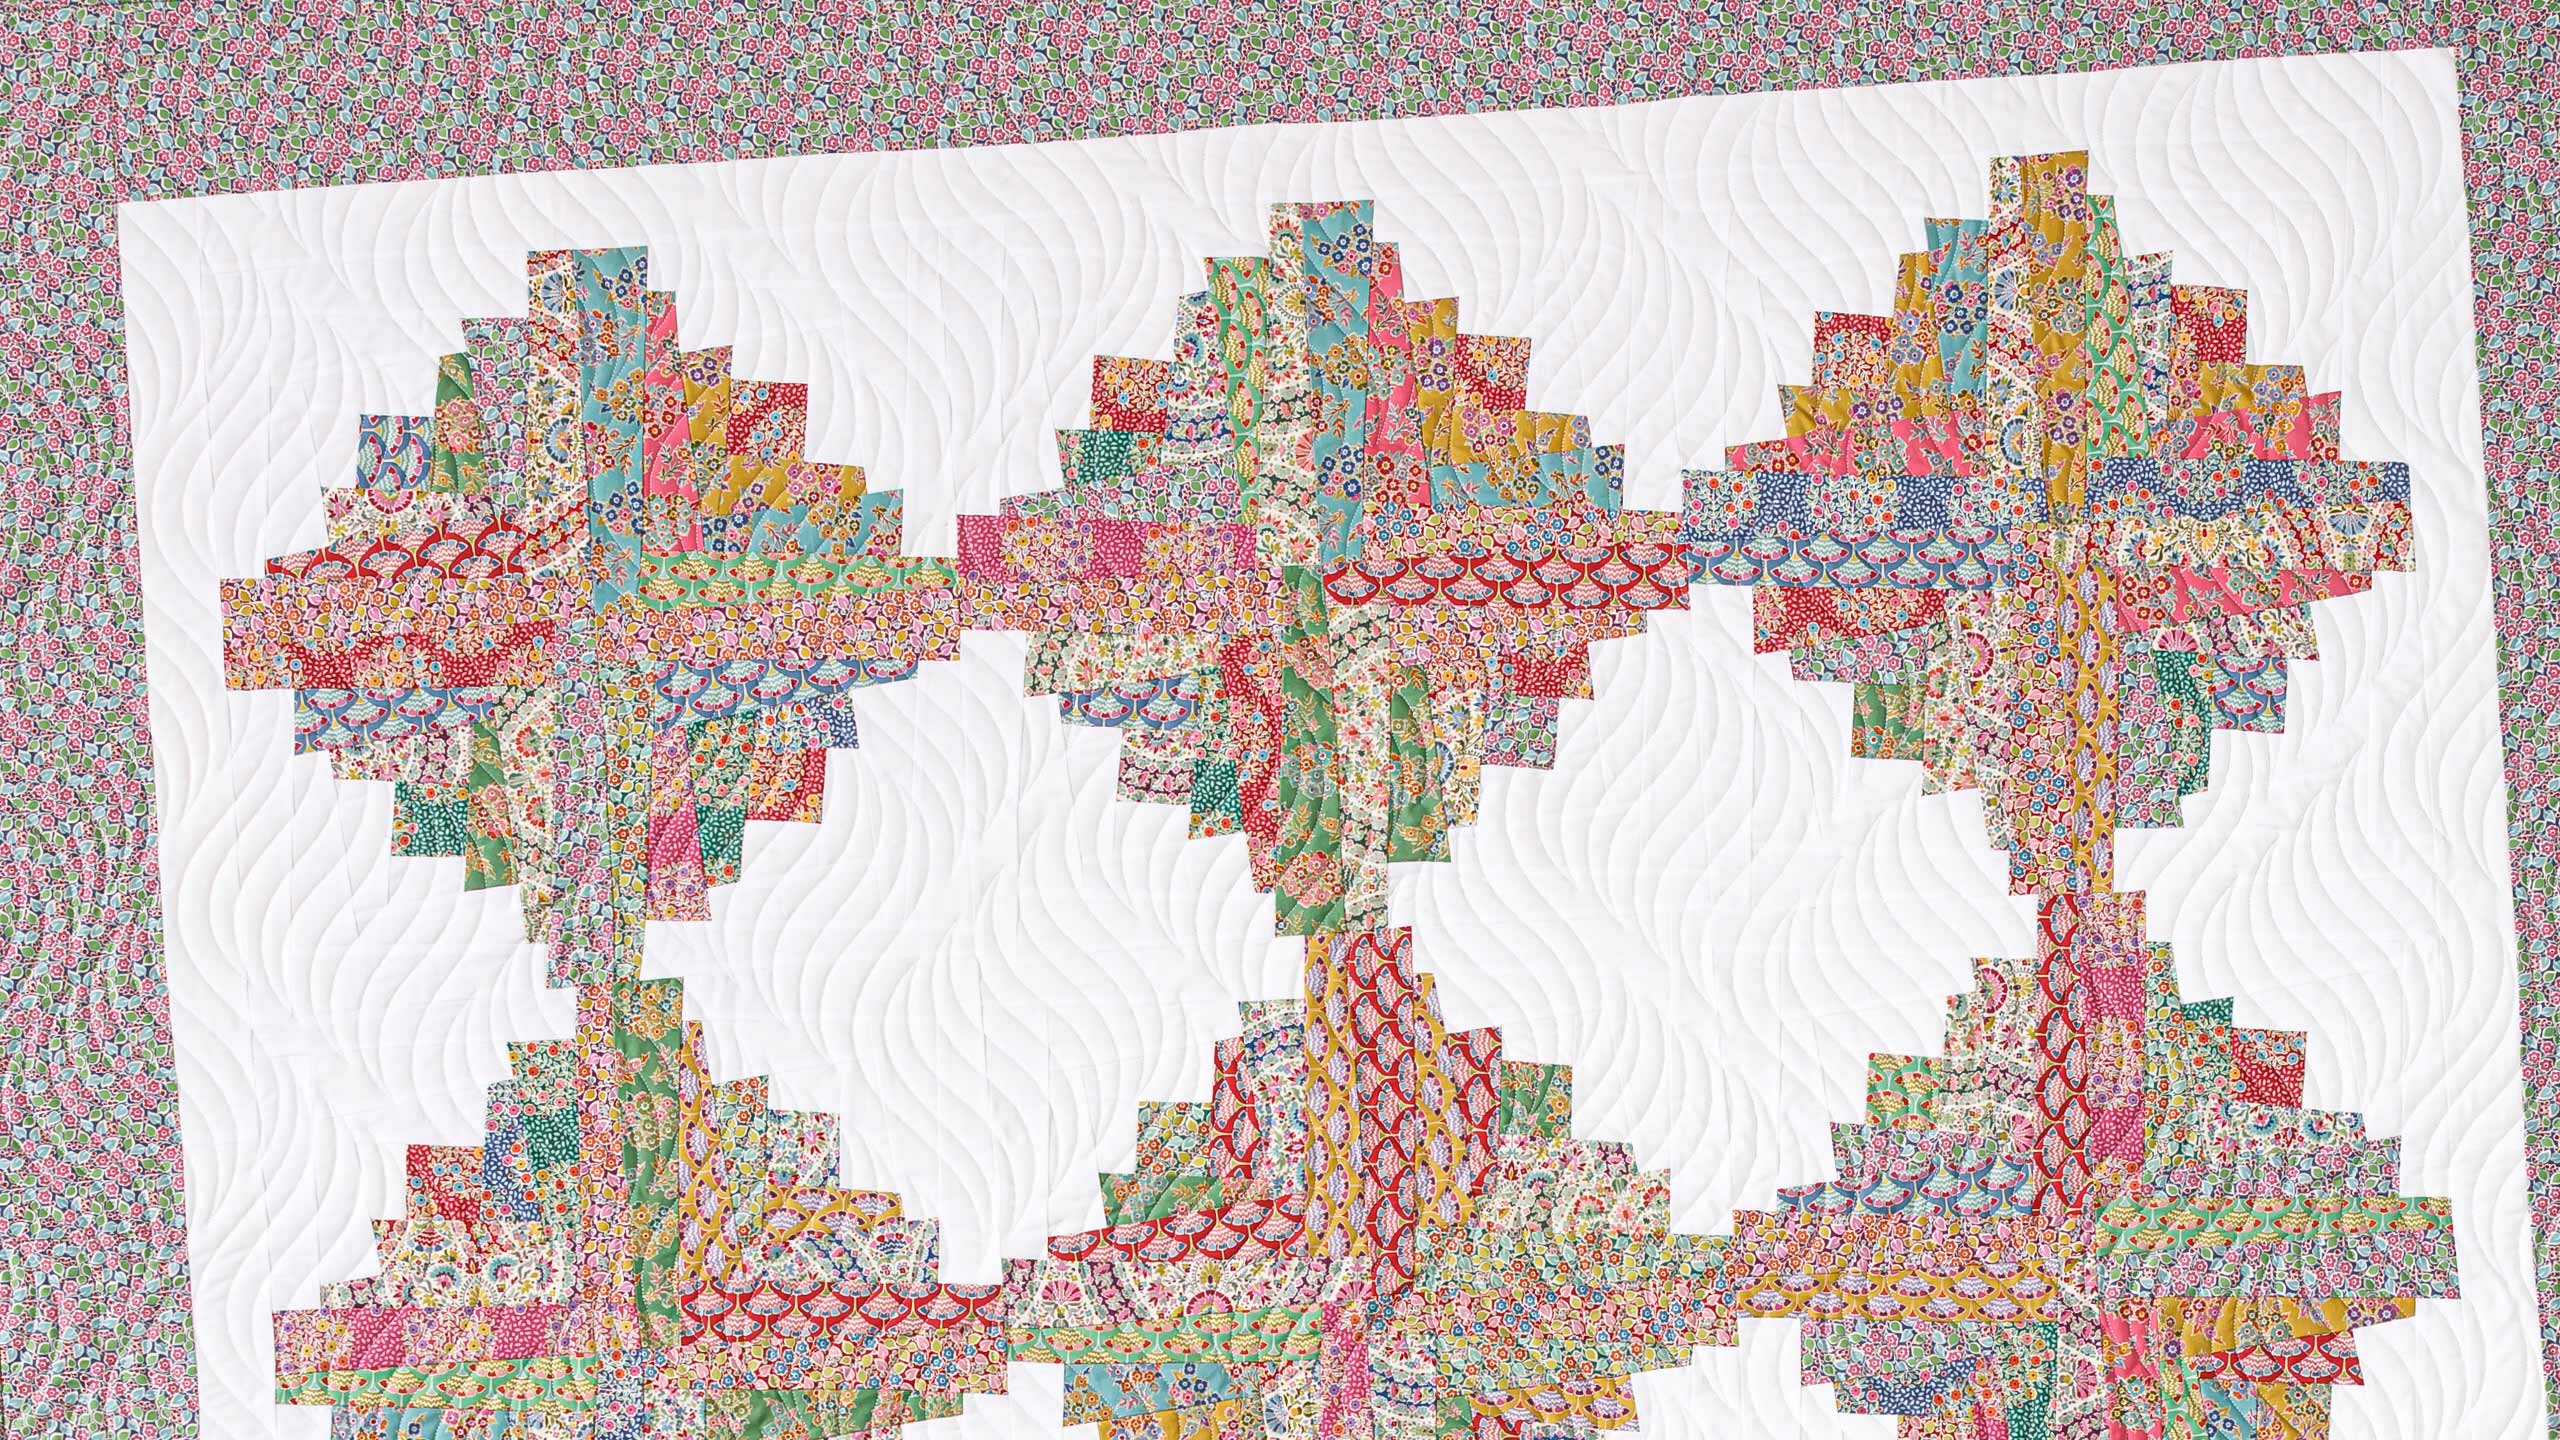
How to Make a Wonky Log Cabin Quilt - Free Quilting Tutorial
 Jenny Doan
- Jelly Roll
- Traditional
- Double
- Beginner
- Quilt size 75" × 75"
Jenny Doan of Missouri Star Quilt Co shows how to make a wonky version of the classic log cabin quilt using 2.5 inch strips of precut fabric. This pretty jelly roll pattern is made with charming floral prints from Pie in the Sky by Tone Finnanger for Tilda and the new Creative Grids 10" Wonky Log Cabin Trim Tool by Jean Ann Wright.
Instructor
Jenny Doan
Jenny Doan is an American quilter, author, and YouTube personality. Jenny started Missouri Star Quilt Company in 2008 and today it is the largest quilting supply vendor in the United States.
Shop this tutorial
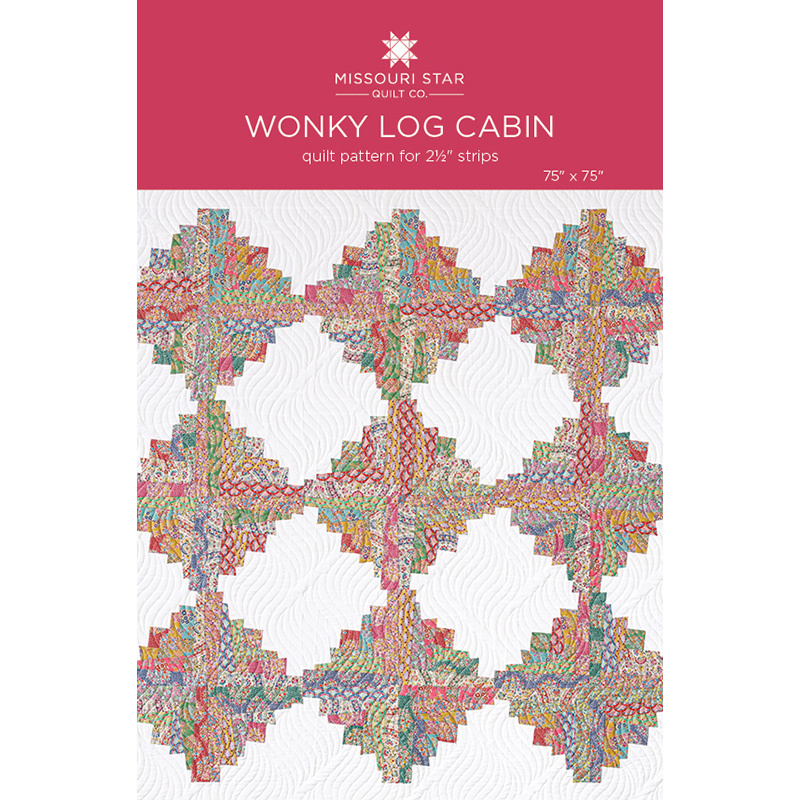 Wonky Log Cabin Quilt Pattern by Missouri Star$6.95Shop →
 Digital Download - Wonky Log Cabin Quilt Pattern by Missouri Star$4.95Shop →
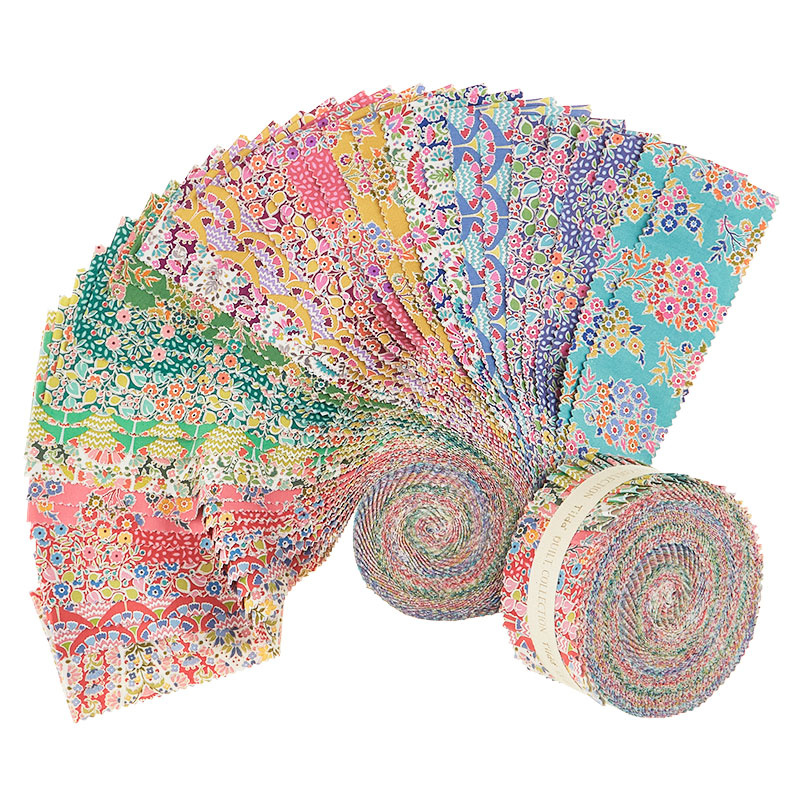 Pie in the Sky Fabric Roll$56.95Shop →
 Kona Cotton - White Roll Up$30.95Shop →
 Kona Cotton - White Yardage$7.28Shop →
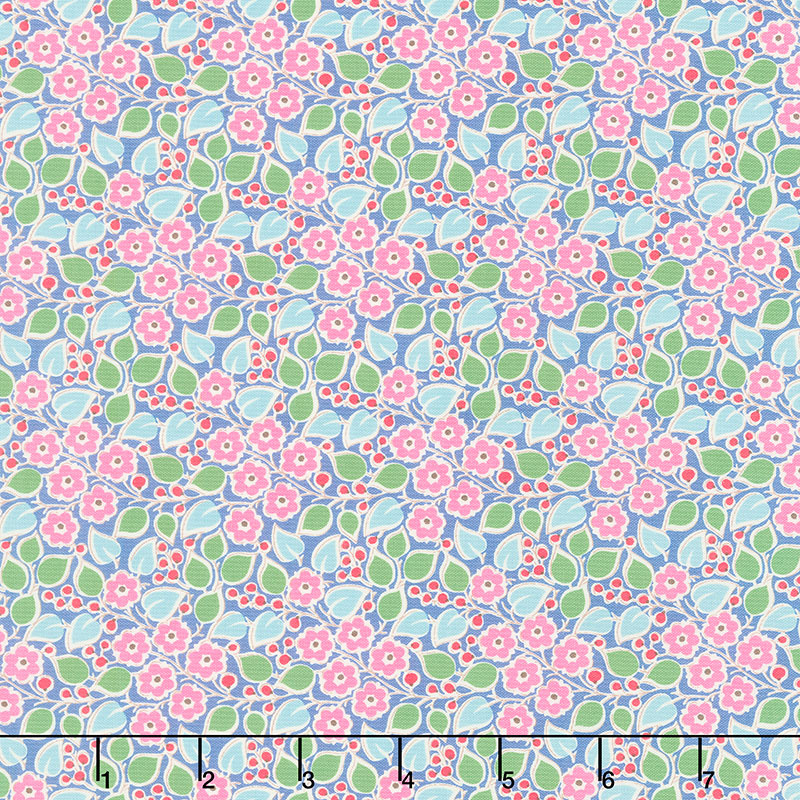 Pie in the Sky - Topsy Turvy Blue Yardage$14.44Shop →
 Pie in the Sky - Tasselflower Blue Yardage$14.44Shop →
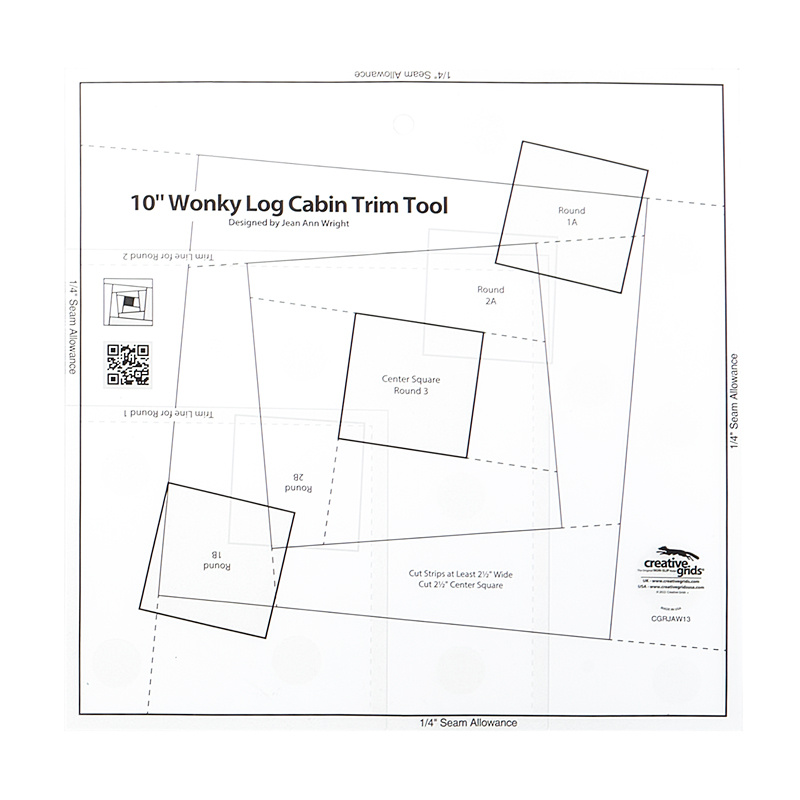 Creative Grids 10" Wonky Log Cabin Trim Tool$32.99Shop →
Common Questions
What is covered in How to Make a Wonky Log Cabin Quilt - Free Quilting Tutorial?
Jenny Doan of Missouri Star Quilt Co shows how to make a wonky version of the classic log cabin quilt using 2.5 inch strips of precut fabric. This pretty jelly roll pattern is made with charming floral prints from Pie in the Sky by Tone Finnanger for Tilda and the new Creative...
How long is the tutorial video?
The tutorial video is 00:15:07.
Are supplies listed for this tutorial?
Yes. The tutorial page includes the supplies and materials connected to this project.
Is a transcript available?
Yes. A written transcript is available on the tutorial page.
Video Transcript
Hi, everybody, it's Jenny from the Missouri Star Quilt Company and I've got such a fun project for you today. Take a look at this quilt behind me. This is a regular log cabin, but no, not exactly regular. It's a wonky log cabin. There's a new ruler out I wanted to try and I can't wait to show it to you. So let me tell you how to make this.
So to make this quilt, you're going to need 48 two and a half inch strips. Now a regular roll has 40, so you'll need to gather a few more to finish this quilt. Your background is also going to be 43, so you're going to need a little bit more background than comes in a roll, but that will take care of everything plus your first two and a half inch inner border. This outer border out here is a nice big six inch outer border, and we have used this fabric right here and it is one and a quarter yards for that. This is our backing here. And the backing, you'll need four and three quarter yards of backing, or two and a half yards of a 108. Our quilting pattern is called Time Warp. Let me show you this backing because it's so beautiful. And this fabric is Tilda fabric. It's Pie in the Sky by Tilda fabrics, and I just love this line. The other thing you'll need to make this quilt is the Wonky Log Cabin Trim Tool by Creative Grids. Let me show you how to do this. It's so much fun.
So this is such a fun quilt to make. It's a basic log cabin, but every time you add some strips, you're going to cut it wonky with the Wonky Log Cabin Trim Tool right here. Now, basically the way to do this is all on this insert that you get with the Wonky Log Cabin Tool. So years ago they made the Pineapple Trim Tool and I was so excited that I could make a pineapple block by using their trim tool. So when they came out with this Wonky Log Cabin, I could hardly wait to try it. So let me show you how to do this.
All right, so the first thing we're going to do is we're going to start with two little two and a half inch squares, and we're going to sew those together and we're going to build it just like a normal log cabin. It's just going to be trimmed at every single time we add four strips. So here is our strips. Now on the pattern right here, it starts right here with our very first round, it will give you the measurements for all the cutting that you need to do. If you know how I sew it all, I didn't precut anything, I just laid it on the strip and trimmed it off. So that's what I'm going to do to start off with this. I'll show you how I did it. If you are a perfectionist quilter or like to have everything cut and ready to go, you can follow these directions right here.
But what I did was I just took mine like this and having made a few log cabins in my lifetime, this was very easy for me to put together. And once you get the hang of putting a log cabin together, it's very good. All right, so here is my first round then. I've got my light fabric on here, and I'm just going to trim this off right here and I'm going to press this open. And basically with a log cabin, with this log cabin in particular, you're going to put two rows of light and then two rows of color.
So I have some of my strips here and I'm just going to open these up and I'm going to grab from some of these. And what I end up doing is, a lot of these are little pieces, what I end up doing is I seem to end up with a pile of them in my lap as I go around. So when you do a log cabin, what you're going to do is you're going to add from the last strip you put on. So we're going to do this right here, and I'm going to put a strip here like this.
All right, so now I've added that first row of color, and you can see this is the last piece I added, so our next strip is going to go on this side. And all the colored strips are going to go to one side and all the white strips are going to go to the other. So I'm going to just add this colored strip right here. And on a normal log cabin, it might be really important to cut out all the strips to keep with your size, but on this one, we're trimming it every single round. So it doesn't really matter if your pieces are exact or not. So this is our first round right here, and let me show you how we do this.
All right, so on the first round, first of all, it's helpful to have a rotating mat or use a small mat that you can turn yourself. I'm going to put mine right up here. And you'll need this to follow or watch the video very carefully because on this first round, you're going to want your light strips up to the top right. Now on this ruler, it says round 1A, round 1B, round 2A, round 2B, round 3. This is round 1A and A is the white side. And so we're going to lay that square right there, just frame it up right there and get exactly in there. And we're going to trim these two sides like this.
Now for side B, we're going to flip this around and make our colors to the top. And we're going to go to 1B and we're going to lay this up here like this. And this square just frames around that center square. That's our anchor for everything. And then we're ready to add our next round. And so this is the only one that comes all the way across, which means we are now ready for our white strips. And I'm going to grab one of those and bring it over here. And I'm just going to lay it down the side. So this one comes all the way across, and our white is on this side. So we're going to add this white strip here.
And we're just going to add three rounds of these. And so I'm going to trim this off. I'm going to grab another strip. And you can see where you're going to have a whole lap full of these because you just want a little different color on each round. I love Tilda fabrics. I just think they're so darling. All right, so again, this strip goes all the way across. You're always adding your next strip to the last strip that went all the way across.
All right, so I'm going to go ahead and I have a little bit of salvage left here, so I'm going to pull it off the end because I know I'm going to be squaring it up later. Now we're going to have to add two colors. I'm just going to trim that off and finger press this back and I'll add a yellow right here. Just add it down the side and clip it off. And of course you can use your rotary cutter. I'm just going to use this. And then here's the little green one that I don't have any green on here, so this is going to be perfect. Slide that. We'll trim that off. And this one, literally, I literally had strips all over my desk. For me, this is a really messy quilt, but I love creating in chaos. It feels very freeing to me.
So now we have this and we're ready to cut round two. So we have our ruler and we're going to look at our directions. And for round two, the directions are the same. You're going to start with your light color up in the top right corner, and we're going to find 2A and put 2A over the middle square right here. So that middle square always our anchor. That's always what we go back to. And then this one, we're just going to trim off here and trim down here. And then I'm going to flip this around and go to 2B and put 2B right here like this. Make sure it's in there. And trim this side. And again, it is squared back up, but it's all wonky.
All right, so now this strip goes all the way across. It's time to add our white strip to the other side. We'll do this one here. And you can see how quickly this goes. And what I did was I did a whole bunch of middles, a whole bunch of row one, a whole bunch of row two. I just did them, kind of chain pieced them as I went along so that I was getting a whole bunch done at once.
All right, so here's our white. Now we're going to add two outer colors, and I'm going to press this open nice and flat. And I actually have in my sewing room, I have a little table right here next to me so that I can sit right there and iron. Don't even have to get out of my chair. All right, so now I'm going to add this one to this side. And I just grabbed a random strip. I will cut this off as I go. And then this piece can be used for the beginning of another block. It won't do this long side, but it'll do a beginning. All right, I'm going to clip this off here, finger press it open, and then I'll use this pretty pink right here, and we'll put it right down this side. All righty, let's trim this off. We'll press it back. And we are ready for round three.
Now, round three is a little bit different, so you have to pay attention to round three. For round three, you're going to start with your white part down in the bottom corner. And I'm actually, this is a little too big for my rotating mat now, so I'm going to slide this back in there. And I'm going to start, so my color is now on the bottom right-hand side. I had to think that through. You have one center square in the middle that you're going to use for round three like this. We're going to put it in there. And this one, you're just going to trim all the way around. And so I'm just going to rotate this, make sure my center stays right in the center like that. And then this is your finished block right here. How fun is that? And it went together so quickly and so fun.
Now, when you're ready to put your blocks together, I want you to remember a couple of things. One, this is a log cabin block, and there are a million ways to set log cabins, and you can do it any way you want. I did it this way, but it's just one of the ways. So I have four of these blocks made, and what I did was I wanted to make them into these spherical looking things because I love the secondary pattern. But there's a million ways to set a log cabin. So you can do lots of ways. So what I did then was I just sewed them together like this. So I put them in, made four, it takes four to make one round, like this, and over here like this. And then you've got that sphere.
So you have to look to make sure your whites are in the outside corners because that's going to make your secondary block. And we're just going to sew these together like this. We'll sew these two down the side. And then I'm going to fold these over like this. And sew these down the side. No seams are going to match up, so you don't have to worry about lining up anything, with this layout anyway, lining it up. With this layout, you don't have to worry about anything lining up or matching up.
So we're just going to open this up now and it becomes like a giant four patch. And so we're just going to open this up, fold this on top of this, and sew these together. Quarter inch, I'm going to match up my center scene. And what I love about these rulers is that you're always straightening out your block. Every time you set this center square on your middle square and trim it, it becomes perfect again. And so me not being a very careful sewer, I love these kind of rulers that have that centering device. All right, so let's go over to the ironing board and press this. Make sure it's nice and flat and over here.
Then let's look at how this fits into the quilt. So here's how it goes right here. And you can see we just did one, two, three by three rows. And so we made a quilt that is nine blocks big, or nine times four, 36 blocks big, because each of these is made out of four blocks. And out of those 36 blocks, there's again a ton of ways to set them. So I hope you have fun with this, and I hope you enjoyed this tutorial on the wonky log cabin from the Missouri Star Quilt Company.
Hi, everybody, it's Jenny from the Missouri Star Quilt Company. We hope you enjoyed watching this video. If you aren't already part of the Missouri Star Quilt Company family, be sure to subscribe so you won't miss a thing. And if you click that bell, it'll notify you every time a new tutorial comes out. See you next Friday.


