

How to Make an Easy Crow's Foot Quilt - Free Quilting Tutorial
 Jenny Doan
- Jelly Roll
- Heirloom
- Queen
- Beginner
- Quilt size 83" × 83"
Jenny Doan demonstrates how to make an Easy Crow’s Foot quilt with precut jelly roll strips. This classic 19th-century quilt pattern is sure to catch your eye with high contrast white and black background fabrics and regal prints from the Morris Meadow collection by Barbara Brackman for Moda Fabrics.
Instructor
Jenny Doan
Jenny Doan is an American quilter, author, and YouTube personality. Jenny started Missouri Star Quilt Company in 2008 and today it is the largest quilting supply vendor in the United States.
Shop this tutorial
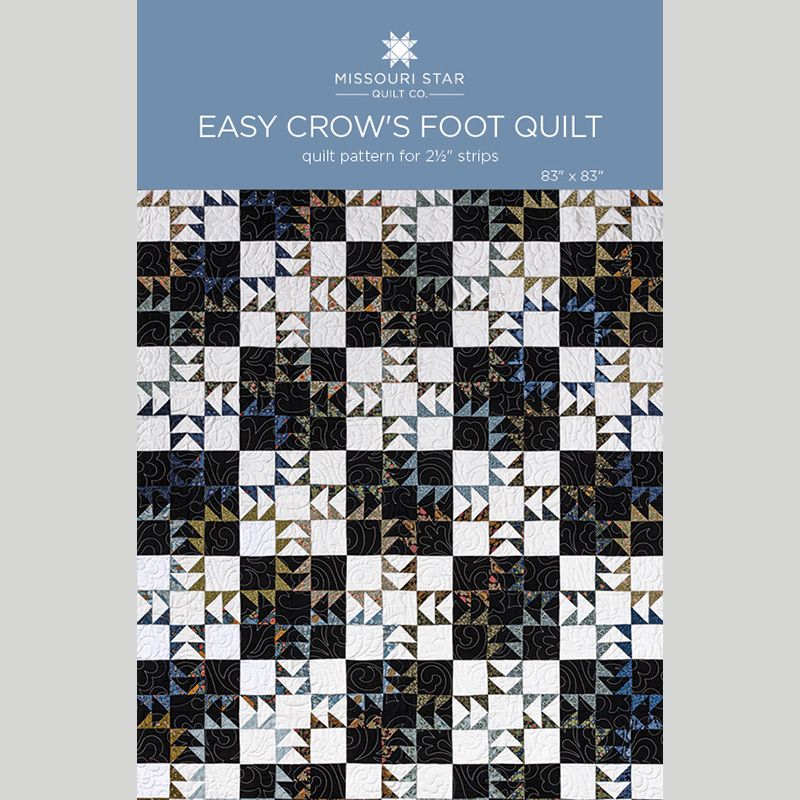 Crow's Foot Quilt Pattern by Missouri Star$6.95Shop →
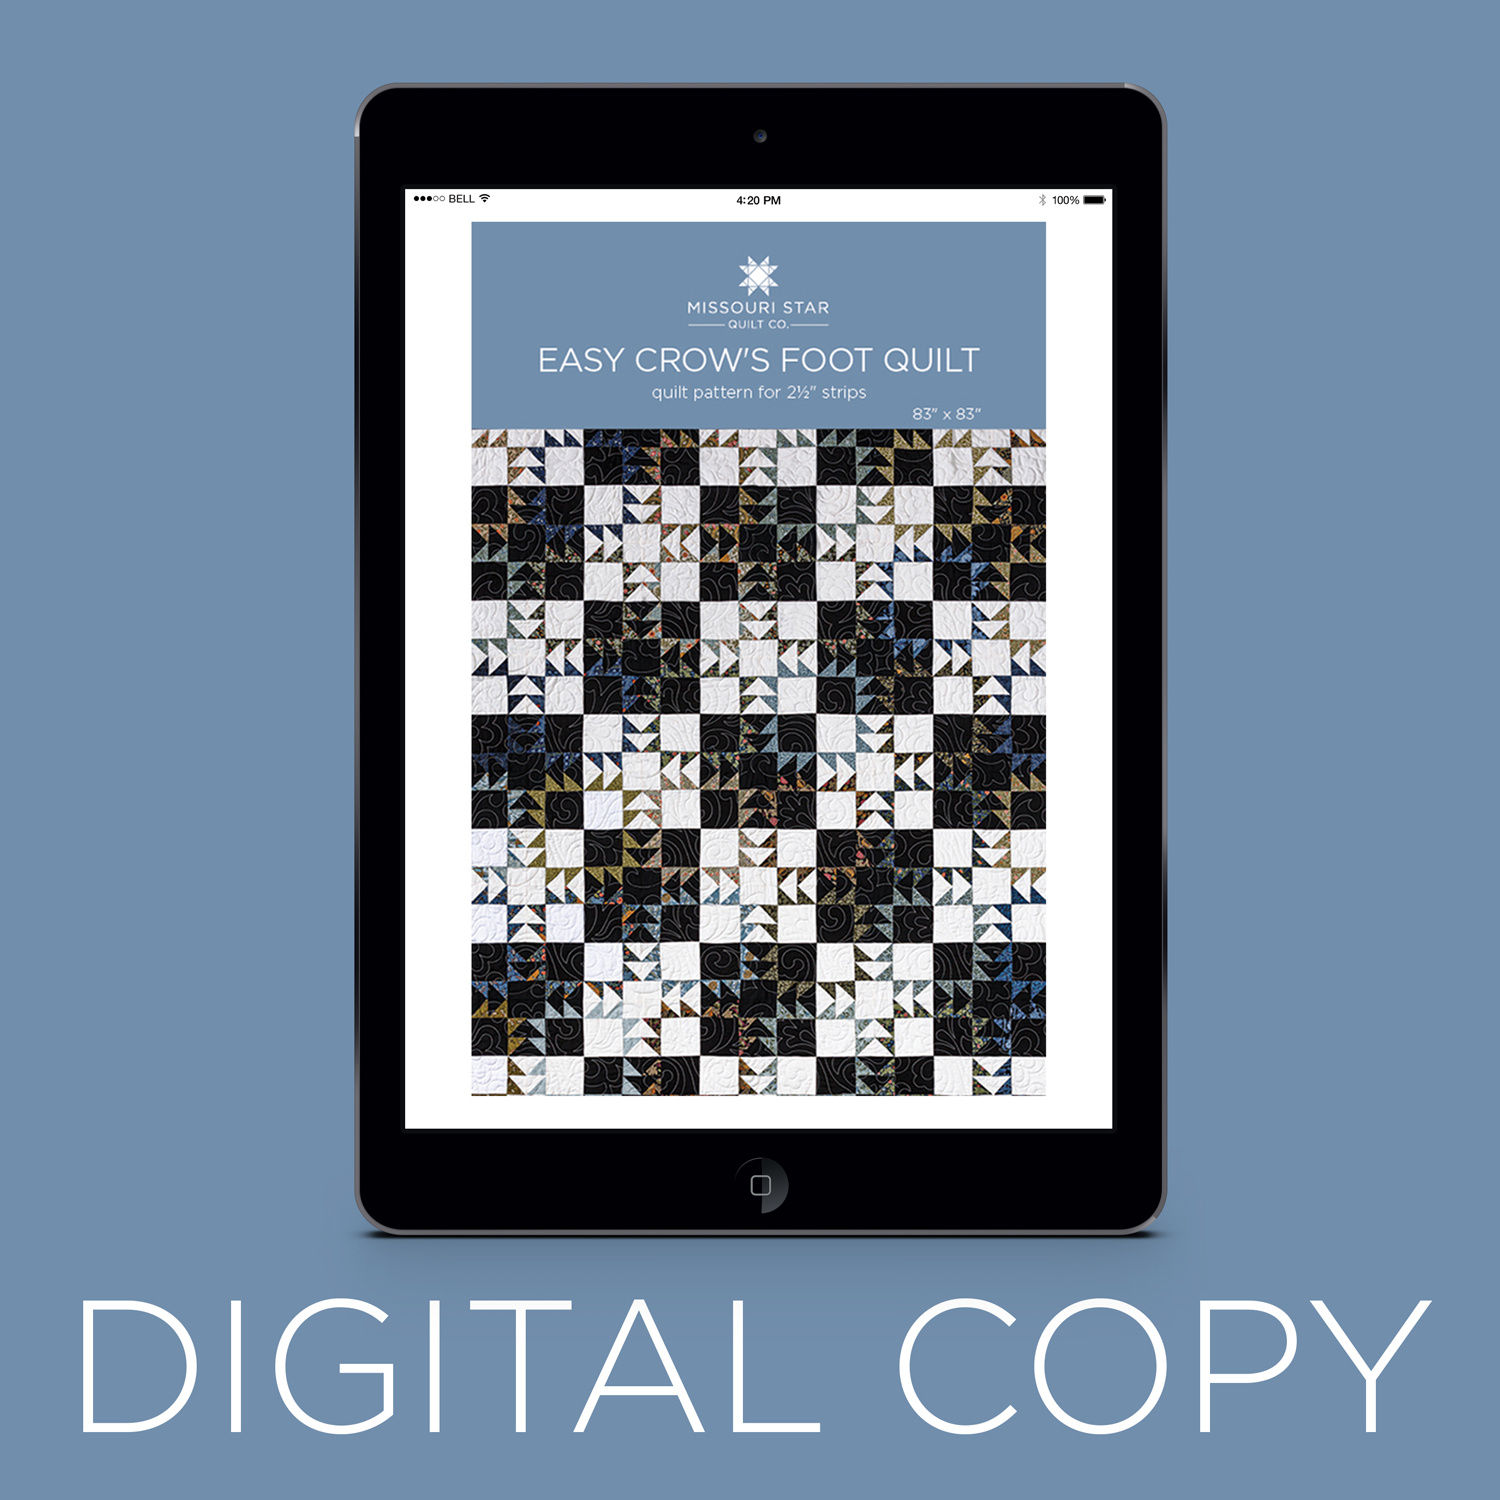 Digital Download - Crow's Foot Quilt Pattern by Missouri Star$4.95Shop →
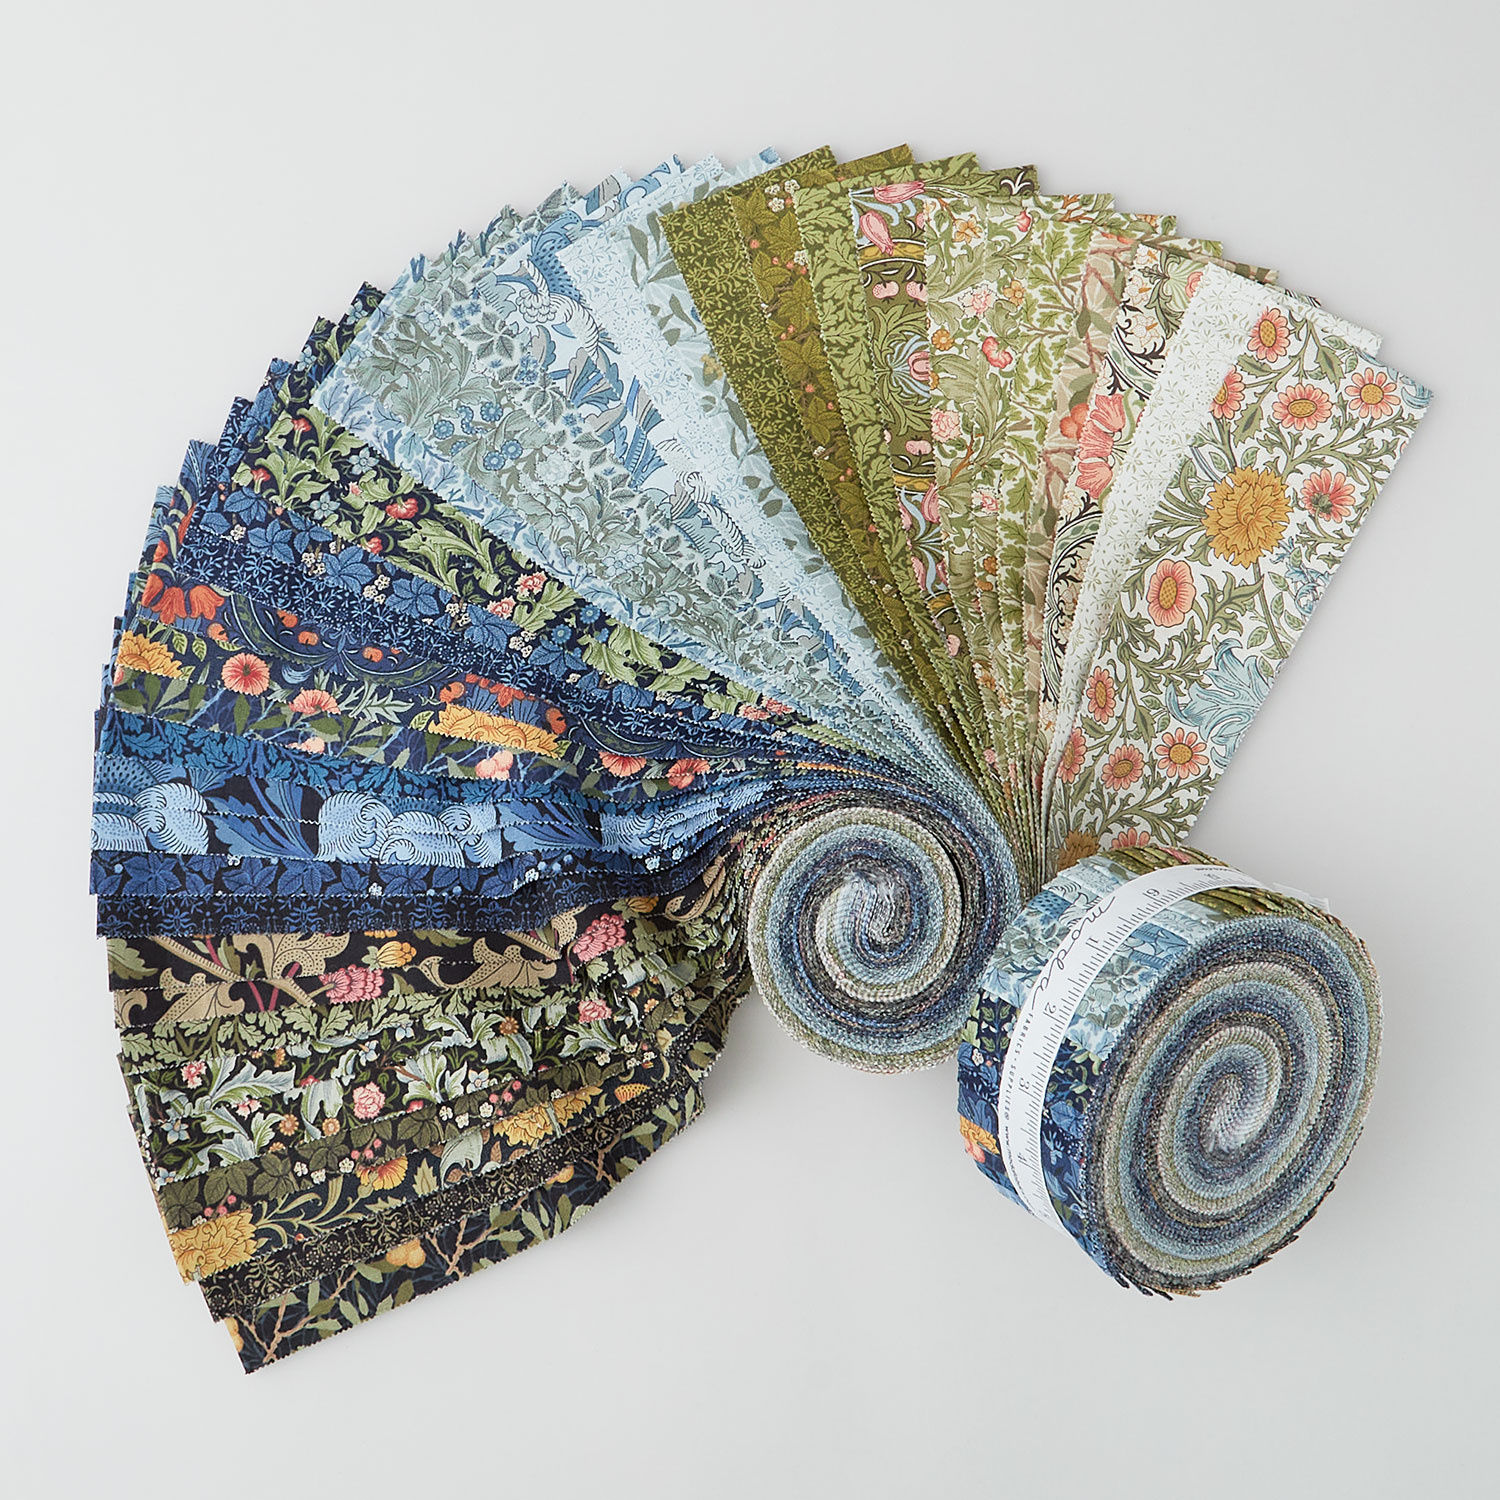 Morris Meadow Jelly Roll$45.95Shop →
 Bella Solids - White Bleached Yardage$8.24Shop →
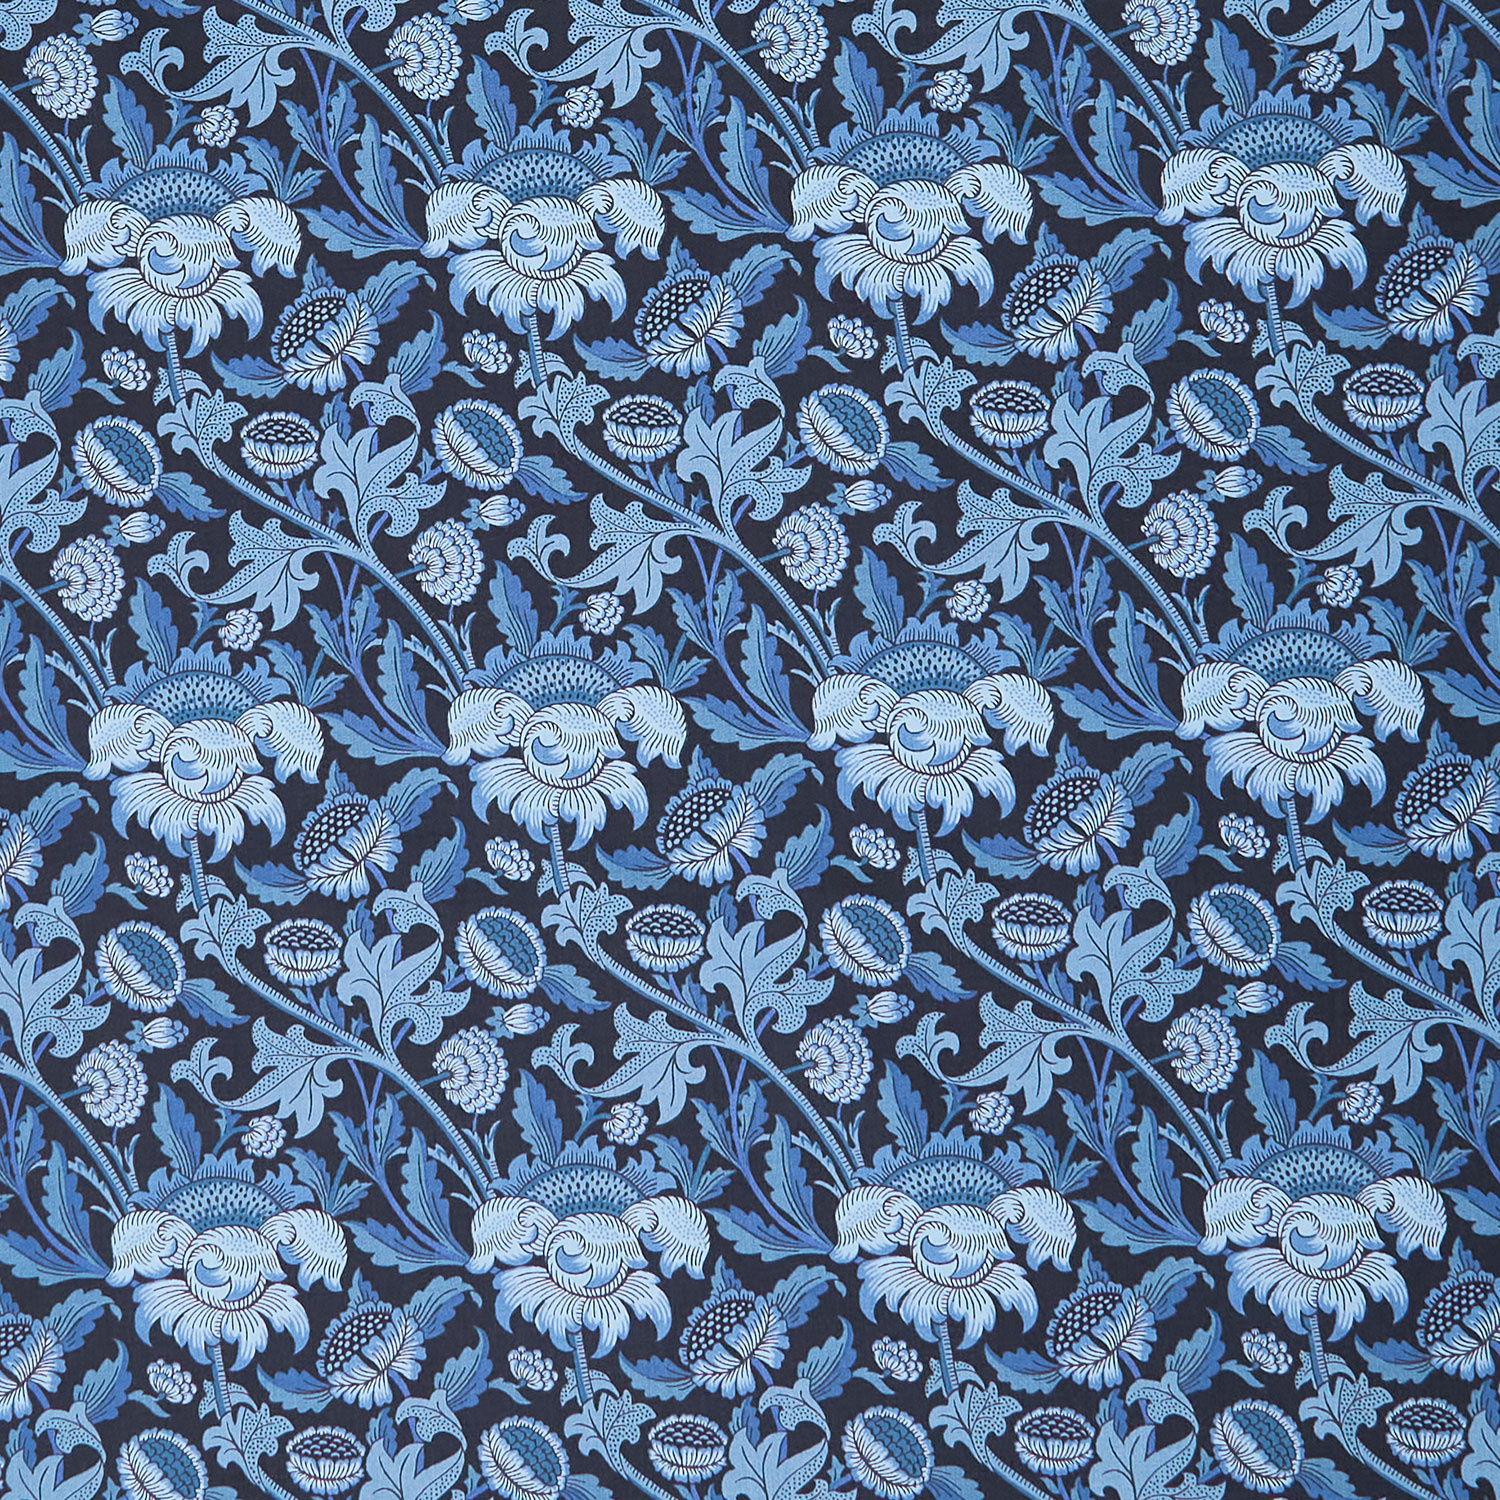 Morris Meadow - Wey Kelmscott Blue Yardage$11.96Shop →
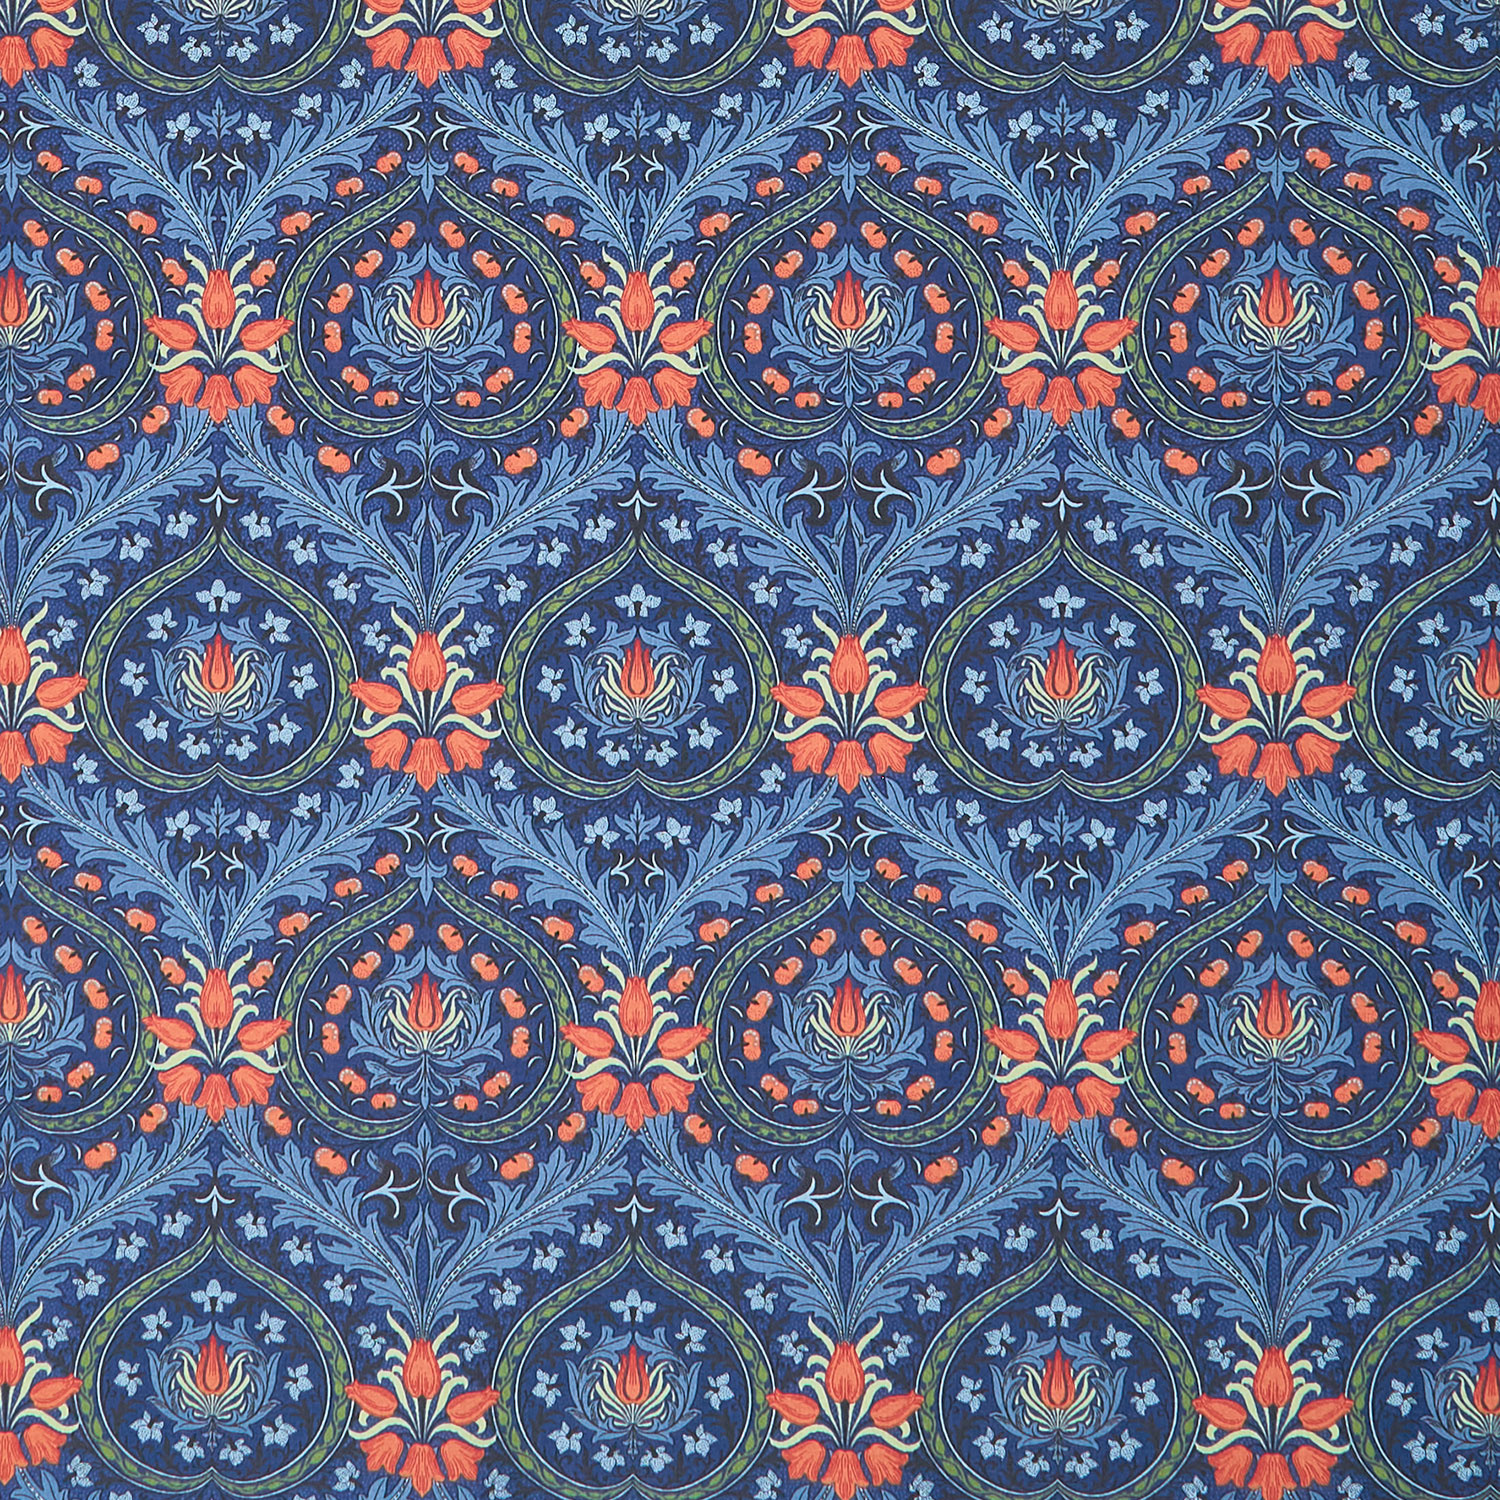 Morris Meadow - Eden Woad Yardage$11.96Shop →
 Missouri Star Quilter’s Best Blend Queen Batting$37.45Shop →
 Clearly Perfect Slotted Trimmers$31.95Shop →
Common Questions
What is covered in How to Make an Easy Crow's Foot Quilt - Free Quilting Tutorial?
Jenny Doan demonstrates how to make an Easy Crow’s Foot quilt with precut jelly roll strips. This classic 19th-century quilt pattern is sure to catch your eye with high contrast white and black background fabrics and regal prints from the Morris Meadow collection by Barbara Br...
How long is the tutorial video?
The tutorial video is 00:18:46.
Are supplies listed for this tutorial?
Yes. The tutorial page includes the supplies and materials connected to this project.
Is a transcript available?
Yes. A written transcript is available on the tutorial page.
Video Transcript
So to make this quilt, you're going to need one roll of two and a half inch strips, and we have used this beautiful Morris Meadow by Barbara Brackman for Moda. You're going to need some accent or background fabric, and we've used three yards of light and three yards of dark, and that's going to take care of all of these blocks in here, all of your little half square triangles. It's going to take care of all of that. Your outer border is one and a half yards, and it's a nice big six-inch border, and we also used that for our binding, which is an additional three-quarter yards. For our backing, we used this beautiful big print with the orange in it. You're going to need seven-and-three-quarter yards for that, or if you use it 108, you'll need two-and-three-quarter yards. Our quilt is 83 by 83, so it makes a great sized quilt and I can't wait to show you how to do it.
My brain works in shortcuts, and so when I see a pattern, my brain tries to figure out how to do that easier, and when you see the Crow's Foot block, I don't think that you're going to think it started from a four patch, but it does. So, to make this four patch, I cut two four-and-a-half inch strips, one of black, one of beige or cream, and I'm just going to cut those into strips because we are going to make some big four patches out of this, and I'm going to lay this up here. \.
Now, I've sewn these two together on one side only. We're going to trim off our salvage right here, and then we're going to come in four-and-a-half and we're going to cut two segments for each four patch. So, let's go ahead and press these to the dark side. You'll need a total of 36 four patches to do this, but we are going to go ahead and press this to the dark side and sew this together. So once you get these pressed, we're going to line them up so that our middle seam nest perfectly and we're going to sew a quarter of an inch down the side, and we're just going to make these nice big four patches. And we are going to sew down the side here, just like that, and we'll press it open and we will set these aside for a moment.
Alrighty, so I have another one over here and we're just going to set those aside. All right, so then what we're going to do is we are going to take one of our strips, and I think I'll choose this guy right here because he's right on top. This fabric is gorgeous by the way, and what we're going to do is we're going to choose a cream strip and a black strip, and you will cut this out of your yardage or you can buy a jelly roll. I have jelly rolls here that I used, and what I'm going to do is I'm going to cut this black in half and I'm going to cut the white in half as well.
And this is just my little hack on how to make this easier because you're going to make half square triangles and half of them are going to be backed in black and half of them are going to be backed in white. So, what I'm going to do now is I'm going to lay my salvage end right here, and we are going to sew both sides of this, but when I get to the center right here, I'm going to lay in my white piece and finish going down the other side. So, let's just do that and you'll see what's happening as I go along.
And I'm just going to line these up and we're going to sew down this side. Make sure they stay nice and lined up like this. Now, I'm going to put in my white strip and I'm making sure that my cut edge is to the end because I don't want to waste that little bit of fabric on the salvage part. All right, and then we're going to come around to the other side, and sew down the other side as well, so we're making a tube. All right, here we are at our little juncture. Okie-doke, now what we're going to do is I'm going to go ahead and cut these in half because I'm not sure why, it just feels like it will be easier for me to do.
All right, so now what we're going to do is we're going to cut two and a half inch triangles and you need eight black ones and eight white ones, and I'm using the clearly perfect slotted trimmer. This works very well for this. You're going to line your seam line up with their seam line right here, and we're just going to cut some half square triangles. So, we'll cut this way, and I like to move this out of the way a little bit. And then you can either flip your ruler or flip your strip. I like to flip the strip and come over here and cut again just right up the side like this, and we're going to flip this. We're going to lose a little bit right here because our cut is already... We're out here, and so we're going to do this, move this back a little bit, and cut this way, and then flip our strip and then we can cut straight up just one cut on this one because it scooches right into that corner.
Hang on, that one went a little awry. There we go, and then I'll flip it back over and you'll keep doing this. You'll do it on all of your whites and on all of your darks, and it will take just about the whole strip. Now, I have some already cut out over here, so I'm going to show you how this goes together with my cutout pieces. You'll iron these open and make sure that they're two-and-a-half. You can clip off the little edges right here, that will help you, like this. And so, I have some here that are already done and I did them in this dark blue. And so, I have black ones and I have white ones, and I'm going to put those in two stacks. And then you're going to need to cut some two-and-a-half inch squares from your leftover pieces. So, just take these and fold them in half and cut some two and a half inch squares for your corner squares on this block. So I trimmed my salvage, and then we're going to need four of those.
So one, two, three, four, and you'll need two white ones per block and two dark ones per the block. And so, I just keep stacks of those as I'm cutting along and I'm going to clean up my mess. I really am a messy creator, good golly. All right, so I think I need to cut a few more of these blocks. I need maybe one more here. I have a couple here already sewn one, two, three, four, five. I need to have eight of these. So I'm going to... Here's my rotary cutter, one, two, three.
I just think it's good for you to see this part a few times because see how when you're going for two-and-a-half you get this little extra, but then your seam line lines up right on the edge with this seam line right there, and then we can get one more out of here. Now, if you're a half square triangle saver, you'll get an extra one out of these because right here, look, we can get... No, well, maybe, let me see here. Depending upon how long your strips are, you may get two extras. I just put those in a jar for some incredible project I'm going to do someday. All right, so let me iron a few of these because we need to have eight of each and let's see here, get that guy apart.
All right, so now we'll make a couple of stacks of these and then we're going to start putting them together. So, what we're going to do is we're going to take our four patch now and this four patch is going to give us clues to how to put this together because our black half square triangles are going to stay to the black and the white half square triangle is going to stay to the white. So, what we're going to do is we're going to lay this out and we're going to keep... This is the way I always remember it. Our print half square triangle is going to point to the middle right there, and then this one will have one and they all go the same direction like this, and then a white square goes in that corner like that. And then over here we're going to do the same thing, our color is going to point to the outside right here, this secondary one's going to lay in there, and then this one's going to come here, point to there.
And then one more this way like this, and our black square will come in that corner over here. Now, I have these two bottom parts here already done. So, we're going to go ahead and... Oh, we're going to go ahead and put this one here and this one here like this. See, they all point to that square, and then this one will go... This one here and this one like that, and so that makes our block. So, let's go ahead and sew these two groups of half square triangles together. We're just going to sew them and I'm going to lay them back in there, so that I don't lose my place. Once you've done it a few times, you can literally pick them all up and sew them together because you know where they're going to go, but right here for today, what I'm going to do is I'm going to pick these up and I'm going to lay them back in there. And the way I remember it is that this always points to the corner. And so I'll pick these up right here, I thought I turned that one, but I didn't.
All right, so this corner, these two pieces are done and I can add this corner block and I can add it to whichever side I want to. So, I think I'll just add it to the top right here, and that just means I'll sew the side piece on first and then can sew this corner in. It doesn't matter which way it goes, it just matters that we get it in there somehow and we don't have to do a Y seam. So, we'll do this and then we'll go ahead and pick these two up, and I'm going to go ahead and add my corner right on this one.
Then we'll lay that right back in there and we'll go ahead and do this one. Now, you'll notice that I'm not changing to black thread on this. One of the reasons for that is that I'm a really lazy sewer and I tend to use light or, dark, and if light is on my machine, I use light. If you want to switch thread colors, you can. I didn't find it made any difference really on this quilt. So, we're going to lay that in there. All right, so now we're ready to put our sides on. So, I'm going to sew these sides together right here, so these two long pieces together and we'll sew it to the block. All right, so let me add these two from the other side together over here.
And what you need when you put this together is that you need two short pieces and then your other two pieces are going to have the long piece attached to them right here, so it'll have the end caps on them. So, two are going to be the short sides and two are going to be long. It doesn't matter which sides they are, it just matters that the same two are short and the same two are long. So, I'm going to go ahead and sew this down and I'm going to just make sure my center seam matches up right here, so holding that down and sewing that to there and then coming across here, and there isn't anything else actually to line up other than that center seam. And so, I'm going to go ahead and do this one as well. So I lay this on here, make sure that my print is touching, that the white is going to the white and the black is going to the black, put it right sides together and go ahead and sew down and make sure my middle seam is lined up.
And then I think before we add those end strips, let's give this a little press. And so, we're just going to press this out here like this and press this out here like this. We're going to look at it again because I tend to be a little angly challenged. Make sure again, my white is with the white, the black is with the black, and that looks great. And now what we need to do is we need to sew this long strip together and sew our ends on this other strip. So, we'll get our two bottom pieces ready to go.
So, we've got these two pieces together right here, and we're just going to sew down here and lay this on here. So, then we're going to add our two pieces on the outside right here. All right, so let's take a look. Our color goes in, black is with the black, white is with the white, and we're ready to sew our outer borders on this block. And I just think this is a lot easier than it looks, and I think you are all surprised that it started with a four patch. When you see the quilt all finished, it's not the four patch that jumps out at you.
So, we're just going to attach this top little triangle border, if you will, to our four patch, and I think you're surprised that it started with the four patch because that's not what jumps out at you when you see the quilt, which I love. I love a secondary pattern. And so, we're going to go ahead and add this one on, make sure our white is going to the white. And again, I'm going to line up these corners. These corners, you can make them match and then you can make your center seam match. All right, and then our block is done. Look at that. How fun is that? And so, now we're going to press it. And on these blocks, you know there's always going to be lots of ways that you can do blocks, but I just think this is a fun way to do it and I love how it works out. So, let's take this back to the quilt and see how it fits in right here. So, here's our block right here and you can see.
And so, then every other one I turned, and then I turned, and then I turned like this, so that my blocks would come together and make it look like this is the block, but it's not. This is the block, which I think... I love it because it's one of those things that kind of plays with your brain a little bit, and so it's just really fun. It also is a block that makes it look like you worked a lot harder than you did. Let's take a look at the backing on this. So, isn't this a great backing? It's a beautiful floral with that orange added in. It's so very pretty, really pretty. So, this quilt is quilted with a pattern we call Variety. And when you're choosing a quilting pattern, you want to look at your quilt and see if it's a whimsical quilt or if it's a traditional quilt or whatever it is, and choose a pattern that goes with that.
So, this is much more of a fancy type of pattern that just has some feathers to it, has some pretty elements to it. I really like it. Again, it's called Variety, and it's a beautiful quilt. It's 83 by 83, so it makes a nice, great sized quilt, and I love how it goes together. It's just really fun, and for you guys who are wanting to try something, maybe a little step above what you've been doing, this is a great one to start with. So, we hope you enjoyed this tutorial on the Crow's Foot quilt from the Missouri Star Quilt Company.
Hi, everybody, it's Jenny from the Missouri Star Quilt Company. We hope you enjoyed watching this video. If you aren't already part of the Missouri Star Quilt Company family, be sure to subscribe, so you won't miss a thing. And if you click that bell, it'll notify you every time a new tutorial comes out. See you next Friday.


