
Skip to content

Free quilting video tutorials from Missouri Star

Quilting Tutorials
Irish Chain Quilt

Irish Chain Quilt

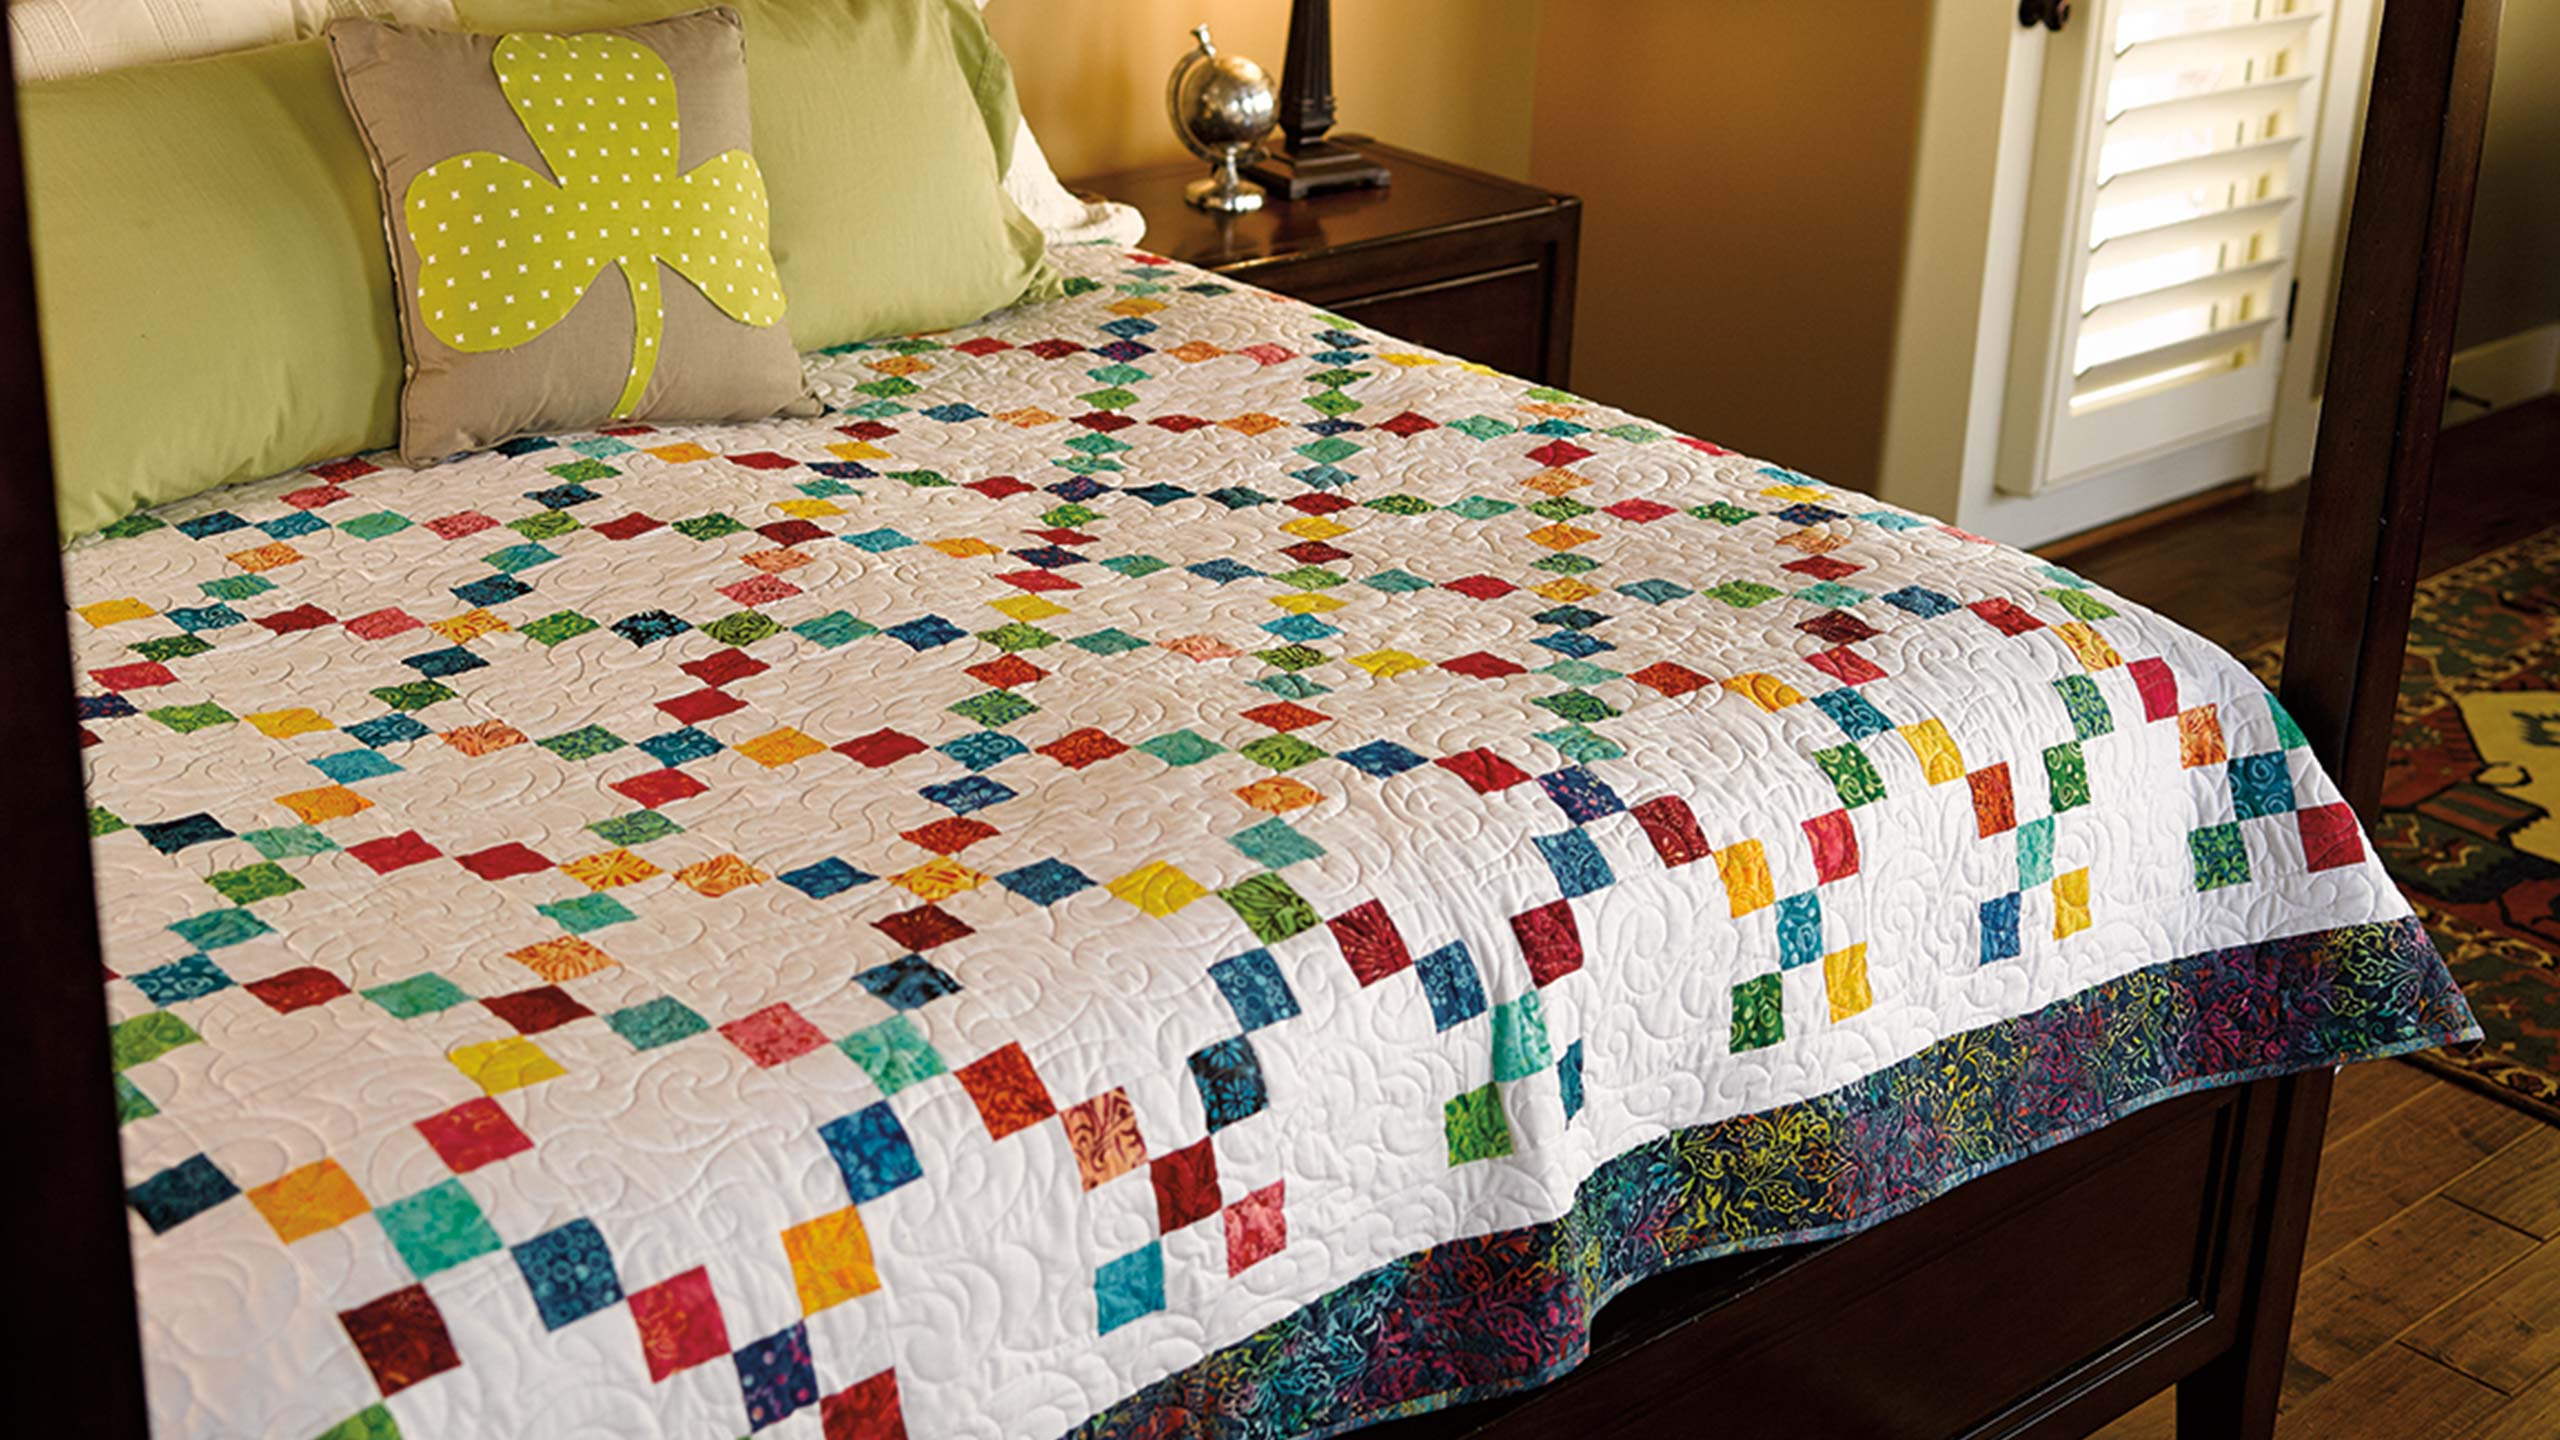
Jenny Doan demonstrates how to make a simple, yet lovely Single Irish Chain Quilt using Jelly Rolls. Rustling Leaves Jelly Roll by Benartex. Solid and Essentials Jelly Rolls. The best selection of Jelly Rolls on the Web.

Instructor

Jenny Doan

Jenny Doan is an American quilter, author, and YouTube personality. Jenny started Missouri Star Quilt Company in 2008 and today it is the largest quilting supply vendor in the United States.

Common Questions

What is covered in Irish Chain Quilt?

Jenny Doan demonstrates how to make a simple, yet lovely Single Irish Chain Quilt using Jelly Rolls. Rustling Leaves Jelly Roll by Benartex. Solid and Essentials Jelly Rolls. The best selection of Jelly Rolls on the Web.

How long is the tutorial video?

The tutorial video is 00:09:24.

Are supplies listed for this tutorial?

Yes. The tutorial page includes the supplies and materials connected to this project.

Video Transcript

hi I'm Jenny from the Missouri star quilt company sometimes the simplest quilts are the most beautiful take a look at this quilt behind me this is the Irish chain it's a single Irish chain and I just I love how simple it is and how beautiful it is I love how you put the pieces and it just automatically chains and this is so easy to make this is one of my favorites and just take a look at the construction here you've got a nine patch block and a regular block and a nine patch block and a regular block and that's all it is and when you get it together it automatically chains so this quilt behind me is huge its enormous it's a king sized quilt and sometimes you so fall in love with a line you just want to keep it yourself so I actually made this one for me and I'm used Covent Garden from benartex and it just has a scrappy look from it it's just oh I love it I and that's one of things I love about the precuts is that they really do get that scrappy look because they use colors from always and so for this quilt I actually used to printed jelly rolls and two solid jelly rolls and two yards of background fabric so it's a lot of fabric so today I want to show you how I made that and I have chosen I'm going to use we're going to use a yard background fabric I'm using modis snow we're going to use a motifs note jelly roll and then I'm going to use this benartex line called rustling leaves with all the fall colors and so just remember when you make this it's just equal it's just equal parts so you're going to use you need a solid if you have one printed you need one solid and and that's what it's going to take to make this quilt because you're going to use all those strips but look at these fall colors isn't this going to be gorgeous so the first thing you're going to need to do is make a nine patch block and that is just really simple so to make this nine patch you're going to need to make two strip sets and they look like this one strip set will have two colors on the outside just like this with a solid in the middle and your next strip set will have two solids on the outside with one color in the middle and you're going to need to make two sets of these this one is going to have 13 strip sets and this one will have 26 strip sets because you're going to use twice as many of these these are your outside blocks so to show you how I did that I just grabbed my cell strips and I sewed it to a colored strip like this and then for this first strip set we're going to add another solid on the other side just like that now the direction you're sewing doesn't matter on these small pieces you can go you know down both sides if you want or down and up either way it doesn't matter but the pressing matters so on this strip set right here where you have the one color in the middle you're going to press it toward the middle let me move this so we can get a good view of this so see how these two seams right here they just lay toward the middle so when you have a middle strip remember to press toward the middle on this one we have two outside strips so we're going to press toward the outside I mean just lay it out this way and the reason we're doing this is when we go to put this block together these little pieces you know they're just going to nest together so nice so what we're going to do now is we're going to cut a couple of pieces off these strips so we can show you how to put this block together and we're using two and a half inch strips so we're going to cut them in two and a half inch segments now you can see I just kind of did a little tricky thing right here you can cut them singly and long but I just folded my own over so I'm going to get two cuts out of you know every time I make a cut I'll get two pieces and so that'll speed things up a little bit and basically you want to do all your cutting first and just go ahead and cut them and make a pile because you want to mix up all these pieces you want your pieces to be really scrappy looking so you know I'd go ahead and cut this whole line if I was doing it and then I've got this middle piece here and I'm going to do the same thing just going to lay it on here now remember I am left-handed so I'm cutting from the opposite direction that you right-handers will do and you just want to make sure your lines are good and straight every once in while you may need to straighten up your front edge but what we're going to get now is is we're going to get this block like this and we don't want to out sides same so I'm going to rummage through I have a little pile of ones I've already done here here we go we'll put that and then this will be our middle block and that's how that block goes together it's just so simple so we can go ahead and sew this I'm just going to show you right here how they nest together see when you've ironed your seams the right way this just nests together and you just want to make sure that those seams are are butted up really tight and you can feel that with your finger there shouldn't be any overlapping but there shouldn't be any space in between either so just go ahead and and make sure those nest now if you have one side that seems to have a little more room on it than other you want to put that side to the bottom because your feed dogs will take in more fabric and it'll just ease out that extra fabric but they should be pretty close as long as your quarter inch seams are pretty accurate it should be pretty close so let's head over the sewing machine now if you're not comfortable just holding these together you can always put a pin right there and you know it'll just snug it up and hold it and I kind of go along and check as I'm as I'm sewing I'll lift that up and make sure it's just nice and tight on there you want your corners to be really accurate on this because that's what makes it chain and so we're just making sure that those lay really nice and then we're going to we're going to come over here and press it open we'll set that outer seam let me scoot this out of the way there we go and just roll this back if I can get a hold of it there all right then we're just going to roll that back now let's add the other side to this and this is something I like to watch this is just me personally I don't want to yellows on the same side so I'll flip this around you know and do it that way and then we'll just lay this down here again feel for those seams put a pin if you'd like excuse me alright now let's iron this open so then we're going to set this seam and we're going to go ahead and press this block open so then you get a block that looks like that and that was just really simple wasn't it I love the nine patch it's so fun so you should measure your block and it should come out almost perfectly to six and a half and we're hoping that it does everybody's quarter inch is a little different so just measure yours to be sure but then what I did was I took my yardage and I cut six and a half inch strips out of my yardage and then I cut those into six and a half inch blocks and and those are the blocks that go in between so this is how you put this quilt together to get this to chain just so easy I have a bunch of blocks here sewn together and what I'm going to do is I'm just going to lay them out and I'm going to put one of these solid squares in between every one just like this and and I'm not exactly sure how many blocks go across and down because I haven't got them all sewed from this line yet but it's a it's just going to be gorgeous look how this is starting to chain and go together gosh I love this fall line nice this rustling leaves line is beautiful all right so let's go ahead and get another row on here and what you're going to do is you're going to sew these together row by row so when you get how many blocks you get you'll just figure out how many across and down and I generally do that I decide you know if I have so many blocks I'm generally going to make it one row longer than it is wider and that's just a personal preference let me add one more I think I can almost add one more row on here but you can see how they're already chaining oh I'm just short one see how quickly that starts chaining together and with this fall fabric this is just going to be gorgeous I love the Irish chain and I hope you enjoy making this easy Irish chain and enjoy this tutorial from the Missouri star quilt company

More Jelly Roll tutorials

See all

