

How to Make an Irish Chain Quilt - Free Quilting Tutorial
 Jenny Doan
- Jelly Roll
- Queen
- Beginner
- Quilt size 91" × 97"
We’re celebrating 15 years of patchwork paradise with 15 of our most beloved patterns. This week’s remake is the Irish Chain! This week, we’re using feed sack-inspired prints to recreate one of our favorite old fashioned quilts. Irish Chain is a 19th century classic made with simple nine-patches. Of course, Jenny makes it even easier with jelly roll strip sets and a charming cheater cloth backing.
Instructor
Jenny Doan
Jenny Doan is an American quilter, author, and YouTube personality. Jenny started Missouri Star Quilt Company in 2008 and today it is the largest quilting supply vendor in the United States.
Shop this tutorial
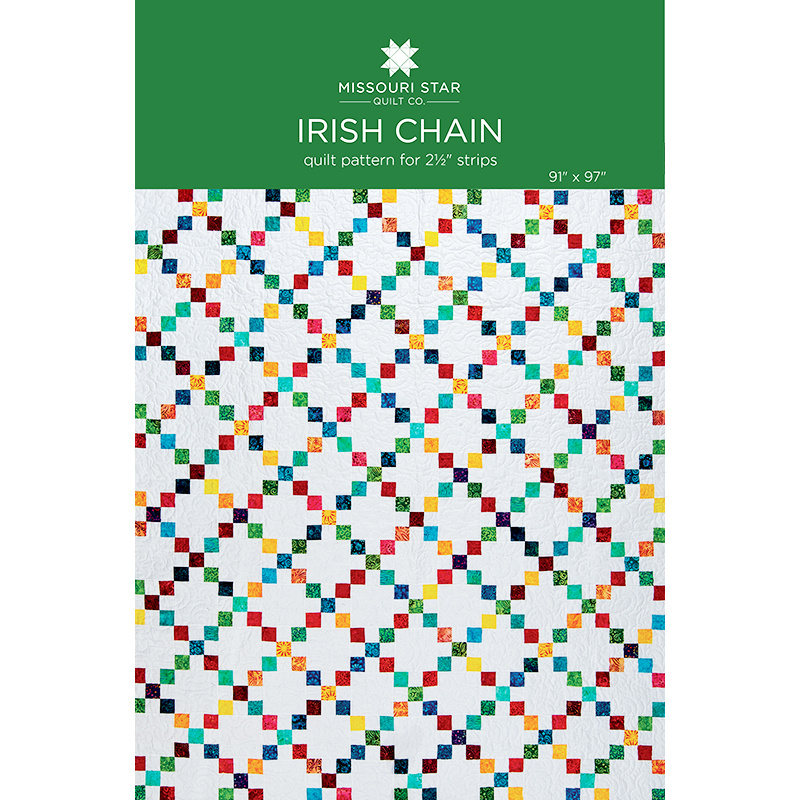 Irish Chain Pattern by Missouri Star$6.95Shop →
 Digital Download - Irish Chain Quilt Pattern by Missouri Star$4.95Shop →
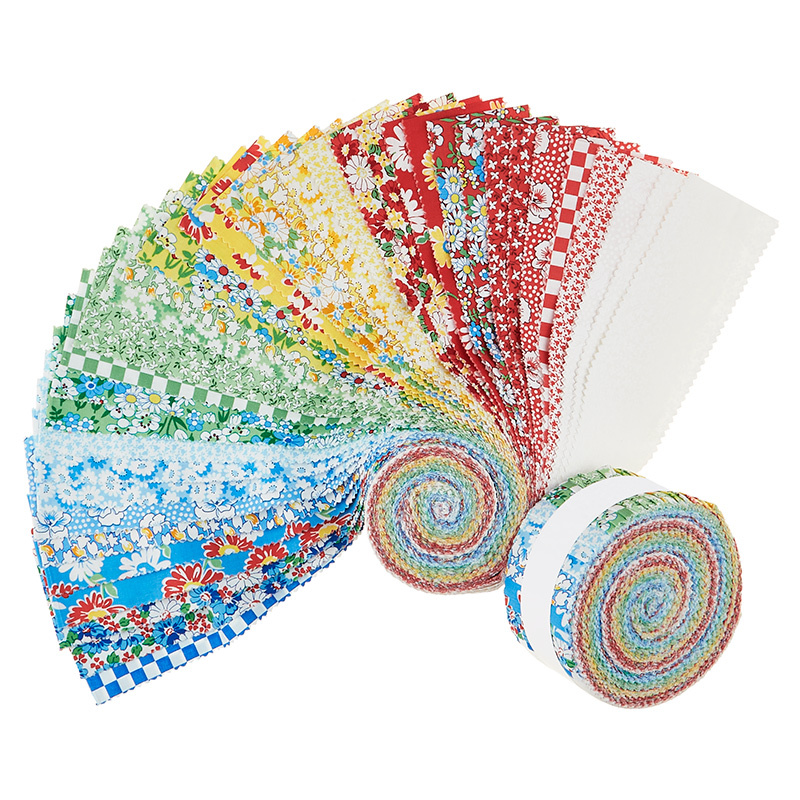 Wild Flour 2.5" Strips$37.95Shop →
 Kona Cotton - White Yardage$7.28Shop →
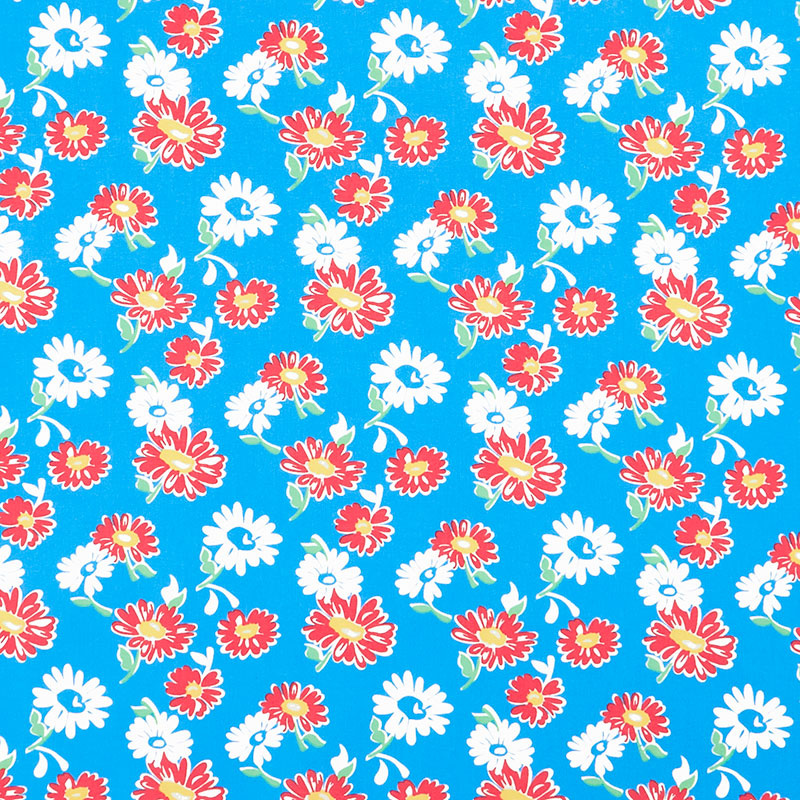 Wild Flour - Tossed Daisies Blue Yardage$11.96Shop →
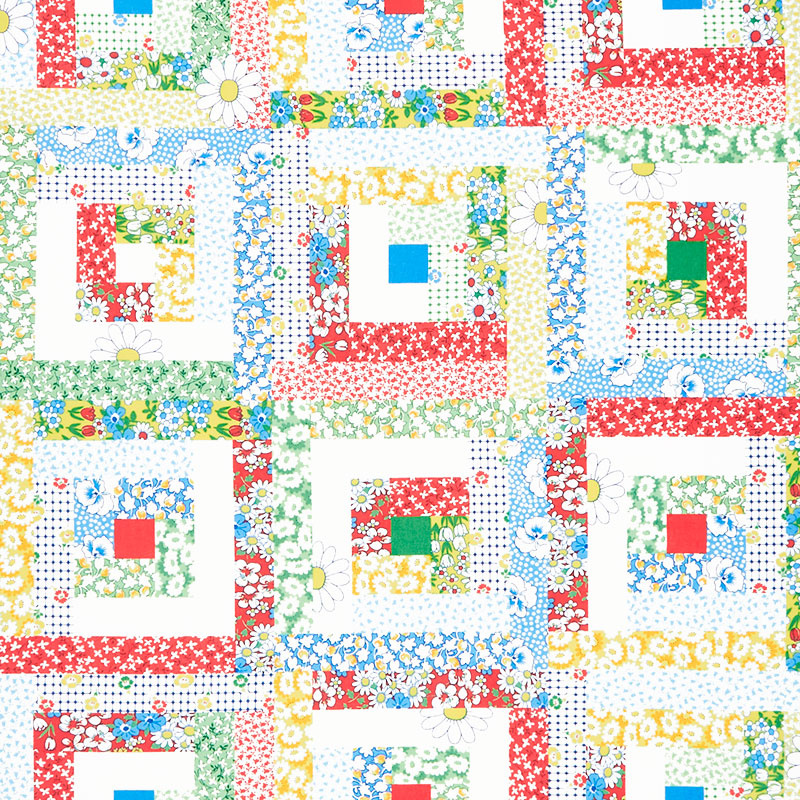 Wild Flour - Floral Cheater Multi Yardage$11.96Shop →
 Missouri Star Quilter’s Best Blend King Batting$43.95Shop →
 Missouri Star 5" x 15" Ruler$15.95Shop →
 Missouri Star 2.5" x 8" Ruler$10.95Shop →
 Baby Lock Accomplish - 1500 SPM Straight Stitch Machine$999.00Shop →
 Missouri Star 50 WT Cotton Thread White$6.95Shop →
 Olfa Splash Aqua 45mm Rotary Cutter$18.75Shop →
 Elan 8" Dressmaker Scissors$20.95Shop →
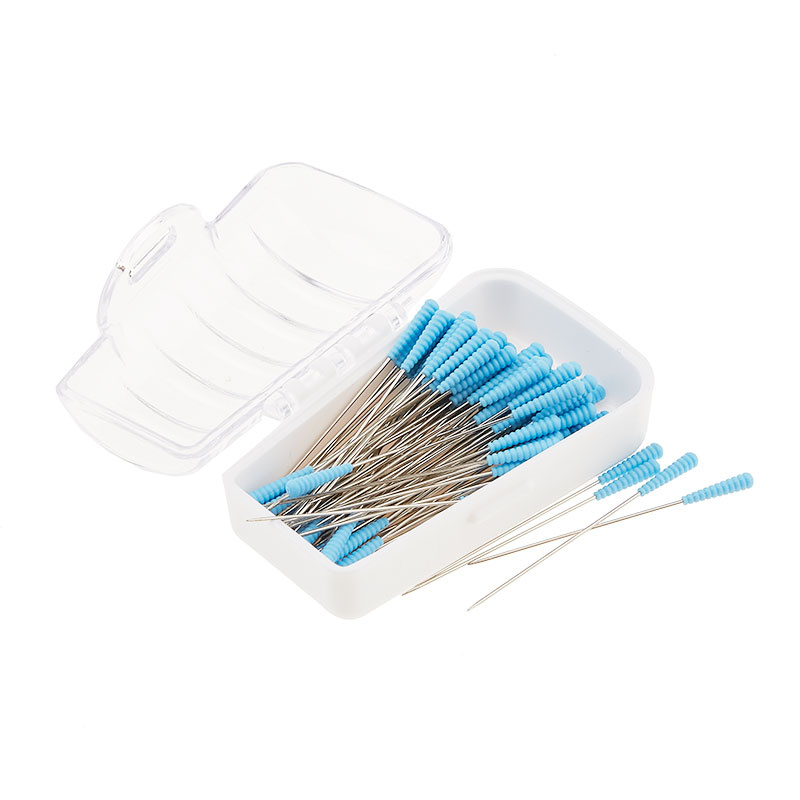 Magic Pins™ Quilting Pins - 100 count$18.75Shop →
 Exclusive Missouri Star Jenny TG1600 ProPlus Oliso Smart Iron$199.99Shop →
 Missouri Star Wooly Betty Board - 17.25" x 25.5" Orange Border$98.95Shop →
Common Questions
What is covered in How to Make an Irish Chain Quilt - Free Quilting Tutorial?
We’re celebrating 15 years of patchwork paradise with 15 of our most beloved patterns. This week’s remake is the Irish Chain! This week, we’re using feed sack-inspired prints to recreate one of our favorite old fashioned quilts. Irish Chain is a 19th century classic made with...
How long is the tutorial video?
The tutorial video is 00:17:44.
Are supplies listed for this tutorial?
Yes. The tutorial page includes the supplies and materials connected to this project.
Is a transcript available?
Yes. A written transcript is available on the tutorial page.
Video Transcript
Hi, I'm Jenny from the Missouri Star Quilt Company. Sometimes the simplest quilts are the most beautiful. Take a look at this quilt behind me. This is the Irish chain. It's a single Irish chain, and I love how simple it is and how beautiful it is. I love how you put the pieces and it just automatically chains, and this is so easy to make.
This Irish chain is one of my favorites. Hi everybody, it's Jenny from the Missouri Star Quilt Company. This year we are celebrating our 15th year, so we are bringing back and making over 15 favorite tutorials. You heard younger Jenny say this was one of her favorites. It is still one of my favorites, and I love doing this again. Let me show you how to make this quilt.
Let's take a look at the quilt I'm going to show you today. This is the Irish chain I'm talking about today. It's still as easy, it's still as fun, and this is beautiful in reproduction feed sack fabrics. I just love these sweet little prints. It goes together so quick and easy. Now, this is one of those fun patterns that, if you have a roll of print and a roll of solid and a little bit of background fabric, you can make this. It's easy to size up or size down depending upon what you're going to do.
Today we are using wild flour, and that is spelled F-L-O-U-R like the kitchen flower, by Whistler Studios for Wyndham Fabrics. We are also using some background, and we have just used five and a half yards of background. You can cut your six inch strips and your two and a half inch strips out of this five and a half yard piece, or you can choose a roll of two and a half inch strips, and then this backyard piece will only be about three yards. Your border out here is going to be one and a half yards, and it's this beautiful floral.
The backing, eight and three quarter yards. This is a 45 wide fabric, and this is actually a cheater cloth fabric of a log cabin that is made with these sweet reproduction prints. Let me show you the back, it's so cool looking. I actually lined it up so when I sewed it together, you couldn't even tell where I sewed it together. Honestly, I think this is so darling, it would make a great front of a quilt quilt as well. It's just beautiful. I love the little log cabins and the tiny strips. As I always say on cheater fabric, hashtag perfect points. You get perfect, perfect points on here. I love that. Part of this fabric is this little inner border out here, and your binding is going to be about three quarters of a yard.
Let me show you how to do this. This Irish chain quilt is so fun and easy, and it's really quick. You're going to cut some squares from your background yardage. When you sew your strips together, it should end up measuring six and a half. We're cutting a six and a half inch strip out of here, and we're going to subcut that into squares. I'm just going to come here with my ruler. This is six and a half inch strip. It's folded in half, and I'm just going to subcut this into squares here, six and a half like this. This will give me four of those. Then I'm going to open up this piece and cut two more six and a half inch squares. I've got my ruler is five, six and a half, like this. Out of each strip you're going to get six squares, and you'll need a total of 91 6 inch squares to make this quilt.
Then you're going to cut some two and a half inch strips off your piece, or you can use your roll as well. You don't use the whole roll, so I think that's why we did this pattern in yardage. But what you're going to do is you're going to create two strip sets. In the video, they're already created for you. For those of you who don't know what I'm talking about, we are going to do it again. You're going to take three of your strips and make two strip sets. I'm going to move this out of here. One strip set is going to have two prints on the outside like this. We will just choose, let's choose some of these cuties. Oh, let's choose a yellow and a red. Look how darling these prints are.
All right, so we're going to choose a yellow and a red and make this strip set. Then we're going to make another strip set that has the two background fabrics on the outside and the color in the middle. We're going to go to the sewing machine and we're just going to sew these together. Now, a lot of times if you sew a lot of strips together, you'll notice you get a curve. That's because you're sewing them all the same direction and the feed dog takes in more fabrics. On these small of strip sets, you don't really get the curve, but if you're worried about it or if your machine seems to be pulling that fabric a little bit, just so one going this way and one going that way, which is probably what I will do.
I'm lining these up and I'm sewing a quarter of an inch right along the side. If you line them up good, you can sew for a while, while they just slide through your hand. I feel like I'm on a racetrack. All right, little bit more. All right, then we're going to come back around and we are going to sew this red strip on the other side like this. Just lay that on there and sew right down the side. Again, I'm going to take a minute. I always do those few little anchoring stitches, and then I take a minute and I line up my fabric, and then line it up a little more. I'm going to open up that tail. There we go. Sew all the way down the side.
Now on this one, because we have two colors, you will notice that your seam wants to go to the outside. We're going to leave that to the outside. We're going to press this one so that our little pieces, our little seam, we're basically pressing to the dark side. We're just going to roll this over here and make sure that that seam lays to the middle. We're doing this so that when we put our pieces together, they will nest perfectly. With any luck, and then what I do when I'm done pressing, because I can tell which way they're going mostly, but I'm going to flip this over and look at the back and see that, oh, right here, we're good. Little bit, little bit we need to fix right there, little bit we need to fix right here. But on the whole, these did very nicely and laid right out to the side.
We're going to set this aside right now and we're going to come back, and our next strip set is going to be two solids, two backgrounds with our color in the middle. We're going to go ahead and sew that as well, quarter of an inch. Again, I'm just going to line these up. There we go, almost there. All right, and now we're going to line up our green with our other background strip and sew right down that side. All right, we're almost to the end here.
Alrighty. Now on this one, we still want to press to the dark side. We want these seams to go in, so the easiest way to do that is lay this piece on your ironing board and do one side at a time. We're just going to kind of roll this back as it slides along like this, and make sure that our seam is going toward the middle. What you're really looking for is a flat piece, so you want to make sure that you don't have any pleats or folds in here. I'm going to make sure it's going toward the middle. I feel it underneath. Then again, we'll turn it over to make sure we're pretty good here. Pretty good here. Oh, it's like a little miracle. Look at that, they're all right.
All right, now, of this particular strip set, you're going to need six of these to make this size of quilt, and you're going to need 12 of the others. I'm going to line these up so my salvages line up, and I've folded it in half here. I'm just going to be cutting these into two and a half inch segments. I'm going to grab my little two and a half inch ruler, which is so handy for these things. This is a ruler we didn't have in 2012, so it's kind of fun to use it now, because you literally just lay it on the edge and you're going to cut these segments like this. You're just going to cut the whole strip set. Now, you can cut it singly. You can see I've doubled mine up. That just, for me, it's a time saver. We're just going to cut a bunch of these.
What you want to do if you want it to be scrappy, is you just want to cut a bunch of those and put them in a pile. Then we're going to do the same thing with our other strip set out here. We've got this pretty red and this yellow. Make sure your seams are still laying nice and flat. You can see that these strips are different lengths, so we're going to line up our salvages in here like this. I'm going to trim the whole salvage off, which will take off that long piece of that background strip as well. Just like that, and then we're going to start cutting these as well. Again, you just want to leave a nice big pile of these, so that when you start putting your blocks together, you're just going to have lots to choose from. I'll cut a few more, and then a few more.
All right, so let's start assembling some blocks so you can see how quickly and how fast this goes together. I have some pieces I've done here that I'm just going to mix up in the bunch. These are my outers, and then I have some inners over here. We'll pull them together over here, and we're going to make some blocks. On this little set that I've chosen right here, you can see I have this piece of fabric that looks like I sewed three tiny blocks together. This is actually one of the pieces of the background, which is included in the roll, and so it makes it look even more scrappy, which I love.
All right, so let's go ahead and let's fold these over and pull them together, and we will sew this little block together because all you're going to do now is you're going to sit and you're going to sew these blocks and nest up your little seams. Honestly, if your pressing got off and it didn't go the right way for you, you're just looking for a flat block, so don't die over it. This is just something can be quick and easy. You can make those seams go any way you want. You are the boss of the seams for sure. I'm going to press this and this makes our little nine patch block. I have several of them here, and I'm just going to go ahead and sew one more together so we have a few more to play with.
I'm going to put two of mine with color here on the outside, and this is how you're going to do it when you start putting all your blocks together. You're going to chain piece them. We're going to start with our background in the middle block and our other block, and you're just going to send them through this, just a whole bunch. Let me get these lined up nice. Then you're going to bring this back through like this, and you're going to add the piece on the other side. We are going to add this piece over here, and I can tell right away that, in the realm of the quilt it won't matter that you have two yellows up here, but when I'm putting them together, somehow that matters to me. Just watch. If it doesn't matter to you, it's all right. I'm always like, it's too matchy, too matchy.
All right, so then that one's finished. Then this one, oh yeah, we can do this one. Put the red at the top. Make sure that when you nest your seams, make sure that there's no little space in between. What we're going to do then is we'll clip these apart and we'll take these over and press them. These are our little nine patches. All right, so when you're ready to put your blocks together, this is when the fun really happens because all of a sudden you see the chaining. We've just got a nine patch block and a six inch block, and a nine patch block and a six inch block.
Then when you start your next row, you're going to start it with a block, move this out of here. You're going to start it with a regular plain background block here, and then your nine patch. Then here, and then your nine patch. What I'm going to do right now is I'm just going to pull this down a little bit like this so that you can see how the chain is going to work. Now, one of those what if moments for me is whenever you have a block that chains, and this is a background block, this does not have to be a background block. You can put anything in there you want, and this is still going to chain. That's a little what if for you when you're thinking about putting this together. We've come a long way in the 12 years since we've made this video, and we've enjoyed every minute of it. Let's go take a look at the quilt behind me.
This is how it goes. You've got your regular nine patch, regular background, nine patch background, nine patch, and you can see how beautifully this chains. We've got one, two, three, four, five, six, seven of these blocks across the top. The next row will have six and seven and six, and so on. It makes a quilt that it's 91 by 97. We quilted it with this darling little daisy print, and it's just so cute. I think it matches the fabric very well. Sometimes if you have a cute flower pattern in and you're able to mirror it with the quilting pattern, that really helps. Again, that gorgeous, gorgeous back where it's already log cabined and ready for you to go. I just love it.
Then when you get all your quilt together, you're going to add a little two and a half inch border out of your background fabric that separates your pattern from the border. We put this little five inch border on out here, and it's just darling. I love the print, love the fabric line, and I love that we can resurface some of these fun old tutorials. This was made in August of 2012. A lot has happened in that time. As we celebrate 15 years at Missouri Star Quilt Company, we're going to bring 15 of your favorites and our favorites back to redo for you this year so you can see how amazing and fun they are. We hope you enjoyed this tutorial on the Irish chain quilt from the Missouri Star Quilt Company. See you later.
Hi everybody. It's Jenny from the Missouri Star Quilt Company. We hope you enjoyed watching this video. If you aren't already part of the Missouri Star Quilt Company family, be sure to subscribe so you won't miss a thing. If you click that bell, it'll notify you every time a new tutorial comes out. See you next Friday.


