
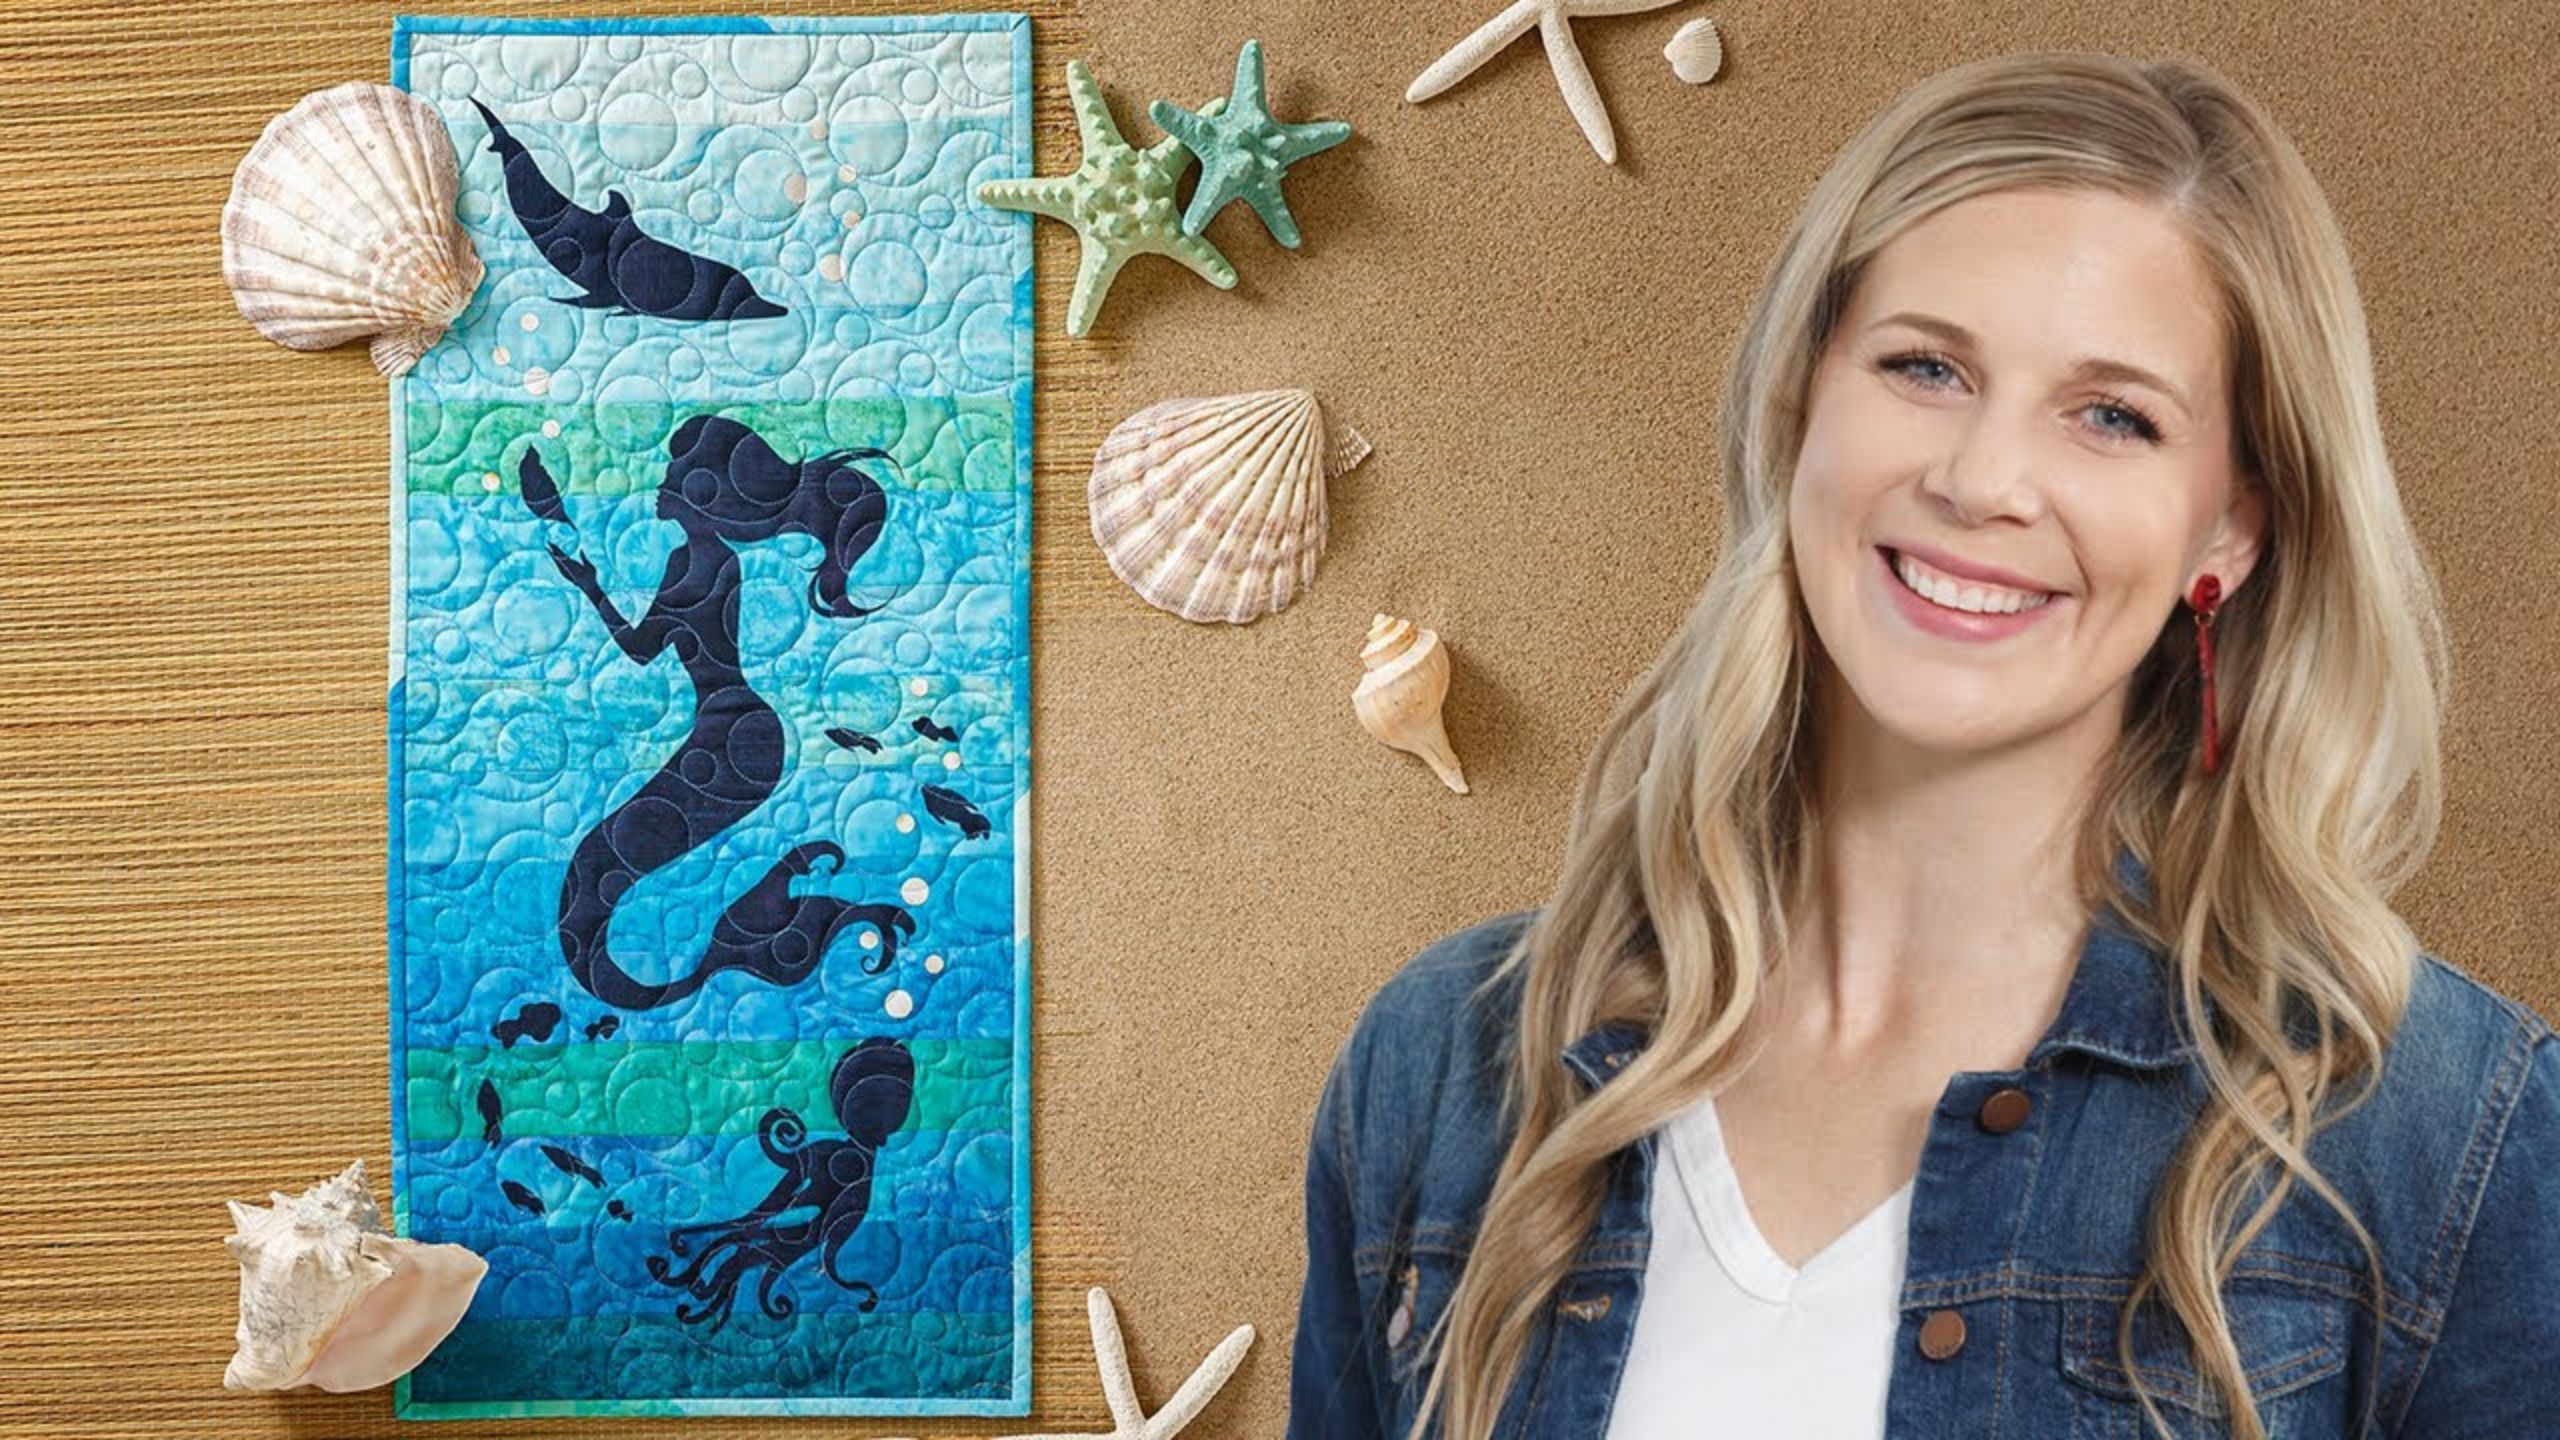
How to Make an Ocean Child Mermaid Wall Hanging - Free Project Tutorial
 Misty Doan
- Jelly Roll
- Modern
- Wall Hanging
- Beginner
- Quilt size 12" × 30"
Misty and special guest Laura Strickland of Orange Blossom Quilts have a great new project for all the ocean children and Little Mermaid fans. Using Laura's pattern and some precut/prefuse applique shapes, you can create an Under the Sea beauty! This beautiful wall hanging tutorial came just in time for the theatrical release of The Little Mermaid and would make a great family project pre or post screening!
Instructor
Misty Doan
Misty Doan grew up surrounded by sewing and quilting. She loves spending time sharing tutorials each week each week, and when she’s not stitching up one of her fun sewing projects for home decor, most likely you’ll find her hanging out with her husband and three awesome kids or working on a house project.
Shop this tutorial
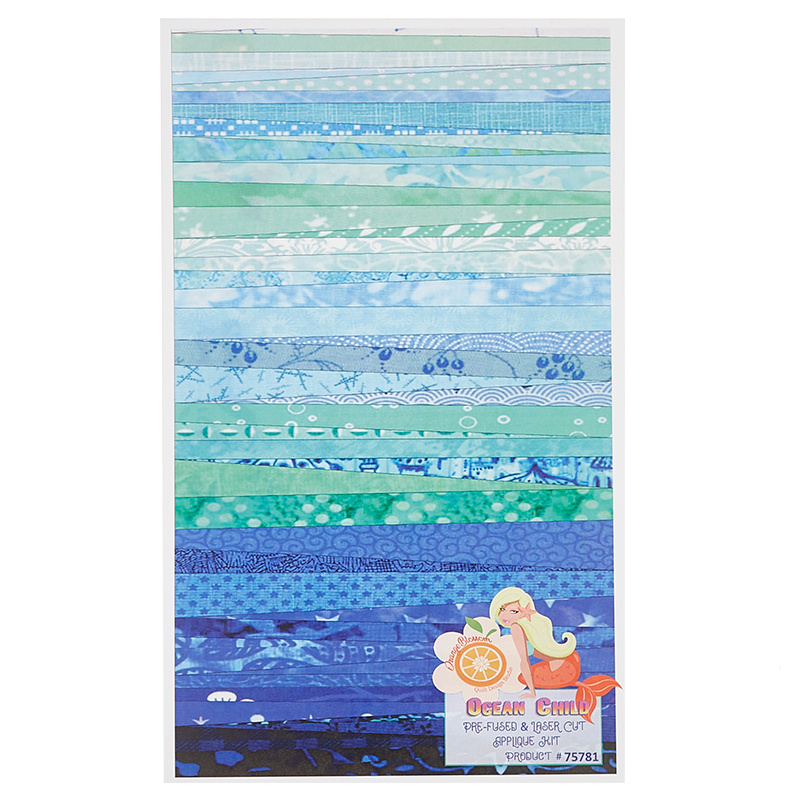 Ocean Child Pre-Fused Laser Cut Kit$33.95Shop →
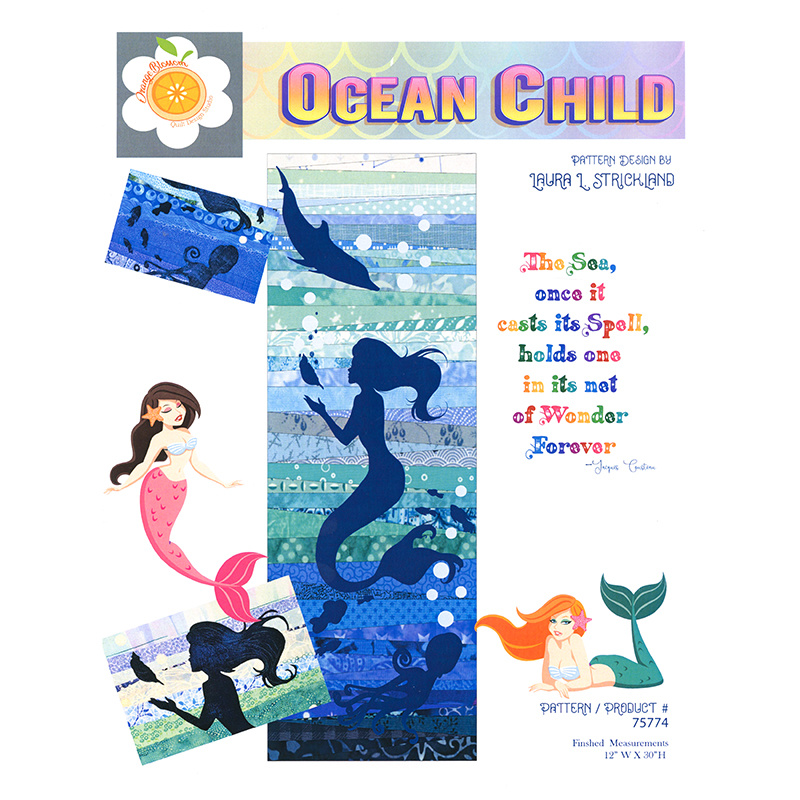 Ocean Child Pattern$11.75Shop →
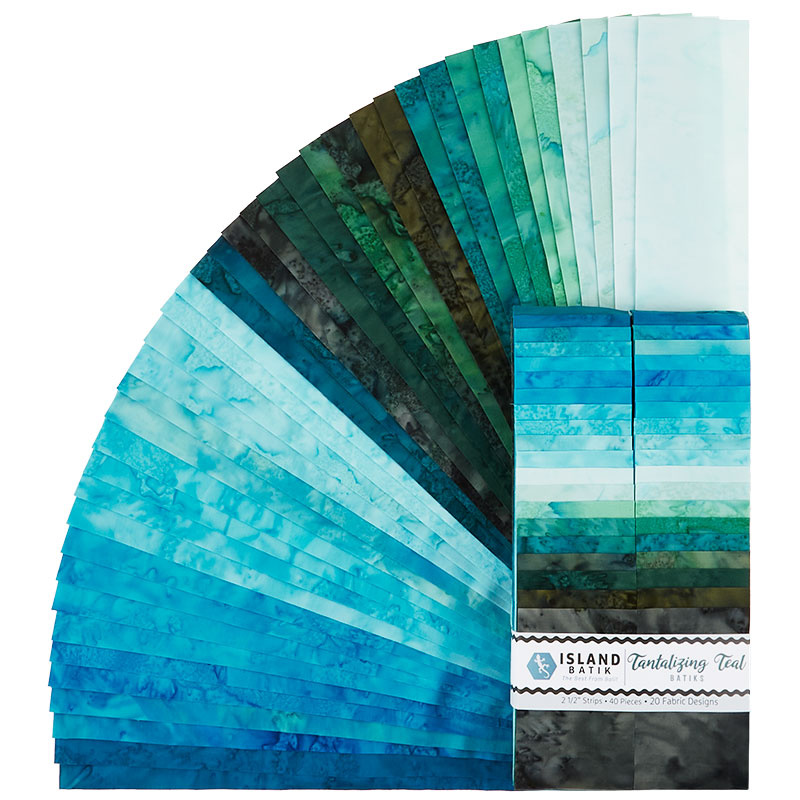 Tantalizing Teal Batik Solids Strips$37.95Shop →
 Missouri Star Quilter’s Best Blend Crib Batting$14.45Shop →
 Missouri Star 2.5" X 15" Ruler$13.95Shop →
 Olfa Splash 24" x 36" Cutting Mat Navy$68.95Shop →
 Olfa Splash Aqua 45mm Rotary Cutter$18.75Shop →
 Exclusive Missouri Star Jenny TG1600 ProPlus Oliso Smart Iron$199.99Shop →
 Missouri Star Wooly Betty Board - 17.25" x 25.5" Orange Border$98.95Shop →
 Baby Lock Accomplish - 1500 SPM Straight Stitch Machine$999.00Shop →
 Magnetic Thread Spool Pin Holder - Pink$5.45Shop →
 Elan 8" Dressmaker Scissors$20.95Shop →
Common Questions
What is covered in How to Make an Ocean Child Mermaid Wall Hanging - Free Project Tutorial?
Misty and special guest Laura Strickland of Orange Blossom Quilts have a great new project for all the ocean children and Little Mermaid fans. Using Laura's pattern and some precut/prefuse applique shapes, you can create an Under the Sea beauty! This beautiful wall hanging tut...
How long is the tutorial video?
The tutorial video is 00:10:29.
Are supplies listed for this tutorial?
Yes. The tutorial page includes the supplies and materials connected to this project.
Is a transcript available?
Yes. A written transcript is available on the tutorial page.
Video Transcript
perfect time to make this Ocean Child wall hanging. It's designed by Laura
Strickland for Orange Blossom Quilts. So let me show you how to make it!
Hello I'm Laura Strickland and I own Orange Blossom Quilt Design Studios and Orange Blossom Stitchery and quilt shop in LeClaire, Iowa. Today I'd like to introduce myself to you and my pattern Ocean Child. It is an
applique pattern that's constructed to a mini. My inspiration for this was that I was a participant in an Ocean's Row Along hosted by Marianne
Pena in 2020. I hope you enjoy watching Misty construct my pattern. I'd love for you to stitch along with us you can find the pattern and the laser cut pre-fused applique pieces through Missouri Star Quilt. We'd love it if you joined us online or in person at our new shop. It'll open June the 1st in LeClaire, Iowa. Enjoy the demonstration of Ocean Child.
Every once in a while we just need a project that is quick and easy and
packs a lot of punch which this project definitely does. Like I said it is the
Ocean Child pattern designed by Laura Strickland from Orange Blossom Quilts. It's a great little wall hanging, but you could easily turn this into a baby quilt or a throw quilt, just you know whatever your heart desires. One of the things I love about this pattern is she offers multiple ways that you can do the background of this including some instructions on great string piecing techniques, so you're definitely going to want to check that out.
I opted to just use a pack of two and a half inch strips. I use this Tantalizing Teal pack from Island Batik which was just perfect because I wanted it to look like water. So I opened up my pack and I picked out 15 of the two and a half inch strips that were the most blue. You can see here I kind of set aside all of the ones that were more green. So from that I just cut them into two and a half by 14 inch rectangles. For your background you're going to need 15 total, and so I just made a gradient and laid them out in the order that I thought they would look the best.
So we are just going to start by sewing one after the other. Let's take
these over here. I'll just have my stack ready to go and we can just sew two at a time. Make sure they're lined up. Always take a few stitches and then realign my fabric. Now because these aren't intersecting you can just open it up and add the next strip before you press. So I'm just going to do that and I'll keep making my way down.
All right so you can see I have now sewn 15 together so let's go ahead and press this so it lays nice and flat. Just kind of roll all my seams back, make sure that none of them are bunching up. Then now you kind of have this gradient just like the water would be if the sun was shining through the top. It's a little bit darker at the bottom end.
Now you have two options here in the pattern. She has all of the outlines that you'll need to create these shapes. So you can see it's got the mermaid, the octopus, the dolphin, some bubbles, a school of fish - everything that you need. And you would just trace these onto your
Heat n Bond Light and then iron them to the wrong side of your fabric to fuse them on. But the thing that I love about this is we actually offer here at Missouri Star a pre-cut pre-fuse pack of these shapes that are already
cut for you! It's this beautiful navy fabric that they are printed on and so
now we can just open up our pre-cut pre-fuse shape instead of having to do all of the tracing and ironing. This saves so much time and I love that they have packaged all the really small parts into this other little envelope so that they don't get lost. That's so nice!
So let's bring our pieces out here. Now in the pattern it just tells you to
reference the picture that you see in the pattern itself on the layout, but I
think you can really play with this and put the shapes wherever you want. Just like your iron on fusible, this has a paper backing that you'll want to remove from the back of this to leave the adhesive part on. Let me see if I can get a hold of that, there we go, and we will peel all of this away and then we can put our mermaid on here. You can decide wherever you want her to be. One of the things I love about the pre-cut pre-fuse I want to point out her hair you've got these really thin little details and I feel like that would be so difficult to cut by hand and have look as nice as it looks here. I love how dainty her hands are and her face - you can even see her little eyelash and I just don't think I would be that skilled to cut that out on my own. So I'm a big proponent for these pre-cut pre-fuse.
Once we have this positioned, all we have to do is iron this down. So if you have a big pressing surface it would be great to go ahead and peel off all of the backs, lay it all out on that pressing surface so that you can just press it at once. So I'm going to go ahead and shift this over to my pressing mat and I'll meet you back there. You can see I have my wool pressing mat here and I now have this laid on top of that and so I've got my mermaid ready but I'm going to go ahead and add a few more pieces. So let's go ahead and peel off the back of this little octopus, there we go.
I think he's going to be swimming along the bottom here. One of the fun things is even if you make a bunch of these, every single one is going to be unique. Then let's open up our little packet with our small pieces as well,
because remember we have some fish and we have some bubbles. So let's
pull these out of here. I'm just going to set them off to the side, so I can do a few more and you can see how this will work.
Let's grab a few of these fish. There's one there, this one kind of looks like a beta. I don't know if he belongs in the ocean but he's going. All right. A couple more, and then this is a conch shell that kind of floats above Ariel's hand. We're going to call her Ariel! Then let's add a few little air bubbles too. So when you're working with this backing, if you crease it it kind of helps lift the paper off. So I just fold it and then it makes it easier to peel.
And a couple of these smaller ones. We'll just add a few there for good measure.
So you can see how this is starting to take shape. Once you have all of your pieces laid out, or if you want to do just a little section at a time that's okay too, whatever you have space for. Now you're going to have a nice hot iron and we're just going to pick this up and we're going to sit it straight down. When you're working with fusible applique like this you want to be really careful not to shift your iron because then it could flip up the edge and it will stick to the bottom of the plate of your iron. So we're just pressing straight down, lifting straight up and we're going to work our way all the way down the design. There we go and then I just always come
back and check with my hand to make sure none of the pieces are lifting.
You can see how as you keep going the scene just takes shape then you'll
just back this and quilt this however you desire because the quilting is
what's going to then hold all of these pieces on.
You could go around and stitch around them if you really wanted, but
that's not even really what she recommends in the pattern. Especially
because it's a wall hanging it gets washed a little bit less and just doing
some dense quilting across the top is going to hold all of those pieces
together and make it last for a long time.
So I hope you enjoy this project. I can't wait to see all the little girls and boys who are excited about the new Little Mermaid movie and maybe this
is the perfect gift for them if they're big fans! So I hope you enjoy making it
and I will see you next time on At Home.


