

How To Make An Orange Peel Quilt
 Jenny Doan
- Charm Pack
- Twin
- Beginner
- Quilt size 67" × 76"
We’re celebrating 15 years of patchwork paradise with 15 of our most beloved patterns. This remake is the Orange Peel. According to legend, the Orange Peel was inspired by the French Marquis de Lafayette. At a banquet celebrating American independence, he sliced an orange into four parts and removed the peels. Those peels caught the eye of a quilter. (Thank goodness!) The Orange Peel is still a favorite! Jenny is using precut Kaffe Fassett fabrics and easy applique to whip up an Orange Peel.
Instructor
Jenny Doan
Jenny Doan is an American quilter, author, and YouTube personality. Jenny started Missouri Star Quilt Company in 2008 and today it is the largest quilting supply vendor in the United States.
Shop this tutorial
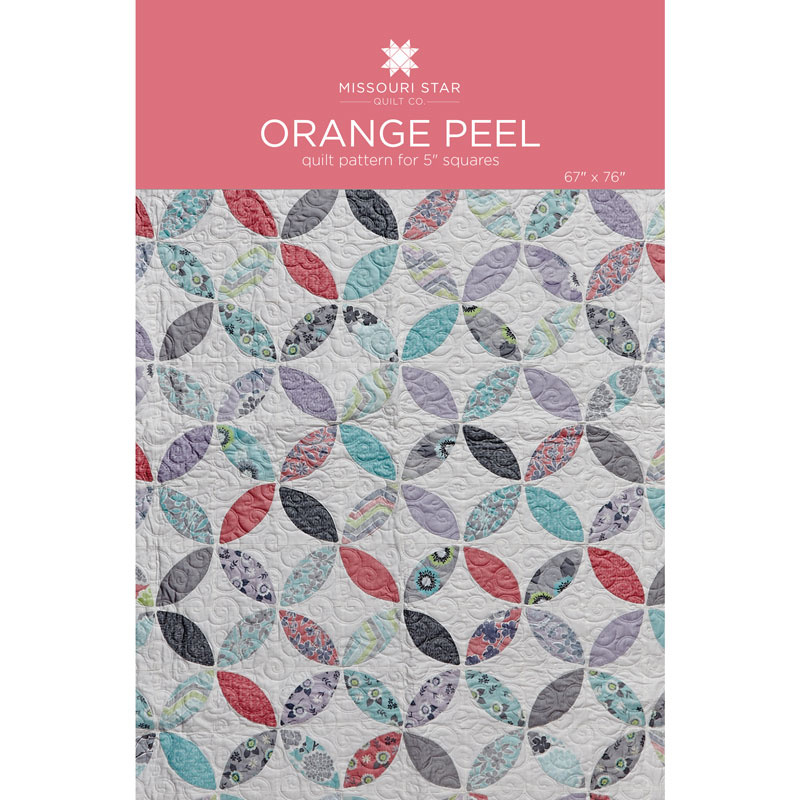 Orange Peel Quilt Pattern by Missouri Star$6.95Shop →
 Digital Download - Orange Peel Quilt Pattern by Missouri Star$4.95Shop →
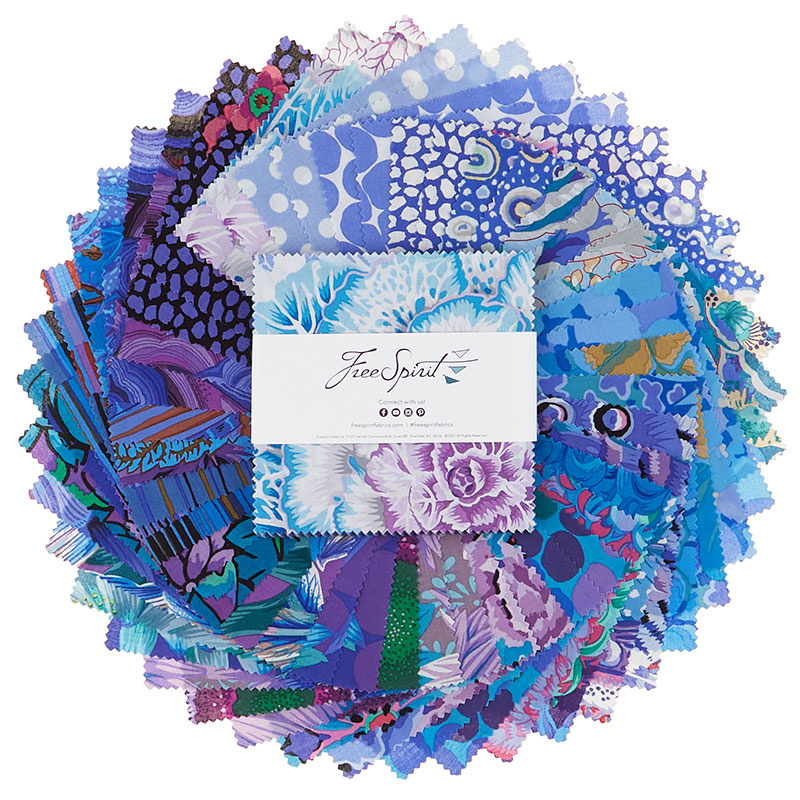 Kaffe Classics - Lake Colorway Charm Pack$14.65Shop →
 Quilt Town - Tossed Missouri Star White Yardage$11.96Shop →
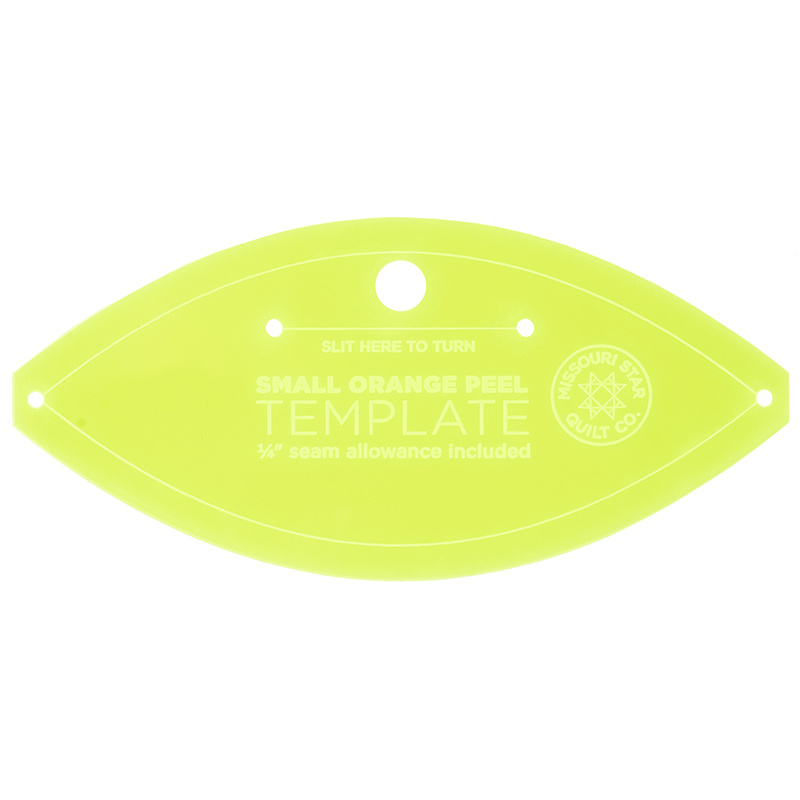 Missouri Star Small Orange Peel Template for 5" Charm Packs$7.95Shop →
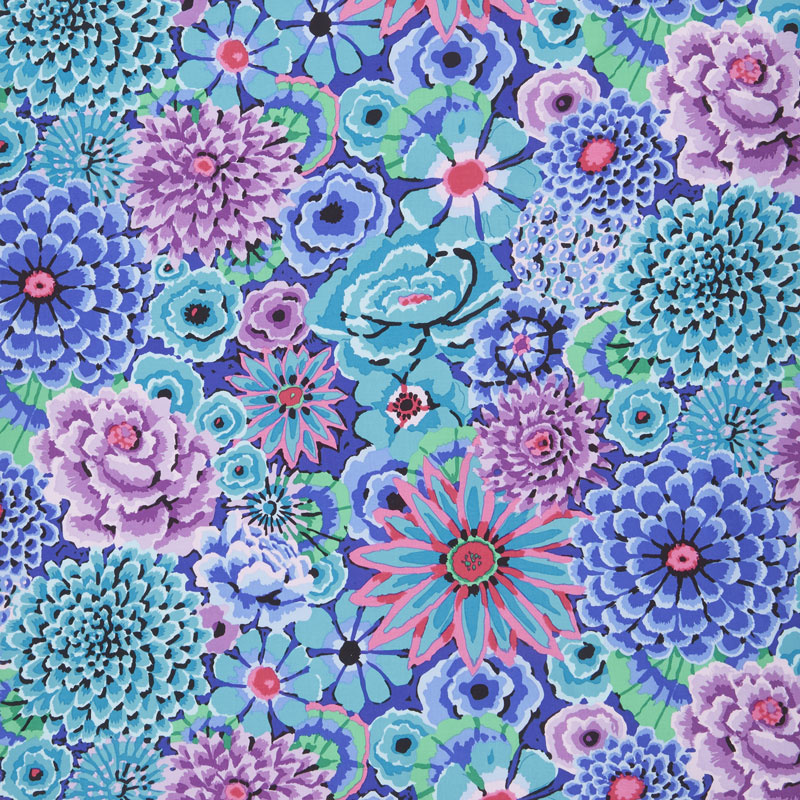 Kaffe Fassett Collective Fall 2018 - Night Enchanted Blue Yardage$11.50Shop →
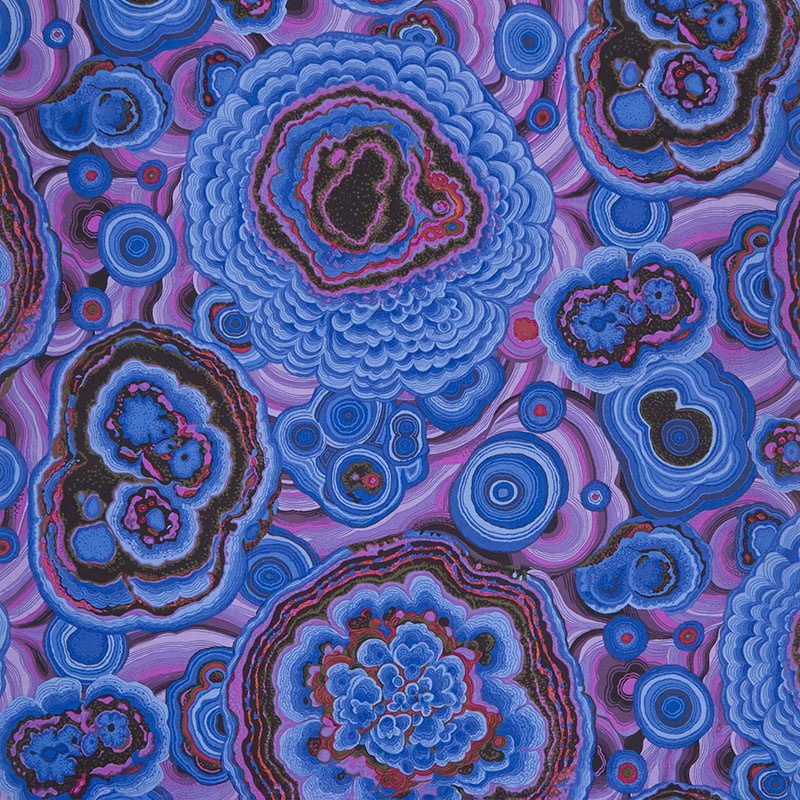 Kaffe Fassett Collective - August 2020 Agate Blue Yardage$12.64Shop →
 Missouri Star Quilter’s Best Blend Twin Batting$26.45Shop →
 Missouri Star 5" x 15" Ruler$15.95Shop →
 Missouri Star 2.5" x 8" Ruler$10.95Shop →
 Missouri Star 50 WT Cotton Thread White$6.95Shop →
 Olfa Splash Aqua 45mm Rotary Cutter$18.75Shop →
 Elan 8" Dressmaker Scissors$20.95Shop →
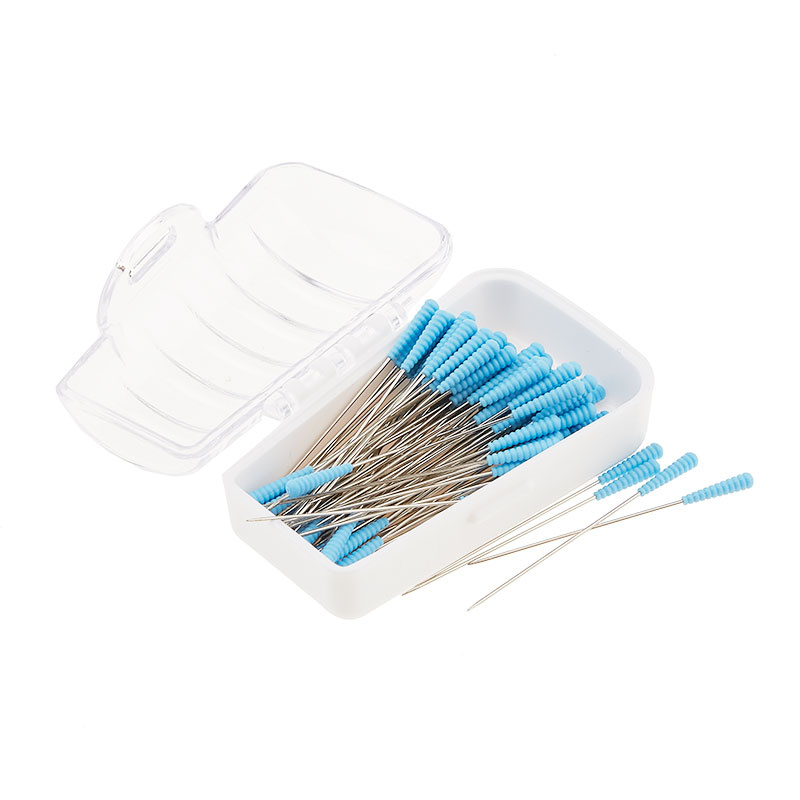 Magic Pins™ Quilting Pins - 100 count$18.75Shop →
 Exclusive Missouri Star Jenny TG1600 ProPlus Oliso Smart Iron$199.99Shop →
 Missouri Star Wooly Betty Board - 17.25" x 25.5" Orange Border$98.95Shop →
Common Questions
What is covered in How To Make An Orange Peel Quilt?
We’re celebrating 15 years of patchwork paradise with 15 of our most beloved patterns. This remake is the Orange Peel. According to legend, the Orange Peel was inspired by the French Marquis de Lafayette. At a banquet celebrating American independence, he sliced an orange into...
How long is the tutorial video?
The tutorial video is 00:12:22.
Are supplies listed for this tutorial?
Yes. The tutorial page includes the supplies and materials connected to this project.
Is a transcript available?
Yes. A written transcript is available on the tutorial page.
Video Transcript
Hi, everybody. It's Jenny from the Missouri Star Quilt Company, and I'm here today with Natalie, and we have-
Natalie (00:17):
Hi.
Jenny (00:18):
... a wonderful project for you. This is one of our fabulous 15s, you know?
Natalie (00:21):
Mm-hmm.
Jenny (00:22):
For the year, for our 15th year we're celebrating.
Natalie (00:24):
One of our favorites from the good, old days.
Jenny (00:26):
It is a favorite, and it's the orange peel quilt, and this is it right here, and this has been hugely popular on our YouTube site, and so-
Natalie (00:33):
It's really cute. It's one of those that looks really impressive for minimal work.
Jenny (00:37):
It is. You guys will be surprised how easy this is, if you haven't already watched the original video, and we're just going to make another, better one right now.
Natalie (00:43):
(laughs)
Jenny (00:44):
So (laughs) uh, so to make this quilt, what you're going to need is one packet of 10-inch squares or four charm packs.
Natalie (00:50):
That's right.
Jenny (00:51):
And I love that we've used, on our classic quilt, we've used Kaffe Classics.
Natalie (00:56):
A Kaffe Classic.
Jenny (00:56):
And this is called Lake by Kaffe Fassett, for FreeSpirit Fabrics. You're also going to need some background, and again, we did use this Quilt Town. This is our new, we updated it with our new, um, Missouri Star Quilt Town fabric, and it's a white-on-white print with our little Missouri Star on it, and you will, again, cut that into fourths, or use four charm packs.
Natalie (01:17):
That's right.
Jenny (01:18):
Um, our, our, this fabric also comes in yardage, and you need three quarters of a yard for your inner border right here, just this right here. Our outer border out here is a five-inch border, and you're going to need, um, a yard and a quarter for that, and we use this gorgeous... I love those big prints on there, don't you?
Natalie (01:36):
Yes, I do.
Jenny (01:37):
And then our backing here, you're going to need four-and-three-quarter yards, and of course-
Natalie (01:42):
That's such a-
Jenny (01:42):
... that's gorgeous.
Natalie (01:42):
... pretty backing.
Jenny (01:43):
Isn't it fun?
Natalie (01:44):
I love all those big prints.
Jenny (01:45):
Yes, and it's, uh, the quilt pattern on this is called Sticky Buns.
Natalie (01:49):
That's a great one.
Jenny (01:50):
And, uh, yeah, it's one of my favorites, for sure.
Natalie (01:52):
Mm-hmm.
Jenny (01:53):
And, um, I love it, and it's going to make a quilt that is 67 by 76.
Natalie (01:58):
All right.
Jenny (01:58):
So, it makes a great sized quilt, you know? Um, probably not quite twin.
Natalie (02:03):
No, but if you made your borders a little bigger-
Jenny (02:04):
Sure.
Natalie (02:04):
... I think it'd be perfect.
Jenny (02:06):
Just extend those borders, and-
Natalie (02:07):
Yeah.
Jenny (02:07):
... you're going to need some tools, so you're going to need this small orange peel template, and then you're going to need, um, some fusible interfacing, and this is just a very light, um, glue on one side interfacing, that-
Natalie (02:20):
Yeah.
Jenny (02:20):
... you're going to need.
Natalie (02:20):
An adhesive stabilizer.
Jenny (02:22):
Mm-hmm. And then also, you can use a turning tool. Of course you're going to need your rotary cutters, some scissors, some rulers, and-
Natalie (02:28):
Sure.
Jenny (02:28):
And all those things.
Natalie (02:29):
All those normal things.
Jenny (02:30):
All those things.
Natalie (02:30):
A sewing machine, some thread.
Jenny (02:32):
Yeah. (laughs)
Natalie (02:32):
Some chocolate.
Jenny (02:33):
So let's show you how to make this quilt. All right, so let me show you how to make this, because this is actually so much simpler than you think, and um-
Natalie (02:42):
Mm-hmm.
Jenny (02:43):
... I think we've come up with a great method for doing it that makes a little work for a fabulous look.
Natalie (02:49):
Yep.
Jenny (02:49):
All right, so you're either going to have charm squares like this, or you're going to take one of your layer cakes like this, and you're going to cut it into fourths, and so we'll use our five by 15 ruler. We'll just lay it on the edge. Because it's five, it goes right to the center of the layer cake, and we're going to cut that in half twice, like this, and, and that gives you four of these right here. These are going to be your orange peel, so then you're also going to need to do the same thing with your layer cake square, or your yardage, you know?
Natalie (03:23):
Mm-hmm.
Jenny (03:23):
Layer cake square is about three yards of yardage, and so if you decided you wanted to use yardage for this, you could just get three yards and cut them into five-inch squares.
Natalie (03:32):
I bet you could just take one of these, and fold it in fourths, and cut them all at once with the-
Jenny (03:39):
Oh, with the-
Natalie (03:39):
... orange peel template. (laughs)
Jenny (03:40):
With the orange peel?
Natalie (03:41):
And then skip that-
Jenny (03:41):
That's a smart girl-
Natalie (03:42):
... step.
Jenny (03:42):
... right there.
Natalie (03:43):
I wonder if that would work.
Jenny (03:44):
You should could.
Natalie (03:45):
Would it be too finicky?
Jenny (03:47):
No, I don't think so, and you could even iron it if you, if you wanted, but the orange peel is cut out of this, and-
Natalie (03:52):
Right.
Jenny (03:53):
... that's a... That is a great hack.
Natalie (03:55):
Then you don't have to-
Jenny (03:55):
Sometimes-
Natalie (03:56):
... do that first cut.
Jenny (03:57):
Sometimes, we surprise ourselves, right? And so-
Natalie (04:00):
Maybe.
Jenny (04:01):
... this, we're just cutting, and we're turning, and then I'm going to cut on this side. And this is such a nice curve, that your, your rotary cutter has really no problem going around that edge.
Natalie (04:11):
Yeah, you don't need a small blade or anything-
Jenny (04:13):
Mm-mm.
Natalie (04:14):
... special.
Jenny (04:14):
Nope.
Natalie (04:16):
I love it.
Jenny (04:17):
All right, so look at that.
Natalie (04:19):
Nice, and because-
Jenny (04:20):
We just made it even simpler
Natalie (04:21):
Yeah, because they're, you know, going whichever direction, it doesn't matter that they're folded.
Jenny (04:26):
So then we're going to do the same thing with our, uh, stabilizer.
Natalie (04:30):
Mm-hmm.
Jenny (04:31):
And, uh, and so we'll just put this into fourths, and we will lay this on here like this, and we'll cut four of these, just like you did, so we're smart. We can actually probably... Stabilizer is so thin, I'll bet you you could do many more layers than-
Natalie (04:46):
[inaudible 00:04:47]
Jenny (04:46):
... four.
Natalie (04:47):
Yeah, see what's comfortable.
Jenny (04:49):
Yep. And then what we're going to do is cut this other side over here. There you go.
Natalie (04:59):
Nice.
Jenny (05:01):
And then, we've got these little pieces right here. So now what we're going to do is we're going to take these and we're going to put a little slit in this, like right now. All right, so, so once you get that slit cut, we're going to put the sticky side of our... which is the side with the bumps, on the right side of the flower, like this.
Natalie (05:21):
Mm-hmm.
Jenny (05:23):
And mine aren't exactly perfect, but I'm just going to sew all the way around this edge. Do you want to sew, Nat?
Natalie (05:29):
Sure.
Jenny (05:29):
All right, we'll let Natalie sew.
Natalie (05:31):
I can do that.
Jenny (05:32):
And, um, and you can do this string piece, or not, not string, but strip piece this, and go, you know, do-
Natalie (05:38):
Just do a bunch at once?
Jenny (05:39):
... lots of them at a time. Yep. And I used to, I think in the first video, I literally cut them after I sewed them, and then I was like, "Wait, it's way smarter to cut this before." And you're just going to sew. It doesn't even, it doesn't even have to be a true quarter. You're just, we're just sewing it to it, and so, um, while we automatically sew a quarter, um, you know, this is just, you want to keep with that curve, but this is just, we're going to flip it, and it's going to be... It'll look like this. I mean, it'll be, it'll be perfect, so we're not measuring quarter-inch seams. That's not the important part on this.
Natalie (06:19):
It is a pretty gentle curve, so no-
Jenny (06:21):
Yeah. So I'm just going to-
Natalie (06:23):
... no stress.
Jenny (06:23):
... trim off-
Natalie (06:23):
It's not like going around a circle or anything.
Jenny (06:25):
Right. I'm just going to trim off these ends a little bit, and then we're just going to flip this right-side out, because we have our little slit already cut.
Natalie (06:33):
Nice.
Jenny (06:34):
And we have our little turning tool right here. And be careful with your, um, your interfacing, because it is... I mean, it can-
Natalie (06:44):
It tears easy.
Jenny (06:45):
It can tear easy, yeah. So we just want to do... But the, but the-
Natalie (06:50):
It is okay if it does tear, because all you need is the adhesive, to-
Jenny (06:53):
Yeah.
Natalie (06:53):
... stick it to the little background square.
Jenny (06:56):
100%, so all, yeah, it doesn't matter if it tears, because mine tore a little bit back here.
Natalie (07:01):
Mm-hmm.
Jenny (07:01):
And it's not going to matter, because I'm just going to... I'm just going to, um, iron that down anyway, and that's what's going to iron it to my square so that we can then sew over it.
Natalie (07:11):
Right.
Jenny (07:11):
All right. So, now you want to make sure these edges are all the way out to the edge, that there's no folds in there, and then we're going to stick this onto our white square, like this. We're going to line it up on the corner, just like this.
Natalie (07:29):
Yeah, and you-
Jenny (07:29):
And-
Natalie (07:30):
... don't want to press yet. (laughs)
Jenny (07:31):
No, not yet.
Natalie (07:33):
If you press with that adhesive out before it's on your square, you're going to stick it to something you don't want it stuck to.
Jenny (07:39):
That's right. So then, this'll go on here like this, and you just do it kitty-corner, I mean diagonally, on there, and so then now we're ready to press this on here, and just make sure it's where you want it to be. And what I do is I look to make sure that it's not heading over into the quarter inch, so when I sew my pieces together, you know, I'm not going to catch a piece of that in there. So then we're just going to press that, and just hold it. Don't, don't move your iron back and forth, because that will shift it. And this will just press it down. And then you can applique it on here. Now, Natalie's just going to straight stitch, right along the edge of this.
Natalie (08:17):
Oh, boy.
Jenny (08:18):
But on these right here, we've used our applique stitch. You can use a small zigzag, whatever you want to go around. The straight stitch is also fine. That's all this, this girl does is a straight stitch, so that's why we're going to do that.
Natalie (08:30):
I feel a little nervous, because I'm not really good at top stitching. (laughs)
Jenny (08:34):
It looks pretty good, though. One of the things to remember about this top stitching is rarely is anybody going to examine each petal individually, to see if you were perfect, you know? No-
Natalie (08:45):
That's true.
Jenny (08:45):
(laughs) Nobody's ever given a quilt back to me because it wasn't perfect. And I think that looks great. So you could do any number of stitches. This actually would be a great place. Most of us have machines that have a lot of fancy stitches on them, and us-
Natalie (09:01):
There you go.
Jenny (09:01):
... quilters, we use like two stitches.
Natalie (09:04):
Put your fingers over those points. (laughs)
Jenny (09:07):
And, um, but the, you know, the thing about it is that, is that it'd be a great place for those fancy stitches as well.
Natalie (09:14):
It's attached.
Jenny (09:14):
Yeah.
Natalie (09:14):
And then when you machine quilt over the top of it, it all kind of blends in, right? (laughs)
Jenny (09:17):
Absolutely.
Natalie (09:18):
Okay.
Jenny (09:19):
So then what we're going to do is we're just going to sew these together. This is going to make our block, so we're going to sew these together in a four-patch, and I love how some of these came out, with their different... all the different fabrics.
Natalie (09:32):
Oh, yeah, they almost look-
Jenny (09:33):
You know?
Natalie (09:33):
... fussy cut, in that-
Jenny (09:34):
Yeah. So let's do-
Natalie (09:34):
... fun way.
Jenny (09:35):
Let's do this.
Natalie (09:36):
Like eyeballs.
Jenny (09:37):
So-
Natalie (09:38):
This, okay, this looks like a dra- a dragon eye.
Jenny (09:41):
It does, with the scales.
Natalie (09:41):
Don't you think? It's like-
Jenny (09:42):
Yeah.
Natalie (09:43):
... this is going to wake up in the bottom of the cave when you're hunting for treasure, and it's going to-
Jenny (09:46):
Oh my.
Natalie (09:46):
... try and eat you.
Jenny (09:47):
Oh my. (laughs)
Natalie (09:49):
Sorry. Imagination at work. (laughs)
Jenny (09:51):
There you go. All right, so stitch those down, and we're going to make a four-patch. And this is just your quarter of an inch seam.
Natalie (10:01):
Okay.
Jenny (10:05):
And she's doing the two top and the two bottom, and then they are hooked together by a string, and that is called chain piecing. So, uh, that keeps them together.
Natalie (10:16):
So then these open up, and we're going to go in like this. Yeah?
Jenny (10:20):
Yeah. Match up that center seam. That's the only one you want to worry about. Make sure that-
Natalie (10:26):
Don't even have to worry too bad about it, because it's all background.
Jenny (10:29):
Yeah, that's true. It's not really going to show.
Natalie (10:31):
But, keeping it straight keeps your squares straight, right? Something like that?
Jenny (10:36):
Yeah, absolutely.
Natalie (10:46):
I feel like I need to make one of these now.
Jenny (10:49):
I know. It goes so-
Natalie (10:50):
I haven't made-
Jenny (10:51):
... much faster.
Natalie (10:51):
I haven't done it in such a long time.
Jenny (10:53):
Well, it's been a long time since we've done one of these, for sure, and that's why we're bringing it back.
Natalie (10:57):
Mm-hmm.
Jenny (10:58):
All right, so now I'm going to show you where this fits in the quilt. And so right here, you can see, just by lining them up, they're going to make this X, and then this block is going to circle.
Natalie (11:09):
Yeah.
Jenny (11:10):
And so it gives it that cool circling pattern that happens, and these are all set up just the same. Every row is the same. Every row starts with the same block, so you'll put them all together like this, and so you've got one, two, three, four, five, six, seven rows and six blocks across, one, two, three, four, five, six, so six by seven, and it just makes this great quilt. It's quick and easy, and so much easier than you thought. I know it is.
Natalie (11:38):
Yeah. I think it's beautiful.
Jenny (11:39):
Uh, I think it's lovely, and no matter what fabric it's in, like, over the years-
Natalie (11:43):
They do, yes.
Jenny (11:43):
... we've seen it in so many different fabrics.
Natalie (11:45):
Every fabric line looks great in this pattern.
Jenny (11:47):
Yeah, it really does. It really does.
Natalie (11:48):
I love it.
Jenny (11:48):
S-
Natalie (11:49):
And so simple.
Jenny (11:50):
Yeah. So we hope you enjoyed this tutorial on one of our favorite 15 quilts, the orange peel quilt from the Missouri Star Quilt Company.
(11:59)
Hi, everybody. It's Jenny from Missouri Star Quilt Company. We hope you enjoyed watching this video. If you aren't already part of the Missouri Star Quilt Company family, be sure to subscribe so you won't miss a thing. And if you click that bell, it'll notify you every time a new tutorial comes out. See you next Friday.


