Let’s practice piecing curves with special guest Eddie Walker! In this Jelly-O quilt pattern tutorial, you’ll learn how to put together stunning blocks with pieced rings using jelly roll strips from the Honeycrisp collection by Allison Harris of Cluck Cluck Sew for Windham Fabrics. Then, take those blocks and put them together for a nice-size lap quilt or opt for a petite table runner. It’s so easy with the Missouri Star Double Wedding Ring Template Set and a fresh blade on your rotary cutter.
Let’s practice piecing curves with special guest Eddie Walker! In this Jelly-O quilt pattern tutorial, you’ll learn how to put together stunning blocks with pieced rings using jelly roll strips from the Honeycrisp collection by Allison Harris of Cluck Cluck Sew for Windham Fab...
How long is the tutorial video?
The tutorial video is 00:18:44.
Are supplies listed for this tutorial?
Yes. The tutorial page includes the supplies and materials connected to this project.
Video Transcript
Hi, I'm Eddie Walker and I've made a template that Missouri Star is producing. It's a great template and we're going to use it today. [music] Hi, I'm here today to show you how we're going to make a new quilt using our wedding ring templates. This quilt is called Jelly O and it's got these nice circles with honey crisp fabric and these neutral backgrounds that pop out and it's just really a fun quilt to make. So, let's talk about what we're going to do to make this and what we need. So, we've got um 2 and 1/2 in strips. They're from Allison Harris for Cluck Clucko and made by Windham Fabrics. We've got this beautiful bundle of fat quarters that is made by Henry Glass. And then we have binding from from the line and this beautiful um oh cheater fabric for the backing. And of course, we're going to use the templates that we developed from with Missouri Star for the wedding ring, but you made a wedding ring. Maybe maybe we need to make a new quilt. So, this is our jelly. [music] All right, let's make this block. We're going to start with our 2 and 1/2 in strips. We need to um pick a couple, three or four. You're going to make a lot of these little wedges. And you're going to use the little wedge template from from the um template set. And we're going to set this on here. Line them up nice and straight. And get you can cut more than one at a time because I'm I'm a lazy quilter. I like to do multiples. So, we're going to put this on here right here. And this is a great template. You cut your first one. And we're going to flip it around. and cut this. But once you've got that one done, you are good to go. You can just flip your template and cut multiples down the row. It'll take quite a few of these to make the quilt. But we're going to make oh nine or 10 of them just to um get us started on the on the ring that we're making. And this is the ring that we're making. We're doing this part right here. and we're going to sew them together with a quarter inch. I'm going to pick up some some over here and make kind of a plan. As you um start making these, you'll end up making many of these, but your first one, I think we should probably plan it and not chain piece so much. We want to make sure that our quarter inch equals the templates quarter inch. So, let's pick out about nine. 1 2 3 4 5 This plaid's pretty. Six. Seven. Oh, I like that sunflower. Eight. And nine. Okay, let's sew these together. Now, I sew from the fat end to the skinny end. And I'm not sure why I do that, but when I sew from the skinny to the fat, I get a I get a little wobble. I don't know. So, here we go. We're going to do this. Okay. Now, like I said, we need an accurate quarter inch. This uh bias, I mean, this tape, this seam tape is really a great product because you can just line that right up. And I'm going to chain two and two and two until I get eight. And then I'm going to add my one. So, here we go. And with this quilt being very very scrappy, you really don't have to pay much attention to what you're putting next to what because you're going to use all these little wedges and come up with a beautiful quilt. So, there's my four sets of two. And I'm just going to pop these apart. Whoops. And put my force together. Now, at this point, I kind of like to finger press. The one key thing about this quilt is that we don't do a lot of pressing. Pressing can really distort your quilt and make it not fit together. So, we're just going to finger press these lightly, and it helps them lay down better when you're sewing them together. Okay, pop him apart. We're going to add this little guy. We'll add him in the middle. Doesn't matter where we add him. [groaning] One more time. Okay, there we go. We have our wedge. So simply this is just what we're making. This nice little wedge arc. Arc. It's an arc. Okay. To make sure that this fits, we want to take our template B, lay it down, and match our ends as best we can and pull this apart. You're based on my quarter inch when I designed this template. And we really want it to fit the rest of the pieces. If this by chance is longer or shorter, you're going to want to go back and readjust your quarter inches cuz this needs to be this size to fit. So, we've got our arch done and we're going to make our background pieces. So, the background piece is from a fat quarter. Aren't these pretty? And we're going to cut them into 9 in squares. Now, a fat quarter is 18 by 22. So, we want to be careful and that we get nine inches in each one. It's not absolutely perfect that we have to get the nine, but because we trim to square up the block, but it's really nice to have that inches to to make sure you've got enough. So, we're going to cut this 9 in. And I'm going to set this over here on the nine. And that should leave us nine here as well. We're going to cut this across. Made it. Okay. So, we're going to cut this into our 9 in square. I'm going to get rid of the salvage, flip it around, and square up our nine. Whoops. There we go. Okay. Now that we have our nine and we've used this part, we're going to use our background pieces, which are the the background here. And I'm going to put it down in here on the corner. And I will cut my background out of this. Now, as you notice in this block, we just have one background and one center. And our center is a little bit different from what you normally think of when you think of using this template. So, we're going to cut this. And then I'll explain how to do the center. So, we're going to cut this like just around here like this. Whoops. Pull that out of the way. So, we're going to set that right over there. Okay. Now, we're ready to cut the template. I mean the center piece which we're going to use this center for the for the this part of the block right here. So to do that it's a little bit easier if you have a smaller mat where you can see um the inches. We're going to set this square that we have here on the very corner of this down here. carefully. And we want to pin it into this one inch corner so it comes down right nice to there. We're going to take our melon template and we're going to set it on 6 and 1/4 up here and 6 and 1/4 down here. And we're going to cut this. Whoops. Okay. If if you get going really heavy and you're making a lot of these, you may want to just mark on your big mat at 6 and a quarter and six and a quarter and make yourself a grid and that speeds up that process. So, that's something that would work well. Okay. Now, we're going to sew it together. All right. Okay. I like to sew this melon or the center portion first. It's much much easier and it makes the block easier to control. It ends up being more stabilized. So, we're going to take this piece and we're going to fold it in half and make a nice little finger press crease there. And you can do the same with this if you'd like. I basically just count. I count 1 2 3 4 5 and then I put my block together. Now, what we're going to do is we're going to match this center. I did the wrong side. We're going to leave that crease there because we'll use it later. All right, there we go. We're going to match this center with this. So, that's where we're going to sew that right to there. Now, you can pin. Now, I have to be honest, I'm not a pinner. You can glue. Um, I find those things just get in my way. But by all means, if you are a pinner or you're used to having it more secure, do that because it will really help you. All right, let's go to the machine and give this a whirl. Okay, so the the curve is is slight. It's not a real heavy curve. It's not tight. We're going to line this edge up as close as we can to straight because in our end product, we want that seam to just be straight. So, we're going to put this under here. And I just sew in oh maybe three stitches and then I have needle down. So that just holds it for me. It just makes it easier. I'm going to bring my little crease over to here. And all of these little seams that we did not press with an iron, but finger pressed are going to just roll toward us. And we're going to go slowly around the corner. We're going to stop at our crease. Lift up our other end. Bring it over to the end. Keep it nice and straight. And we're going to sew it down. The really important part about this is to keep that edge of your arch out toward that edge. So, they're both at a quarter inch. You don't want it laying back and making your quarter inch not equal. So, here we go. And this will make it fit. Now, that wasn't too bad. Let's see. Ain't that pretty? I think it turned out really nice. So, we have our arc. This is the block that is the center. We're going to add the back, which I did different backs. Let me find a different one. We want something more fun, right? Here we go. Let's pick this nice light one. Okay. So, I'm going to fold this in half. Make a nice little crease. And then we've got our 1, two, 3, four, five. And it has our crease in it already because I put it there before. We're going to match our right sides together. And again, like you can pin this or you can just glue it or you can just wing it. So, here we go. Nice and straight on that edge and get it lined up. We're going to do about three stitches and then regroup. Needle down. Good. Okay. Bring it over to our center. Match our crease. Now, when we sewed this ar arc to the the middle, we made sure all the the seam allowances were going toward us. We want them to continue to go toward us. So, though those will tentatively just kind of lay down under the the pressure foot, and they really do a good job, but you may want to check. We're going to pull this out nice and close. Stop at our crease. Come over to our end. Line it up really good. Yep, we've got all those down. And we're going to sew around. And that's it. You've done it. So, this is the book. We get to press now because it's fun to press. All right. So, we've got our iron on. We're going to kind of clean up our mess here so I can get to it. And I press from the back first. And our seams are going to go out from our ring. So, those will go out like that. And then we want to make sure we get all this space here. flattened out. We don't want anything left in that curve there. We want that to be nice and nice and flat. There we go. Okay. Now, we're not always perfect and life kind of throws us those things. So, you may be one that has to square up your block and you may not. um it may turn out that they're all beautiful. What I recommend before you square up is that you make multiple blocks and you see where you are. Like you might have one that's really small and you should probably square to that. So make several to see where your seam allowances are and what size you should measure to. Basically, mine came out about 8 and 1/2. So I like to lay this down here and see how Let me get my ones in the right place. Here we go. So I put my one up here and I have my eight here and my eight here. When we put this block together, we want these to to join and to match. So at this point, we are going to position this at eight and this at eight. This is at well, it's at six. So this one's at six and this one's at six. So we're just going to trim this. We're going to trim it here. We're going to trim it over here. We're going to flip it around and make sure we have 8 and 1/2. So, we'll check down here. And we're going to put this point here at 8 and 1/2. It's kind of nice to see if this diagonal line goes through the center and ends up at your your point up here. It keeps a reference to where this center is and makes it not offscale. So, we're going to trim there and there. And you have it. You've done it. So, this is how the blocks go together. I like to alternate the uh lights and darks in the middle, especially if you're using a contrast that's just got a little bit of contrast. So, this block will fit in here. Fits in right there. And uh it's it's a great quilt. It's called Jelly Ho. It is 65x 65. The quilting pattern is called Dense Leaves. And I think it looks amazing on it. Nice and autumny. So, the backing is this beautiful apple core cheetater print. Isn't that pretty? With all the prints in it that are in the quilt. Looks great with it, doesn't it? Okay, now this was fun, but we have two little bonuses. I guess it's just really one, but I I brought a special treat of my own. Okay, so in conjunction with this quilt, there will be enough leftovers to make this great table runner. And it's in the pattern. It's included and the backing is the same, the binding. It's a beautiful, beautiful quilt. We have rounded off the ends to make it fit on a nice oval table or just anywhere you'd like to put it. So, this is the one that we've used with this fabric line. I brought from home my inspiration when I did this. And I did this from scraps. This is my little spooky Halloween scrappy pile. I sort my scraps into bins by color or season or something, but this is Halloween and I used a darker background and just mix them all up. So, this is a great scrap killer. So, play. Okay. [snorts] Well, thank you for joining me. I hope you enjoyed this tutorial on the jelly and the nice little bonus table topper. Have fun quilting. Take care.

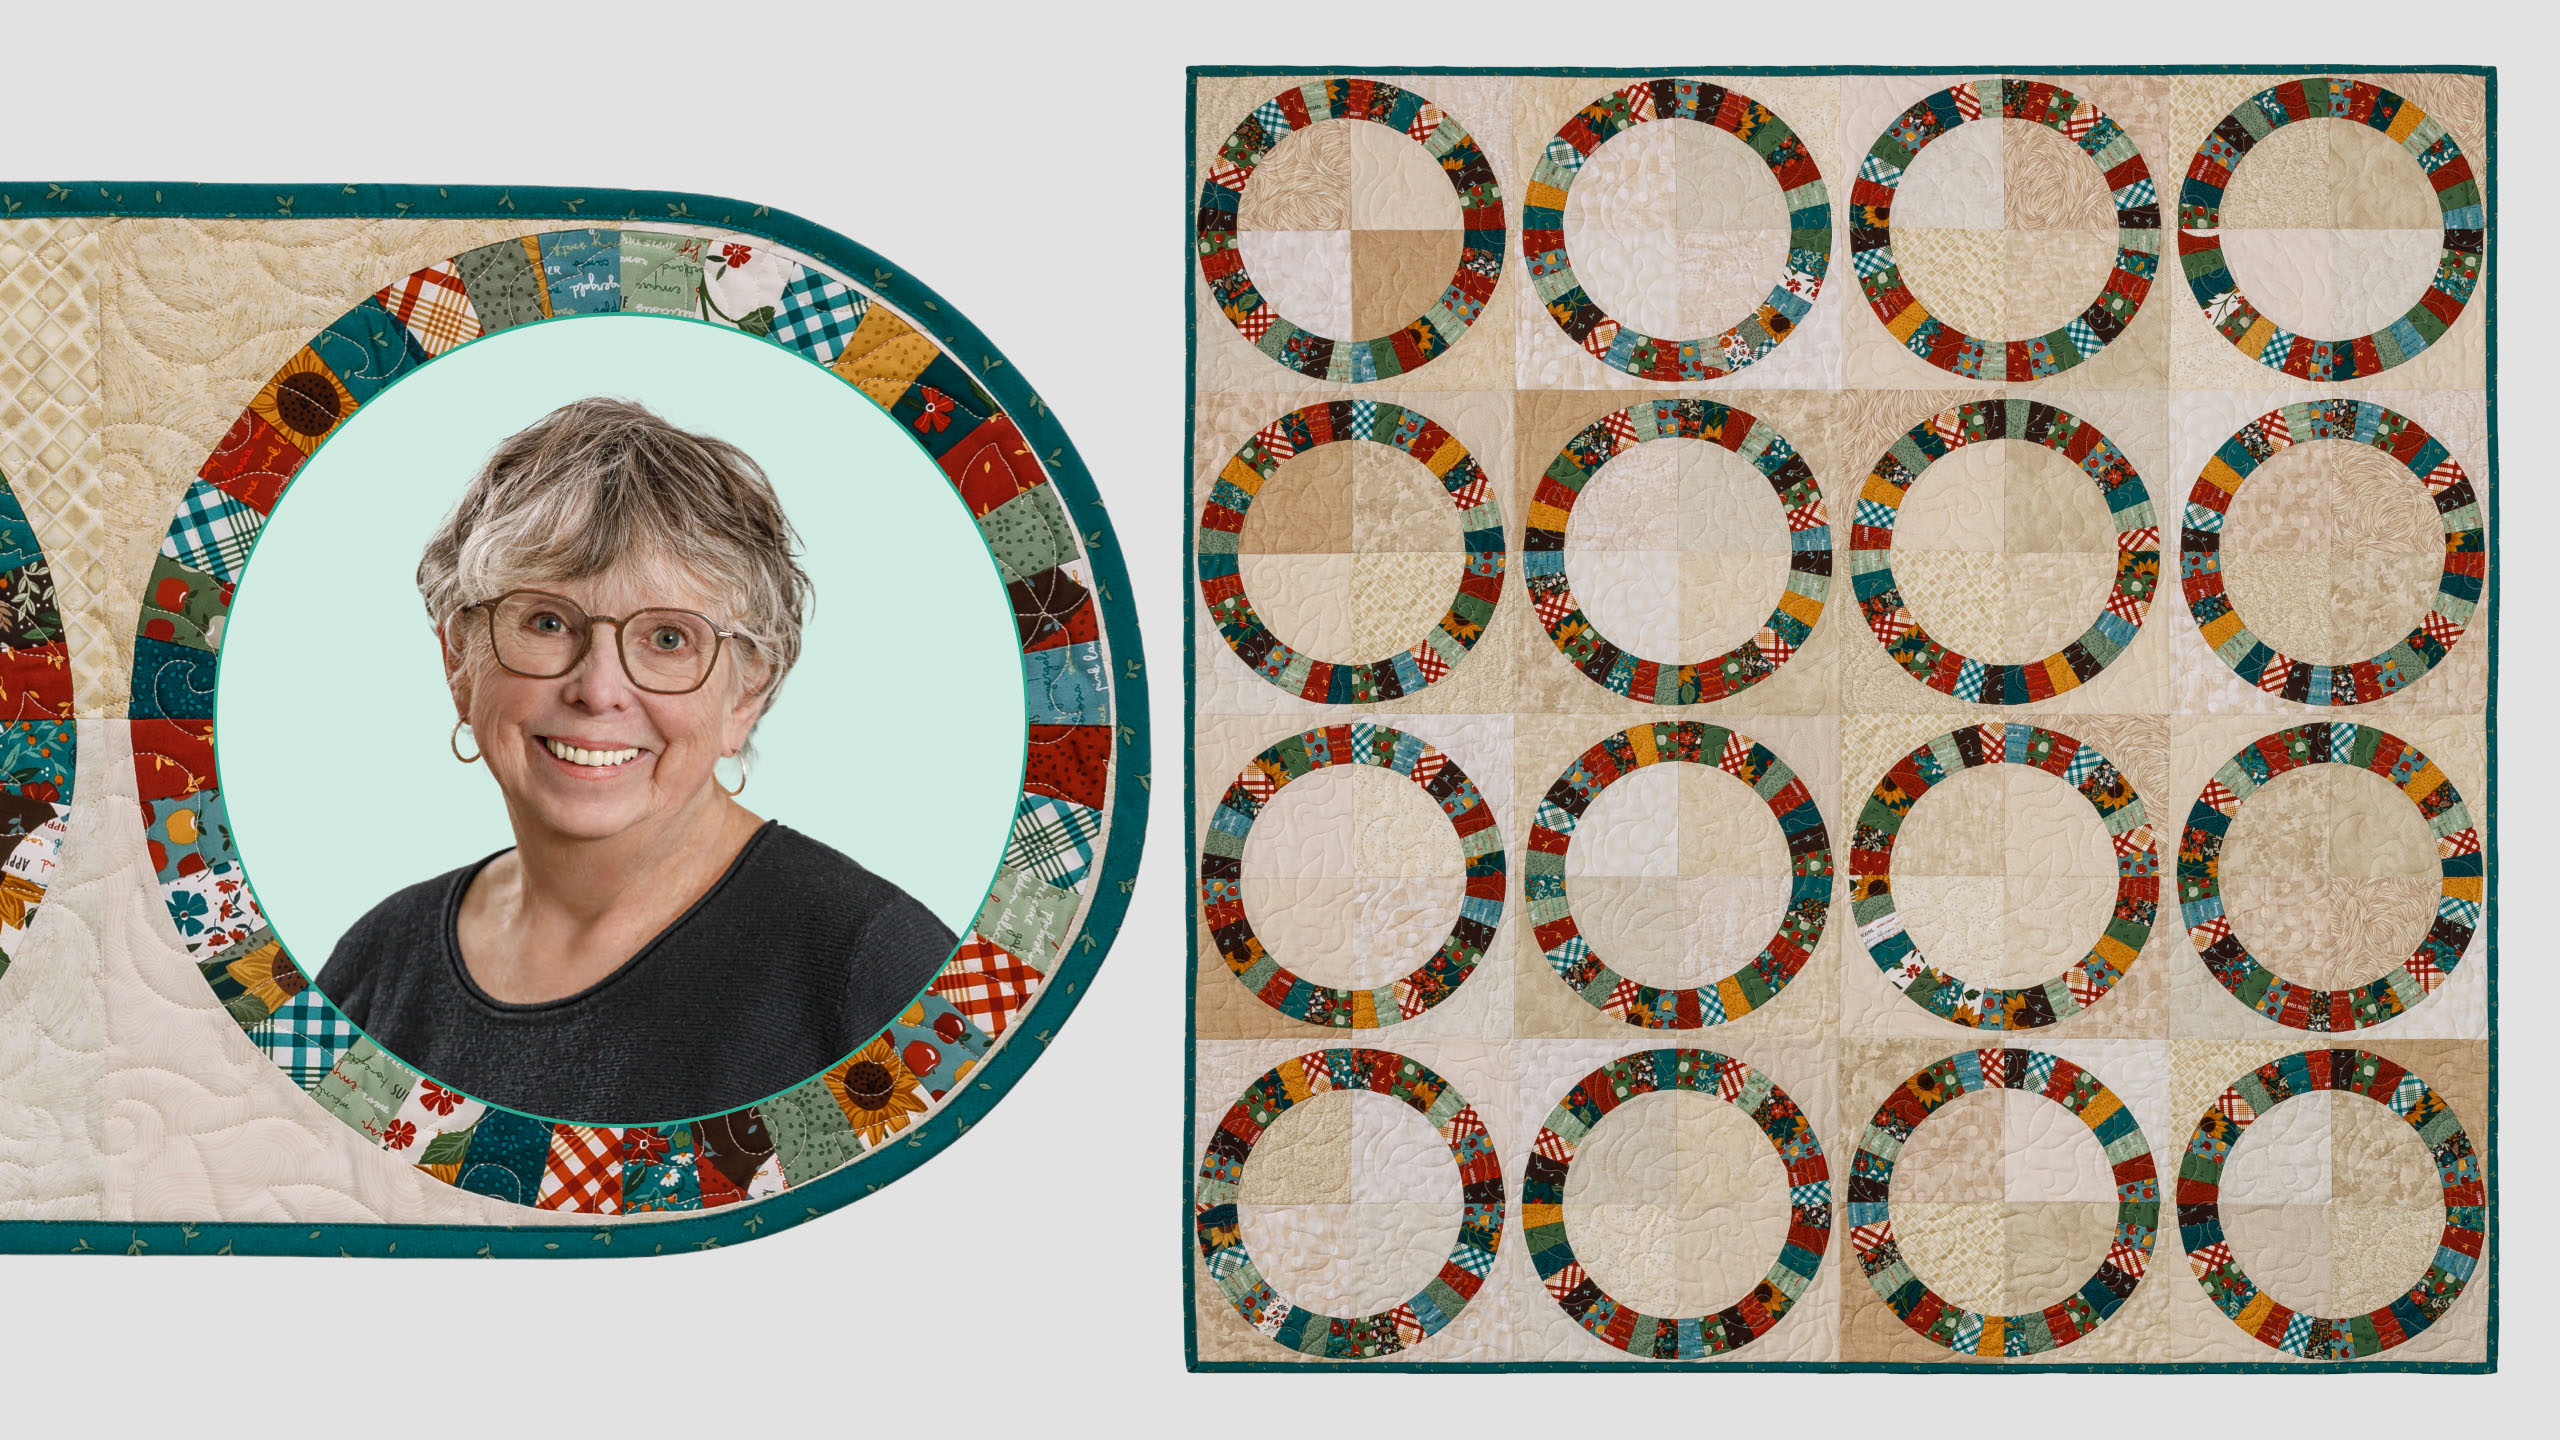
 Eddie Walker
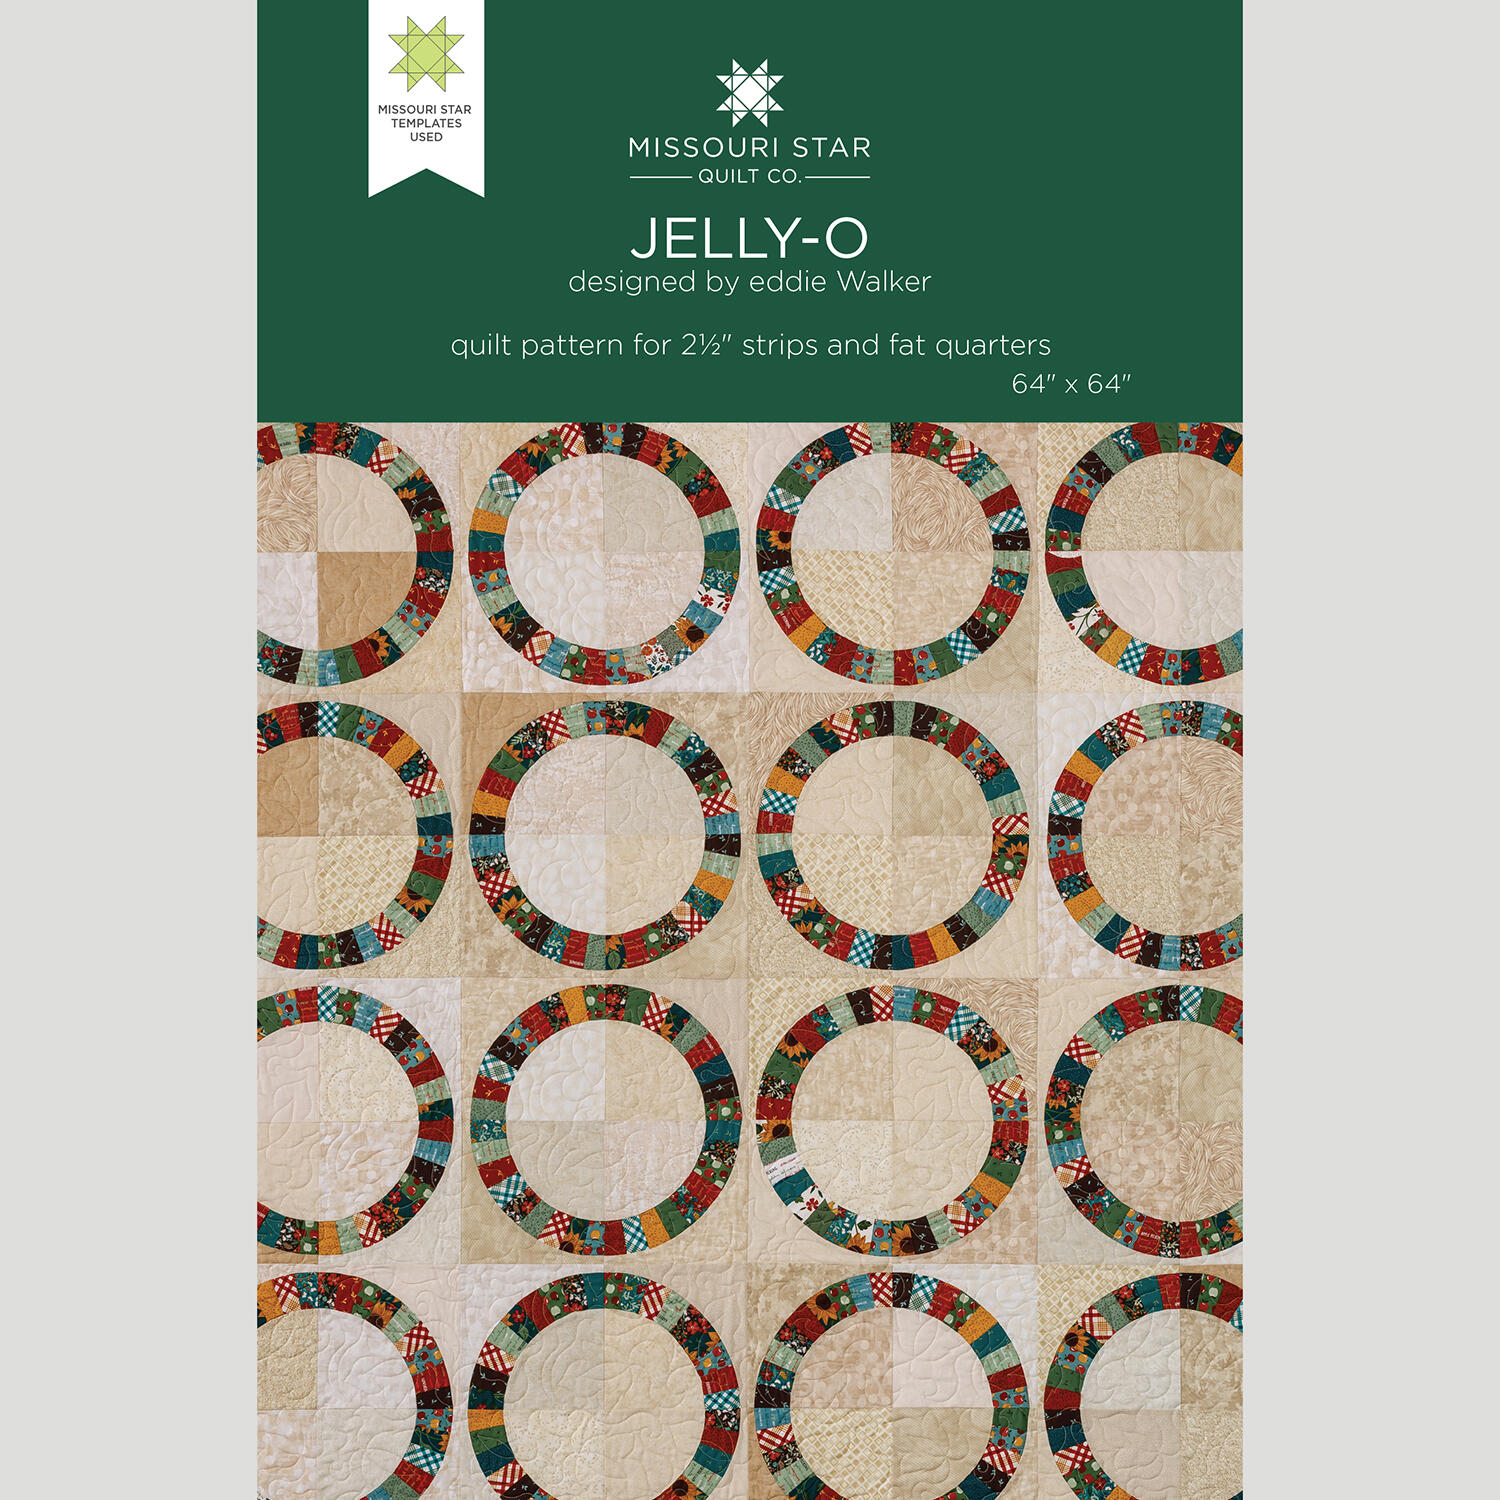 Jelly-O Quilt Pattern by Missouri Star$8.50Shop →
 Digital Download - Jelly-O Quilt Pattern by Missouri Star$6.95Shop →
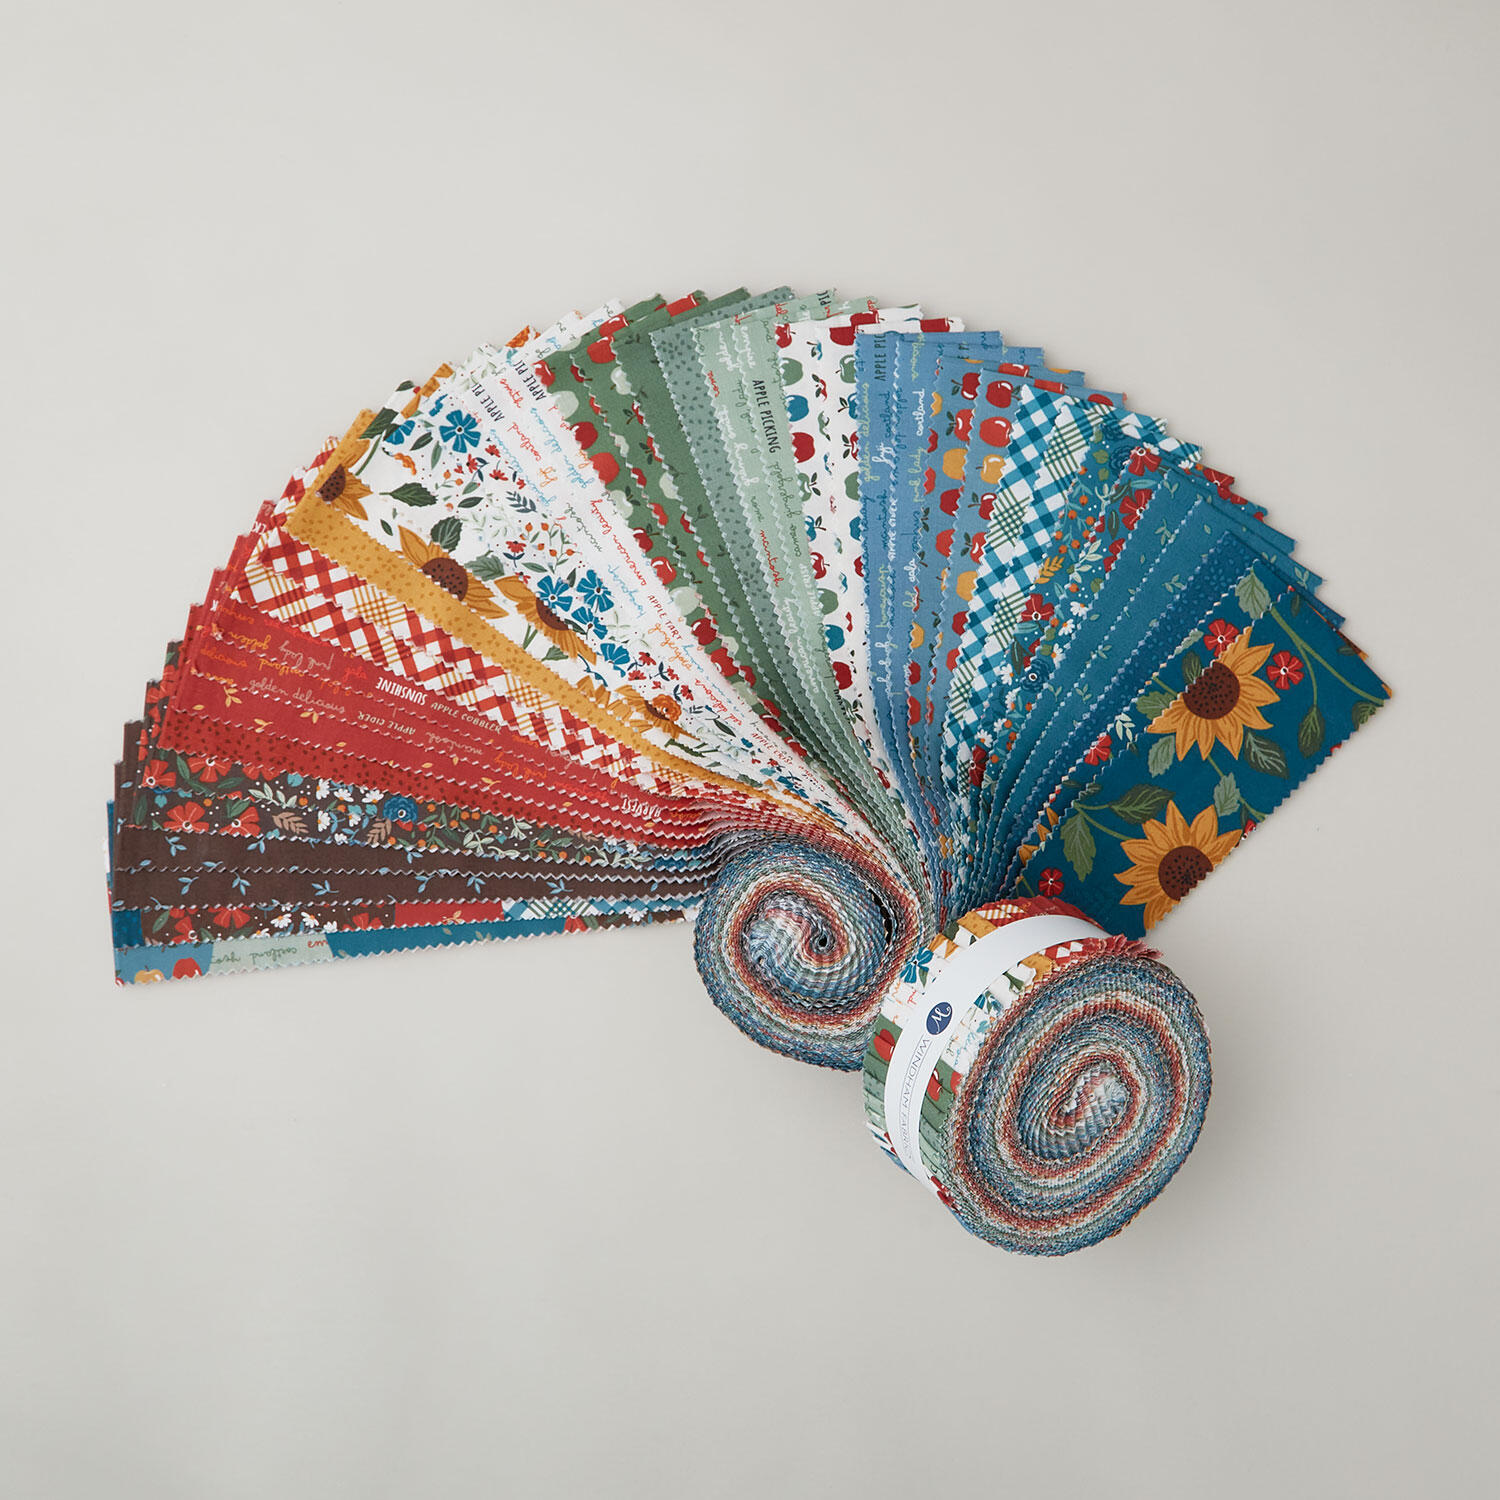 Honeycrisp 2 1/2" Strips$39.95Shop →
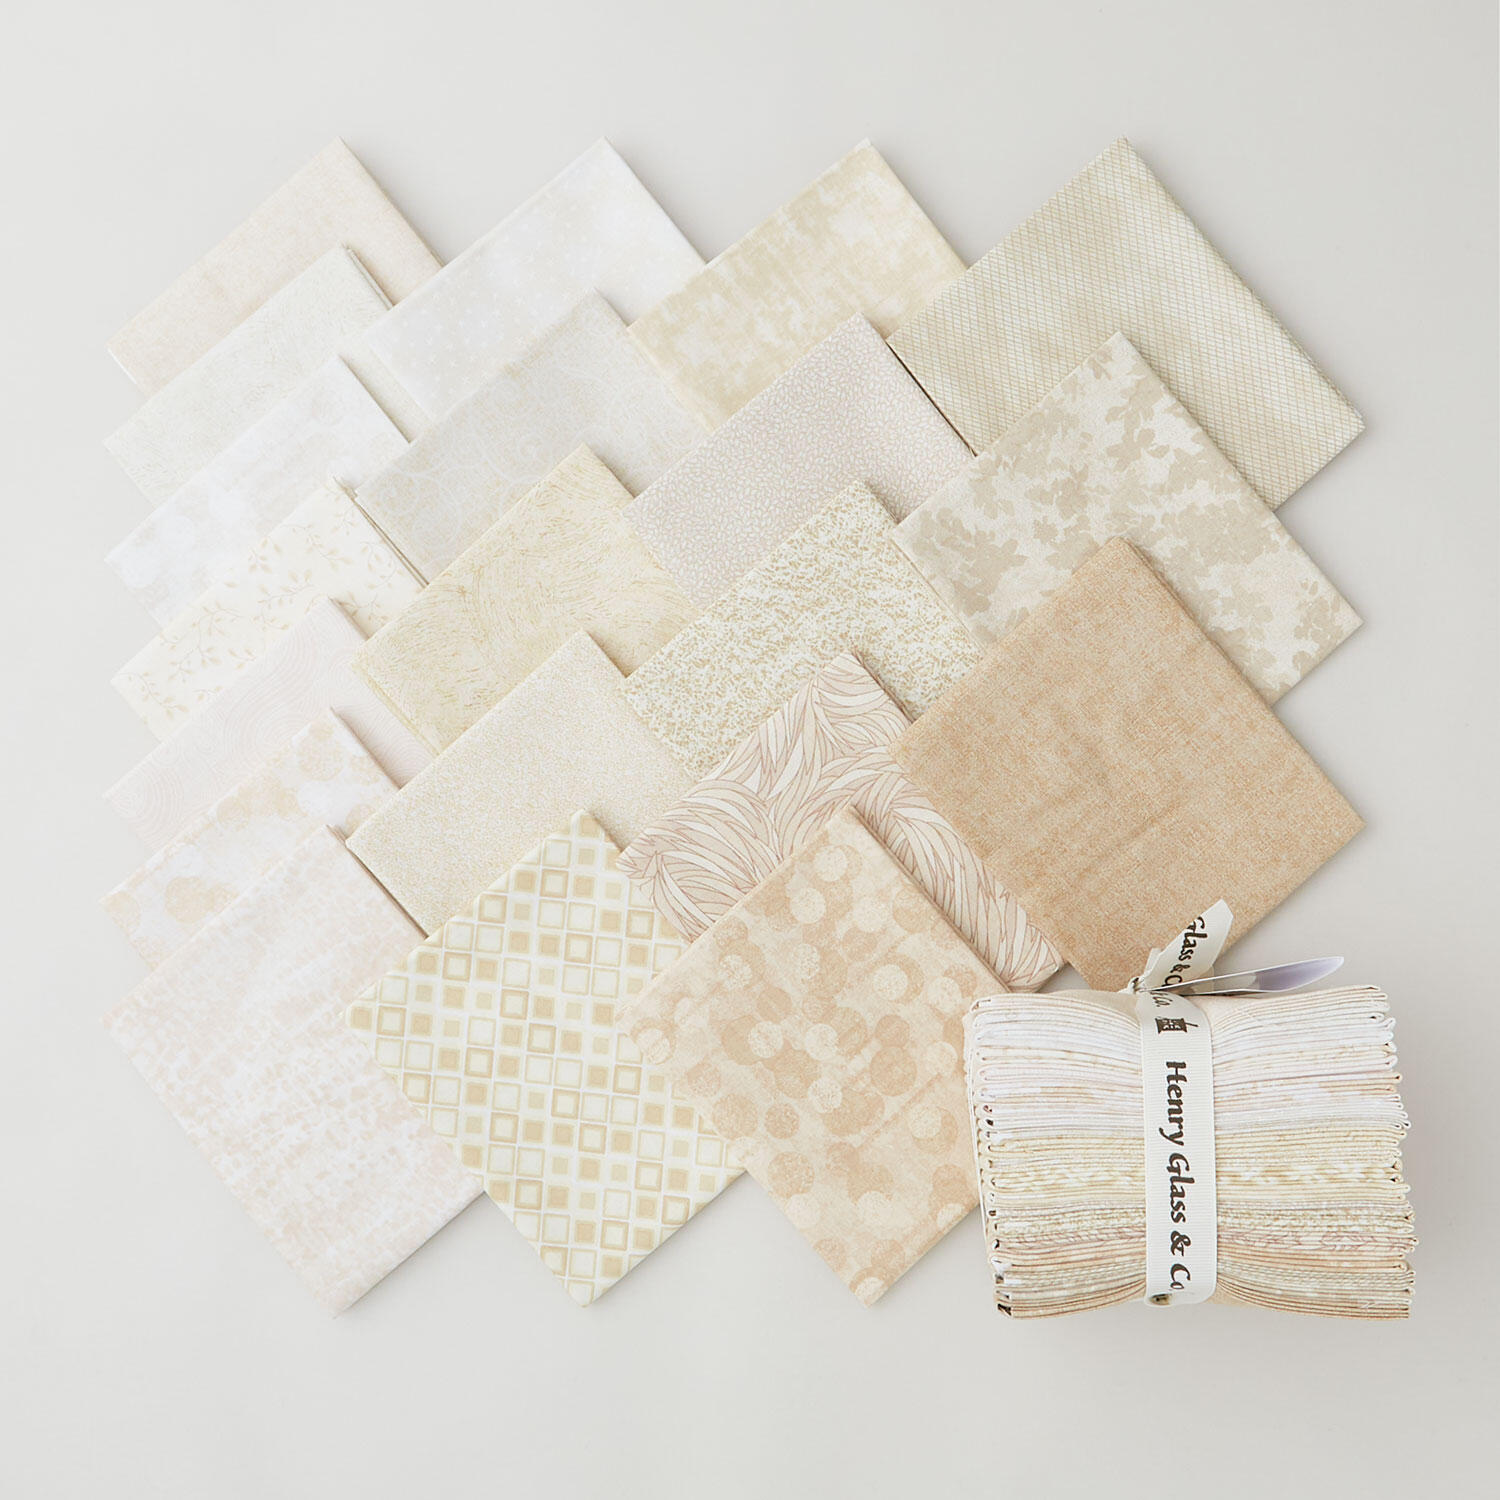 I've Got Hue, Babe Creme De La Crem Fat Quarter Bundle$73.80Shop →
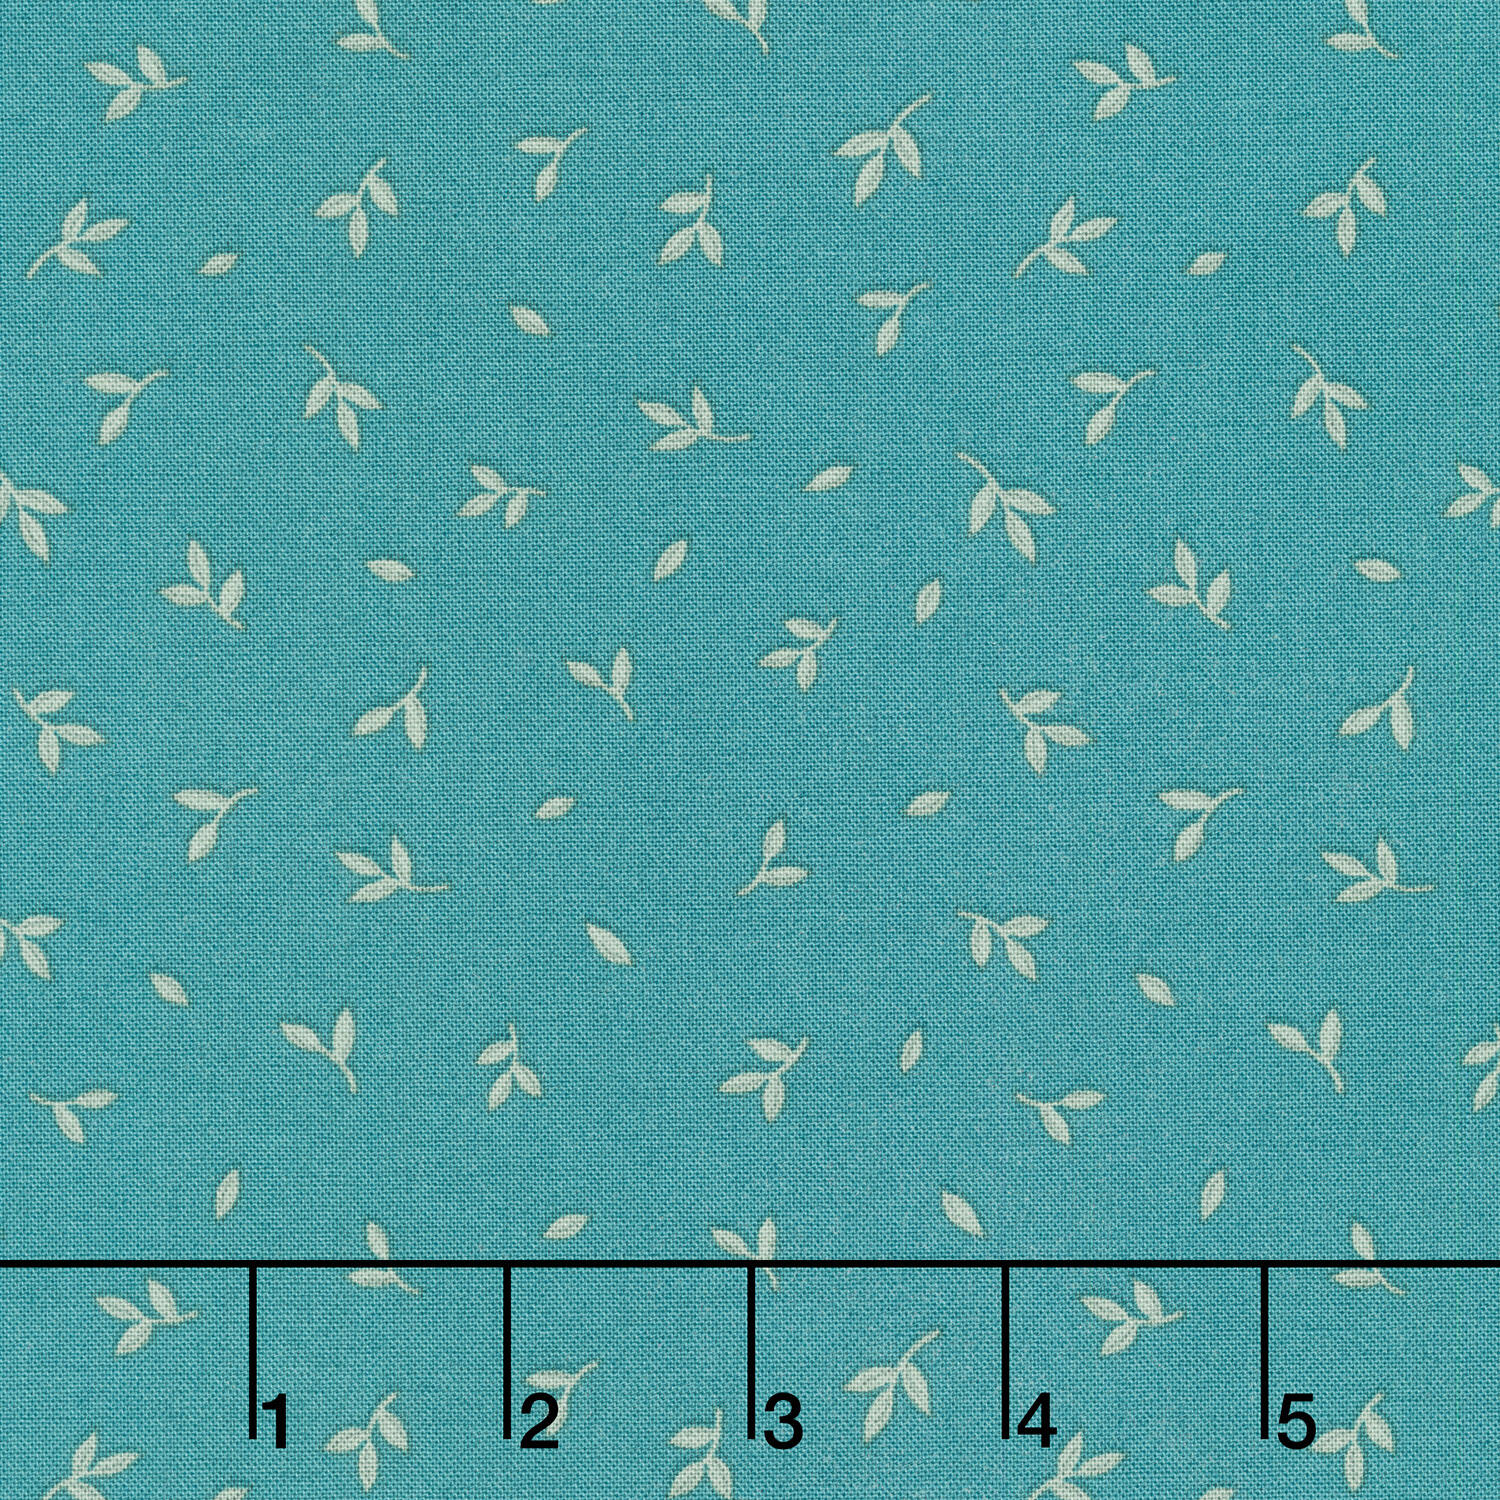 Honeycrisp - Tumbling Leaves Spruce Yardage$11.84Shop →
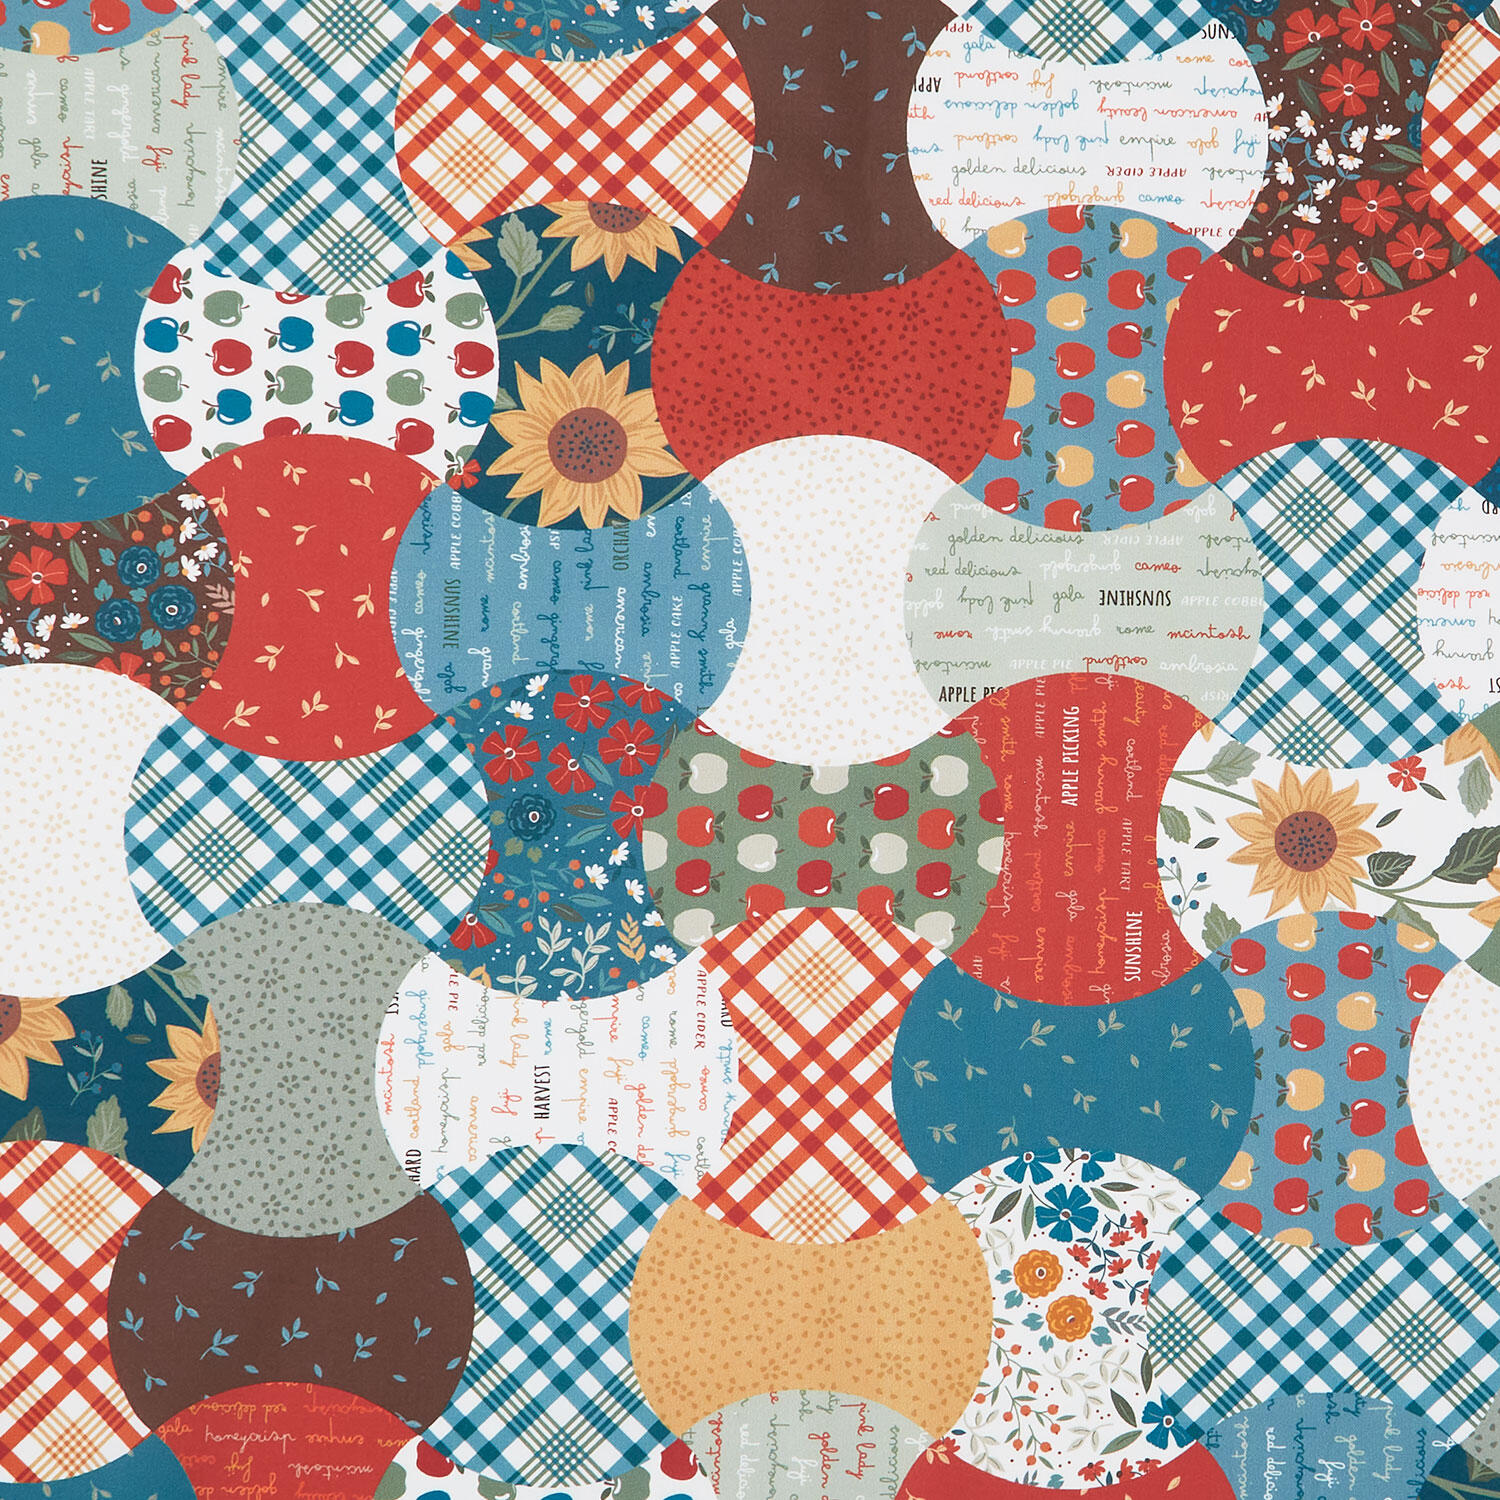 Honeycrisp - Apple Core Wholecloth Multi Yardage$11.84Shop →
 Double Wedding Ring Template Set$24.95Shop →
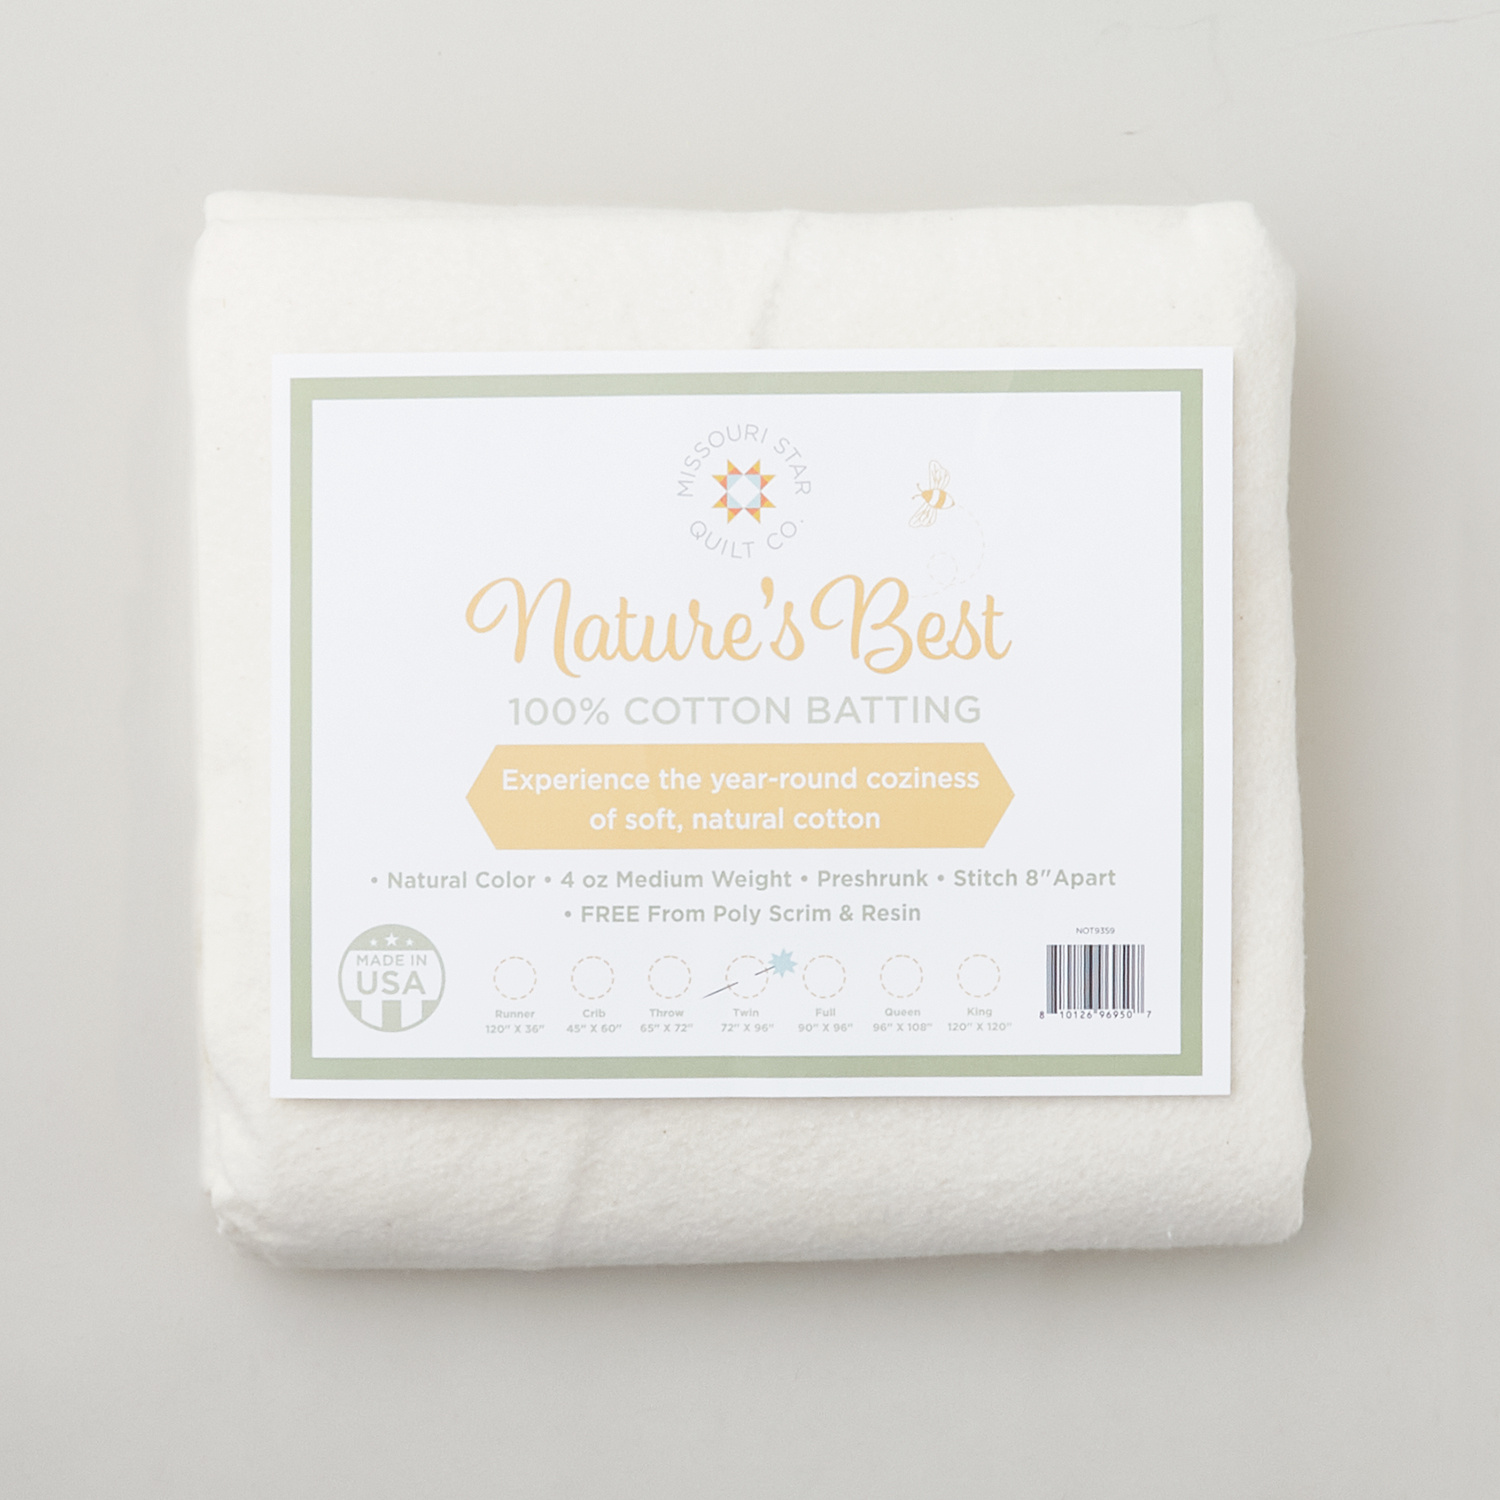 Missouri Star Nature's Best 100% Cotton Twin Batting - Natural$29.95Shop →
 Missouri Star Square Template$19.95Shop →
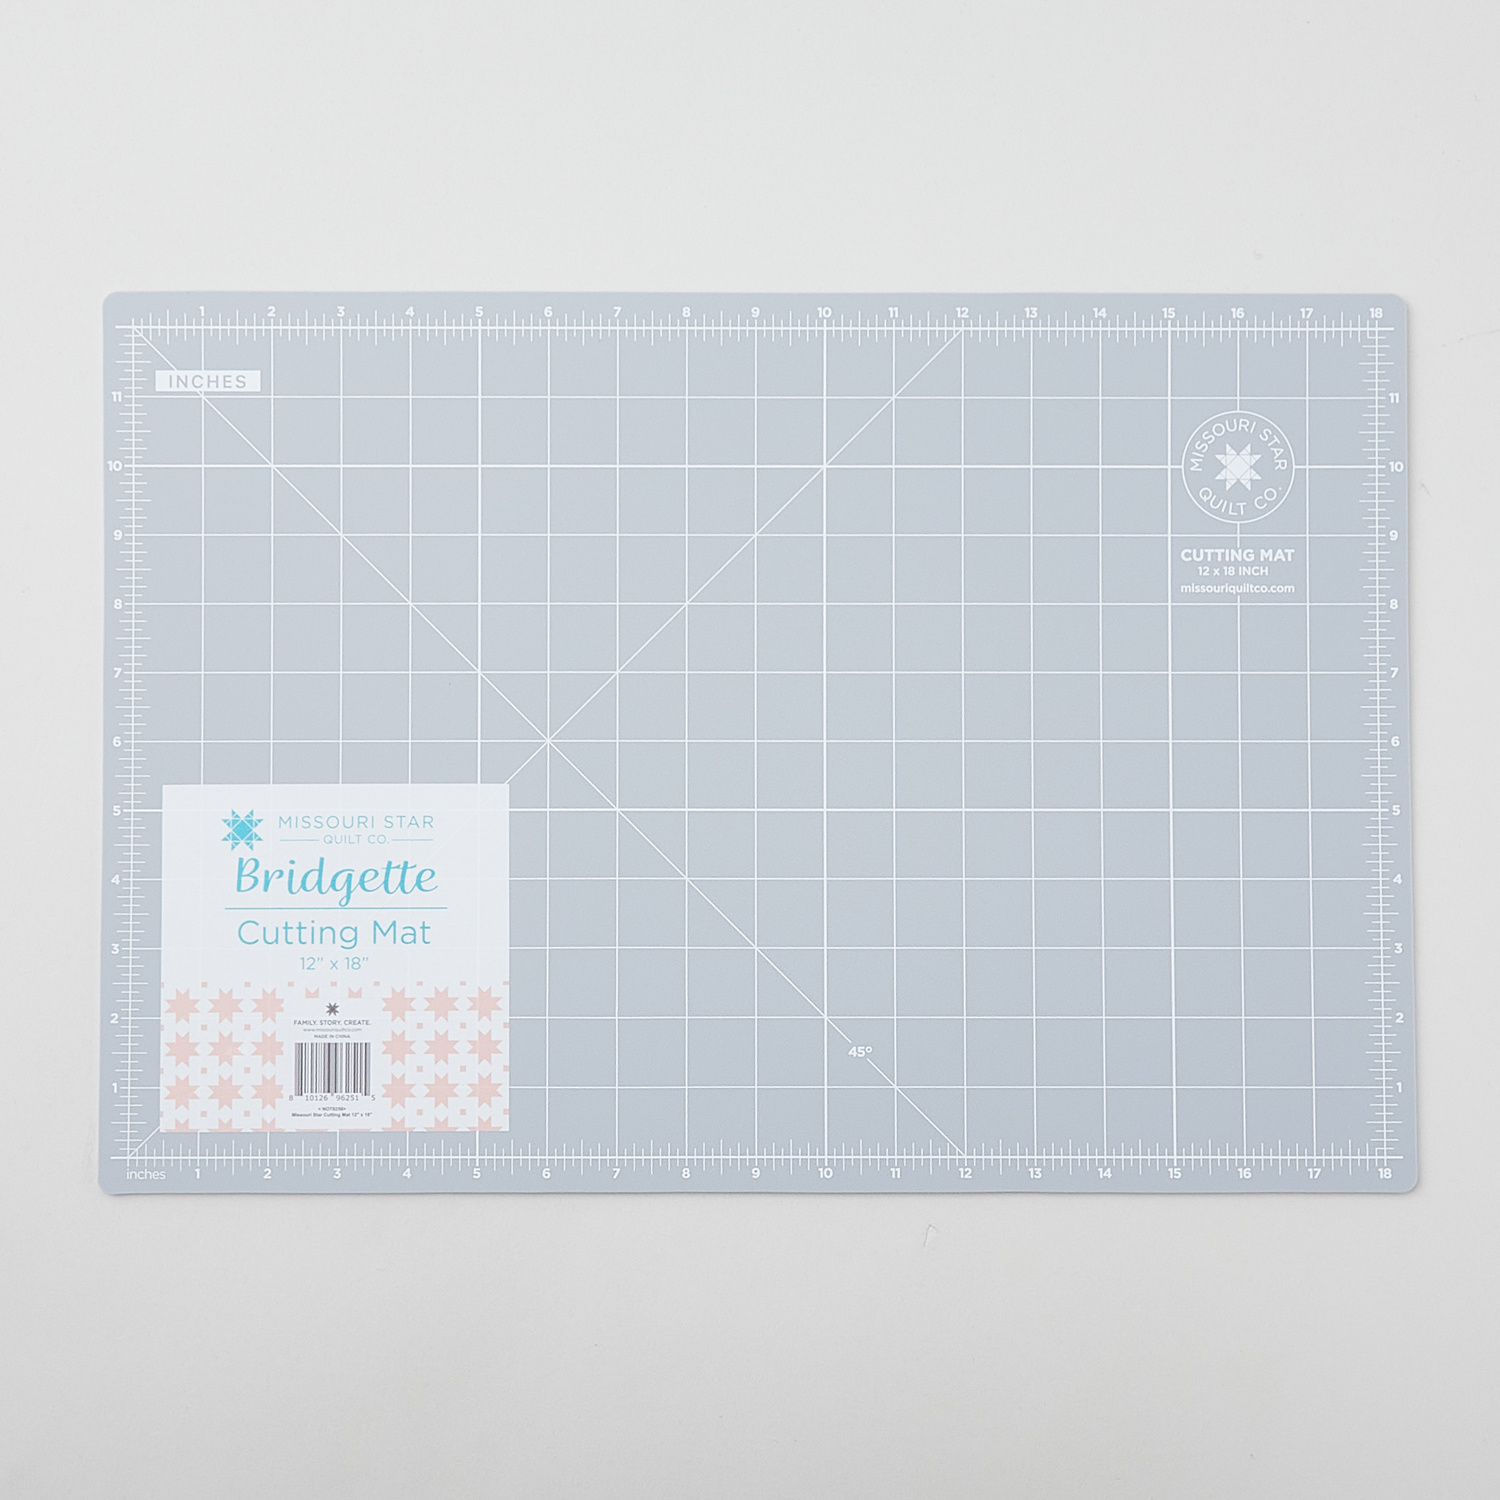 Missouri Star Self Healing Cutting Mat - 12" x 18" - Bridgette$19.95Shop →
 Missouri Star 45mm Rotary Cutter - Olga$19.95Shop →
 Missouri Star + Oliso TG1600 ProPlus Iron$209.95Shop →


