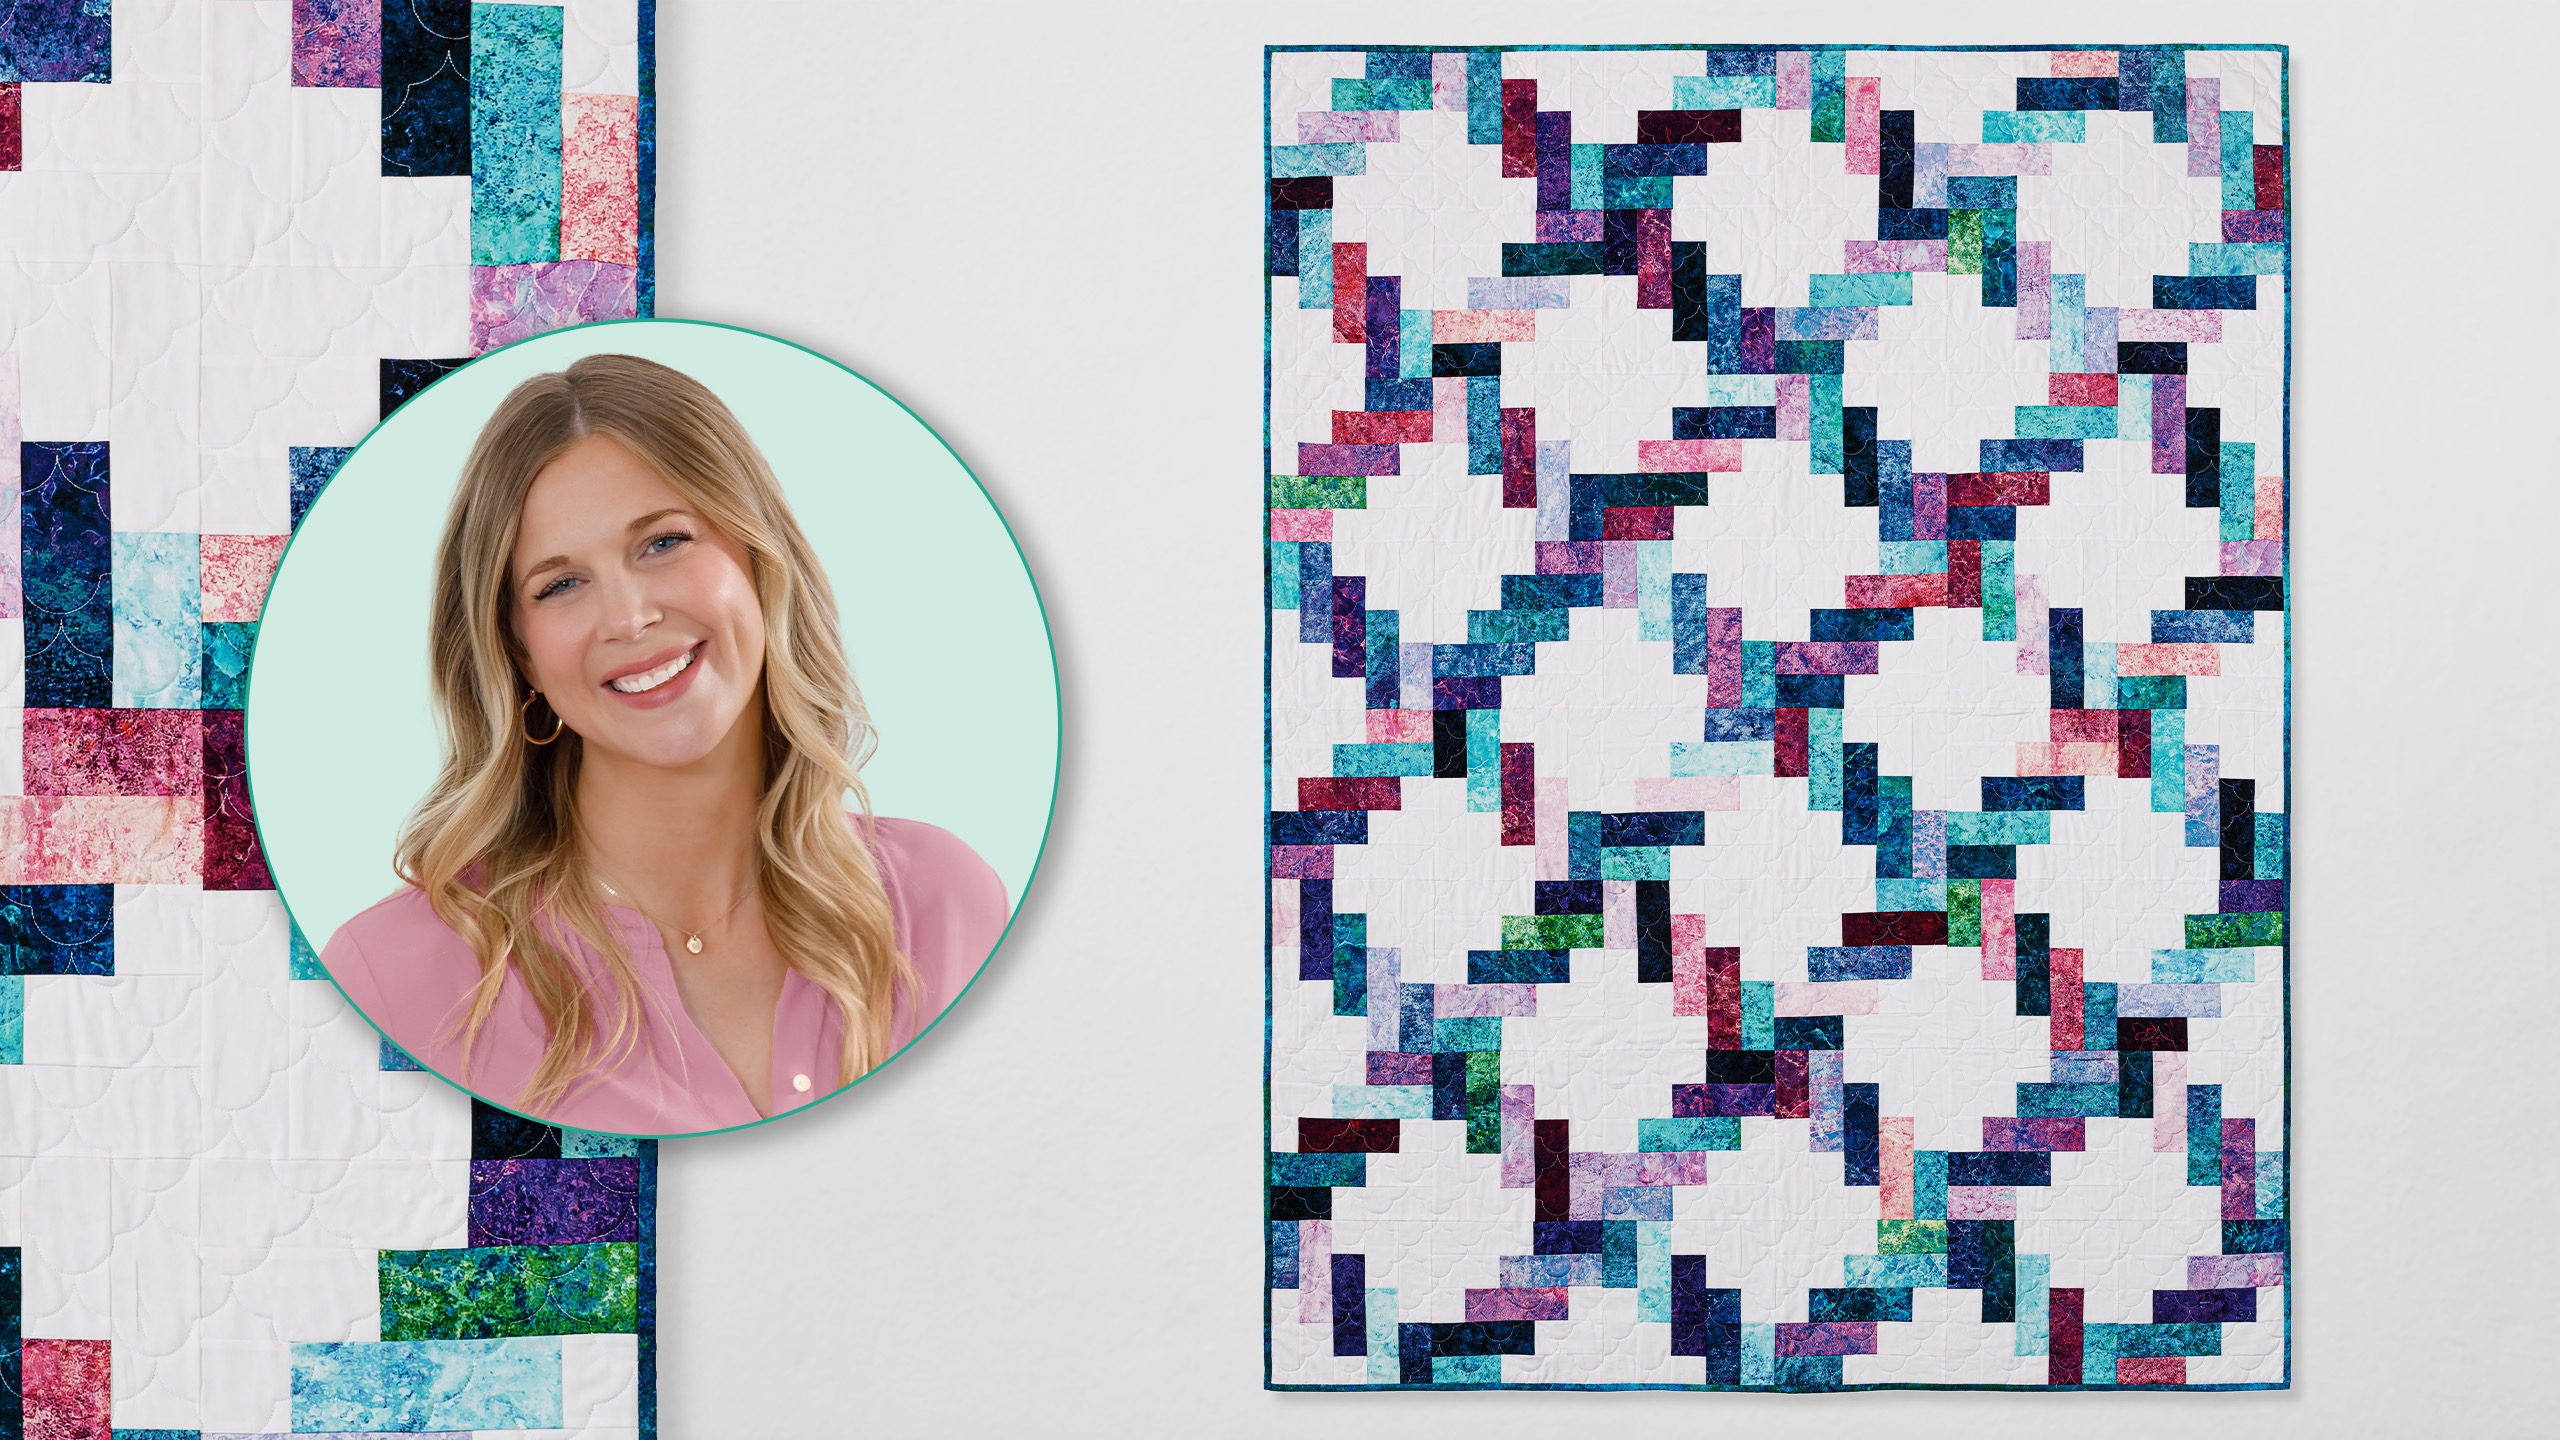
Whip up a sweet quilt that will make everyone so jelly! Misty uses 2-½" strips of gorgeous Stonehenge Gradations II from Northcott to make the Jelly Twist quilt. Allison Harris of Cluck Cluck Sew designed this pretty quilt that has a lattice effect.
Misty Doan grew up surrounded by sewing and quilting. She loves spending time sharing tutorials each week each week, and when she’s not stitching up one of her fun sewing projects for home decor, most likely you’ll find her hanging out with her husband and three awesome kids or working on a house project.
Whip up a sweet quilt that will make everyone so jelly! Misty uses 2-½" strips of gorgeous Stonehenge Gradations II from Northcott to make the Jelly Twist quilt. Allison Harris of Cluck Cluck Sew designed this pretty quilt that has a lattice effect.
How long is the tutorial video?
The tutorial video is 00:07:44.
Are supplies listed for this tutorial?
Yes. The tutorial page includes the supplies and materials connected to this project.
Video Transcript
Hey everyone, I'm super excited about today's quilt. It is this beautiful pattern called Jelly Twist by our friend Allison over at Cluck Cluck. So, she was kind enough to let me share it with you. So, let me show you how to make [Music] it. So, to make today's quilt, the first thing you're going to want to do is pick up this pattern Jelly Twist by Cluck Clucko. has so many wonderful resources in there as well as multiple sizes. Today we're going to be making the large throw, but there is a twin, queen, and king size also included in the pattern. So, tons of great info. Be sure to pick that up. You're also going to need one roll of 2 and 1/2 in strips. I use this beautiful gradations crystals 2 by Northcot. And then you are going to need five yards of your backing fabric. I use this beautiful stone hinge. And for your background, you need two and a half yards. All right. So, first things first, we are going to take our two and a half inch strips and we are going to open them up and cut them. Go ahead and trim off the salvage here. And we are going to cut three at 4 and 1/2 in. Here we go. And then four at 6 and 12 in. And I'm just going to make some piles of the different sizes. One more here. There you go. And so you can see I have stacked up a whole bunch of 4 and 1/2 and 6 and 1/2 in cuts because you're going to do that to your whole roll. And then you're going to cut from your background some 2 and 1/2 in strips as well. And you'll subcut that into 2 and 1/2 in squares, 2 and 1/2 by 4 and 1/2 in strips, and 2 and 1/2 by 6 and 1/2 in strips. And that is all you need. And now we can start assembling our block. And so the block goes together in rows. We're going to begin with one of those 2 and 1/2 by 6 and 1/2 in strips. And then we can set in one of our 4 and 1/2 in prints. And then below that, we're going to come in with a 6 and 1/2 and a 4 and 1/2. And then a two and a half. Another six and a half. And it gives us this great kind of staggered effect that we are looking for. And then this last one here. Just like so. And so now we're just going to sew all of these sets together. I've gone ahead and done that to save us a little bit of time. So, let me lay this out again so you can see. Here's the first one. The second one. Move those out of the way. There we go. Just like so. And now we can take this to the machine and we're just going to sew one after the other to complete our block. So, let's go ahead and move this so I can reach it. And we'll start with these two. I thought this was such a clever pattern. And I also love that because it's staggered, you don't really have any seams you have to line up. It's just really, really fun to sew. If you have your ironing board close to you, it does make it easy. But you don't have to press until the end either. So either way works. So you can see here's that first one. I want to come in and just make sure that my prints are going to continue staggering across the block. So we'll add this one next. Take a few stitches, line it up, and then we can just zoom on down. Okay. All right. And so again, we're just going to add our next strip one after the other until our block is all done. And I'll meet you back here when it's all sewn. All right. So now we have sewn all the strip units of our block. And so let's go ahead and give this a good press on our ironing board. I like to just kind of lift one side and let all my seams kind of roll one direction. That's just my preference, but you guys can approach this however you'd like. As long as we have a nice flat block, that is all we are going after. All right. And that is our block. This is how you make this entire quilt. I could not believe it was so simple to get this beautiful quilt that you see behind me. So, I have a bunch of blocks here done since they come together so quick. So, let's talk a little bit about the layout. So, our first row is going to start with the block just like this. And then we are just going to spin back and forth. Whoops. As we go. And then we'll come in with the next row like this. and like this. And it just comes together so fast. And so you can see if you're going to put it together in rows, you have one, two, three, four, five, six across by one, two, three, four, five, six, seven, eight down. But if you're like me and your brain thinks a little bit better with nice big blocks, you can also just assemble all of your blocks like this into this big four patch. In which case, if you were to sew it together like this, you would just have one, two, three across by four down. Gives you the exact same result, but it might just be easier for you to approach it that way. So again, I absolutely love this pattern. I hope you guys will give it a try. And there's tons of great tidbits in there. Like I mentioned earlier, multiple sizes and even some techniques for if you're making it with a fat quarter as opposed to these two and a half inch strips. So be sure to check it out. I can't wait to see the version that you make and I'll see you next time on At Home. Hey everyone, thank you so much for watching at home. We're so excited to be almost a million quilters strong here at Missouri Star. And so if you haven't already joined our family, be sure to subscribe and hit that notification bell so you can be notified of all of our future tutorials. And we'll see you soon. [Music]

 Misty Doan
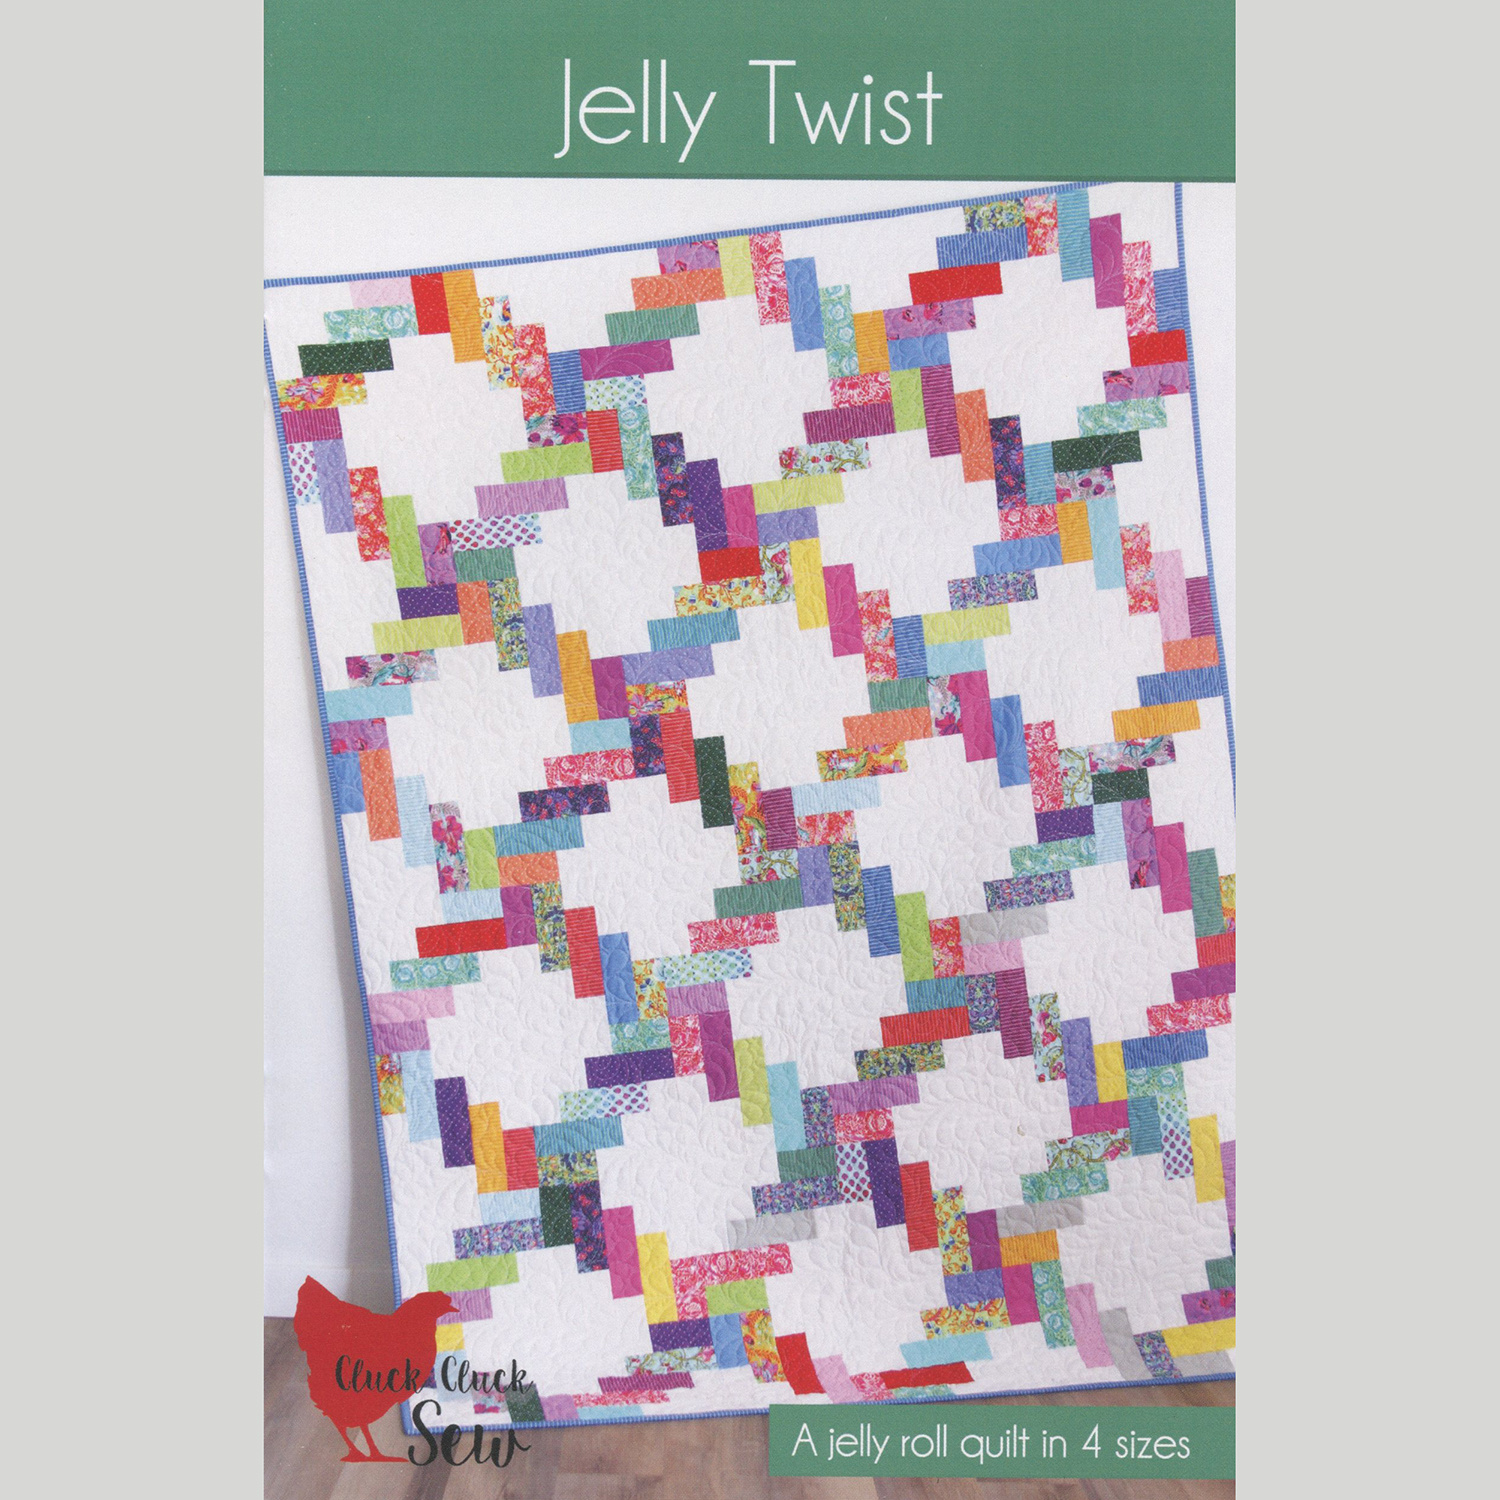 Jelly Twist Quilt Pattern$9.75Shop →
 Digital Download - Jelly Twist Quilt Pattern$9.75Shop →
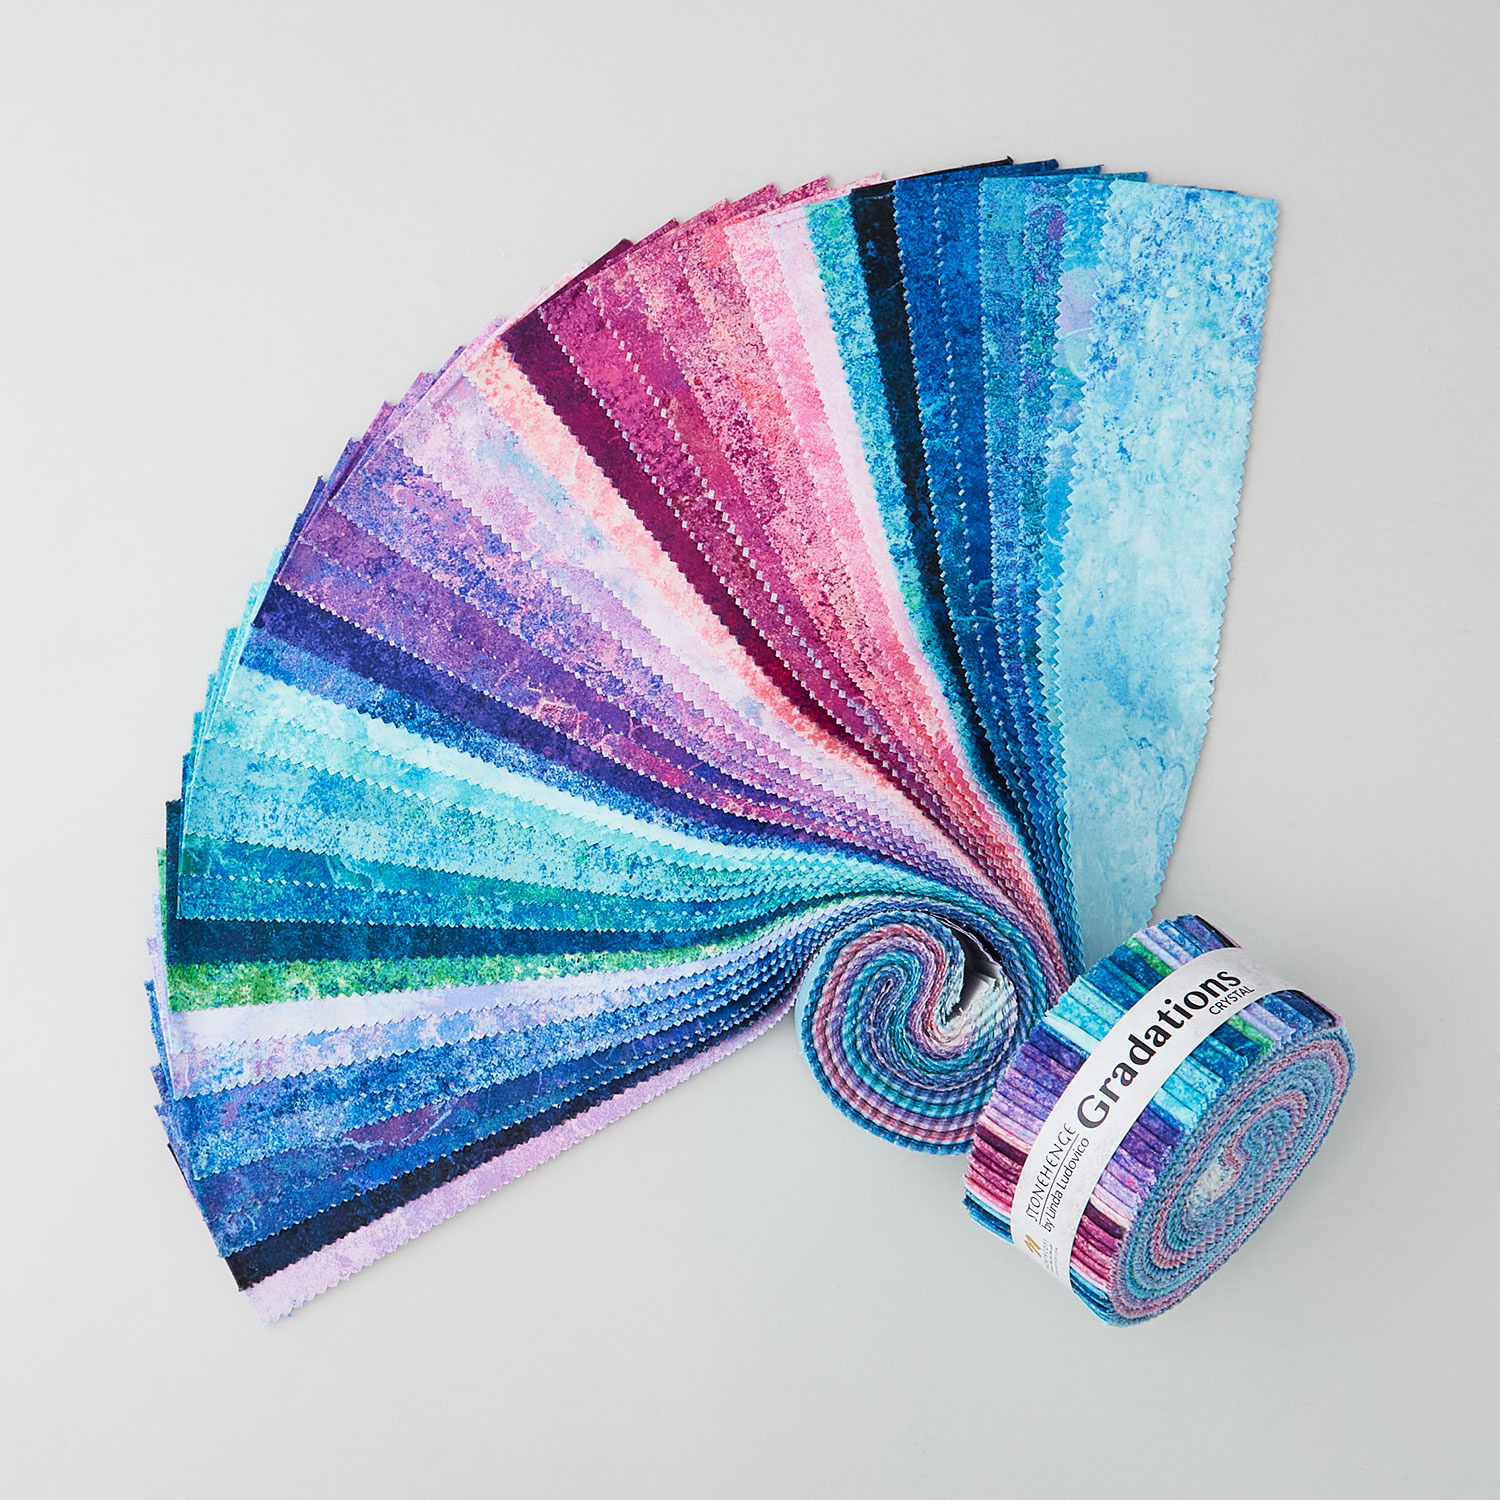 Stonehenge Gradations II - Crystal Strips$39.50Shop →
 Colorworks Premium Solids - Superwhite Yardage$7.92Shop →
 Stonehenge Gradations II - Multi Mixer Blue Lagoon Yardage$11.76Shop →
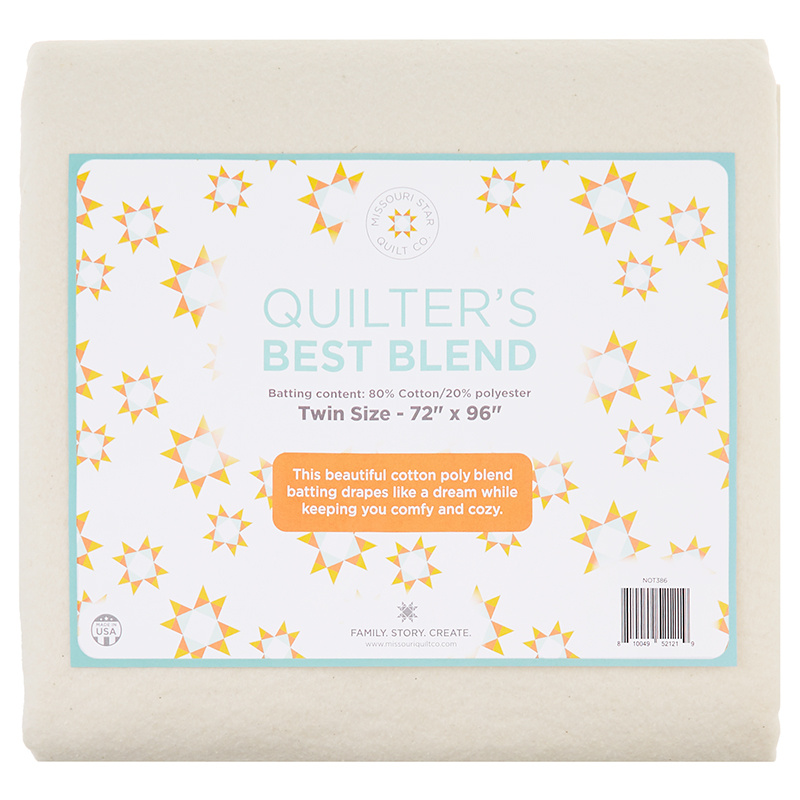 Missouri Star Quilter’s Best Blend Twin Batting$26.95Shop →
 Missouri Star 2.5" X 15" Ruler$14.95Shop →
 Missouri Star 45mm Rotary Cutter - Olga$19.95Shop →
 Missouri Star 8" Everyday Scissors - Amelia$19.95Shop →
 Missouri Star 50 WT Cotton Thread White$7.95Shop →
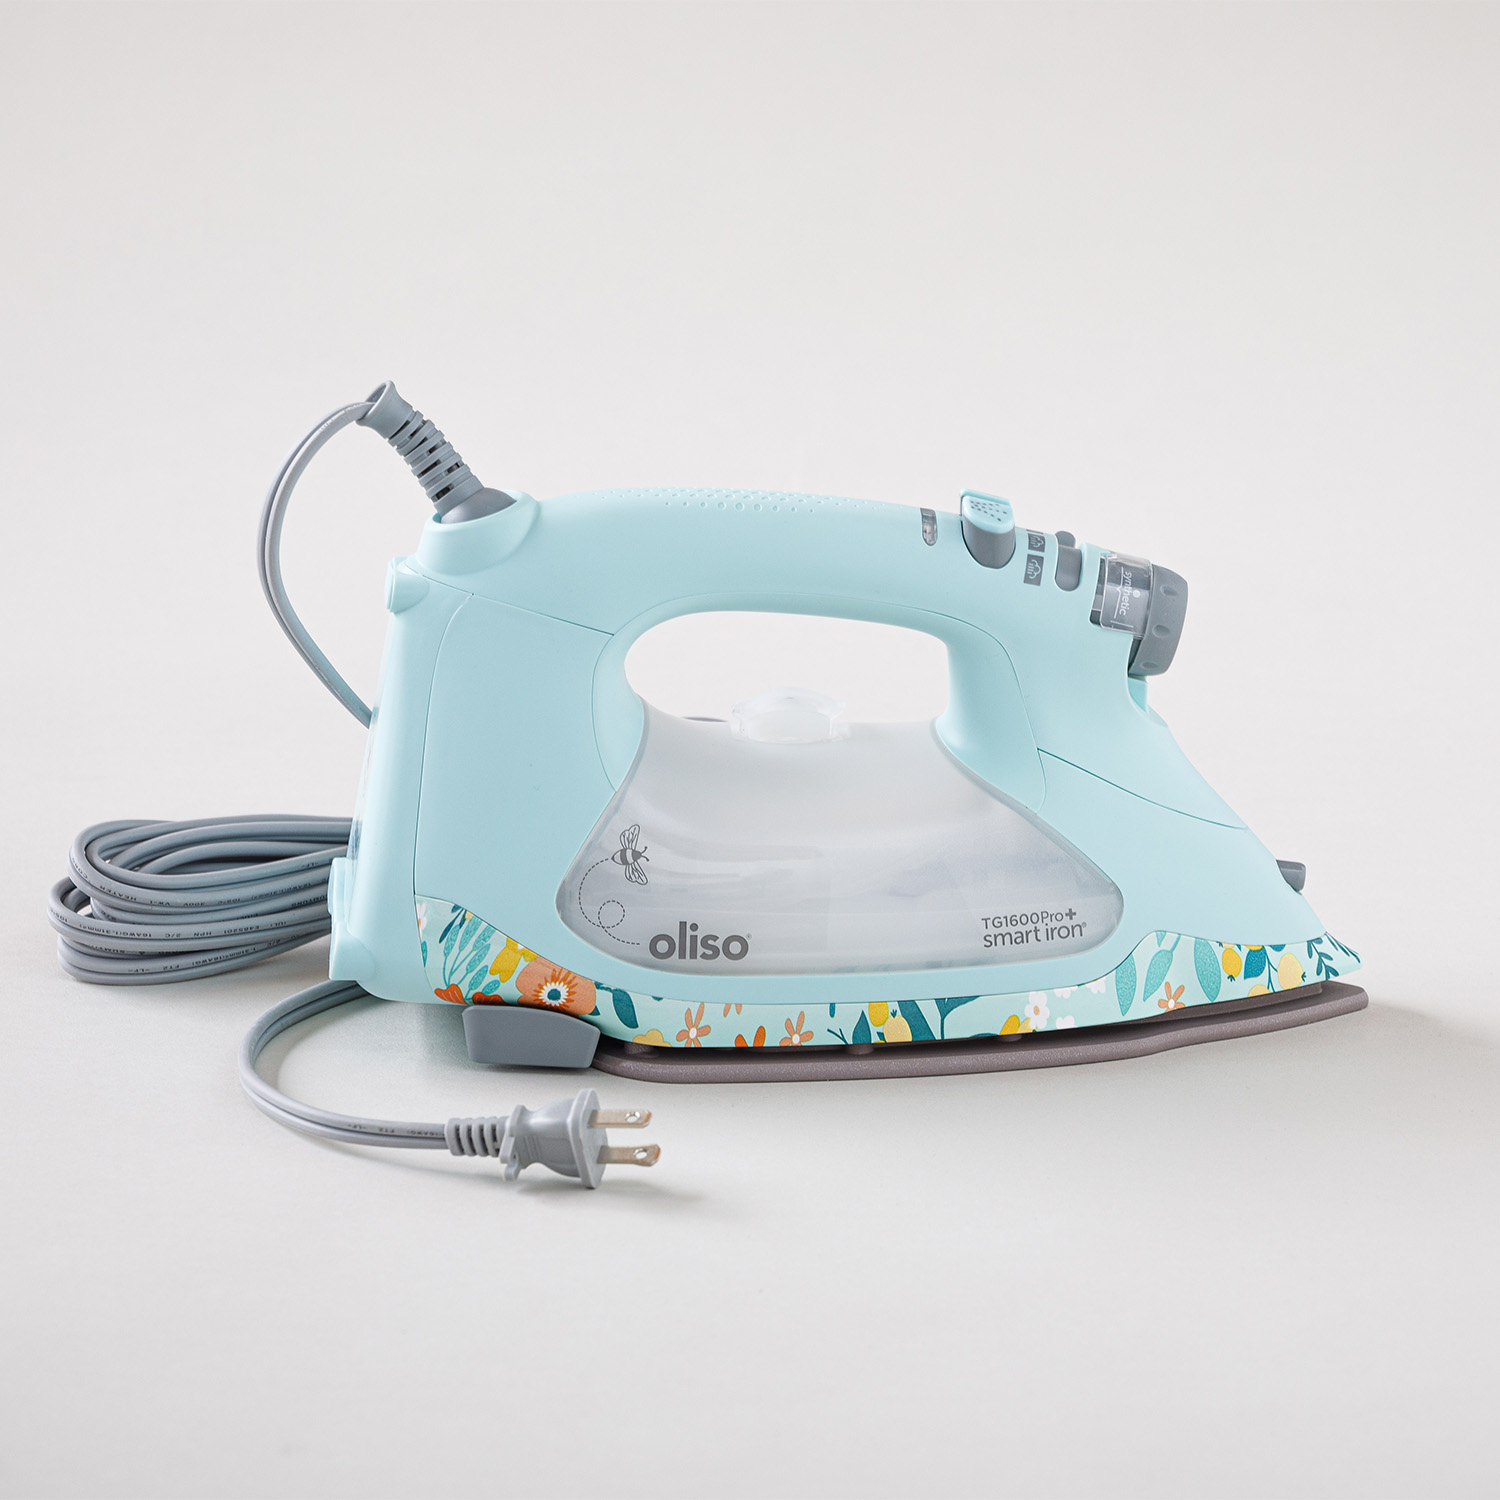 Missouri Star + Oliso TG1600 ProPlus Iron$209.95Shop →
 Bernette 77 Sewing and Quilting Machine$1499.00Shop →


