The Jewelry Box quilt is a real gem! Pointed, staggered strips, easily made with a jelly roll, resemble crystals or gemstones. The finished look is sleek and polished. Misty used a variety of gorgeous colors and mini prints from the Quiltessential collection by Edyta Sitar for Andover Fabrics.
Misty Doan grew up surrounded by sewing and quilting. She loves spending time sharing tutorials each week each week, and when she’s not stitching up one of her fun sewing projects for home decor, most likely you’ll find her hanging out with her husband and three awesome kids or working on a house project.
The Jewelry Box quilt is a real gem! Pointed, staggered strips, easily made with a jelly roll, resemble crystals or gemstones. The finished look is sleek and polished. Misty used a variety of gorgeous colors and mini prints from the Quiltessential collection by Edyta Sitar for...
How long is the tutorial video?
The tutorial video is 00:08:43.
Are supplies listed for this tutorial?
Yes. The tutorial page includes the supplies and materials connected to this project.
Video Transcript
Hey everyone, welcome to At Home. Today we're going to be making this beautiful jewelry box quilt. It takes two jelly rolls. So, let me show you how simple it is to make. This quilt is so fun. It's made up of two very simple diamond blocks. This is what we're going to be making today. And so, let me show you what you're going to need to make it. Up. First, you're going to grab two rolls of 2 and 1/2 in strips. And I use this super fun line called Quilt Essential by Eda Citar for Andover Fabrics. I love all the dots and stripes. You're also going to need two yards of background fabric. I use this nice cream color. And that also includes your first inner border. For your outer border, I use this adorable polka dot. You need one yard of that. For your binding, I love a striped binding, so I wanted to mention that. You need 3/4 yards of that. And for the backing, you'll need 5 and a/3 yards of regular width fabric or 2 and 1/2 of a 108. So, let me show you how to make it. To begin, we're going to open up both of our rolls of 2 and 1/2 in strips. And we're going to pick 68 out of those 80 strips. And what we're looking for is we want to have matching sets. So, similar colors, but different prints so that we have some texture. And so, then we're going to pair those up. And we're gonna begin by sewing straight down this long side. So, let's go ahead and take this to the machine here. And we are just gonna zoom down this side to make our strip sets. And you will do this with all of the pairs that you make from your roll. There we go. All right. So, once you have sewn all the way down your strip set, we're going to go ahead and press this open. I have one that I've already pressed here just to save us a little bit of time. And so it's going to look just like that. And now we get to start with the cutting. And so you'll notice on the quilt behind me, there are two different size diamonds. We have this smaller diamond that kind of gives us that staggered effect of the quilt. Gives it lots of movement. And then the larger diamond like this. And so from nine of your strip sets, we're going to begin and we're going to cut off our salvage edge here. And we are going to measure over 10 and 1/4 in. And we'll cut two of these. And these are going to give us our little diamonds. So, 10 and a quarter. Make sure I'm all straight. There we go. And then for this last little bit, we're going to cut these at 20 in. And so, I'm just going to lay this on my mat since my ruler doesn't go to 20 here. And we can count 2 4 6 8 10 12 14 16 18 20. And there we go. And so these are the two base sizes of our blocks. From the rest of your strips, remember that only nine do you need to cut these 10 and 1/4 in pieces. The rest of the strips, you're only cutting the 20in sections cuz you need more of these. And so now all we need to do is take some background 2 and 1/2 in strips and we are going to lay these on here. And we're just going to snowball. So, let's draw a line corner to corner. Or you can press it or use diagonal seam tape, whatever is your preference. I'm just going to go ahead and mark a few of these to have them ready. There we go. and one more. And so for each block, you'll need four 2 and 1/2 inch squares. And I'm going to begin by adding opposite corners just like so. And then we'll sew right on the line. And then I'll meet you back here when we have that done. So I'll line my needle up right with that drawn line and just sew point to point. And we'll trim. Flip this around. And this just saves us a step from having to go back and forth to the iron. And we can do both of these at once. There we go. And so now we'll trim off leaving behind our quarter inch seam allowance on both of these [snorts] just like so. And now we'll go ahead and press these back. So set that seam and roll it back. And the same on the other side here. Roll it back. Okay. And so now, just like before, we are going to place another 2 and 1/2 in square on both sides creating this point. We want it to intersect with that first seam. And so we can stitch both of these down. and spin it around. Okay, there we go. So, now let's just trim that off. Beautiful. And you do both sizes of blocks in this exact same way. Just some simple snowballs. And we can roll these back. And the blocks are really that simple to make. I was so excited when I figured this out because I love how easy it is and how much movement you still get in the quilt. So, here is that 10 and a/4 inch size and here is our 20-in size. And so, let's go ahead and take these back to the quilt and talk a little bit about the layout. So, we have a lot of rows across since these are such long blocks that we're working with. So, it's 1 2 3 4 5 6 7 8 9 10 11 12 13 14 15 16 17 vertical columns. So, pretty fun. But we're going to start every other row with that 10 and a/4 inch block. So, you'll see here it begins and ends with the small block and then there's three of the large blocks in between. On the next row, we just have one, two, three, four of the large blocks. And it just alternates back and forth all the way across. Then once I had the whole middle put together, I put a little inch and a half inner border and finished it off with a small 4-in outer border. We quilted it all up with diamond loops. And it's got this great polka dot backing. I just love a polka dot on the back. I think it looks so cute. And you can really see that quilting pattern. Diamond loops as well as this fun striped binding. I just love how this quilt turned out. It's so simple but so striking. It finishes at 77 by 87, so a really nice size. I hope you guys enjoyed this tutorial on the jewelry box quilt. And I'll see you next time on At Home. Hey everyone, thank you so much for watching at home. We're so [music] excited to be almost a million quilters strong here at Missouri Star. And so if you haven't already joined our family, be sure to subscribe and hit that notification bell so you can be notified of all of our future tutorials. And we'll see you soon.

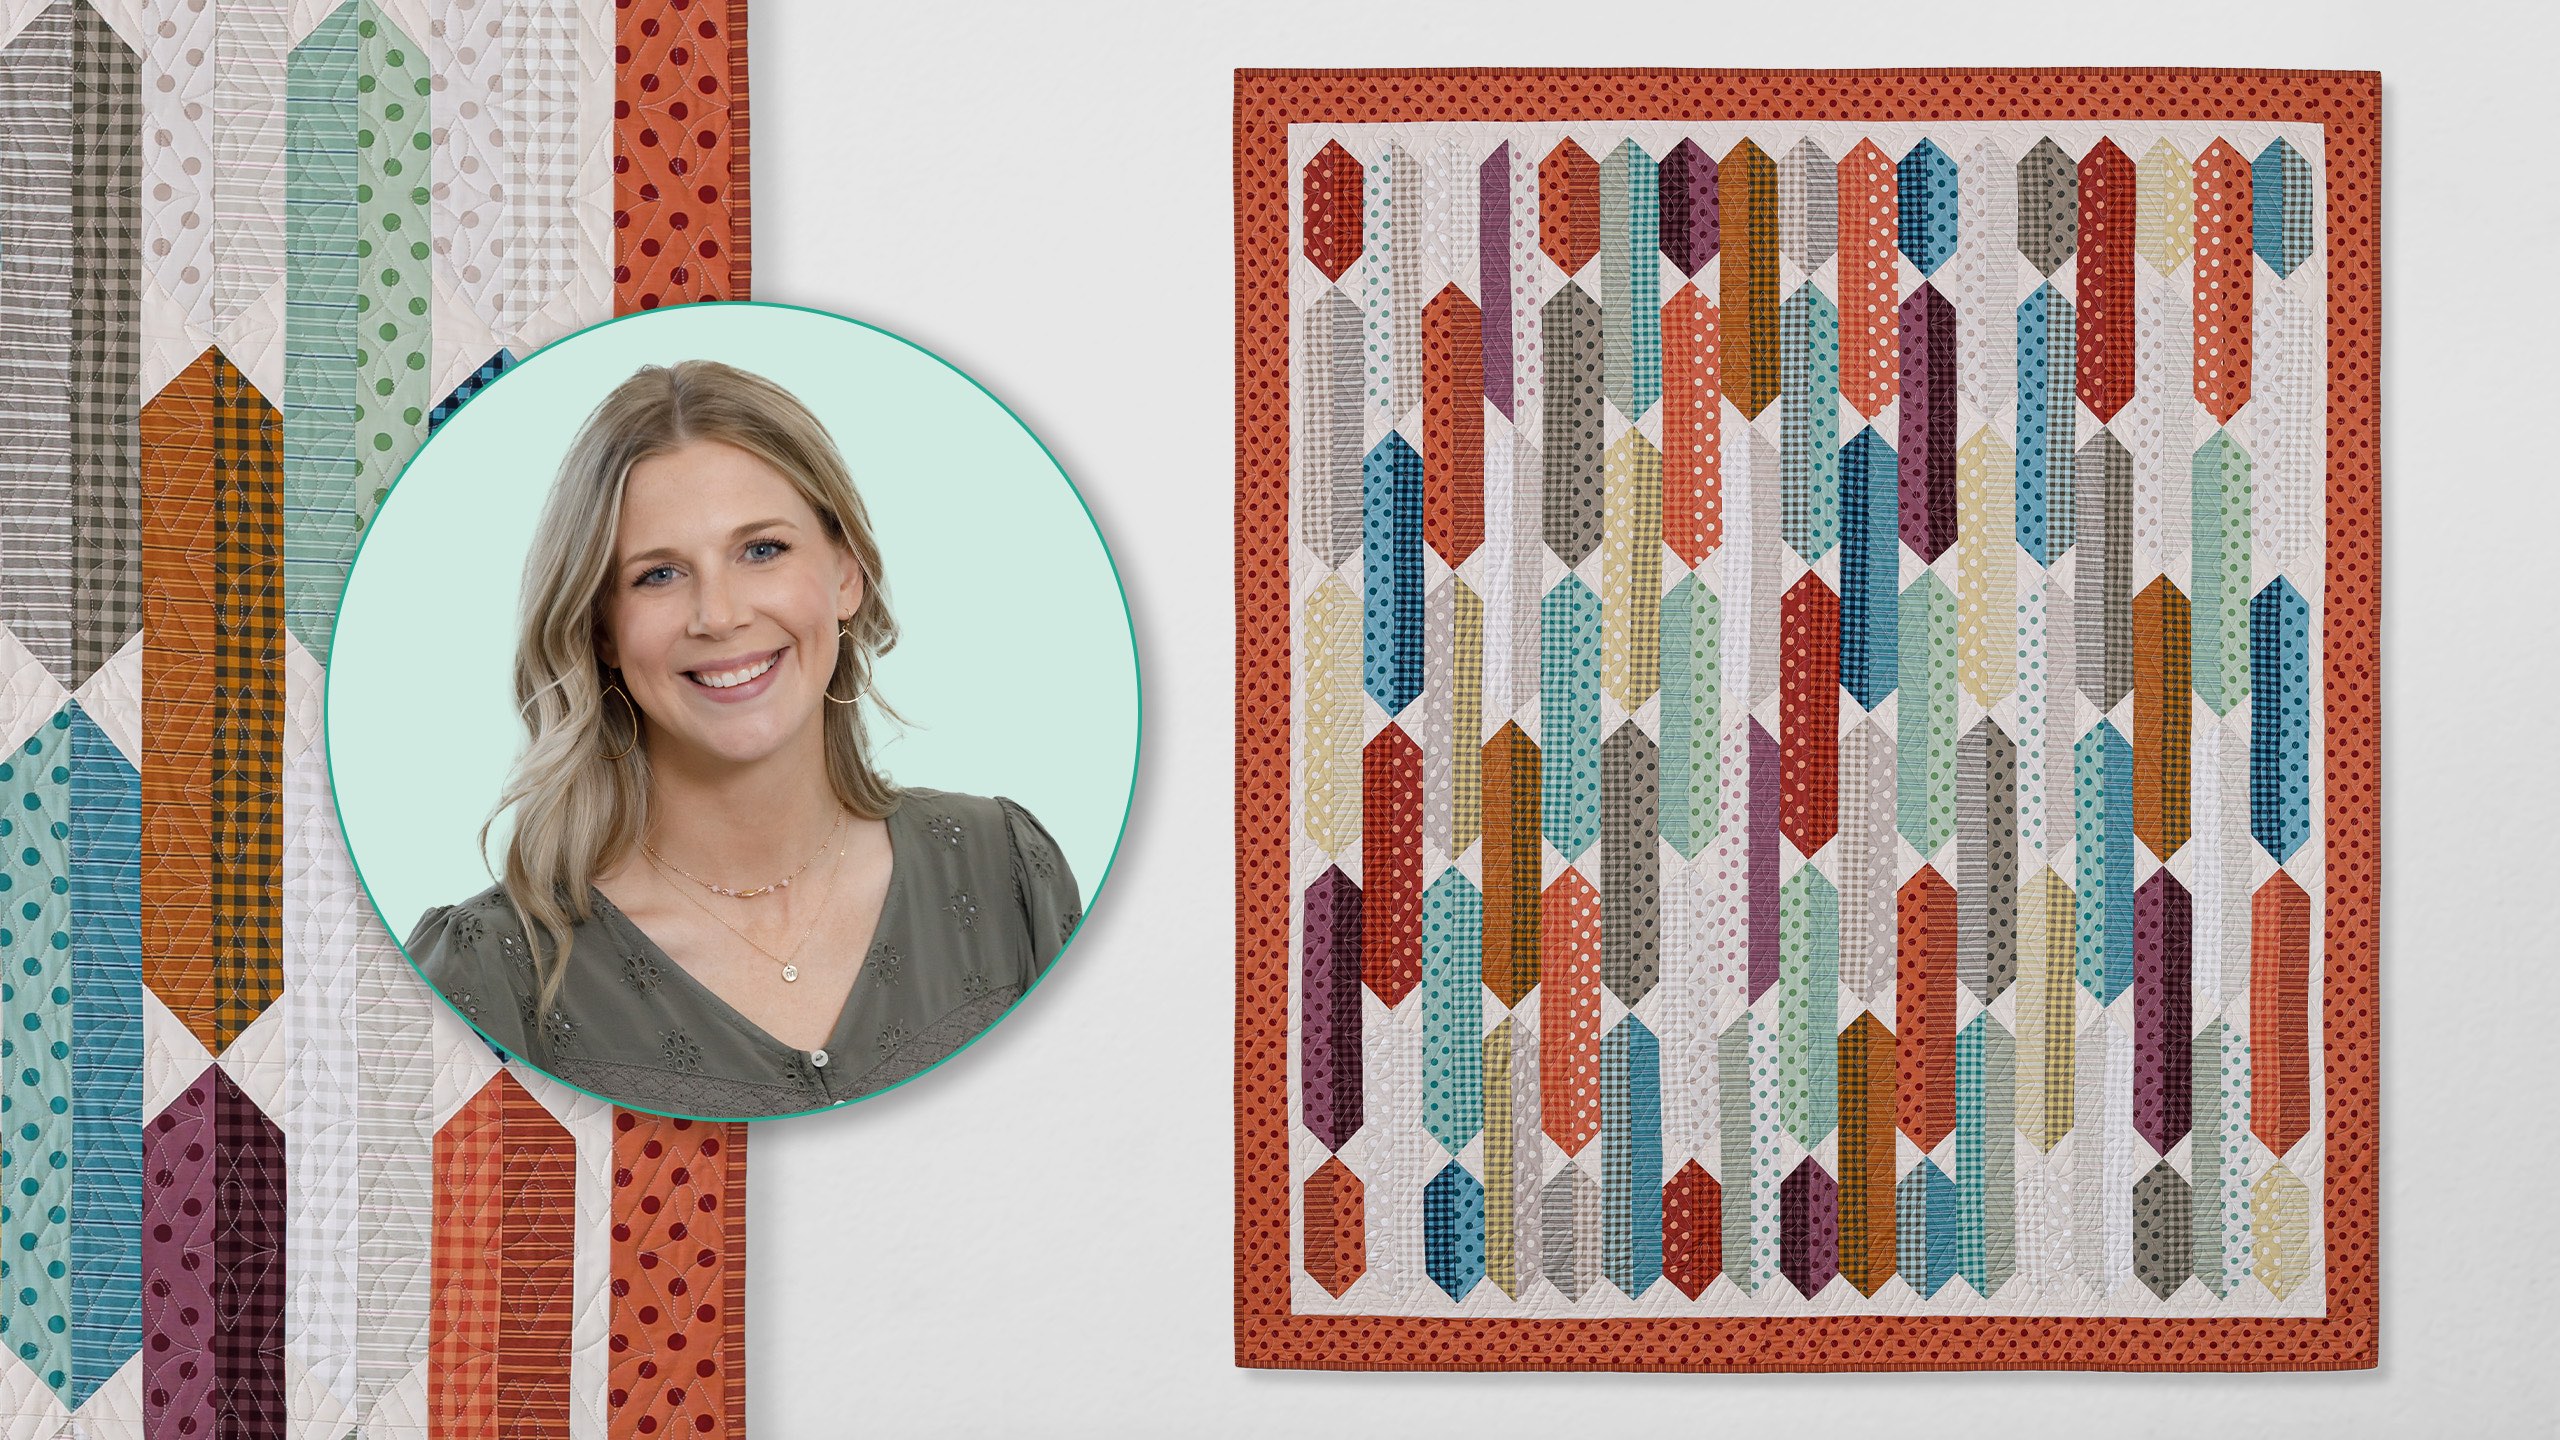
 Misty Doan
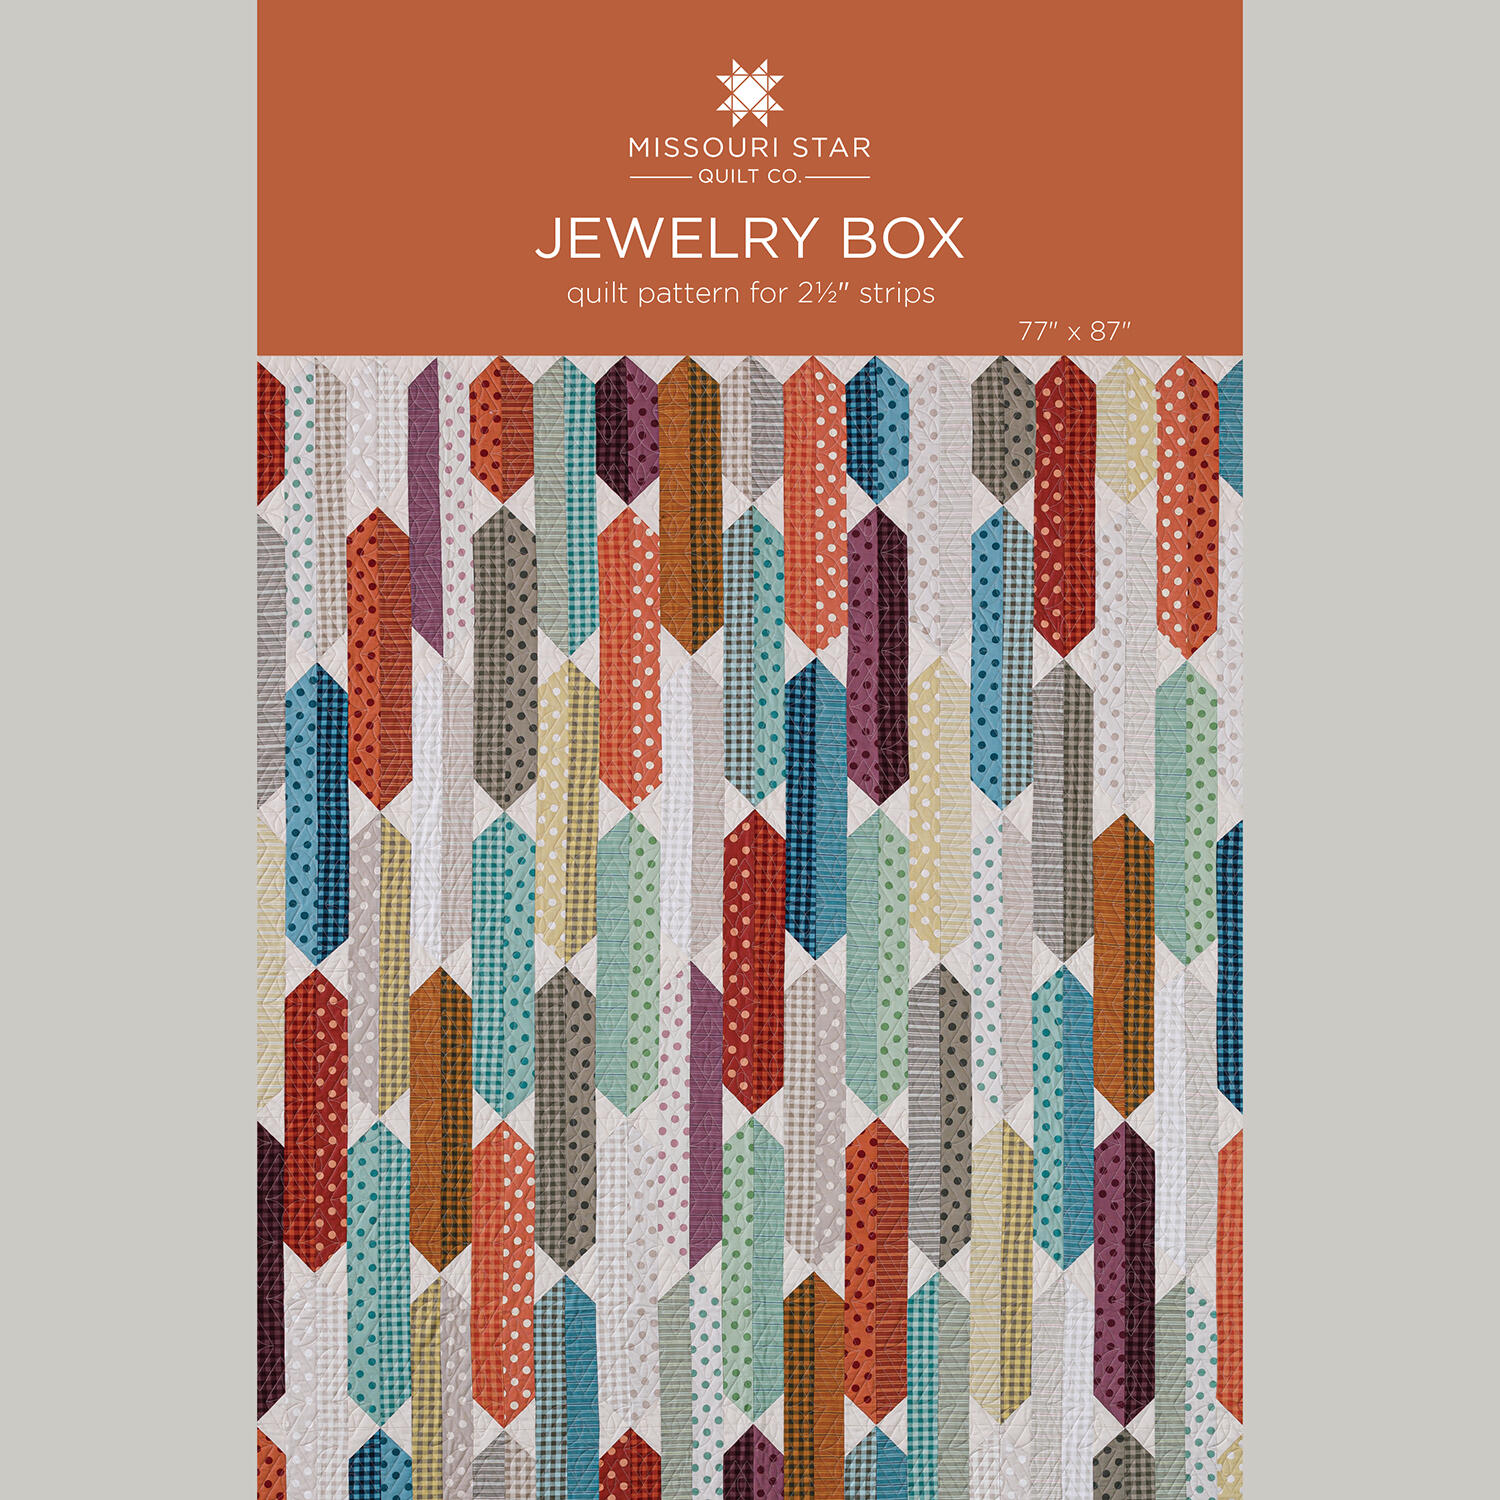 Jewelry Box Quilt Pattern by Missouri Star$8.50Shop →
 Digital Download - Jewelry Box Quilt Pattern by Missouri Star$6.95Shop →
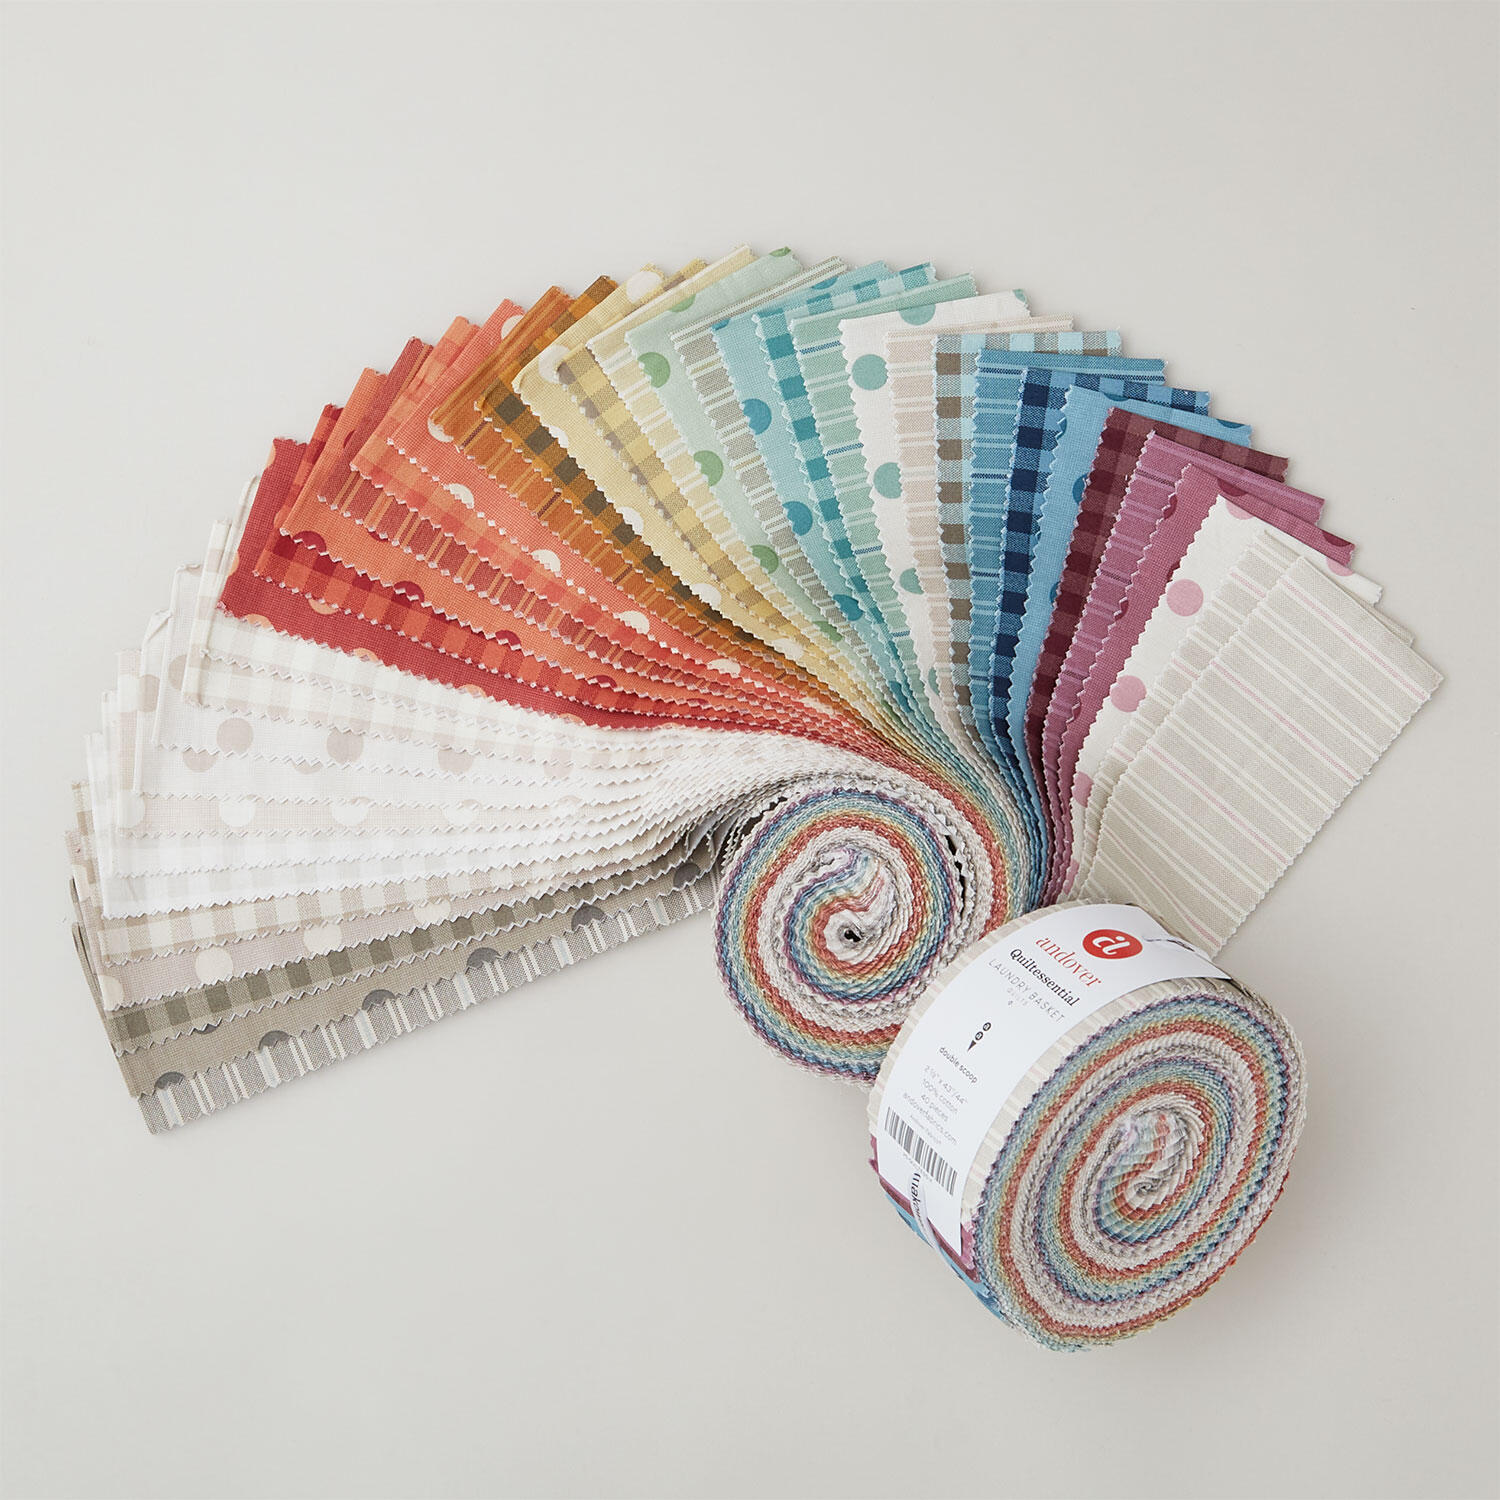 Quiltessential Double Scoops$41.95Shop →
 Colorworks Premium Solids - Vanilla Cream Yardage$8.12Shop →
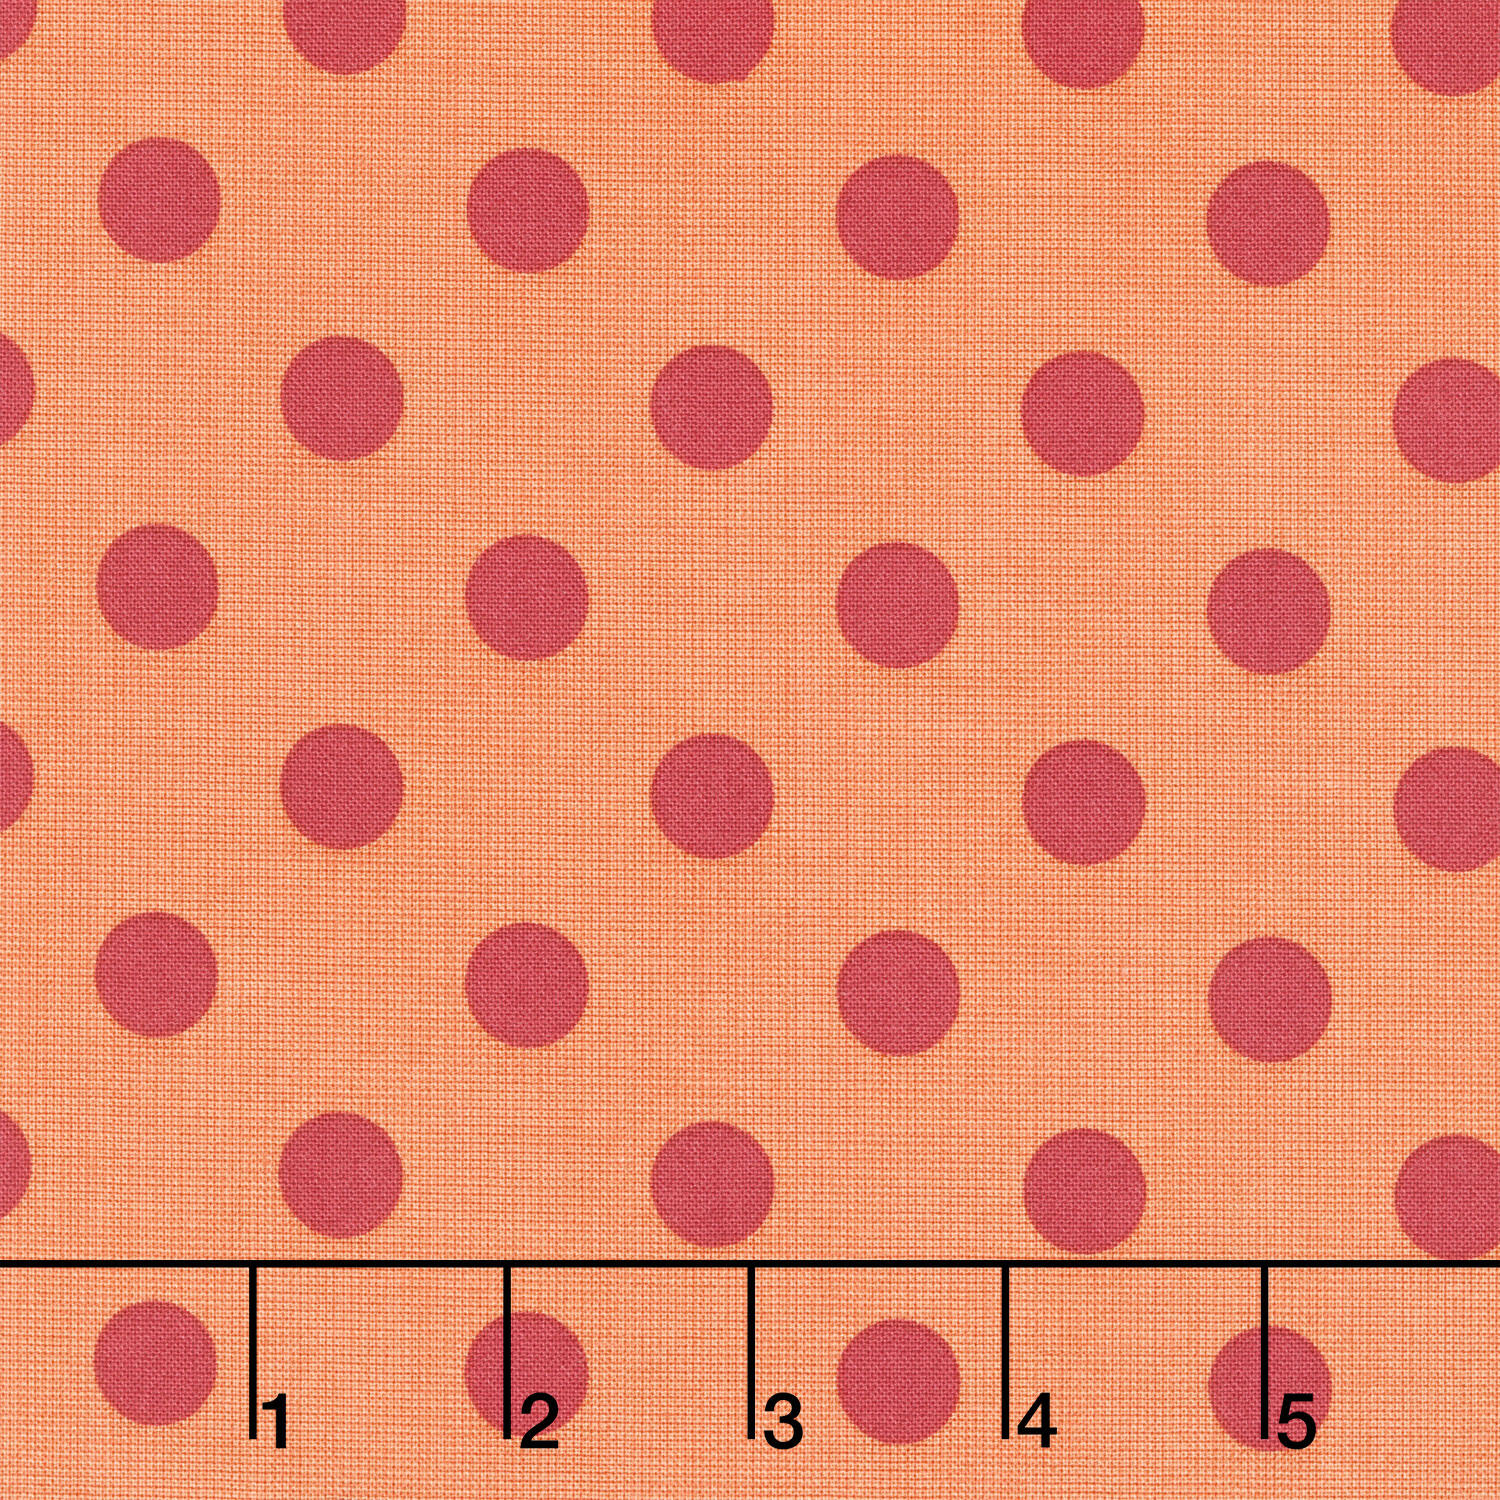 Quiltessential - Large Dot Tiger Lily Yardage$11.24Shop →
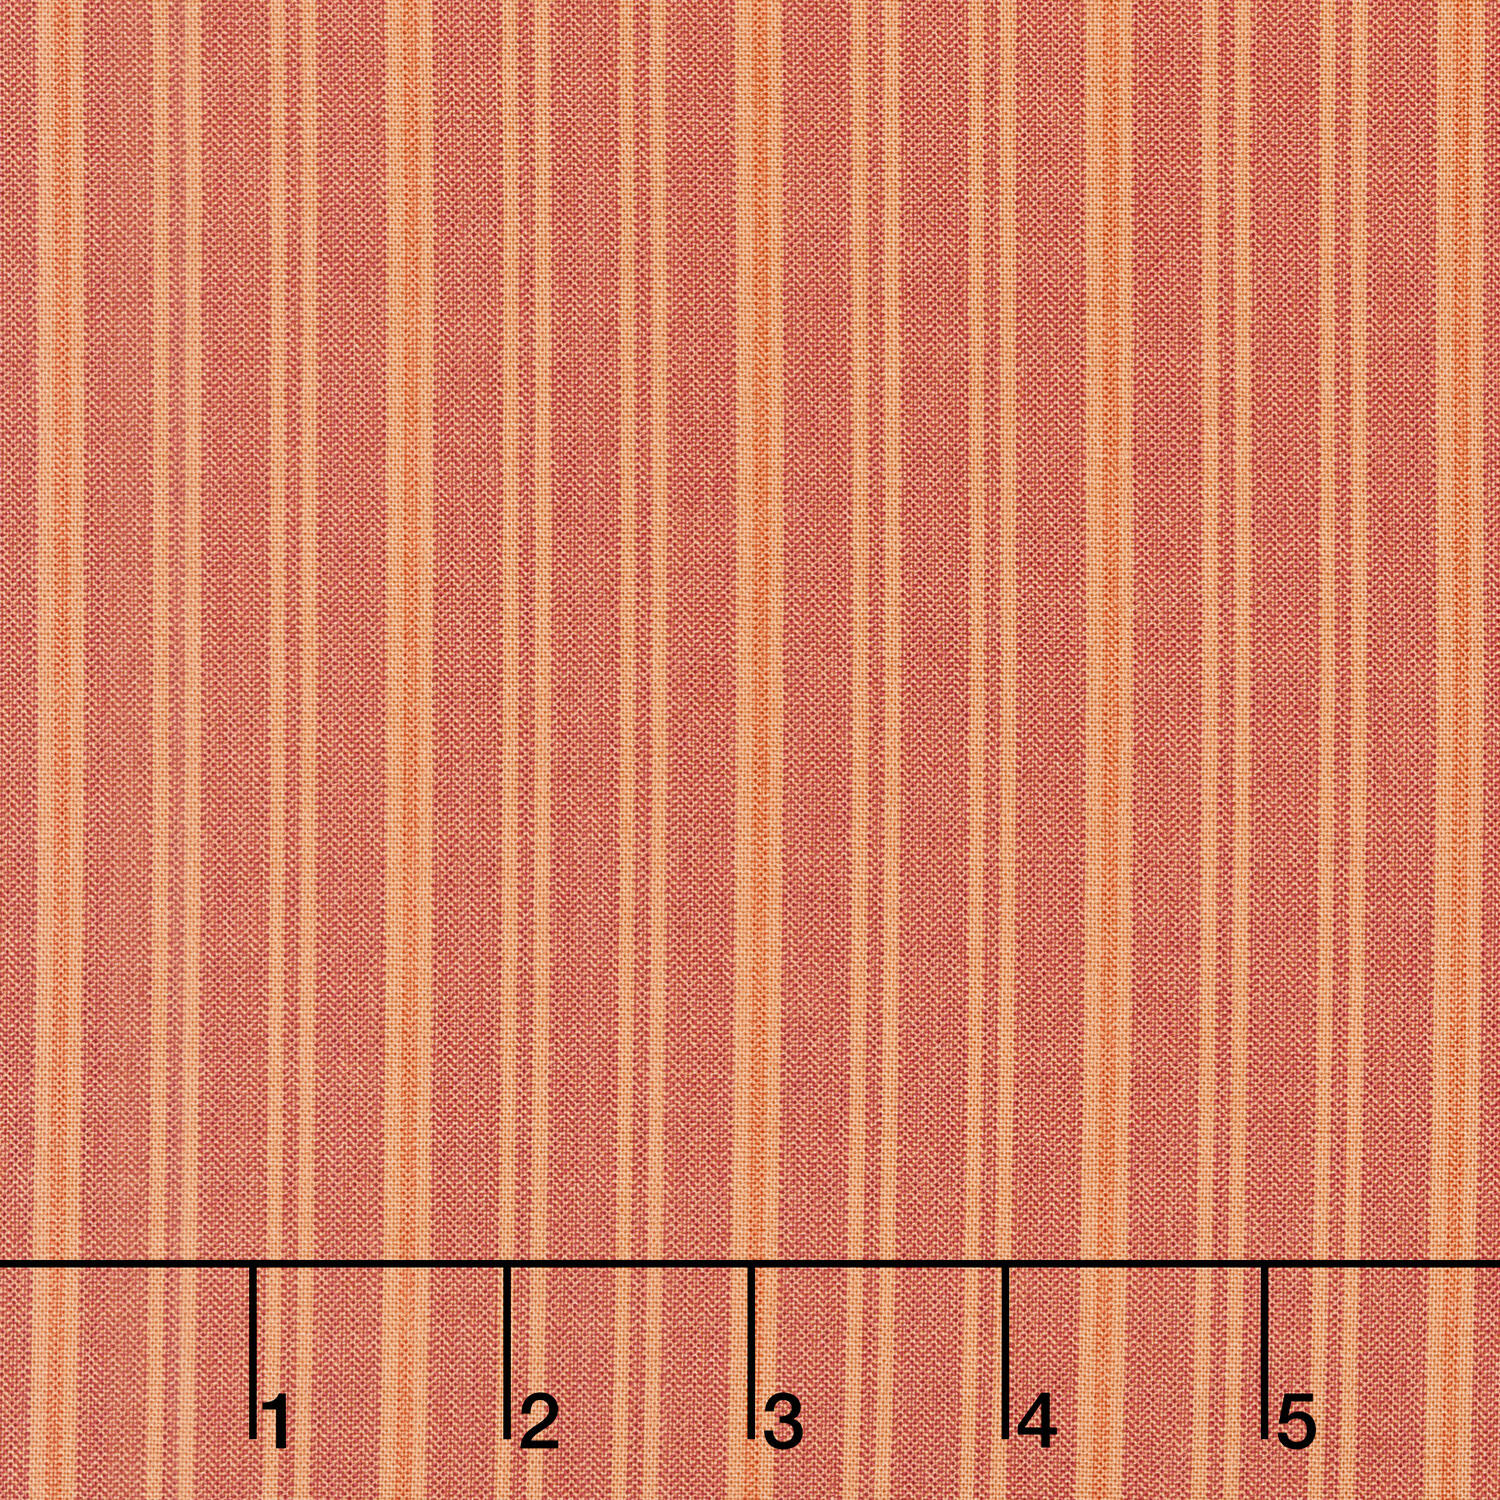 Quiltessential - Double Stripe Pumpkin Yardage$11.24Shop →
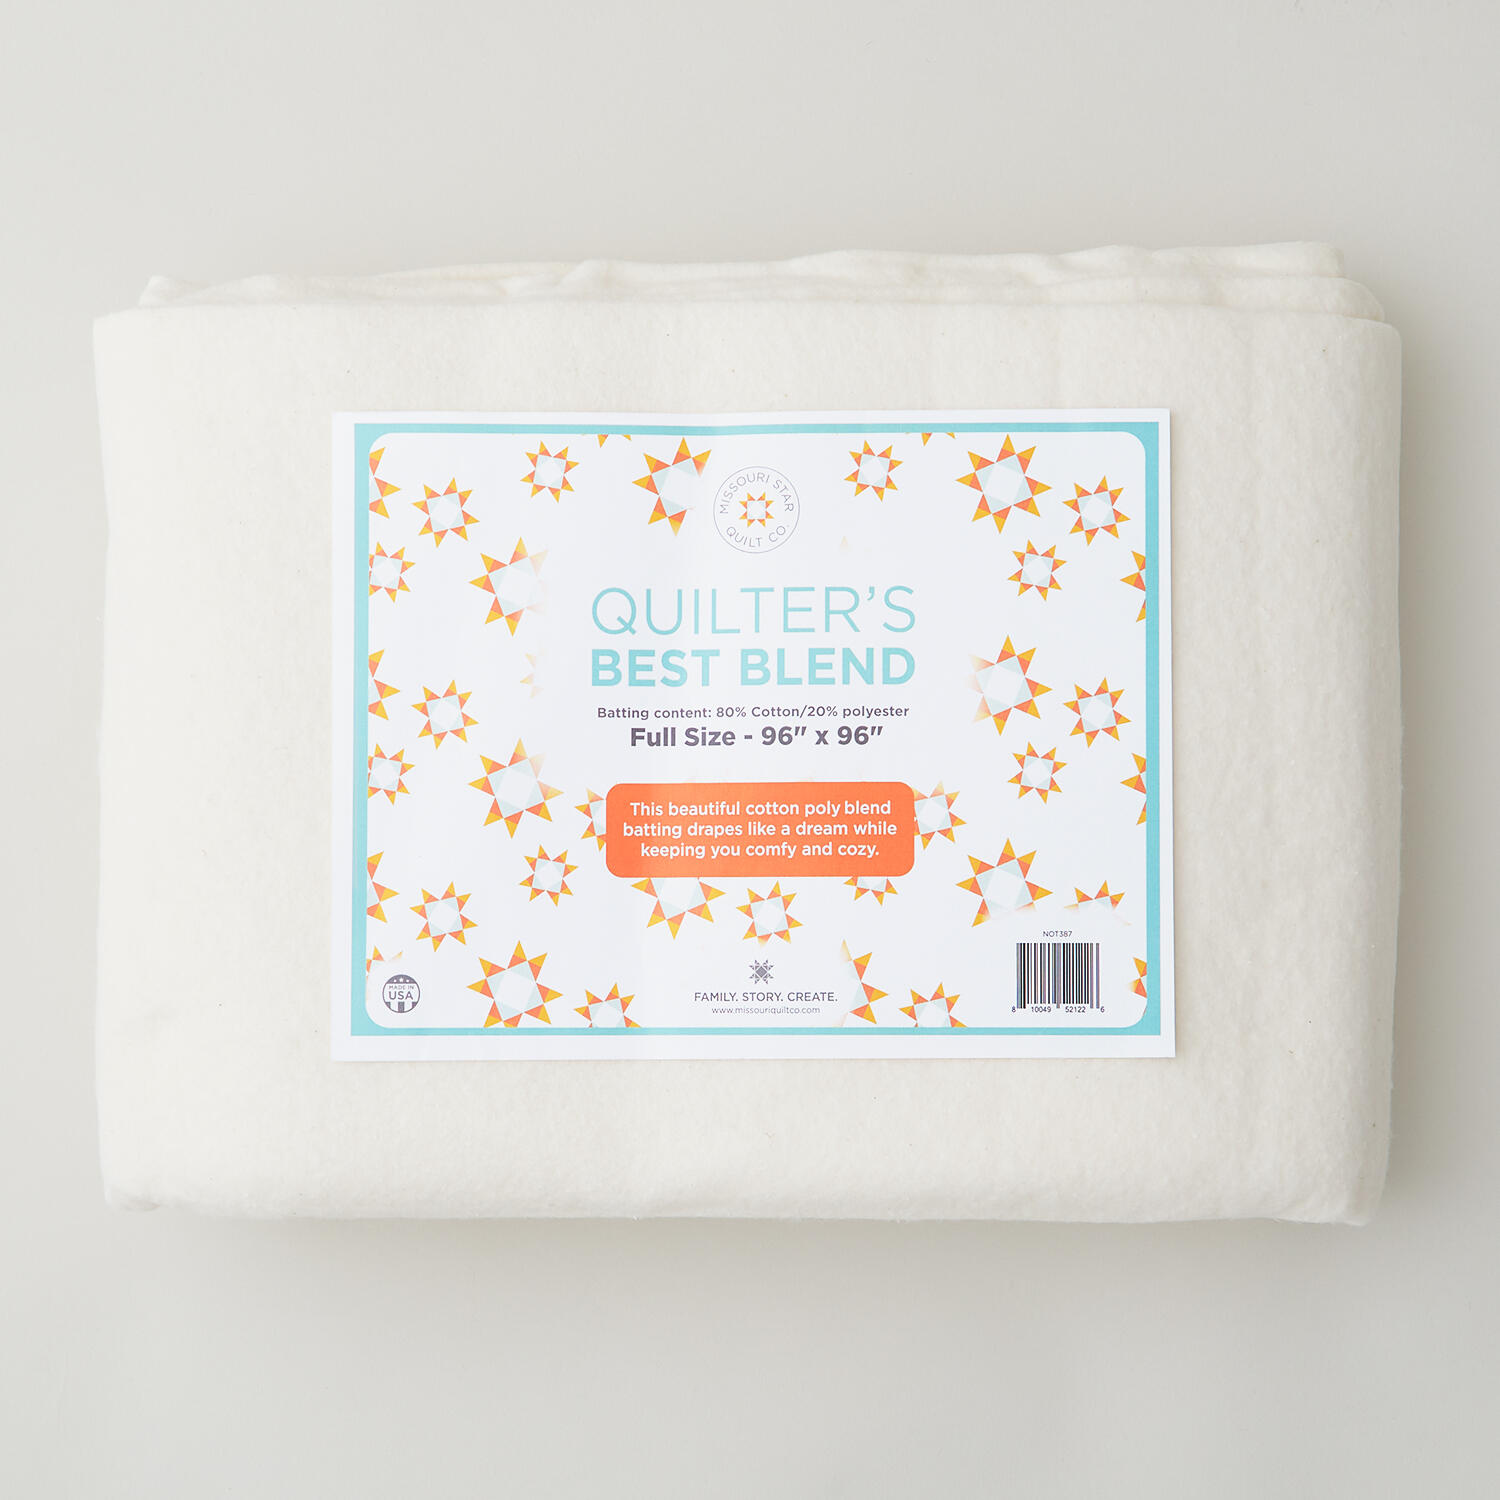 Missouri Star Quilter’s Best Blend Full Batting$32.95Shop →
 Missouri Star 45mm Rotary Cutter - Olga$19.95Shop →
 Missouri Star 8" Everyday Scissors - Amelia$19.95Shop →
 Missouri Star 50 WT Cotton Thread White$7.95Shop →
 Missouri Star + Oliso TG1600 ProPlus Iron$209.95Shop →
 Bernette 77 Sewing and Quilting Machine$1699.00Shop →


