
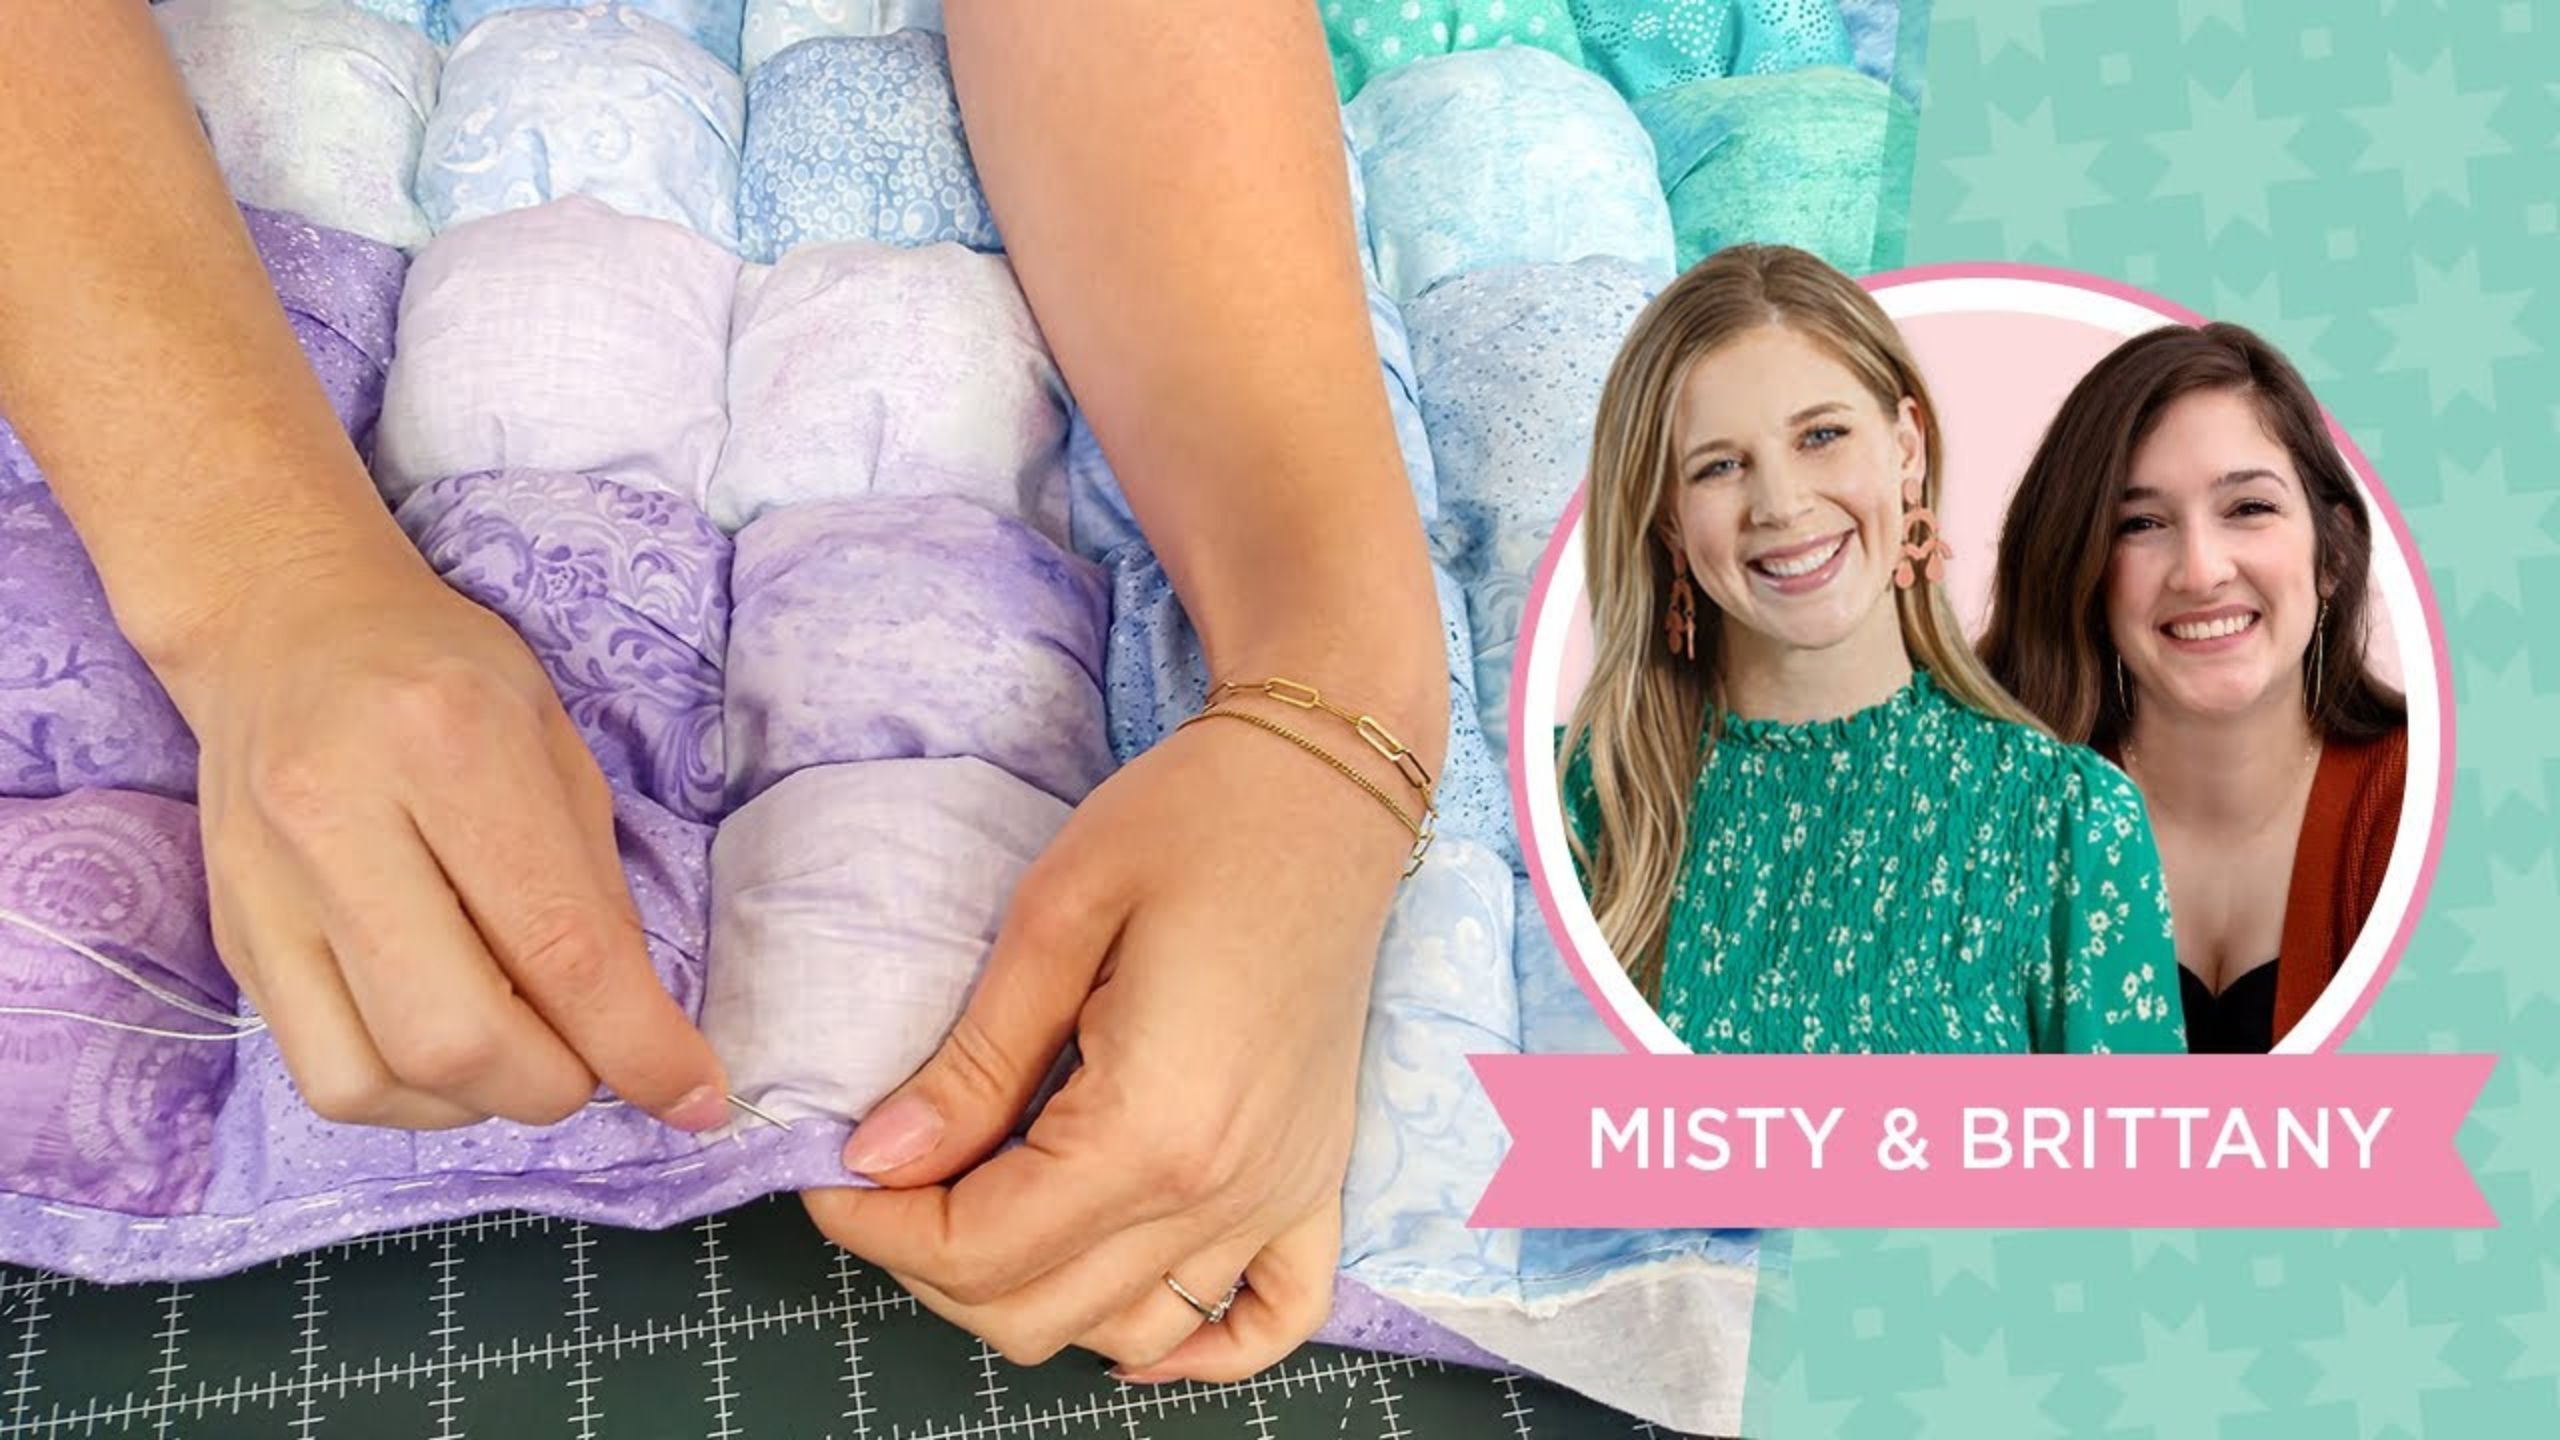
Join Misty & guest Brittany of Lo & Behold Stitchery as they show how to make a Puff Quilt!
Join Misty and special guest Brittany of Lo & Behold Stitchery as they reminisce about quilts from their grandmothers that inspire them to make modern versions! They make this soft, fluffy "puff quilt" and it's so easy! Pick out a few favorite packs of 5" squares, some muslin, and a fantastic puff quilt inspired by the past is in your future! Join us and make this fantastic puff quilt!

Instructor
Misty Doan
Misty Doan grew up surrounded by sewing and quilting. She loves spending time sharing tutorials each week each week, and when she’s not stitching up one of her fun sewing projects for home decor, most likely you’ll find her hanging out with her husband and three awesome kids or working on a house project.
Shop this tutorial
 Olfa Splash Aqua 45mm Rotary Cutter$18.75Shop →
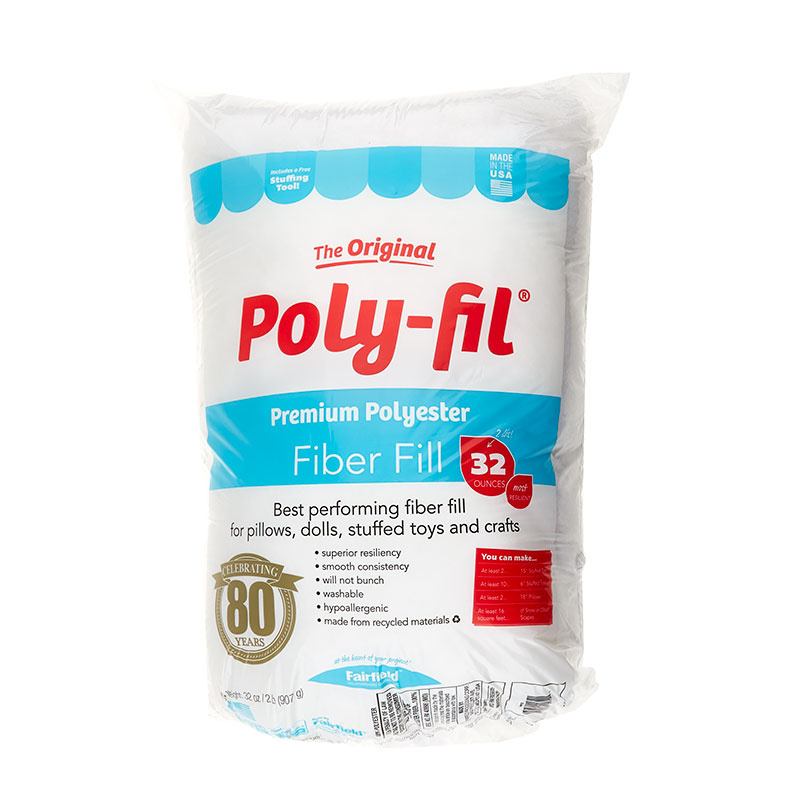 Poly-fil Fiber - 32oz$19.95Shop →
 Missouri Star 5" x 15" Ruler$15.95Shop →
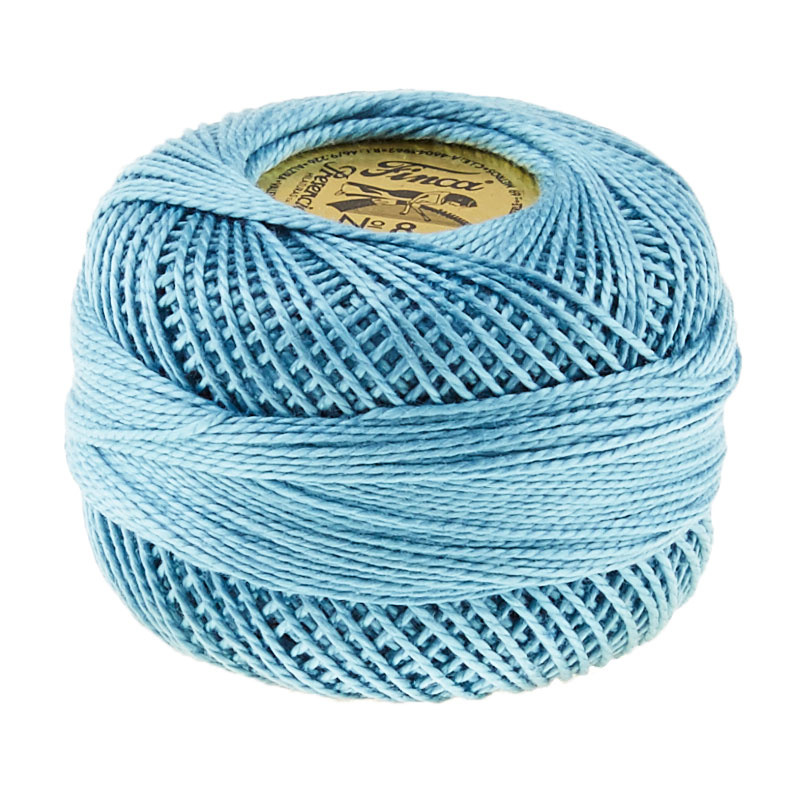 Presencia Perle Cotton Thread Size 8 Peacock Blue$3.45Shop →
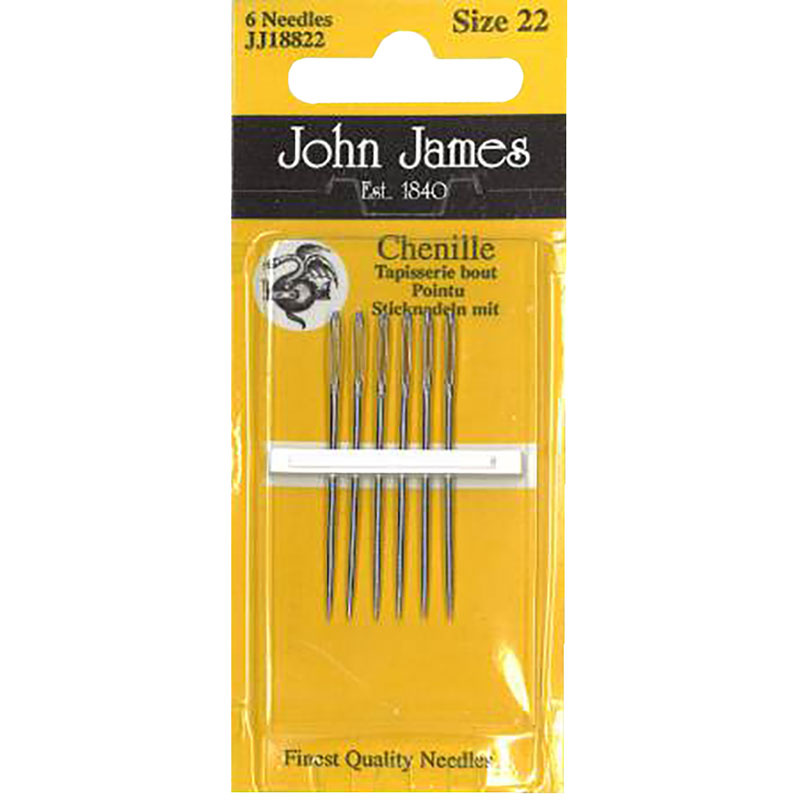 John James Chenille Needles - Size 22$2.95Shop →
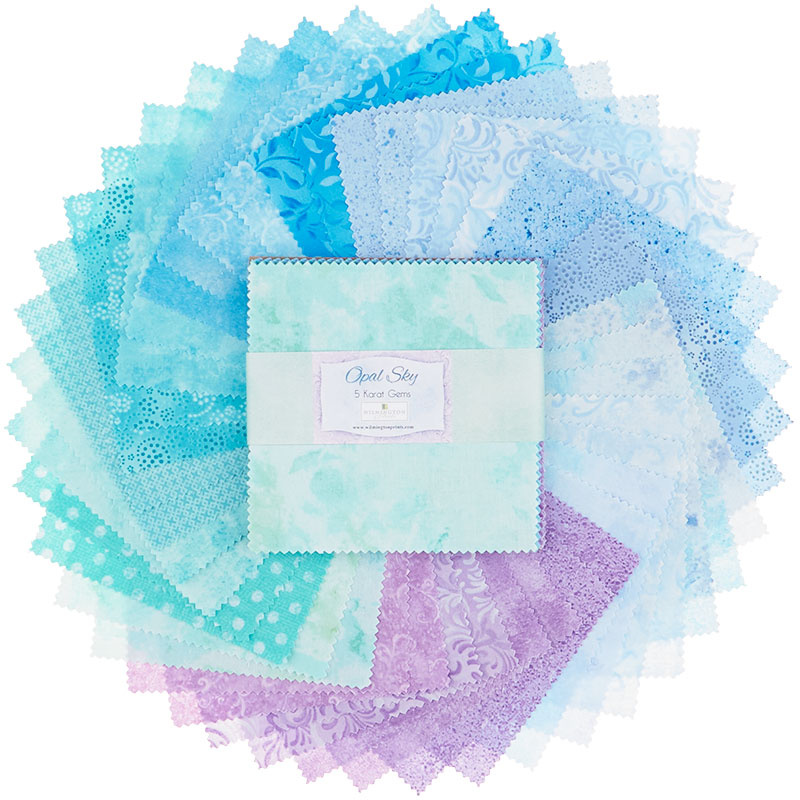 Wilmington Essentials - Opal Sky 5 Karat Gems$11.45Shop →
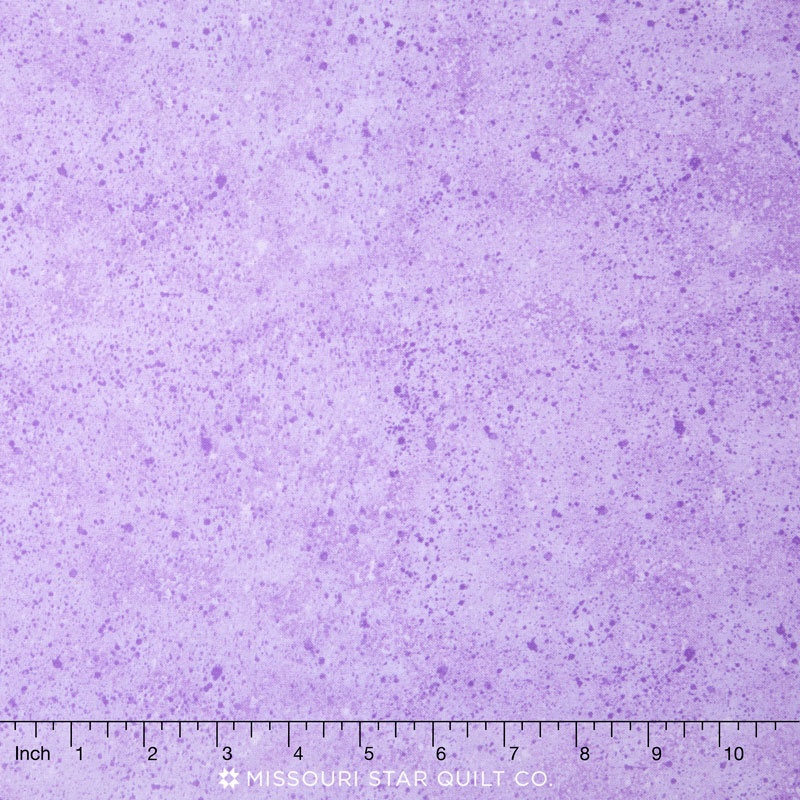 Wilmington Essentials - Amethyst Royale Spatter Texture Violet Yardage$10.96Shop →
Common Questions
What is covered in Join Misty & guest Brittany of Lo & Behold Stitchery as they show how to make a Puff Quilt!?
Join Misty and special guest Brittany of Lo & Behold Stitchery as they reminisce about quilts from their grandmothers that inspire them to make modern versions! They make this soft, fluffy "puff quilt" and it's so easy! Pick out a few favorite packs of 5" squares, some muslin,...
How long is the tutorial video?
The tutorial video is 00:37:02.
Are supplies listed for this tutorial?
Yes. The tutorial page includes the supplies and materials connected to this project.
Is a transcript available?
Yes. A written transcript is available on the tutorial page.
Video Transcript
1. You'll be creating tons of little "raviolis", pockets to stuff and sew them together before you stuff them. So you'll start by attaching a charm square (5" square) to a background square (slightly smaller) on three sides. Try pleating towards yourself so the presser foot doesn't get caught.
2. For the back of your little pocket, use whatever you want (some leftover fabric? fabric you don't like? Because it won't show! (you'll be adding backing fabric later on).
3. If you want to do an ombre layout, lay the whole quilt out as you get ready to sew the rows together. You'll be sewing them together unstuffed.
4. For the filling, use just a handful. Don't make it too full or too dense. You'll stuff one row at a time before you sew the row closed.
5. You don't need an iron for this one - yay!
6. You'll be using a scant seam to make your puff pocket, and a 1/4" seam to join your puffs together in rows.
7. Once your puff section is as big as you want it, then attach it to batting and quilt backing and baste it together (or pin!). Then it's time to hand tie your quilt!
8. You could bind this traditionally, but Brittany uses a self-binding method. She folds the backing around to the front and then hand sews it down to the front of the quilt. Cut your batting/backing down to 1" around the quilt on all sides. Then trim your batting down to 1/4" seam allowance taking care not to cut the backing fabric.


