Skip to content

Free quilting video tutorials from Missouri Star

Quilting Tutorials
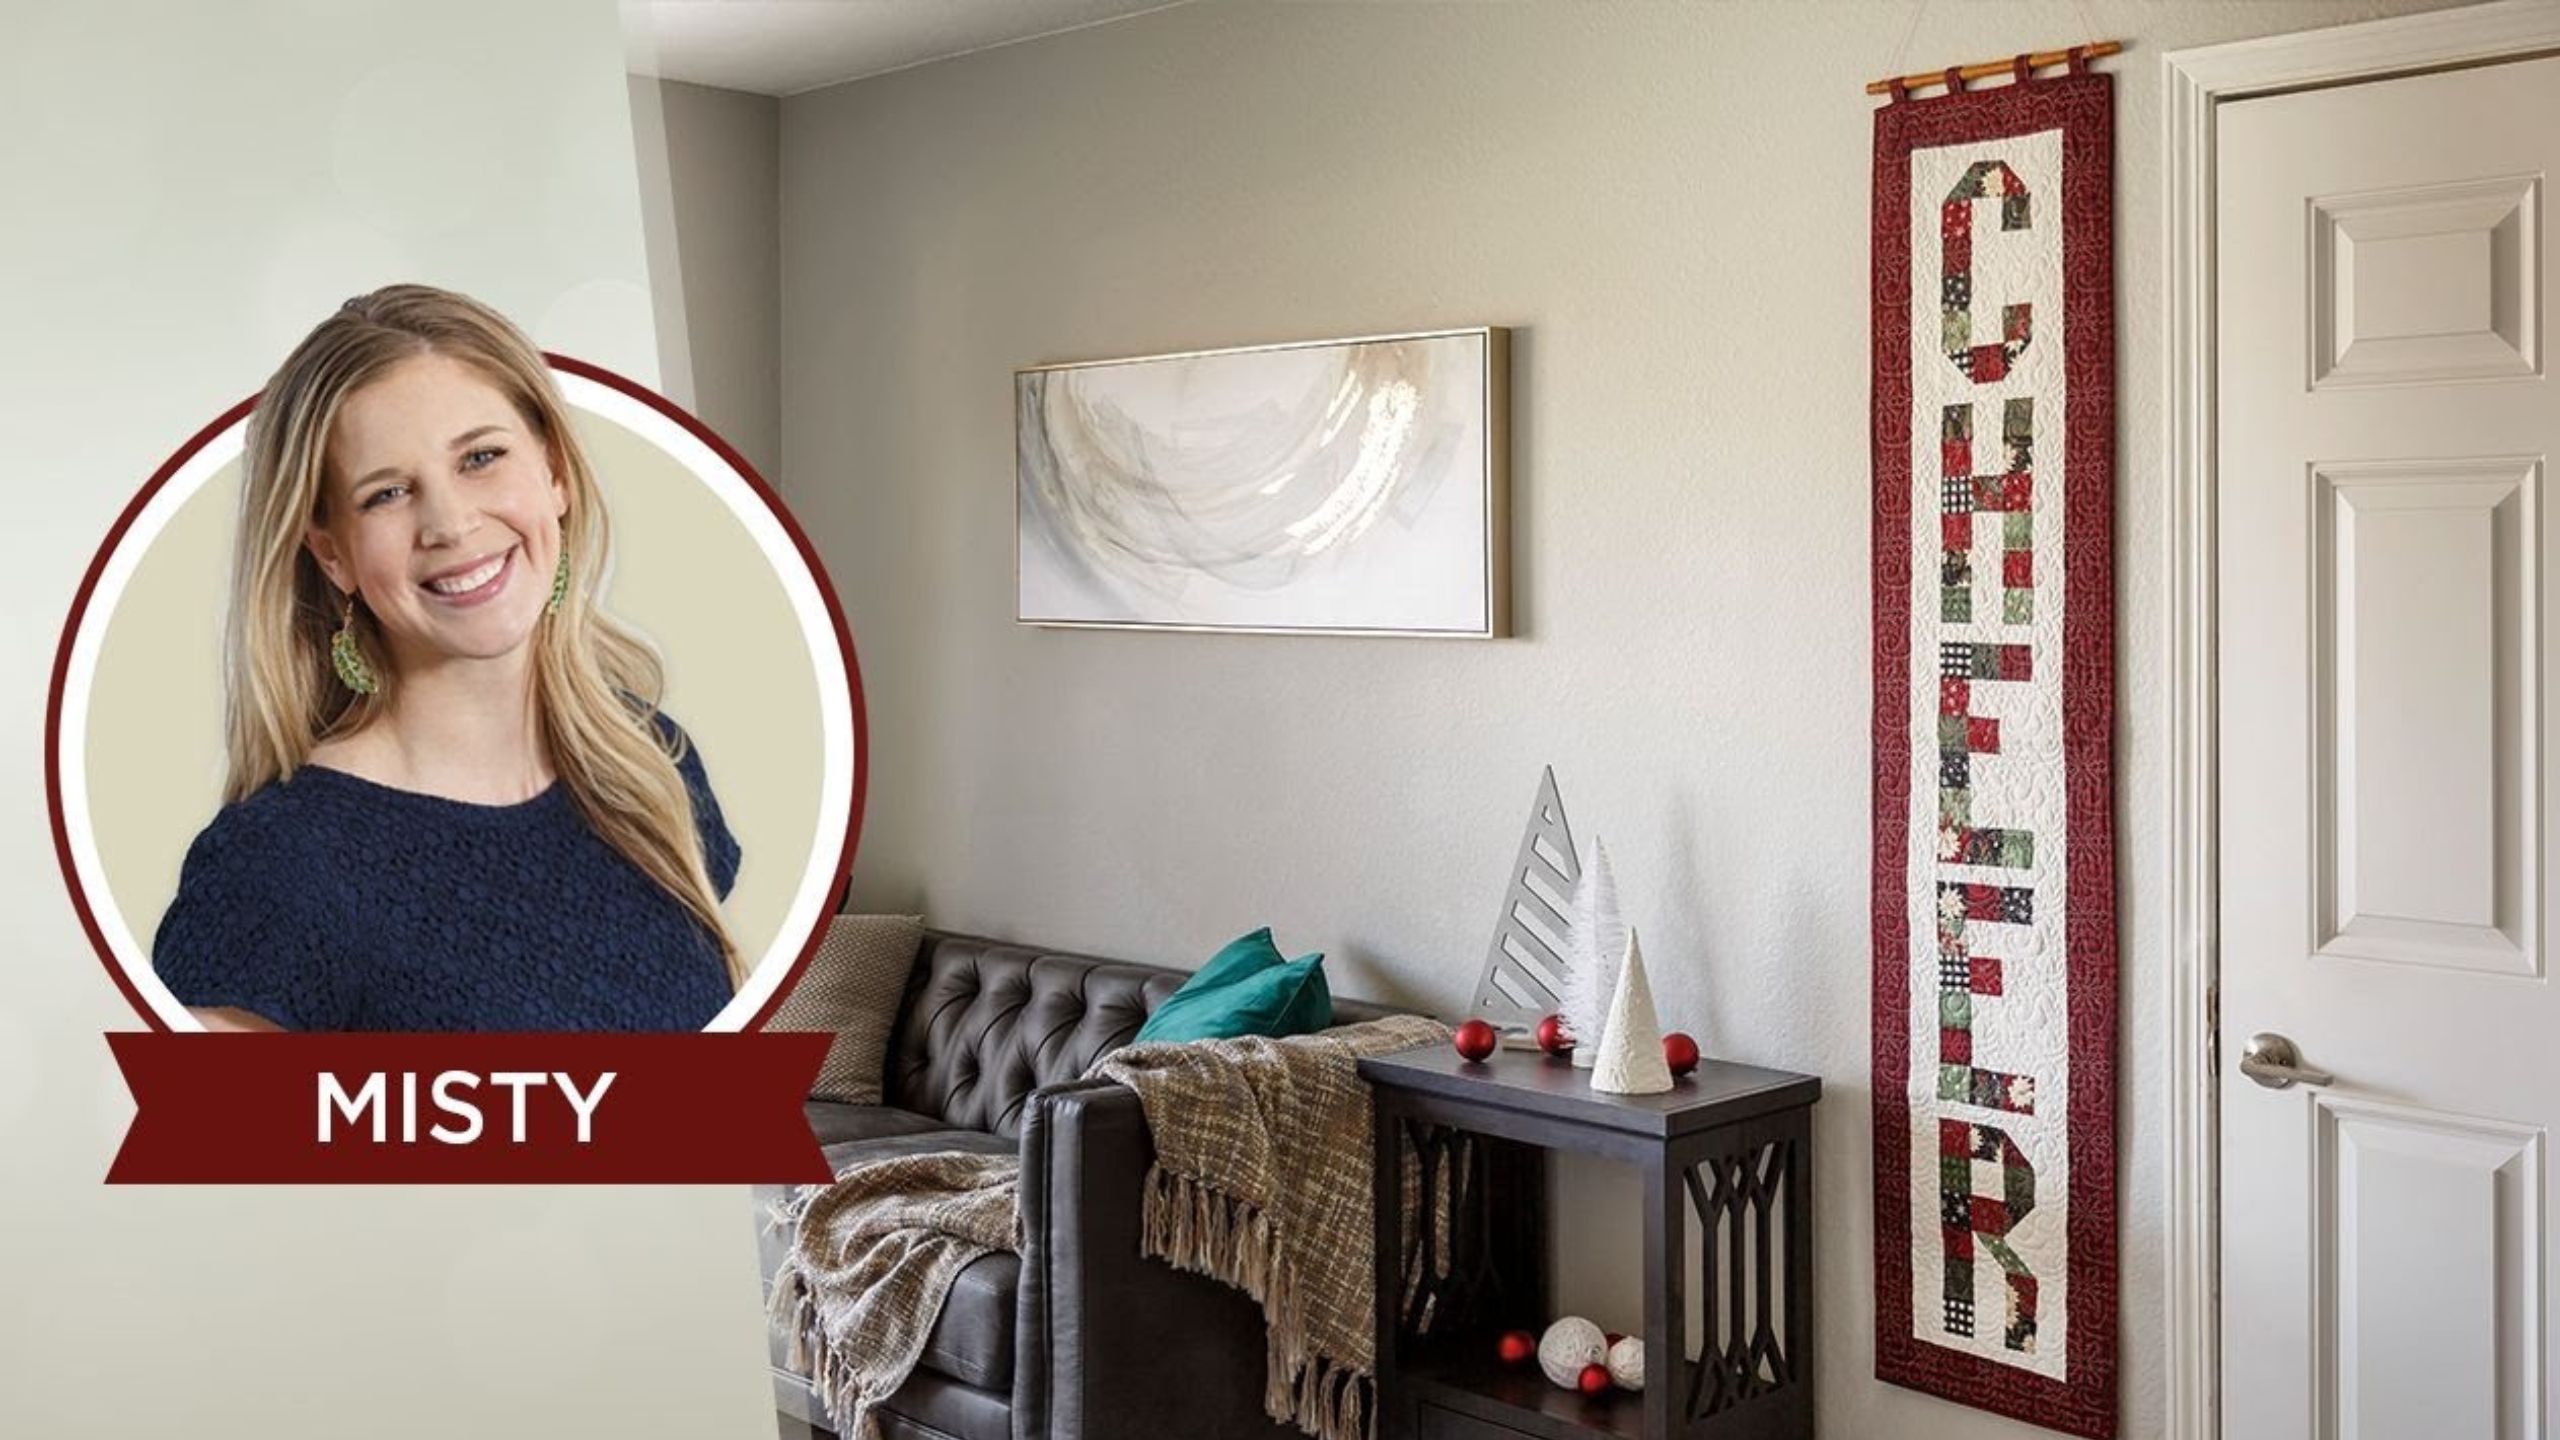
Learn how to make an easy Pixelated Word Banner with Misty Doan!

Learn how to make an easy Pixelated Word Banner with Misty Doan!

Gimme a Q! Gimme a U! Gimme an I! Gimme an L! Gimme a T! What does it spell? QUILT! Stitch along with Misty as she creates a cute pixelated word banner that spells out "CHEER" to celebrate her daughter. It's make with easy pixelated letter quilt blocks so you can spell any word you'd like. Try it in seasonal colors for the holidays or your favorite colors for all year 'round! No matter what you spell, it's sure to be fun.

Instructor

Misty Doan

Misty Doan grew up surrounded by sewing and quilting. She loves spending time sharing tutorials each week each week, and when she’s not stitching up one of her fun sewing projects for home decor, most likely you’ll find her hanging out with her husband and three awesome kids or working on a house project.

Common Questions

What is covered in Learn how to make an easy Pixelated Word Banner with Misty Doan!?

Gimme a Q! Gimme a U! Gimme an I! Gimme an L! Gimme a T! What does it spell? QUILT! Stitch along with Misty as she creates a cute pixelated word banner that spells out "CHEER" to celebrate her daughter. It's make with easy pixelated letter quilt blocks so you can spell any wor...

How long is the tutorial video?

The tutorial video is 00:26:11.

Are supplies listed for this tutorial?

Yes. The tutorial page includes the supplies and materials connected to this project.

Video Transcript

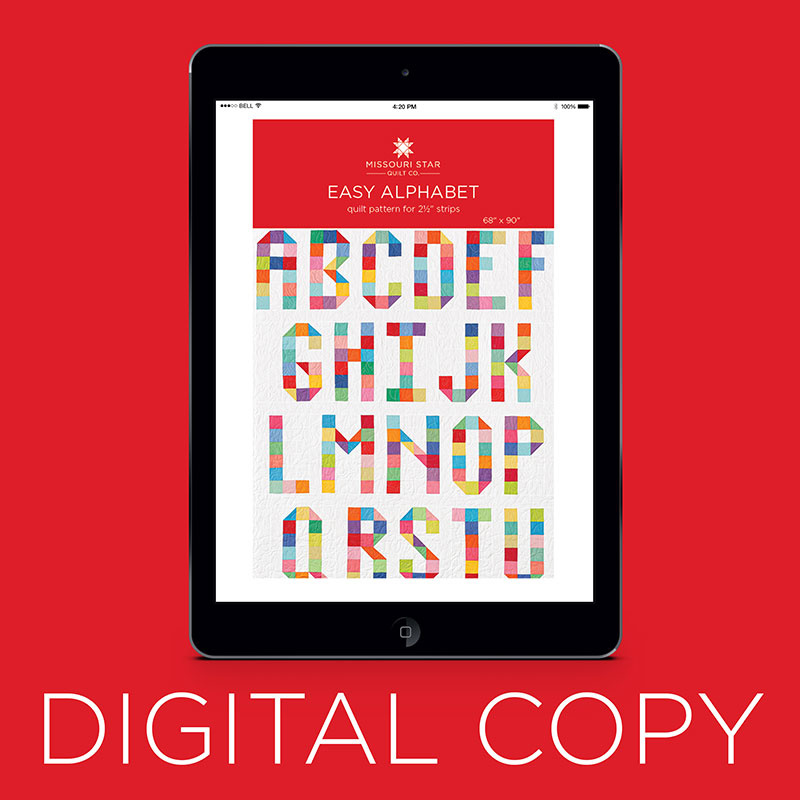
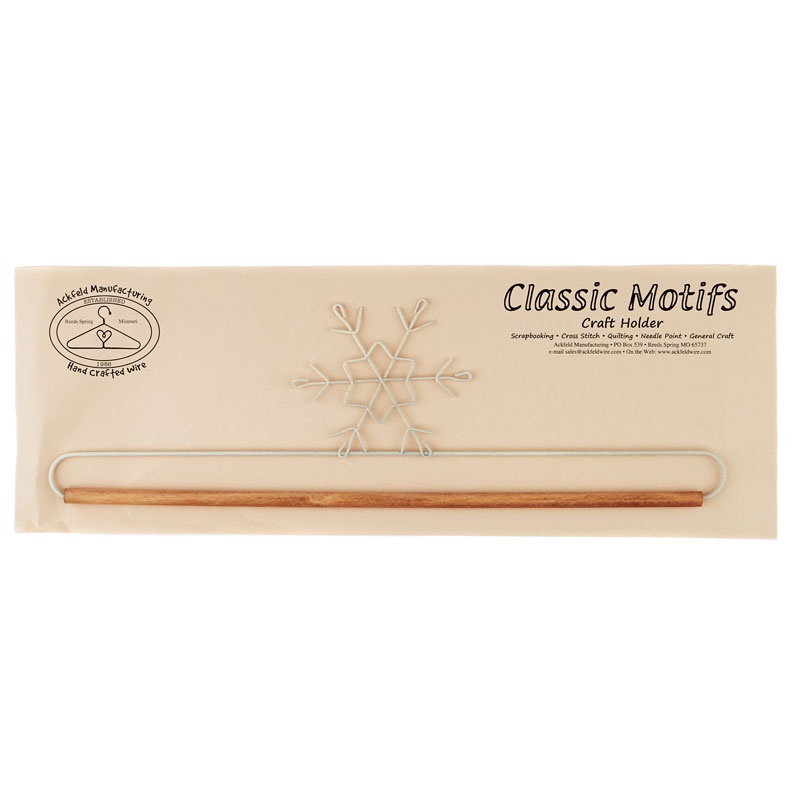
[Music] hey everyone welcome to the show i am your host misty doan with the missouri star quilt company and i hope you are having a fabulous tuesday i'm really looking forward to today's project i've had this idea in my head for quite some time that i wanted to make a wall hanging to hang outside on my front porch for the holidays you know you see those wooden welcome signs well i decided i would make one that says cheer for christmas so you can see it hanging up over here and we've got this really cute little hanger that i added the tabs that you could hang it from and so let me show you how we did this this is a spin off the alphabet quilt that i made earlier this year and so if you have that pattern it's all based on the exact same blocks but we also have a printable for you that gives you exactly what you're going to need for this project so be sure to get that in the link below and it will walk you through step by step all of the goodies that i'm going to explain so to make this project you're going to need one charm pack and i used farmhouse christmas which is by echo park paper company for riley blake designs it's a beautiful christmas line you're also going to need a half yard of your background fabric that's this cream color that i used here that's for your sashing and this first little inner border the inside to separate our letters and then you're also going to need one and a quarter yard of backing fabric and a half yard for your outer border and that will take care of everything that that we need to make this now this collection i used has been really popular so it's kind of in limited supply but i wanted to be sure and show you another great option that's available this is home sweet holidays by deb stern for moda and it has a lot of the same look and feel as this collection i used here so i just wanted to let you know you don't have to use the exact same collection this is going to be beautiful in any holiday collection that you choose so let's just dive in to begin we're going to cut our charm pack down into two and a half inch squares and so i just always have a few stacked up and then i'm just going to use my two and a half by eight inch ruler and i'm going to cut these down oops there's my first one line them back up and then i can lay my ruler this way because i know this ruler's two and a half inches wide they are all ready to go and i just went through my whole pack like that and made piles so i have kind of this dark green black red and this lighter green and i just made them like that so i had easy access to the different colors and then we're going to also need to make a few half square triangles so from our background fabric you're also going to want to cut some two and a half inch squares which is what i've got here so now let's just go ahead and make the letter c and so to do that we're going to need four half square triangles because you can see we do a half square triangle on each of these outside edges to create that angle the shape of the letter and so we need four for the letter c so let's go ahead and make those so i'm just going to pick a few random prints here there we go and then i'm going to pair those up with the background square and we are going to sew exactly corner to corner so if you want to draw a line you can you can press a line but i am going to just use the diagonal seam tape on my machine and we're going to sew point to point corner to corner so let's go ahead and make a couple of these so you just want to make sure your fabric is nice and lined up and that first point you're going to line up exactly with your needle and then i'm going to put the opposite point on the red stitch line of my diagonal seam tape and then oops and then as long as i keep my point on that line all the way through i know i'm gonna be exactly corner to corner now i can put the next one in right behind just like that and then i'll trim those apart and let's go ahead and cut off the excess leaving our quarter inch seam allowance so that will be waste unless you want to save all your little tiny half square triangles you know i'm not opposed to projects with tiny pieces so this would be a great way to just add a secondary line of stitching before you cut these apart otherwise we can just put those in the scrap bin or save them for you know little stash buster projects all right so let's go ahead and set these and press them back so we have finished half square triangles that end up the same size as our squares so we're looking for two and a half inches and i like to press to the dark side here there we go and the reason we do that is so the seam doesn't show through our lighter background so if you hear people talk about pressing to the dark side that's the reason sometimes if your fabric is going the other way you can just see a bit of a shadow through that lighter background fabric and so i tend to always press mine to the dark side all right so now let's lay out our c to get started so to begin with we're going to take our half square triangle that we made and then one solid two and a half inch square and then another half square triangle and we are just going to start mixing this up and using different colors and so then we're going to do let's see it looks like we need four solid two and a half inch squares going down and i'm just going to go through my stack and make sure i've got some variety here there's so many cute prints in this line there we go so there's four and then i can use this one and then we need one more here oh and then there and then we have one more solid here and here i think i'll use this guy and then we're going to fill in these empty spaces with our background squares so let me just go ahead and add that and that's why i like having a bunch of these cut and ready to go because i find it really helpful to just go ahead and lay each of these out so you can see how the seat is going to come together let's go ahead and sew a few of these we'll just stitch this right up so i'm going to start by taking my first row and i'll just keep it close by so i can reach over and grab the next one when i'm ready but i'm going to put my half square triangle next to my solid two and a half inch square and we'll sew that down and then i will open this up and put my other half square triangle i do want to make sure that they're going opposite direction so i'm getting that kind of rounded shape at the top so you can see they're they're going different directions there that's going to give me the look that i want with that first row then we'll line these up and sew our quarter inch seam there we go and there's our first row you can see how quickly that goes together and then we're just going to keep on keeping on down the rest of these rows so let's stitch these up really quick because i want to have a whole block ready for you guys okay all right so i have all the rows together for my first letter the letter c and so now let's go ahead and press these and i do like to um press my seams in opposite directions so that they'll nest up when i go to put these rows together so this first row i'm going to press them all to the left and then the next one to the right and i'll just do that back and forth and back and forth and by doing that my seams are going to be going opposite ways i'm going to trim this long thread there and that's going to make it so easy when i take these rows to the machine to line up my squares and have them match up nicely which is what we want so if you're trying to press to the left you can hold the left side of your fabric up in the air and just slowly roll across don't push too hard or pull too hard and that will make the seams go to the left and the opposite if you want to hold up the right side then your seams will go to the right all right and those are ready to go so let's start down at the bottom here and we're going to lay these together and i want to make sure you guys can see what i'm talking about with these nested seams so because i've pressed them in opposite directions when they meet up here you can see how this seams going this way and this seems going this way and they just sort of lock into place and every single juncture because we've taken the time to press is going to do that now and so it's just really helpful if you have a lot of places to line up seams to make sure that you do some pressing management it's worth the time so to get started i'm going to you know take a few stitches there and then i can lift this up and then i'll sew to that point and then make sure this next point is nested where i want it and we can just sew down and make sure all of our blocks are lining up now we'll open this and add the next one and continue all the way up our letter and because we've taken the time ahead of time to press we don't have to fight with those seams at the machine just check again make sure that they're nesting the way you want all right and we'll just continue until this block is all done and i'll meet you back here all right so there is our letter all my rows are stitched together and now i just want to give that a nice press so it's going to lay nice and flat so each of our letter blocks should measure 12 and a half inches tall and six and a half inches wide unfinished let me just triple check yep that looks exactly right so those are your unfinished measurements and so now let's talk about how we set the letters together i have an h made here so we can just go ahead and put two together to start to give you guys an idea so i'm going to cut or i have cut i should say some inch and a half strips and then we're going to cut those into six and a half inch segments from there so let's go ahead and trim off our selvedge edge and then measure over whoops i missed a piece there let's get this lined up again we'll measure over six and a half one two three four five six and a half and these one and a half by six and a half inch rectangles are what i'm going to put at the top and in between and the bottom of each of my letters so we're going to do sashing all the way top to bottom and so you can see here on my little project this is that one and a half inch strip that runs right here and then in between each of these letters all the way down to the bottom so let's go ahead and cut a few more and then we can add these and sew them together so let's go one two three four five six and a half there we go and let's just go ahead and add the top and then in between the letter to give you guys an idea of what i'm talking about so here's my one and a half by six and a half i'm going to lay that at the top of my c make sure i'm all lined up where i need to be and then we're going to sew that with a quarter inch seam and make sure our end is lined up as well now we can turn and we can go ahead and add that same size strip to the other end just take a few stitches and then make sure you're lined up all the way down and then this one we can you can either go ahead and go press it or i just like to kind of finger press it here at the machine and then we'll add our h that i've already got ready to go and you would just continue in this same way with all your letters whatever word it is that you're spelling you can see how easy that is to put that little one and a half inch strip in between there we go so now you see our letter has some letters have some separation it makes it easy to read which is what we want so i'll just press that back and like i mentioned you would just keep going and so then this here that just runs vertically on the sides of our letters we it doesn't have a top and bottom but this is your inner border and these are two and a half inch strips that are on either side of your letter blocks and then this is a three inch outer border that we finished it up with but i want you guys to notice the little tabs at the top that are hanging this on this really cute little snowflake hanger this is what i've hung mine on so you can see it here it's got this great little snowflake detail and a little wooden dowel and i will show you just how quick it is to add the tabs i actually made a little bonus project because i thought this fabric was so cute so i just made this little wall hanging let me show you and i just made it using a half square triangles so my charm squares i just let me see where'd my piece go here you go you can see i put a five inch background square and a five inch charm square together and i just drew a line and then sewed a quarter inch from either side and then i went ahead and pressed those and squared them to four and a half and then i used my half square triangles and laid them out in this cute little star and i quilted this myself these are just really simple half square triangle star but i want to make sure that you guys know how to put these tabs on because it's a great way whether you're hanging a full quilt or you're hanging a wall hanging to just add a little bit of extra detail so to make the tabs you're going to cut two and a half inches by five inches four times out of your rectangle i like to use at least four tabs just so that whatever the project is hangs really even i just don't want it to droop in the center and so we're going to take this over to the pressing mat and we're going to turn the two long sides under a quarter of an inch or about that just eyeball it but that's what i'm shooting for so i've got that first side done and then i'll turn and do the other side i'm just going to give that a press and once those are turned under under excuse me i'm just going to fold it in half long ways and give it another press and that's just going to put those raw edges inside and then we can take this to the machine and we're just going to top stitch on either side so it looks nice and finished and it will enclose those little edges that we turned under so this is much less than a quarter inch i'm using more like an eighth or a sixteenth of an inch i'm going to go down that side that has the open ends first and then i'll turn it around and go back the other way so that second row of stitching is purely decorative but i think it's a nice touch all right and i have the rest of these already made and ready to go so now what we want to do is we're going to flip our project whatever it is that you're hanging to the the wrong side so the backing is facing you and we're going to grab some pins and i like to measure in from the outside at least an inch and a half i find that that gives me plenty of room so that i'm not going to catch this in the binding and so i'm just using my little ruler here and i've got it on the inch and a half line and i've folded this in half these tabs that i made and i'm going to put the first one right there i'm going to be sure to pin far enough down that when i go and add this binding i'm not going to sew through the pin so you can see my pins are well out of where i'm going to stitch the binding later and then we're going to do the same thing on the opposite side so measure over an inch and a half and if you're doing a bigger project you might want to come in two or three inches before you put your first tab it just depends but this is the same thing i did on the chair wall hanging i followed this exact same method and so we're in that inch and a half with our raw ends pointing up to the edge of the project put a pin in there and then we can measure over i like to measure over usually three is a good number and i just kind of eyeball it so if i do three from there and three from there i think that's going to divvy it up just about right that's going to look great okay and so then we'll just put a pin in this one check again measure over three from the edge of that last one we put in and we can add this here there we go so those are all pinned in place now on the back side of my wall hanging quilt whatever project you're making and so then let's take our binding now and i just want to show you guys on camera how i do this because once i have these pinned in i'm just going to add my binding just like normal if i were going to hand bind it so that means i'm going to sew my binding to the top because i will go back and finish this by hand if you were going to machine bind it you would do the opposite you would start on the back and then bring it around to the front but i'm going to start on the front so let's go ahead and we'll just start stitching this binding i don't like to start on the side that has the tabs because i want to make sure that that side has a full line of machine stitching so i'm actually going to begin my binding here on this other edge that doesn't have any tabs on it so let's do that make sure we are good to go i like to backstitch just a little bit there and we'll come down to this corner all right and then i keep my needle down i turn and i sew right off into the corner and then we can fold back at a 45 make a nice corner for our binding make sure it's all lined up there we go and so this is the side now that has the tabs on it and so you're gonna notice you just take your time we've got those pinned in place and our our pins that we put in are completely out of the way of where we're stitching because we're just doing that quarter inch and so we're just going to take our time and you can see the machine sounds a little different when we're sewing through all those layers but it sews through it beautifully i just want to get to this other side so you guys can see there we go and again i'm going to sew into that corner and i'm going to make this corner before i show you guys how this is going to look there we go that laid down beautifully okay all right now i'm going to go back and finish adding the rest of the binding to this later but i just want to show you guys how this looks once i turn it so let's flip this back around and take these pins out and you guys can see that we've caught all of those tabs in our stitching and so now they're attached they're attached to our project and so we can just go ahead and take our binding and i like to go ahead and press it back it makes it easier for me to work with and now when i do that and i go to hand bind it you can see it's going to cover those raw edges of the tabs just like it's going to cover the raw edge of our project and so you can either just let those flip up when you hang it but i like to go ahead and bind all the way around and then i just come back and i add a few little hand stitches to tack those up and you can see on the project here if you look super close there's just some tiny little hand stitching going along there to hold those together and so we'll get a nice detail shot for you of that but that is really it and i wanted to make sure that i talked a little bit about that tab process because it's very very easy it's not difficult to do it all and of course if you had a larger rod that you were hanging this on you might need to make your rectangles a little bit longer but i do want to show you how these hangers that i used work they come in many different patterns they're really really cute so let's just pull this out of the package and i'll show you so this one's the little snowflake like i used and then the end you just kind of pull and it pops out on one side and so then your project would just slide through those tabs and then you would pull and pop that right back in there and then you could hang it from that super super cute i also want to mention because this is a a nice long length this finishes up at 15 by 71 inches this is perfect we have our missouri star quilters best blend runner size and so this is 120 by 36 so this is like ideal if you want to quilt this yourself so you could always grab that but again i love this charm pack i think it's perfect for the holidays and i hope you guys enjoyed this project hope it brings you a little bit of cheer and you have a great week until next time i'll see you then

More Charm Pack tutorials

See all