
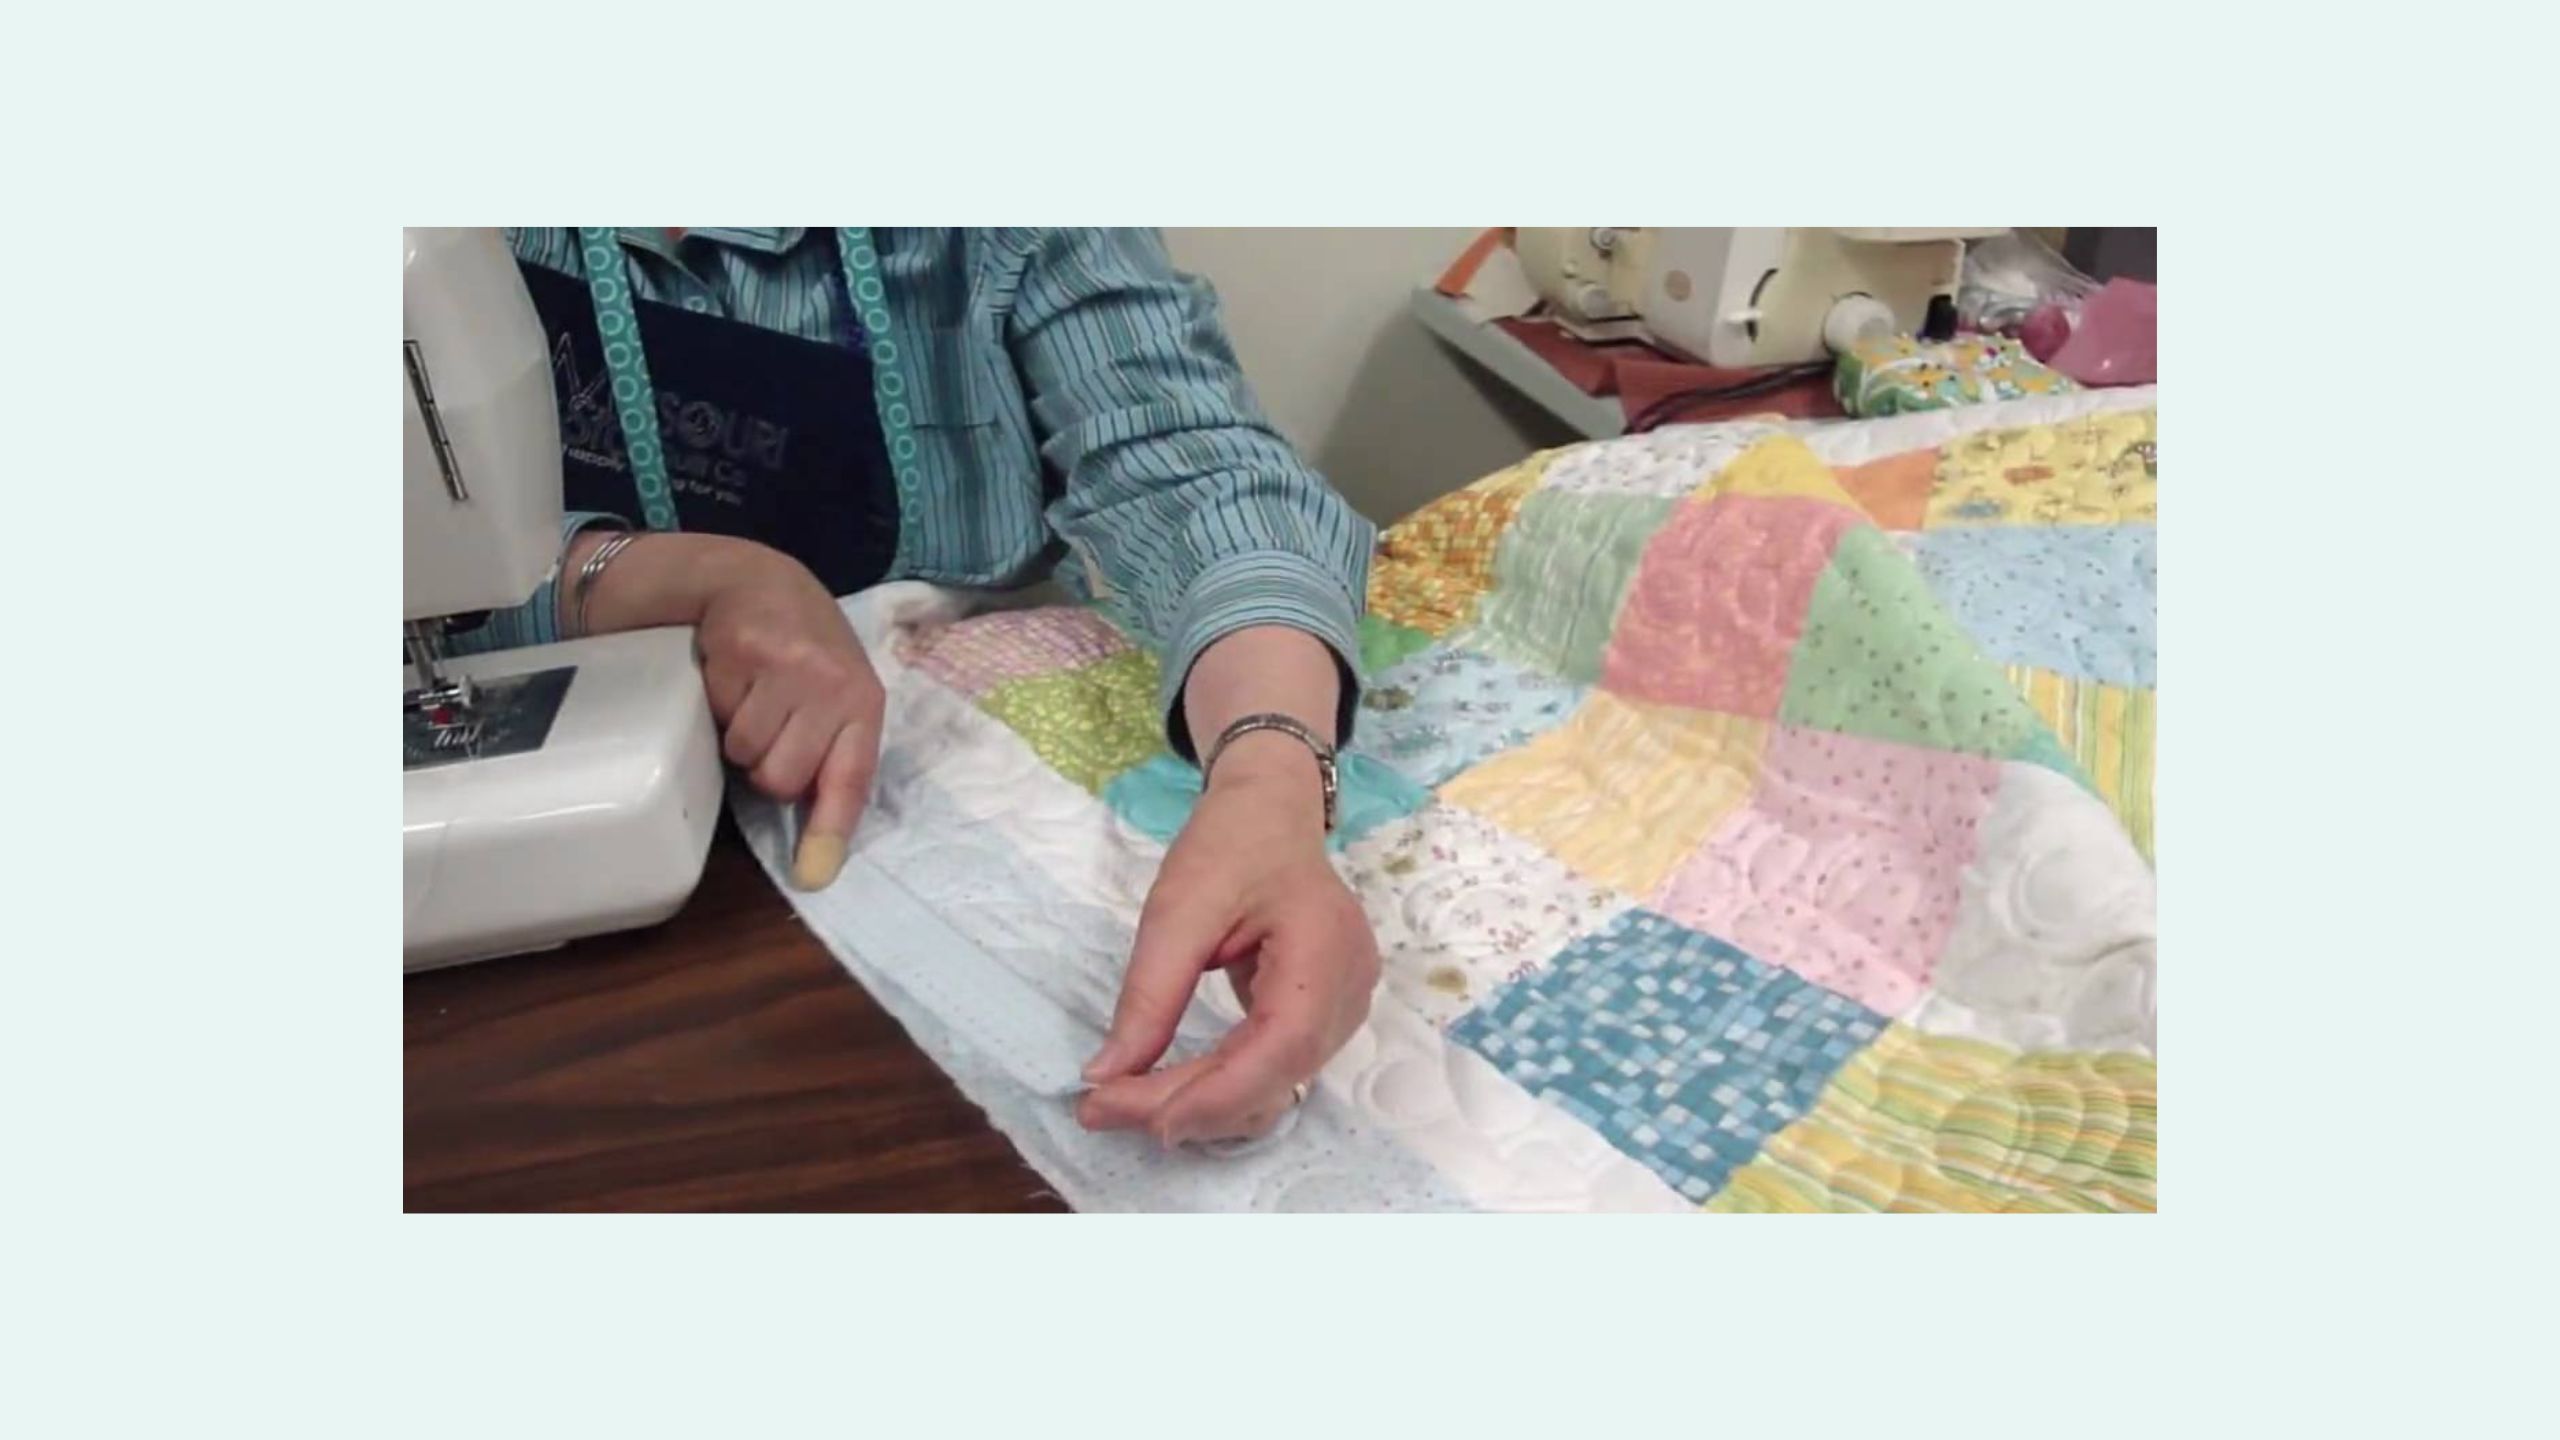
Make a Baby Quilt - Part 4 - Fabric Selection & Assembly
Part 4 of 4 on how to make a baby quilt start to finish. Jenny shows how to trim and bind the baby quilt on a bias. You will learn how to sew on (stitch) your binding . She also shows us how to use the famous Binding Tool by TQM Products. If you'd like to get started on quilting and need supplies, come on over and check us out at or take a look at our awesome deals every day at.

Instructor
Jenny Doan
Jenny Doan is an American quilter, author, and YouTube personality. Jenny started Missouri Star Quilt Company in 2008 and today it is the largest quilting supply vendor in the United States.
Shop this tutorial




Common Questions
What is covered in Make a Baby Quilt - Part 4 - Fabric Selection & Assembly?
Part 4 of 4 on how to make a baby quilt start to finish. Jenny shows how to trim and bind the baby quilt on a bias. You will learn how to sew on (stitch) your binding . She also shows us how to use the famous Binding Tool by TQM Products. If you'd like to get started on quilti...
How long is the tutorial video?
The tutorial video is 00:11:00.
Is a transcript available?
Yes. A written transcript is available on the tutorial page.
Video Transcript
So, when you get your quilt all finish quilted, which you can see ours is here, and whether you do it by hand or on the machine, you’re going to want to trim the edges, and what I generally do with that is I’ll lay my ruler on, and I’ll find some place where I can actually measure against, like this line here. To make sure that I have that straight edge, and then you trim that off, and
sometimes from the material you have leftover you’ll have enough to cut your binding strips.
Now, we’ve cut 2 ½” strips from our material that’s left over, and we’re going to attach that on, and when we do this, we’re going to put the binding completely on, but we’re going to also use the binding tool. So, the first thing you do with that, is that you’re going to put a pin 12” apart, this has to do with when we finish the quilt. When we finish putting the binding on this will help us to cut our binding on a bias, so that it lays nice.
So, our pins are 12” apart, so we will start putting our binding on from this point, and when you do that you’re going to want to leave about a 10” tail on your strips, and the first thing we’re going to do with these strips is we’re going to join them together, and we’re going to join these, these are cut straight across the grain of the fabric, the width of the fabric, and you can do that on any quilt unless you have a curve and then you need to cut your binding strips on the bias, but when we’re going to sew these together, what we’re going to do is we are going to lay these see here is the top of the material is up and this is the, you put right sides together, and we’re going to put them at an edge like this.
To make a bias edge you’re going to sew, let me get a pin here, you’re going to sew straight across from here to here, from this corner, to that corner, and then what that does, there we go, that’s a thick pin, what that does is it’ll lay over like this. You’ll trim this part out in here, we’ll trim this out, and your seam will lay over and what that does when you fold your bias tape together is that it will allow the seam to be distributed over the placement of the binding rather than having all your bulk be in one area. So that’s the
only reason we do the bias, is to distribute that bulk a little better.
So, we’re going to sew these tapes together, and then we will leave about a 10” tail, 8”-10” on here, and we will stitch this down. Now we’re stitching on the front, we iron this in half, lay it on here, stitch on the front all the way around the quilt, and when we get to the corners I’ll show you how to do that once we’re over at the machine.
OK, so here we are again at the sewing machine and we have our pieces laid together so we can make our bias binding, and we’re going to stitch that corner to corner, and I’m just going to go straight across and eyeball that. Then what I do, I kind of chain piece these bindings because, I’ll grab the end of my tail, and I’ll lay it up here, and I’ll grab the end of the next tail, and lay it on top, and do the same thing. So, I’ll end up with four little seams right next to each other, chain pieced.
OK, so now what we do is we pull these out of here and we’re going to trim them off, just like this, that doesn’t want to cut very good right there, and see
what that gives you? It gives you a piece of bias that’s straight across, it’ll fold evenly, and your seam will be distributed across 2”, rather than all in one block. So, now we find on our quilt the two pins that are 12” apart, this will help us later with our binding. We take our binding strip, and we fold it in half. We’ve already pressed that in half so it has a natural fold line. We’re going to leave about a 6”-10” tail, I mean 8”-10” tail, and we’re going to start sewing right here at this pin, and we put it right along the edge, and we still
keep with that ¼” seam.
So, we’re going to go right along there, and just stitch that binding down. Remember we’re sewing to the front of the quilt. We’re going to sew right down close to the corner, stop about ¼” from the corner, you want to pull your quilt out, and you’re going to turn that whole corner, cause now you’re going the next direction, and then what we’re going to do is take our thumb, and put it right in here, and pull this back so that it makes a nice little fold. See, you have an even little fold up here, that will give you the mitered corner on your binding, we’re going to slide that under the foot and sew down.
OK, here we’re coming to the last corner, so you can see that one more time. We stop just a little bit before, we pull our quilt out, we turn this with our thumb, we’re just going to pull this up here, line it up with that corner, and sew straight down the other side, and then we’re going to sew. Sew, sew, sew till we get to the pin, and then I will show you how to use that fabulous, amazing Binding Tool! Well, this is the amazing binding tool. I think it’s about $8.95 or something like that in the shop, and once you use this and learn how to use this, you will love it.
OK, what you do is you stick it under this edge, and then you’re going to make a mark right here. See, where it says mark line? You’re going to make a mark right there. Then you’re going to open this up, and you’re going to pull this out and you’re going to set this L, that L right there, on the mark line, but we got to get this opened a little better. There we go, so we’re going to trim this, just like this. Using our rotary cutter, there we go. Now the printed side always stays up so you just swivel this around like this, put it under here, and you make a mark on here.
Now the last time we made our mark we put the L on the point. So this time we’re going to put the mark line on the point, which is right here. We use that line, to line that up, and then we’re going to cut this along here. There we go, let me get that. Alright, so now we have these two fabulous tails, like this that we’re going to go to the machine and we’re going to stitch them together, ¼” right here, and you will not know where this binding began and stopped because it is all been stitched on the bias. It’s going to be amazing!
Let’s go sew it down.
OK, so we’re sewing down this seam, ¼” it’s helpful to pin it together while you’re over at the table. We’ll trim these threads off, I am the worst thread
trimmer ever, and then when you open this up you’ll see it’s just going to fit right in there. Let’s stitch that down, and we’ve got our little baby quilt ready to hand bind.
There we go, our binding is attached it’s going to look beautiful. Now what we’re going to do is we’re going to trim along here, and when you bind remember, you use the thread that is the color of your top binding. So, say we were putting a binding on here that was pink, or green, you would choose pink, or green, but ours is the same color as the backing.
So, that’ll help it match, and we’re going to use probably close to a white or a light blue thread on here, and I’ll show you that stitch in just a minute. OK, so we’re going to finish putting our binding on this beautiful baby quilt, and I want to show you how to make that stitch. You’re going to tuck your knot up under the edge of this binding right here, and you’re going to come down, and pull straight down. When you fold your binding over, you’ll use this stitch line as the gage to where you fold the binding too.
So, you’re going to pull this thread, where your thread comes out you go straight in and you just slide it under the bottom of that fabric and you come out there right by the fold, just about ¼”. So we’ll stitch along there, that’s a pretty big stitch. You want to keep your stitches about ¼” apart. That’s really personal preference, and I go over here, and I stitch it right to
where we stopped with the sewing pretty much, and then I just take a double stitch right there, just to tack that corner, and then I take this edge just to, see, how when you do the corner like that it miters in the front, and we want to miter it to the back.
So, we’re just going to fold that so that it has a nice miter to it. Maybe a little deeper, there we go, and then I’m just going to bring my thread up and stitch right through here, and then we’ll just go ahead and go in here and come down the other side.
OK, so we’re right here at the very end of our stitch, and we’re going to knot this, and how I do that is I just take a couple little stitches in the same spot, and then I bring this, before I pull the thread all the way through, I bring it through the loop like that and give it a knot, and I’ll do that a couple of times. Then, I just slide my needle up here into the binding, and go ahead and pull and pull that knot in under there so it doesn’t show, and we’ll clip that thread, and from start to finish we have an adorable baby quilt that you’d be happy to give for any gift.
Start to Finish Baby Quilting. This is the last video. We hope you enjoyed this tutorial from the Missouri Star Quilt Company.


