

Make a "Block Star" Quilt with Jenny Doan of Missouri Star
 Jenny Doan
- Jelly Roll
- Traditional
- Double
- Beginner
- Quilt size 74" × 81"
NOTE: You will also need (114) 4-1/2" background squares. Jenny makes a fabulous new star quilt using 2.5 inch strips of precut fabric. She chose Practical Magic Double Scoops by Edyta Sitar of Laundry Basket Quilts for Andover Fabric. This jelly roll pattern is named after our very own BLOCK Magazine. So we had to finish it off with our Chuck the Duck machine quilting! These blocks comes together easily, and the leftover bits are made into a scrappy, pieced border + a bonus table runner!
Instructor
Jenny Doan
Jenny Doan is an American quilter, author, and YouTube personality. Jenny started Missouri Star Quilt Company in 2008 and today it is the largest quilting supply vendor in the United States.
Shop this tutorial
 Block Star Quilt Pattern by Missouri Star$5.95Shop →
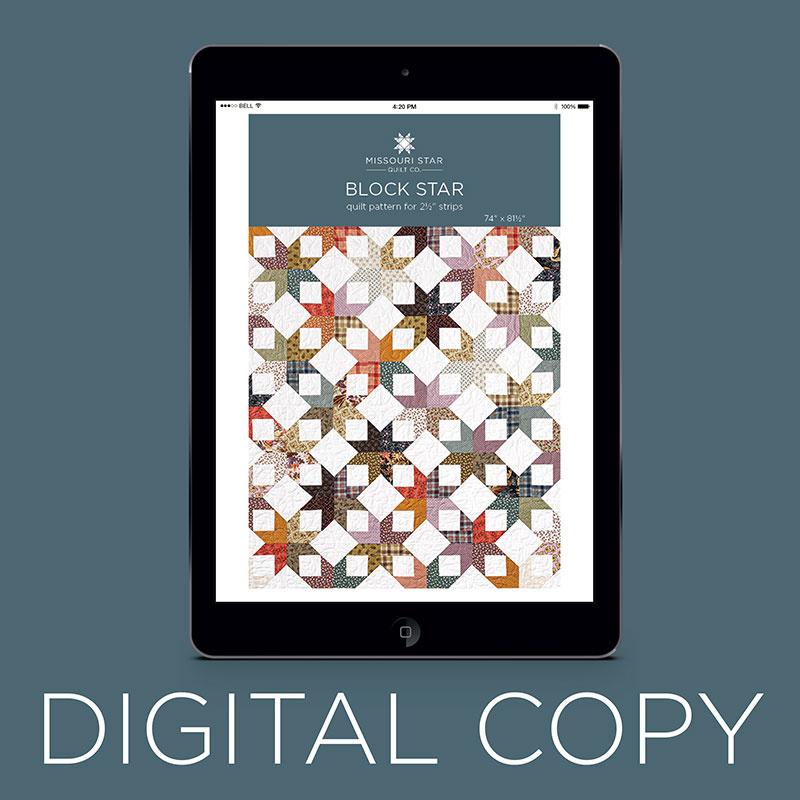 Digital Download - Block Star Quilt Pattern by Missouri Star$4.95Shop →
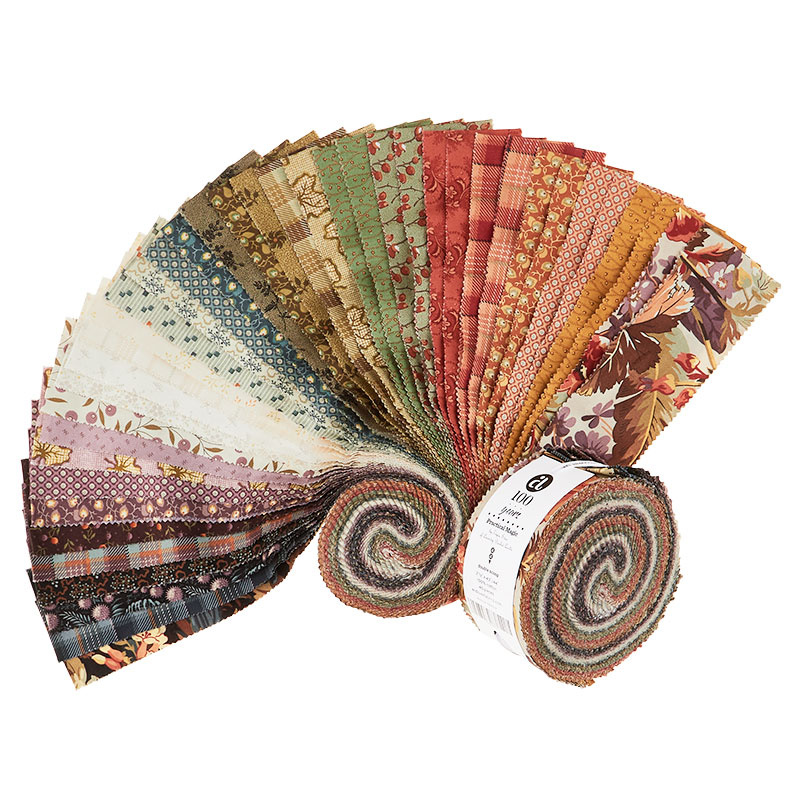 Practical Magic Double Scoops$38.95Shop →
 Kona Cotton - White Yardage$7.28Shop →
 Practical Magic - Vine Teal Yardage$11.24Shop →
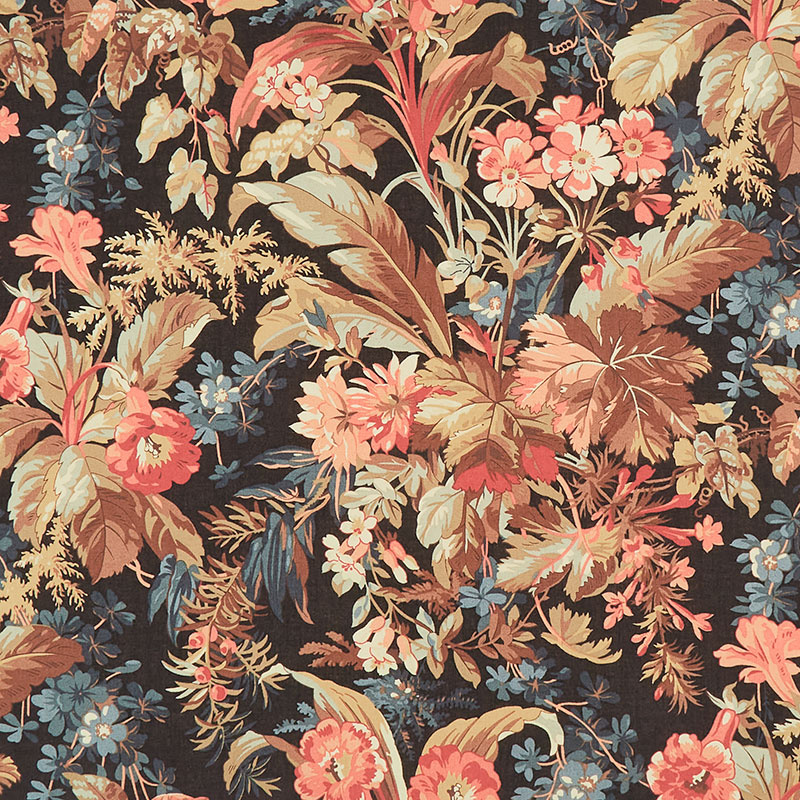 Practical Magic - Foliage Night Yardage$11.24Shop →
Common Questions
What is covered in Make a "Block Star" Quilt with Jenny Doan of Missouri Star?
NOTE: You will also need (114) 4-1/2" background squares. Jenny makes a fabulous new star quilt using 2.5 inch strips of precut fabric. She chose Practical Magic Double Scoops by Edyta Sitar of Laundry Basket Quilts for Andover Fabric. This jelly roll pattern is named after ou...
How long is the tutorial video?
The tutorial video is 00:14:02.
Are supplies listed for this tutorial?
Yes. The tutorial page includes the supplies and materials connected to this project.
Is a transcript available?
Yes. A written transcript is available on the tutorial page.
Video Transcript
We're going to take this simple block and make it this beautiful star. So let me show you how to do this. You may have noticed that I have a Block Star t-shirt on. And when Natalie and I do block party, we wear these t-shirts. And I thought when I finished this block on this quilt, that it was the perfect name for my quilt. So I'm actually wearing my Block Star t-shirt because that is what I named this quilt, the Block Star. So to make this, what we're going to do is we're going to take our background fabric and we're going to cut a strip that is four inches wide, and then we're going to sub cut these into four inch squares. So I'm going to cut off the salvage right here and the fold. I have it double folded right here, you can see. So it's folded in half here and then I'm folding it again.
And I'm going to just trim off that little salvage part right there. And this is going to be the center for our block, and then we're going to come over and cut it four inches, just like this. Make sure I'm straight here. And you'll do that. You'll just go ahead and do that. You'll need 56 centers for your blocks. So then we're just going to set these aside over here, and then we're going to start with our roles, our little two and a half inch strips, and we're going to choose two that are different colors. So I'm going to choose this plum one, and then I'm going to choose this purple one right here, this little light lavender. You want a little bit of contrast. So kind of look for light and dark. Now out of one of these strips, I am going to cut four inches and six inch pieces.
And so I'm going to cut my little end off right here. And right now I'm just doing all the cutting to get ready for the block. And so I'm going to cut four inches like this and you'll need one of these for each of your block. And I have two. So you can see that I'm preparing for more than one block right here. So we've got a four inch and a six inch, and then I'm just going to go ahead and cut the rest of this strip in those same numbers. So a four, and I'll stack those up, and then a six. All right, there we go. Now out of our next strip, we're going to cut six, six inch pieces and eight inch pieces. So I'm going to trim my salvage off again, and then we're going to cut six inch right here, and then we're going to cut an eight inch piece. And that will take the full length of my little ruler. All right.
So let me show you how to put this together because it is really fun. So what we're going to do is we're going to take one four inch square just like this, and we're going to take a four inch piece and we're going to put this on one side and then we're going to sew this on the next side. So let's go ahead and sew this one down right here. So we're just going to sew a quarter of an inch along the edge here and sew this went down and then what I'm going to do is I'm going to finger press this, and we're going to sew a six inch piece to the side. Make sure you stay nice and lined up, and then we're going to come over here and I'm going to press this nice and flat.
And then we're going to add a six inch piece on this side of our other strip and then put our eight inch piece across the bottom like this. So we're making this cool block. So let's go ahead and do that. So we've got a six inch on this side and I finger press that back. And that's just so I don't have to get up and go to the iron, but you can get up and iron it. You are welcome to do that. All right, now we're going to press this back. And this actually is the beginning of our block right here. So once you get those four sides on, your block is going to look like this. And so you see on your block, there are two sides where the fabric matches and two sides where you have different fabric coming together where those different fabrics come together, That's where we're going to put our corner blocks on.
And so you're going to grab a couple of your four and a half inch blocks, and you're going to draw a line just like this. Or you can use your diagonal seam tape, whichever works for you. And then we're going to put these squares on the corners where the two fabric comes together. So I'm going to line mine right up on there. You may put a pin in there if you like, and we're going to sew right on that line. Now because this is quite a big piece of fabric, I want to come out and so about a half an inch away on that, because I'm going to save that piece and use it, guess where? In the border. So mine isn't quite a half an inch. It's just like about a half an inch. And so just sew just far enough so you can cut them apart.
So then I'm going to come back here about a half an inch over. All right, now what we're going to do is we're going to trim off these sides right here. So I'm going to lay my ruler right in between those two lines, my two sewing lines, and then we're going to press this open and this is the whole block. That's all there is. And when we put these together, it's going to form a star, but let's look for a minute at these pieces that we've cut off. Let's go ahead and press them open and I'm going to press to the dark side. So I want to put my dark fabric on the top and peel it back. And then what we're going to do is, we're going to lay our squaring ruler on there. And I am going to square this to three and three quarter.
And these always mess with my brain a little bit. So there's three and three quarter and I want to leave as much of this as I can intact, this little short corner up here at the top. And so we're going to come in like this and we're going to come to three and three quarter on this side. Make sure that we've got that. We're going to trim this side up and then we're going to come around to this side and just make sure it's still nice and square at three and three quarter. Now actually your piece can be any size you want it to be. It just needs to fit in on your border sides. And three and three quarter worked for me. If your seam is a little bigger or smaller, you may have to do yours a little bigger or smaller and then just adjust accordingly.
But this is what worked for me. So I'm coming here. I've got three and three quarter. I'm going to keep this side, as much of this side as I can. And then whip this around and put it on here. Again, I'm three and three quarter on this outside edge of my block. And so that means this part right here is just going to get trimmed up. And then you're just going to set these aside and you'll get a whole pile of those going while we work on these star blocks in the middle. Now let me show you how this fits into the quilt, because this is really fun. So this block right here is going to go here and you can see when these four come together, it forms a star.
So basically we're putting this one in and this next block will turn so that these two pieces, these two star leg pieces come right together. So on this quilt right here, I have one, two, three, four, five, six, seven across by eight down. So I made 56 of these blocks. Now if you want to make a couple more you can actually get a bonus project out of this and you have enough strips to make a few more, just not enough strips to make a whole nother row. So I stopped at 56. So then you have these little pieces right here, left over and I've got some more cut here and on this border right here, you can see, I just scrapped them up. So I sewed these together. At first, I was trying to line up my two same ones to make it look like a little mountain, but not all of these seams matched.
And when they're the same it really shows. So if you scrap that up, then you don't even notice if you have one that's a little bit off or not. And of course that's what I love. So I sewed these together in sets of two and made these little mountains like this. And let me sew this one too. And you will actually have a right and a left side when you cut these. You need one from each side. So just keep that in mind. And so now we have these cute little units that are scrappy and I just thought these would make the cutest border. So here's how these look right here. And here's how they fit in the quilt.
Now when you border a quilt, first I put my inner border on and you put it all the way around and that's a two and a half inch inner border. And then I sewed these together, out here like this. And I sewed together twos and on this side right here, I have 21 of these pieces sewn together. And because not all of our quarter inches are perfect and not everything is always perfect, it doesn't always work out just right. But I found that on mine it was pretty close. And if I had one side that was a little bigger, if I put that bigger side on the bottom, the feed dogs would take in that extra fabric and make sure it worked. So I have 21 on this side and 21 on this side.
Now across the top and the bottom, So on a quilt, you'd do the side borders first, then top and bottom, I actually have 21 as well because it comes all the way out here to the corner. And so it worked out really great for me. If you have one that's obviously too big or something, then you can take your seams in a little bit or put your bigger part to the bottom and adjust them and make them fit. So we have these pieces right here. I just sewed them together to make those long borders. So then we added our outer border out here, which is a nice big six inch border. And then our backing. Look at this gorgeous back. Isn't this a beautiful piece of fabric? I just love the big floral on here. You might notice our quilting pattern on here is our chuck the duck pattern.
He's just swirling all around, all around, all over this quilt. It makes a great quilt and it is 74 by 81. But you'll notice as you get done, you have a little pile of these still left. Well, of course I couldn't let those go to waste. So I created this little runner right here. It's a true bonus project because you get it all out of the same role. And I just kept these two pieces together and here in the center, what I did was I just took my pieces like this and of course I'm going to do different ones, and I sewed them together to make a block. And so they blocked up that way. And then I put one more out here on the side and so you can see how easy that is. And each row is one, two, three, four sets of these sewn together. You can see here.
And then I did four rows of that and it's not huge, but it's great for the top of a small table or whatever, a pillow, you could make a pillow with this, but it's fun when you have a use for your leftover little projects. So in my mind this block was really a star. So we called it Block Star and we hope you enjoyed this tutorial on the Block Star quilt from the Missouri Star Quilt Company.
Hi everybody. It's Jenny from the Missouri Star Quilt Company. We hope you enjoyed watching this video. If you aren't already part of the Missouri Star Quilt Company family, be sure to subscribe so you won't miss a thing. And if you click that bell, it'll notify you every time a new tutorial comes out. See you next Friday.


