

Make a "Blue Ribbon Weave" Quilt with Jenny Doan of Missouri Star
 Jenny Doan
- Jelly Roll
- Traditional
- Queen
- Beginner
- Quilt size 73" × 85"
Jenny Doan demonstrates how to make a beautiful Blue Ribbon Weave quilt using 2.5 inch strips of precut fabric. For this project, she chose Lace & Grace Batiks Strips by Kathy Engle for Island Batik. This pretty jelly roll pattern comes together with easy 25-patch blocks, simple sashing, and a fun border made of scraps. Jenny uses the Clearly Perfect Slotted Trimmer A to keep each little block tidy and precise.
Instructor
Jenny Doan
Jenny Doan is an American quilter, author, and YouTube personality. Jenny started Missouri Star Quilt Company in 2008 and today it is the largest quilting supply vendor in the United States.
Shop this tutorial
 Blue Ribbon Weave Quilt Pattern by Missouri Star$5.95Shop →
 Digital Download - Blue Ribbon Weave Quilt Pattern by Missouri Star$4.95Shop →
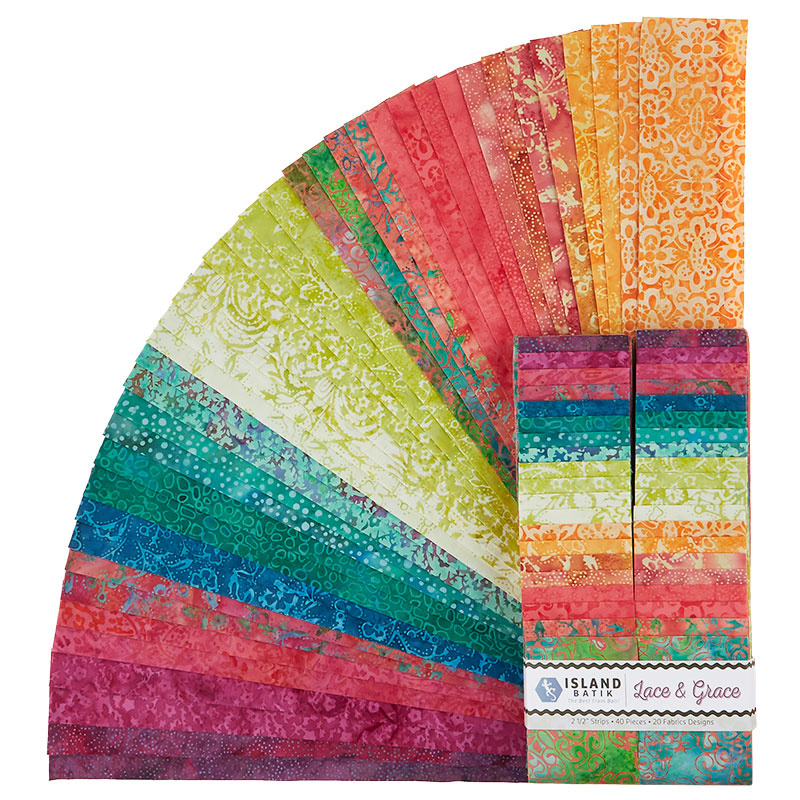 Lace & Grace Batiks Strips$38.95Shop →
 Kona Cotton - White Roll Up$30.95Shop →
 Kona Cotton - White Yardage$7.28Shop →
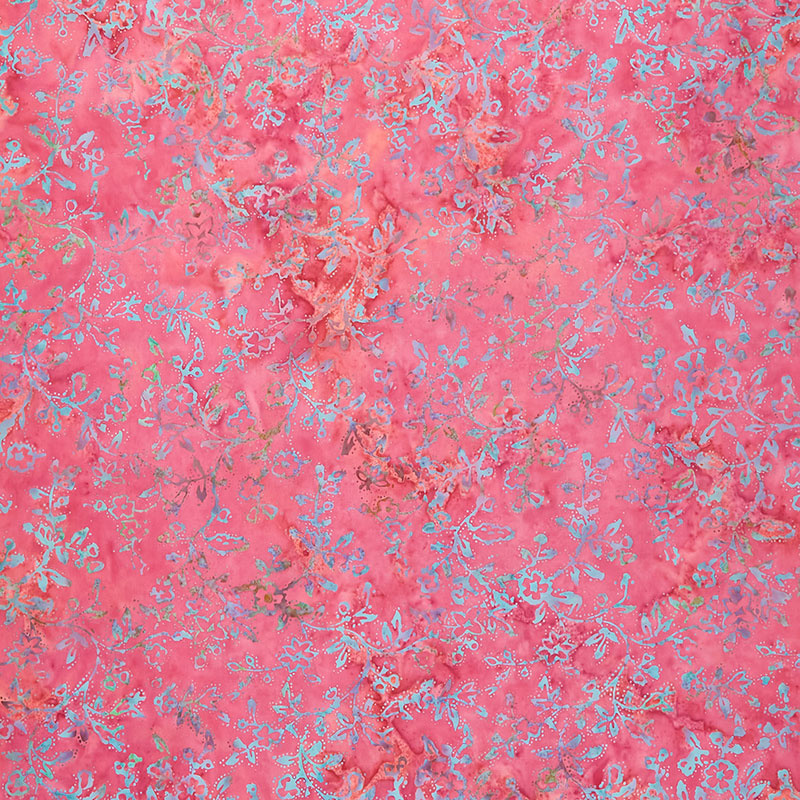 Lace & Grace Batiks - Dot Vine Punch Yardage$11.44Shop →
 Lace & Grace Batiks - Dot Vine Dark Lagoon Yardage$11.44Shop →
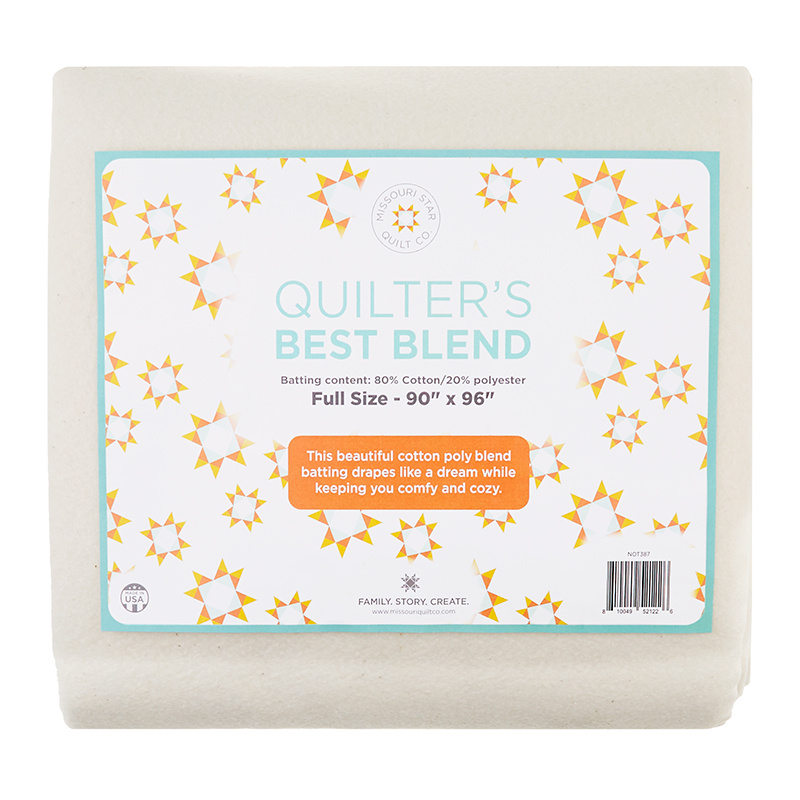 Missouri Star Quilter’s Best Blend Full Batting$32.45Shop →
 Missouri Star 5" x 15" Ruler$14.95Shop →
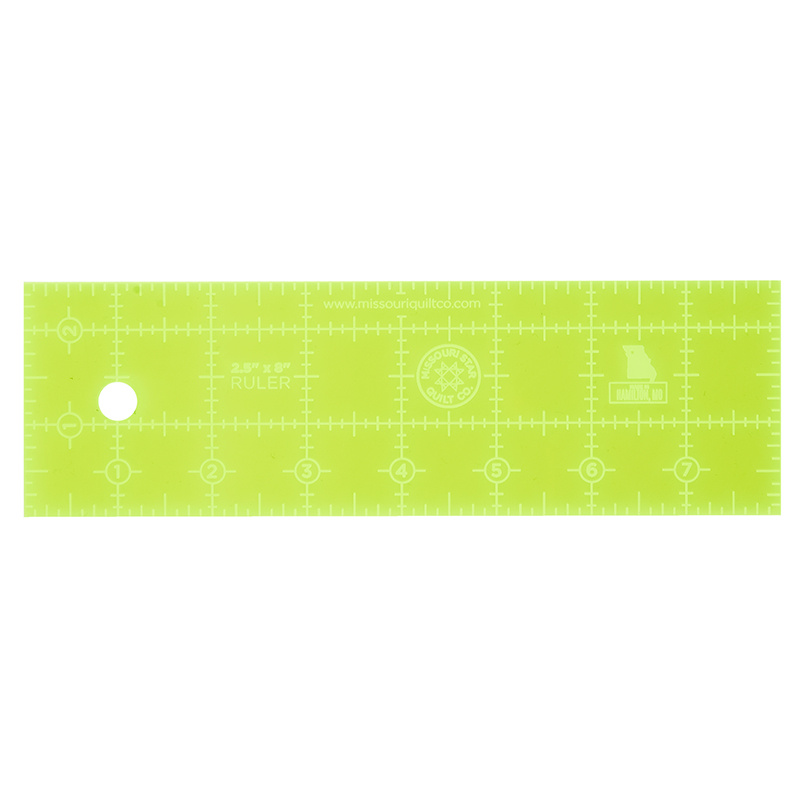 Missouri Star 2.5" x 8" Ruler$10.95Shop →
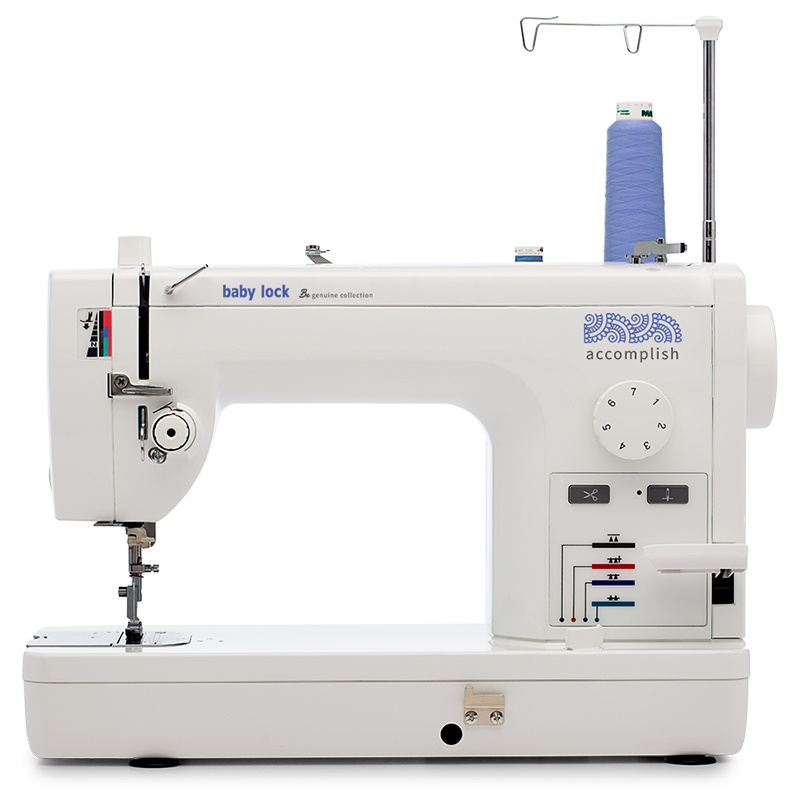 Baby Lock Accomplish - 1500 SPM Straight Stitch Machine$999.00Shop →
 Missouri Star 50 WT Cotton Thread White$4.95Shop →
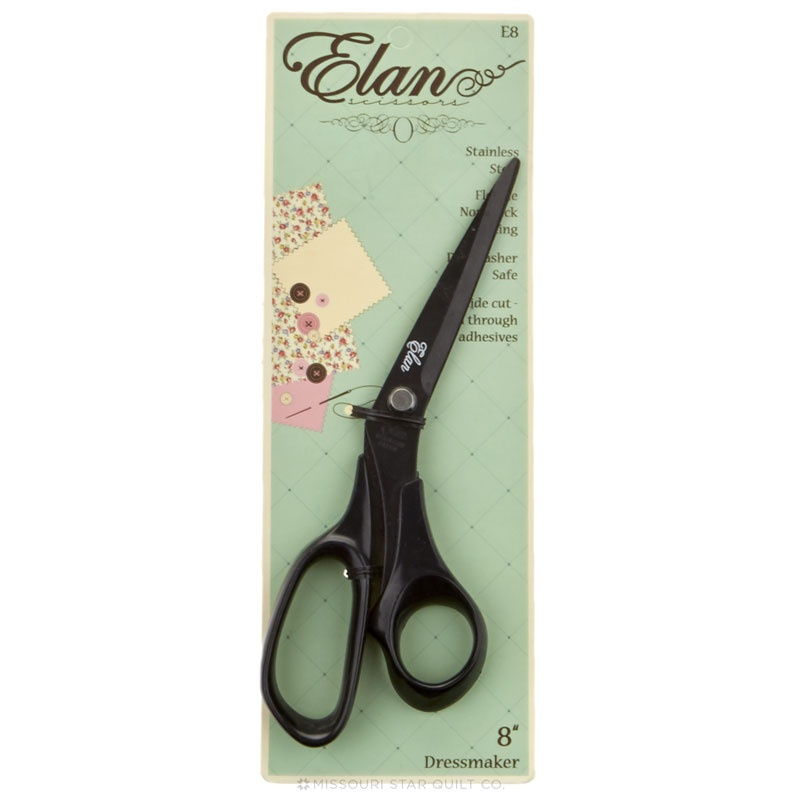 Elan 8" Dressmaker Scissors$20.95Shop →
 Magic Pins™ Quilting Pins - 100 count$18.75Shop →
 Jenny's Missouri Star Apron$25.95Shop →
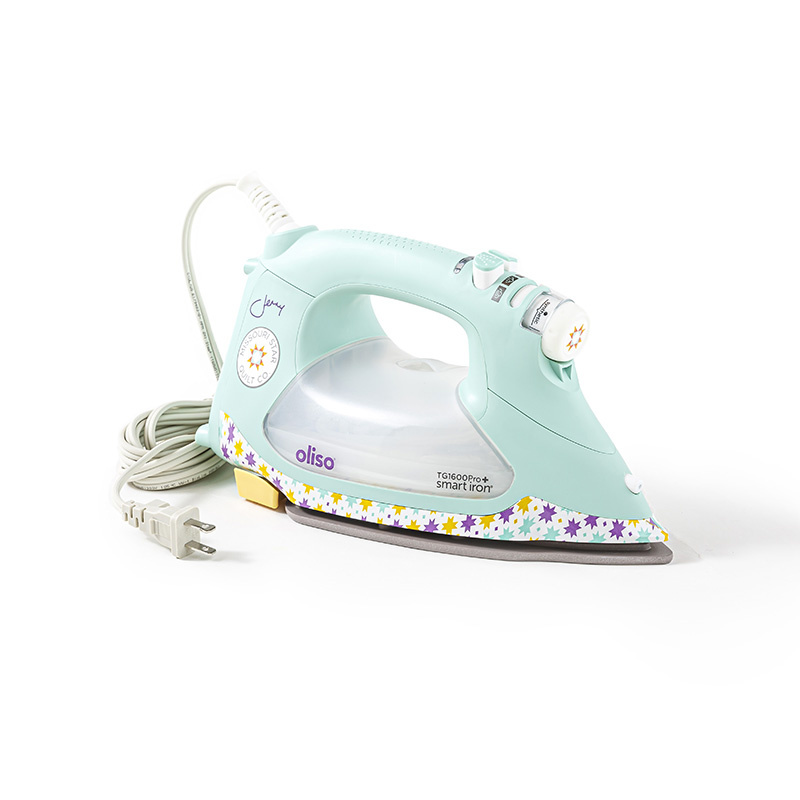 Exclusive Missouri Star Jenny TG1600 ProPlus Oliso Smart Iron$189.99Shop →
 Clearly Perfect Slotted Trimmers$31.95Shop →
Common Questions
What is covered in Make a "Blue Ribbon Weave" Quilt with Jenny Doan of Missouri Star?
Jenny Doan demonstrates how to make a beautiful Blue Ribbon Weave quilt using 2.5 inch strips of precut fabric. For this project, she chose Lace & Grace Batiks Strips by Kathy Engle for Island Batik. This pretty jelly roll pattern comes together with easy 25-patch blocks, simp...
How long is the tutorial video?
The tutorial video is 00:20:13.
Are supplies listed for this tutorial?
Yes. The tutorial page includes the supplies and materials connected to this project.
Is a transcript available?
Yes. A written transcript is available on the tutorial page.
Video Transcript
So let me show you how to make this because this is really easy and fun and it’s all based on 2 ½ inch squares. So what you’re going to need is you’re going to need one strip of one print and then another strip of the print that contrasts with it, that will show it up. Because we want this weave to show up as we lay it together. Now the only block we’re making in this block is these little outside ribbon points out here. And so what we’re going to do is we’re going to take our strips and I want to show you how I do this so that you can cut a lot of squares at a time. Alright, so normally what I would do is I’d go through my pack and I would lay them, you know, light, dark, light, dark so I have contrast and I’d put those two pairs together. And then I would cut a little stack of them all at once. So right here I just have these two strips but you could stack these. With batiks, this is four thick and you could probably do eight because they’re thin, if you have a good sharp rotary cutter. We’re going to do four at a day. I’m going to start by trimming off my little selvedge end right here. And these isn’t much of a selvedge but you can see I’ve left my strips folded in half, you know, the fold is down here. So when I cut the selvedge off down here I’m cutting off the end fold and the selvedge part. So that is this right here. So then we’re just going to come along and we’re just going to cut the two sets at a time. And you can use your small ruler or your big ruler, whatever you want. This is my little 2 ½ inch ruler and I know it’s going to keep going. Now you need 12 blocks of each color to do your block. But go ahead and cut the whole strip set because we’re going to use those as you can see for our sashing cornerstones and for this outer border out here. So just go ahead and cut them up and set them off in a pile. So we’re going to keep cutting these and one more cut, alright. So this is our little leftover. This is definitely big enough to go in my crumb bin. So I’m going to set these over here like this. And then we’re going to cut up some white squares.
Now I used these 2 ½ inch strips and you can use these. You can cut your own out of yardage, whatever you’d like to do. But one of the things that you want to notice on these is that when you put a strip from a different company on the other one sometimes they’re not quite the same width. And so when you cut up your little squares you want to make sure that they’re the same width. So what I’m going to do is I’m going to fold this in half like this. My selvedge edge right here where the little pin holes are, that’s what we call the selvedge edge, those are in a little bit further. So I’m just going to slide that in a little bit further. And then I’m going to cut these squares. And I’m going to cut them at 2 ½ and so I have this little one right here. And then I’m just going to take these and turn them. I’m going to lay my ruler on here and see if anything sticks out. If anything sticks out of either side I’m just going to trim that off so that I can make sure that when I’m putting these squares together they’re exact. So I’m got this one and this, flip my sides around. And I’m just going to go ahead and cut these up. So those of you who don’t like all that little fussy cutting, it might be worthwhile for you just to buy yardage. Just remember that one jelly roll is equal to about three yards of fabric. So that’s what you’re going to want to think about. I’m going to go ahead and stack these up. I think I’ll stack eight and try my hand at it right here. Alright, here we go. I had to push a little harder but that wasn’t bad. As long as your blade is really sharp and you’ve got a good shoulder, you’re good to go on this. Alright one more. Alright.
So let me show you how to do the little block on the edges. So the little block on the edges is key. I’ve got my little pink ones already made and they’re going to look like this. So I’m going to make some of the blue ones. And the first thing we have to do is make half square triangles. And so you’re going to take some of your white squares. You can draw the line, use your diagonal seam tape or whatever. And we’re going to put these on our little 2 ½ inch squares. And we’re going to sew directly on that line. So I’m going to bring this over to the machine and we are going to sew on that line. Let me get this squared up on here. There we go. And then we’ll grab this other one and sew on the line.
Ok so now what we’re going to do is we’re going to trim these off and press them open. So we’re just trimming this part off. So this is where if you guys want to save this, go ahead and sew a little bit over and then you’ll have your little half square triangle already made. And I’m just going to put these on here and press them open. We’re not going to square or do anything at this point. We’re just going to press these open like this. And then we’re going to take two more of our print squares and we’re going to add them to this. So I’m going to put this on here like this, line it up real carefully. And I’m going to flip this over and I’m going to sew this way. So I’ve sewn this way already so I’m going to sew the opposite direction on both of mine. And if I start with my white on top then this seam will naturally lay the right way as I come across. So again you can draw the line this way, just right across that seam like that or you can use your diagonal seam tape, either one works. You want to make sure these stay lined up. And again you’re sewing right on that line. And you’re going to make four of these. Hang on I’ve got a little tweak here. There we go. Alright. So now what we’re going to do is we’re going to cut these apart and I’m going to go ahead and give it a cut with my scissor. And then you can open those and you can see, that’s our little block. But we want to square it. And the easiest way to square these is with our clearly perfect slotted trimmer because we’re lining it up on the seam line both directions. So it lines up this way and this way. And you can see, they’re very close, you know, there’s not much trimming you have to do at all. And so here’s these two like this.
And just because we can, we are going to do that again. So I have two more half square triangles here I’ve already made because you need four per block. And so I’m going to grab two more squares and we are going to lay them right on here like this. And we are going to sew, draw our line right down the center, just like that. Sew on that line. So we’re going to do these to two more because you need a total of four of each color for your block. There we go on that one. And there’s that one. Okie doke. So now I’m going to trim these off and we’ll square these. Grab all these over here. And here’s my little squaring tool. And again we’re going to line our two lines up. This has a center line and a stitch line. We’re trimming them at 2 ½. And so that is perfect. And this one, oh a little tiny bit. You’re probably going to laugh when you see what I cut off of here. Look at that. Probably not going to make that much of a difference but maybe, you know, according to Natalie all those things add up. Alright so I’m going to press these open and I’m going to do that by pressing to the dark side. I have my one solid piece. I’m going to lay that triangle on top and just pull it up and iron it back like this. And that really is the only block that you make for this whole block.
So the rest of it is just laying out your pieces and making sure that you’ve got them going the right direction so that in the end it looks like a weave. So what I’m going to do is I’m going to put my two coral blocks up here that I’ve already made and they’re going to go top and you’re going to go bottom. And I don’t know the exact measurements yet because I don’t have my other blocks inside. But I know that this is the way I want it to go. And this is what worked for me for my brain. So the white part is always to the outside, remember that, like that. And then what we’re going to do is we’re going to fill in some white squares where I know they’re going to go. So this one is going to go here and then a white square is going to go here and here and here like this. This is our block. Alright so I’m going to lay all my outside tips out here. And they have, you have one color on the top and bottom and one color on the sides like this. And I’m going to put a white square in between every one like this. So this is the outside. It’s like building a jigsaw puzzle. And so then what we’re going to do is I’m going to put two coral ones here coming up like this and two coral ones here coming down like this. And then I’m going to take my green blocks and I’m going to put one coming over this way and one coming over this way like this. And this center block then is another white square and that makes up your weave.
And so what we’re going to do is I’m going to sew this row together, then I’m going to add this one, and we’re just going to keep adding as we go along. So I’m going to lay these right on top of each other like this and I’m going to pull them over to the sewing machine one at a time. And this is going to make your weave block. And it’s a great block but you have to really check that layout each time you do it so that you have them going in the right direction. So here’s our first row and if you sew them together in the right direction they will all be hooked together and we’ll be able to do the rows one at a time. And here’s the last one in this row like this. And then I’m going to pull this row back down to the front, make sure they’re all going the right direction, open them up like this. And then I’m going to add this next piece in here just like that. So I keep those pieces close to you as you’re sewing so you can just pull them over and grab them. We’ll open this one and this gets another blue, open this one and it gets the white center square. Now I tried this several different ways and this was just the way that worked best for my brain. So you feel free to just do whatever you want to do but this is what worked for me in keeping things straight. I’m quite a bit angley challenged. I was going to say I’m a little bit angley challenged but I’m not. I’m a lot angley challenged. So for me this order really helped me in laying it out. So then I’m going to pull it back up, roll it over and add the next row just like this. And in my mind it’s always going, you know, the things that I know that makes it right. So like, ok there’s a white block in between there. I have two blues so I’m looking for a coral. And one of the cool things about sewing with batik fabrics is that they don’t have a right or wrong, you know, there’s no back to them and so you’re never going to grab it up and put it on backwards. It looks good from both sides. Alright so I know that this one gets two blues. All these little mantras going in my head to make sure that it’s all straight and right. And I did build these a block at a time and cut my squares a block at a time. I found that if I had everything cut, I mean you can cut it all and keep it in piles but it got, you know, when you’re dealing with this many blocks it got a little messy for me so I would just keep my two squares together and put it in. Yep that’s right. You saw I had to stop and check that, right? But I found it was easier if, you know, I might cut three or four blocks or something like that but, you know, in the beginning I said cut all your strips into 2 ½ inch squares. That does get a bit messy so do what works for you. And my little blue ribbon top over here. And then our block with this last square. Alright so we have our block all done. You want to open it up and look at it and make sure it’s right. And then you can see that it’s still weaving, going in the right direction.
So now what I’m going to do is I’m going to fold these on here and I’m going to start doing the same thing. So we’re going to start this way. And you can start from either side. And you can also, you know, cut them off and lay your rows right next to your blocks too. You don’t have to keep them threaded together like mine. This just helps keep me in order. And then I’m just going to fold that over again like this. Now one of the things that’s a good idea to do when you’re sewing these rows together is that make sure on one row all your seams can go one way, the next row they can all go the other. You know, or if you’re good at remembering where your seam goes then you can make sure that all of these, you know, the tips all go out and in. It’s just if you have some sort of order to the way you’re sewing then it will press out easier. And I don’t know if you saw what I just did right there because I flipped the whole block around to come in the other side because it was, you know, it was getting too much on one side for me. I just automatically did that without telling you. I apologize. Alright so now I can see that this seam, so if I sewed this seam wrong and it twisted, just clip it open, don’t die over that. Just clip that open. Don’t clip through your threads because I am 100% sure I am going to have a twisted seam on the back of this so I’ll show you how I just clip those open. Alright, so my block is now sewn together. How cute is that? Let me press it down.
Oh I have more than one twisted seam. And honestly it’s not going to matter, you know, in the long run of quilting and being in a quilt, it’s not going to matter. But there are people that it really bothers. What I look for is a nice flat quilt block and so that’s what I have right here. I have a nice, flat quilt block right here. But if you are one of those that these twisted seams bother, then you can come in just like this so just right in this corner right here, don’t cut your threads. But right in this corner we’re going to come here and we’re just going to clip that and then that whole seam will just lay over. But what I’m looking for is something nice and flat like this. And so this is how it fits in the block right here just like that. And what I’ve done is I’ve put a sashing right along side each one.
So these blocks are going to be 10 ½. And you can see right here where this one pops up a little bit. You know, if you want to you can catch that in your quarter inch seam but you can also come along and just gently kind of graze the edge of that off so that it, you know, it doesn’t bother you or stick out. So this should measure about 10 ½. The most important thing about doing a block like this is that your blocks come out the same size. So if all your blocks are ten, just make them ten. But you’re going to cut your sashing strip to the width of your block. And so if this is 10 ½ we’re going to cut a sashing strip 10 ½. And we’re just going to sew them together, block, strip, block, strip just like this. So here’s our block, we’re going to sew the strip, block, sew the strip. Then when you bring in that pieced sashing, so this is where your little pieces over here. You know, you’re going to grab your squares and you’re going to sew those to the same measurement, the 10 ½ inch measurement and you’re going to put those right in between like this. It’s going to go like this. And so this is going to go in between each row and the sashing goes in between each block. Then what I did because I still had a nice big pile of squares leftover, then what I did was I thought well it would be fun to add a little pieced border out here. And so these are just two, I’ve put, so I put my blocks in, I have my initial sashing in here that I carried out to the end of the block. Then I put an additional 2 ½ inch inner border and then I made this pieced border out here with 2 ½ inch squares of color and white. And honestly you probably have enough squares that you could do the whole thing just in colored squares. Then you have another 2 ½ inch border out here to set it apart and our nice big six inch border out here. Really pretty.
Let me show you the back. Isn’t that a gorgeous back? A nice, beautiful blue back. I just love it. And I want you to take a good look at this quilting pattern because this is a new pattern for us and it’s really fun. It features Chuck the duck. And here he is swirling around, you know, he’s on here lots of places and so that’s fun. That’s just our little Missouri Star icon, Chuck the duck. And he just makes a cute little quilt pattern. So this makes a quilt that is 73 by 85 so it’s a great size quilt. And we’re basically using almost all the squares that we cut. So we hope you enjoyed this tutorial on the Blue Ribbon Weave quilt from the Missouri Star Quilt Company.
Hi everybody, it’s Jenny from the Missouri Star Quilt Company. We hope you enjoyed watching this video. If you aren’t already part of the Missouri Star Quilt Company family be sure to subscribe so you won’t miss a thing. And if you click that bell it will notify you every time a new tutorial comes out. See you next Friday.


