
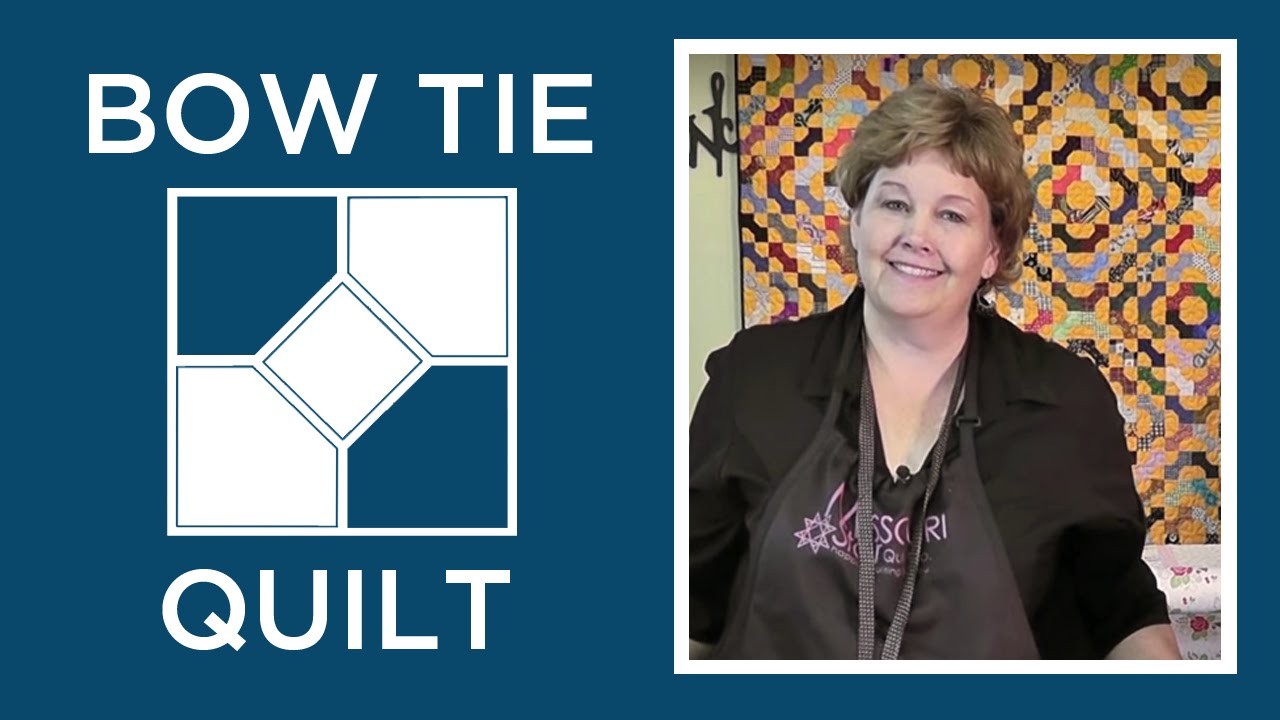
Bowtie Quilt Block
Jenny Doan demonstrates how to make the beautiful Bow Tie Quilt Block. This quilt will have you looking dapper in no time!

Instructor
Jenny Doan
Jenny Doan is an American quilter, author, and YouTube personality. Jenny started Missouri Star Quilt Company in 2008 and today it is the largest quilting supply vendor in the United States.
Shop this tutorial



Common Questions
What is covered in Bowtie Quilt Block?
Jenny Doan demonstrates how to make the beautiful Bow Tie Quilt Block. This quilt will have you looking dapper in no time!
How long is the tutorial video?
The tutorial video is 00:10:00.
Are supplies listed for this tutorial?
Yes. The tutorial page includes the supplies and materials connected to this project.
Video Transcript
[Music] hi it's Jenny From the missoury Star Quilt Company I want you to take a look at this quilt behind me is this not the most beautiful thing you've ever seen I love Scrappy quilts and my friend Julie brought this to one of our sewins and she showed it and I just fell in love with it it's so Scrappy and so beautiful and she used that great modach cheddar for the the backround around and I was just so taken with it that I thought I've got to have one of those then I my of course my next thought was for you guys and I thought I got to show you how to make this bow tie block I made this little one right here isn't that adorable this is one charm pack of comfort uh collections for a cause Comfort it's the new line from Moda for the collections for a cause series and um that's what I one of the things I love about the pre-cuts is that you get the scrappy look without having to have a lot of scraps I mean it's just it is the scrappy look cuz it's only one fabric from every Fabric in the line so what I did was I took um I took one of these charm packs and then you need about a half a charm pack for your other blocks because you just need two blocks from each square and from each Square you can get four so I want to show you how to make that block okay so to make this bow tie block you're going to need one charm square and one solid or your background whether it's cheddar or white or beige and this background Square will actually make two so what you're going to need is from each charm Square you're going to need to cut two 2 and 1/2 in squares and two one and 1/2 in squares and then from the solid background piece you're just going to need four 2 and 1/2 in squares and that will make two blocks so let's go ahead and cut some of those um you can see I've got this one done here let me cut this next one to show you how I do that I'm going to lay my charm Square on my ruler I mean yeah on my mat Lay My Ruler over it because they're 5 in we're going to go 2 and 1/2 in in and we're going to make a cut then I'm going to take one of those pieces and I'm going to cut that again at the 2 and 1/2 to make the two squares all right so now we've got the two squares now we have this piece left and we're just going to cut a couple of one and 1/2 in strips off this the end of this and this will give us the um the pieces we need to cut our 1 and 1/2 in square so we've got it 1 and 1/2 in and we're going to go ahead and cut that in one another um one and a half so that we are um so that we make sure that we have a 1 and 1/2 in square okay so here we go lay the ruler on there and cut that okay so so now we have our two uh our two big squares and our two small squares and then from our background Square we're just going to cut four of these so we're going to go 2 and 1/2 in this way and then we're going to go 2 and 1/2 in the other way and you can lay those across from each other or on top of each other it doesn't matter you can do them separately or singly okay so now this will do two blocks this is a great little block for all those little scraps you have left over um from doing little projects and that's exactly how Julie did this one she had little scraps and she just kept them in a bag and put them together I started my own little bag here of um scraps of things that I had left over I'm just really excited to make one of these so let me show you how it's done we're going to take our two background squares right here and we're going to attach put a little corner I mean put our 1 and 1/2 in square on the corner of one of these and we're going to sew diagonally corner to corner on that so we're going to take both of these like this and we'll just line them up on there you can put a pin in there if you want I'm just going to move this out of the way and Scoot my sewing machine over there we go and we're just going to take these to the sewing machine and we're just going to sew directly across you know diagonally on that corner just like this you can draw the line or you can iron it it's such a short distance that I just just kind of wing it so but it is true with these smaller pieces you do need to be really careful because they can get out of whx so fast all right so then what we're going to do is we're going to trim off this little Edge you can use your scissors or rotary cut them and then we're going to press that open I'll show you this block is just so quick and fun we're here at the iron we'll set those seams and then we're just going to roll that back okay so now here's how this goes together you're going to take your one your your uh other 2 and 1 half in square look at that how cute is that that so you attach your Square you're going to put both of your squares on this way and you actually can do these the same way you can chain piece them so that your pieces are um you just want them going the same direction because when you put them together you'll flip them so we're going to sew one this way just like this right down the side quarter of an inch I actually don't have a/ qu of an inch foot on here so I'm going to change that there we go okay so we're going to sew right along here qu of an inch there you go and then I'm going to sew my next one just make sure that square is lined up on the on the edges all right now we'll press them open set it sometimes I get in such a hurry I forget to set and so then it's then we're going to lay them like that and we're going to set those together now this is one of those I press this to the wrong side but if you press to the dark then you will feel this Nest when you put it together so we're going to set it right here you can feel that seam match up perfectly right there and then we're just going to go ahead and sew down to make this block all right so now we're going to the Moment of Truth has arrived all right here's this darling little block isn't that so cute it's just so quick and easy now the fun thing about this block is there are a zillion different ways to set it you can see that that Julie has hers kind of circularly this one is set so that it's all just kind of on an angle oh this and I have this cute pile of them done from a cape and charm pack and so this is like bow tie and then I'm going to call this the hair bow and so you can put these together in circles look how cute this is going to be let's just lay out a few of them and see what we get so here's some circles and what I'm doing is I'm matching up the colors I'm matching up the oops and then you we want to put them together so that oh there we go so that we're making circles oh this one is wrong that's my problem there we go Okay so so then what we're going to do is we're going to match up our colors and our uh whites and it's going to make these cute little circles like this this would make a darling little a darling little baby quilt let's see so can you see how this is coming together just so cute and I love this little capan charm pack it's adorable and we're just putting colors and whites make sure we have different ones in there isn't that great so anyway we just love the bow tie block and hope you enjoy this tutorial from the Missouri Star Quilt Company oh


