
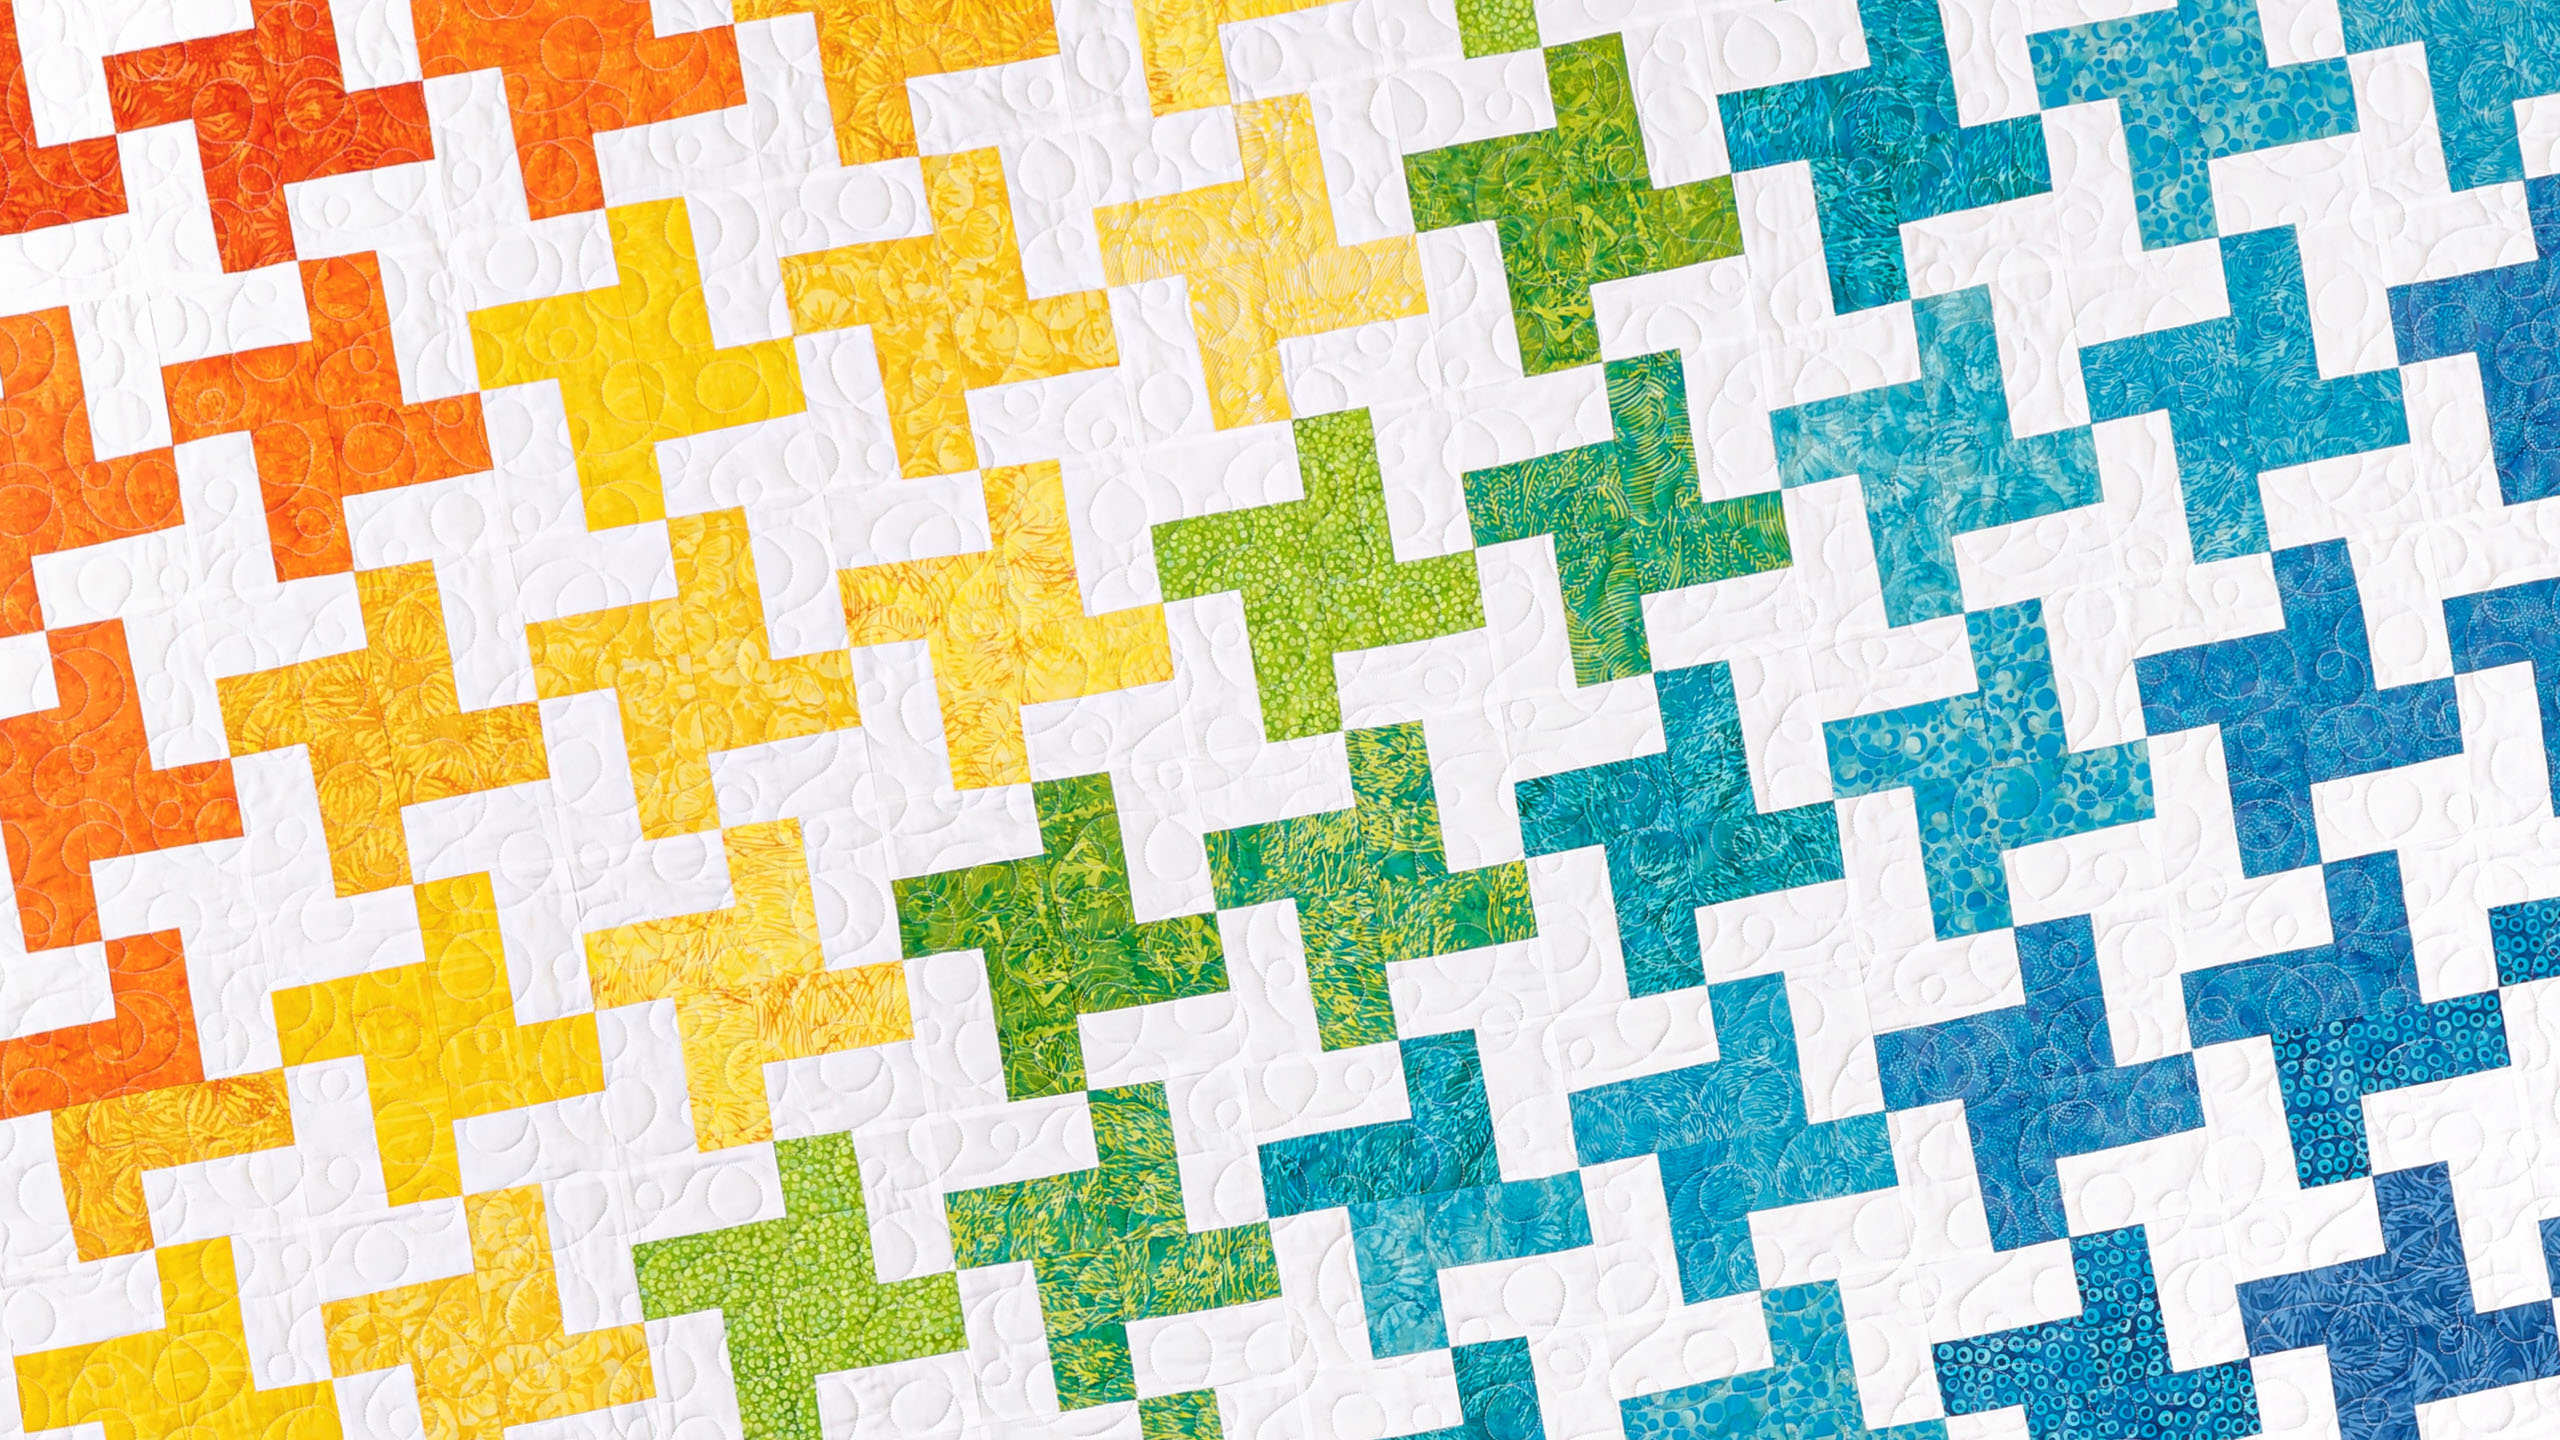
Make a "Breezy Windmills" Quilt with Jenny Doan of Missouri Star
 Jenny Doan
- Jelly Roll
- Modern
- Queen
- Beginner
- Quilt size 85" × 93"
Jenny demonstrates how to make a fabulous, rainbow windmill quilt using 2.5 inch strips of precut fabric. For this project, she chose "Summer Sensation" Batiks Strips by Kathy Engle for Island Batik. This easy jelly roll quilt pattern comes together quickly with strip sets in every color of the rainbow!
Instructor
Jenny Doan
Jenny Doan is an American quilter, author, and YouTube personality. Jenny started Missouri Star Quilt Company in 2008 and today it is the largest quilting supply vendor in the United States.
Shop this tutorial
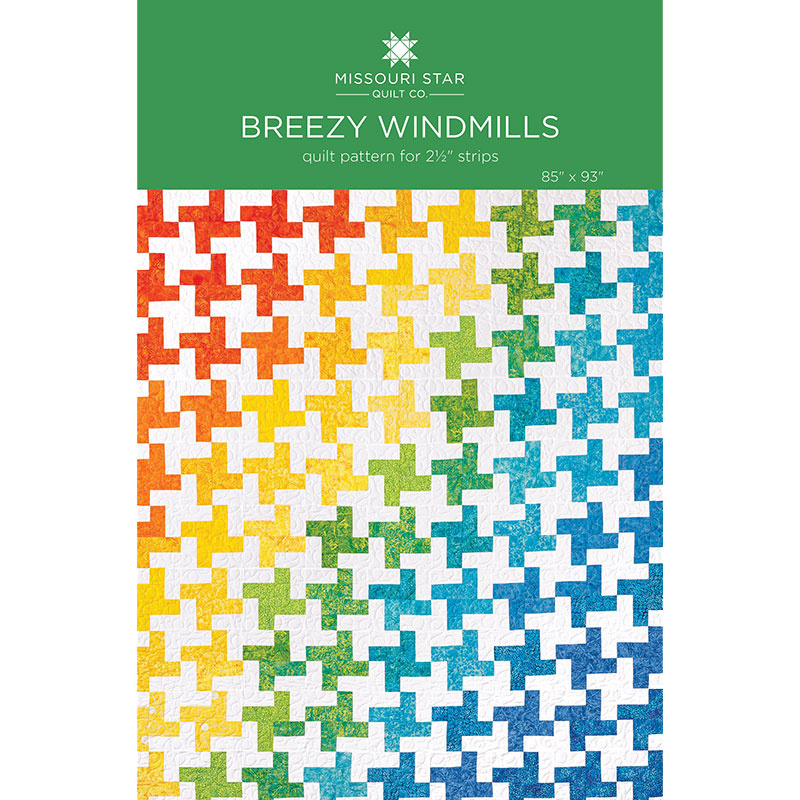 Breezy Windmills Quilt Pattern by Missouri Star$4.95Shop →
 Digital Download - Breezy Windmills Quilt Pattern by Missouri Star$3.95Shop →
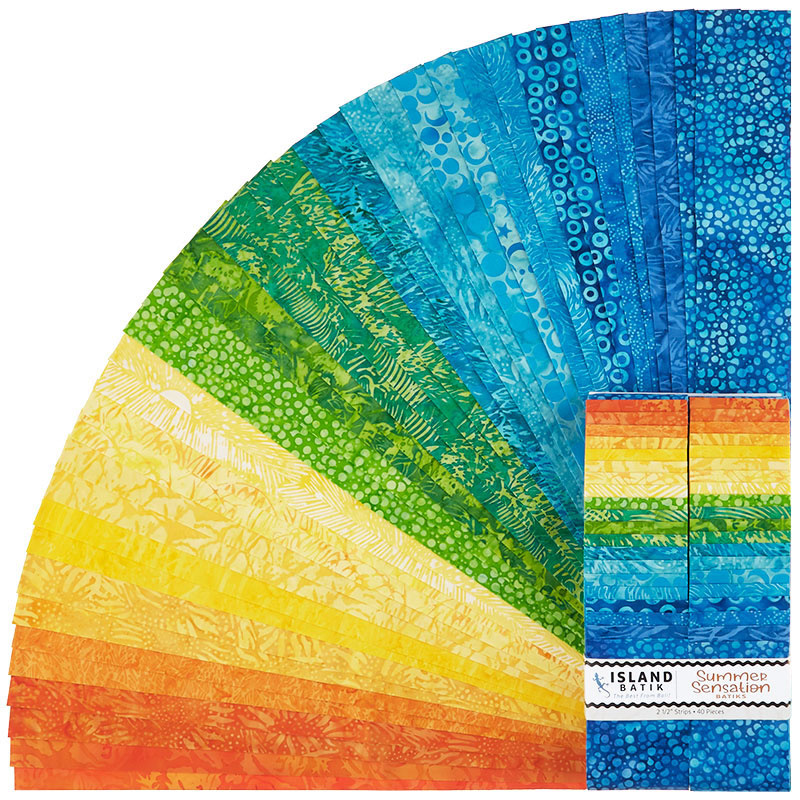 Summer Sensation Batiks Strips$37.95Shop →
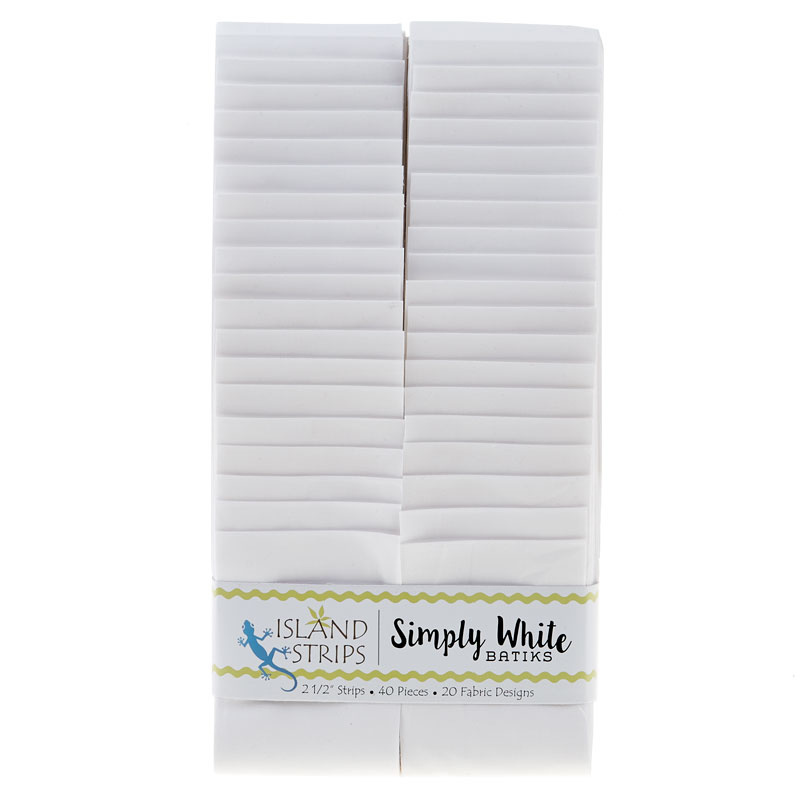 Simply White Batiks Solid White Strips$35.95Shop →
 Simply White Batiks - Solid White Yardage$10.50Shop →
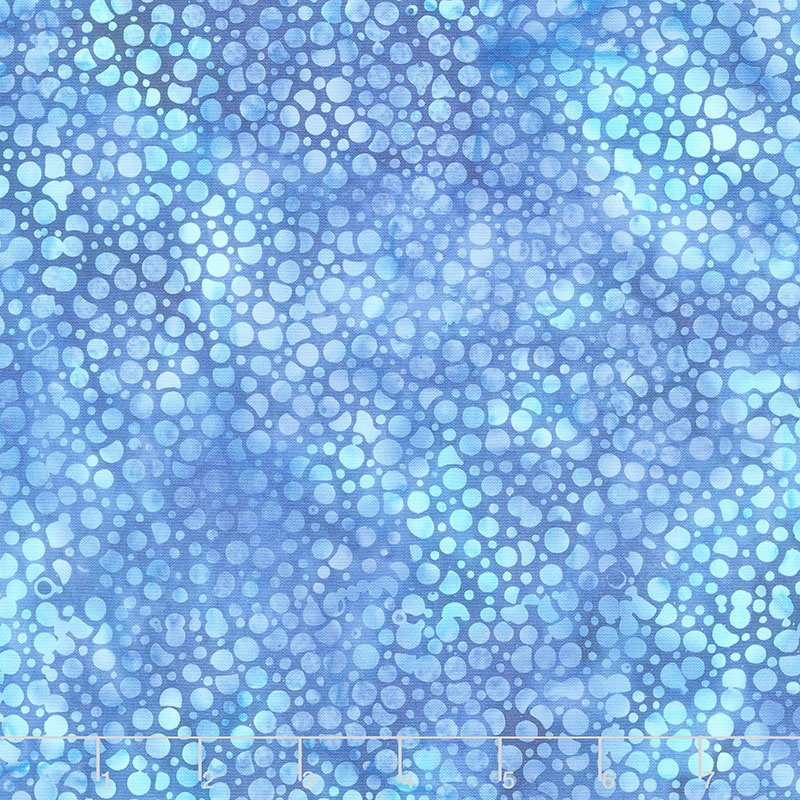 Summer Sensation Batiks - Berries Chambray Yardage$10.95Shop →
 Summer Sensation Batiks - Starry Night Surf Yardage$10.95Shop →
Chapters
Common Questions
What is covered in Make a "Breezy Windmills" Quilt with Jenny Doan of Missouri Star?
Jenny demonstrates how to make a fabulous, rainbow windmill quilt using 2.5 inch strips of precut fabric. For this project, she chose "Summer Sensation" Batiks Strips by Kathy Engle for Island Batik. This easy jelly roll quilt pattern comes together quickly with strip sets in...
How long is the tutorial video?
The tutorial video is 00:08:47.
Are supplies listed for this tutorial?
Yes. The tutorial page includes the supplies and materials connected to this project.
Is a transcript available?
Yes. A written transcript is available on the tutorial page.
Video Transcript
So how you’re going to make this is super easy. You’re going to take one of your colored strips and one of your white strips and you are just going to sew it on one side, a quarter of an inch all the way down. Now out of each of these strips, each one of these strips is going to make two blocks. And so what we’re going to do is I’m going to leave mine folded like this. I’m going to check and make sure that I have mine folded so that I’m making best use of all my fabric right there. And then we are going to cut these into 4 ½ inch pieces. So we’ve sewn two full length strips together. We’re going to trim off this selvedge right here. And then we’re going to go ahead and cut these into 4 ½ inch segments. That will make a square because two 2 ½ together should make 4 ½ so they should be 4 ½ by 4 ½. And we’re going to go ahead and cut the whole strip like this. And so we’re just going to go from one to the next. We’re cutting two at a time. And we’re going to keep going. 4 ½ by 2 ½. And then what you want to do is you want to open up this last part and just cut your 4 ½ by 2 ½ out of this to make sure that you get it. And then this one is a little bit short so you’ll have to use this for another project.
So we have these eight pieces right here. And I am now going to open them up and iron them. And honestly I love to iron batiks because they are so crisp. They just lay down so nice and they’re so crisp. You’re going to need four of these pieces for each block. And so we’re just going to iron these open. And here’s four for one right here. And then I’m going to take my other one here. And one of the things you can do when you’re cutting these is because it’s such an easy cut you can actually cut, you know, several strips at a time. There are two apiece so I wouldn’t cut more than six maybe but you know, you do what you feel comfortable with. Alright so there’s three and there’s two more here and I don’t need this last one but let me show you. You want to hang onto it. So let me get these apart right here. So here’s for my two blocks and then this extra one we want to hang onto and I’ll show you why. We’re going to use these in the blocks that help you go from color to color. So I’m looking to see if I can find one here. Oh like this one right here. It has two more green in it and then it goes into the blue as the blue heads out that way. And so they’re like transition blocks. So save these for your transition blocks.
And let me just show you how quick this is to put together. So you’re going to put all your strips, pair every single strip in your roll with a white background strip, sew down the side and cut them all into these 4 ½ inch sections. Now when you put them together because they’re squares, what we’re going to do is we’re going to put them together like this. So they’re going to go just like this. Now you want to make sure that you put them all together the same way so that all your blocks are going the same way because if you decide you’re going to do this one, wait, this way, you know, the other way it will mess you up. So make sure, once you’ve made one, make them all going the same way. So what I did to make it make sense to me is I sewed all my halves together exactly the same. So I had one going straight and one going up and down like this. One going straight and one going up and down. And I sewed all of mine like that, every single one so that I could, you know, they would all be the same and then I could just put my blocks together. So on this one right here let’s go ahead and sew it down here. And you can chain piece these. Once you get them cut and pressed, literally I made this quilt in a morning. I mean it goes together so very quickly. The blocks anyway, I don’t think I set it until the afternoon but the blocks are so easy because it’s you sew those long strips. Alright now grab these. Again we’re going to go across and down. And we’re keeping them all going in the same direction. And I love these little mantras that help me so much. And so this is the same, across and down the side. And we are just going to get that through like that. Alright now we’re going to clip these apart and we’re going to press these. Alright so here again we’re just going to open them up like this and they’ll all be going exactly the same way with any luck. If they’re not, this is where you notice it. So make sure they’re all going the same way.
Then what we’re going to do over here is we’re going to take these blocks and we’re going to put them together just like this. Because we’ve sewn them the same but when you flip them they’re opposite and they make the block. And it makes the little windmill. So what we’re going to do, the only seam we have to match is the center seam right here. Feel for it. Make sure you have one seam going that way, the other seam going that way and that you are and you can feel no gap between them. And so we’re just going to sew those together. And I’m going to go ahead and do this one the same. So we’re going to set these together like this. And we’re going to nest. We’re going to make sure that one seam goes this way and the other seam goes that way. And there’s nothing in between. You can feel there’s no fabric in between. They line up really nice and tight. Alright so we’re going to line this up, send it through, a quarter of an inch. And just like that out of one strip you have two blocks. Let’s press these because they’re so dang cute. I just love the colors in this quilt. It is so happy. We thought about calling it Happy Windmills but Breezy just seemed right for the time.
So anyway this is your block. And then the setting is what’s important on this because, I mean obviously if you use scrappy fabric they can all go together and they’ll scrap up because they make a secondary background windmill in here as well. When you put them together like this they’re, you have your color and your background. And so if you want to scrap them up that’s fine. But if you want to do them our way we started with the orange, we went into the yellows, into the greens and into the blues out here. And anytime that we could we used a, you know, a transition block just to get a few more. And we have one, two, three, four, five, six, seven, eight, nine by one, two, three, four, five, six, seven, eight, nine, ten. So you have 90 blocks in this quilt. It’s a great big quilt. It’s gorgeous. If you want yours to look like ours you just have to follow the diagram. And we hope you enjoyed this tutorial on the Breezy Windmill quilt from the Missouri Star Quilt Company.
We hope you enjoyed watching this video. If you’re not already part of the Missouri Star quilt family you can hit the subscribe button below so you won’t miss a thing. And if you click that bell it will notify you every time a new tutorial comes out. See you next Friday.


