Skip to content

Free quilting video tutorials from Missouri Star

Quilting Tutorials
Make a "Christmas Celebration Bench Pillow" with Misty Doan on At Home With Misty

Make a "Christmas Celebration Bench Pillow" with Misty Doan on At Home With Misty

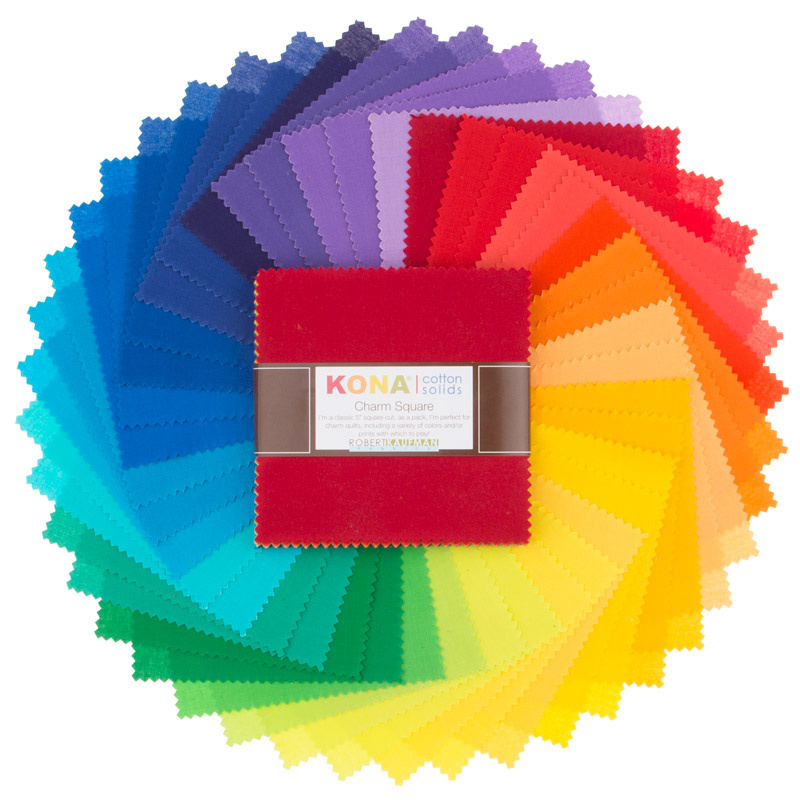
Celebrate the wonders of Christmas with Misty as she shows us how to make a festive bench pillow! These cute Christmas trees are easy to make and will fill your home with holiday cheer! Piece it together like Misty using Kona Cotton solids in all of the main colors of the rainbow or make it your own with a mixture of solids and bright holiday prints. Make it for your home or gift it to a neighbor - this project is the perfect way to celebrate the season of giving!

Instructor

Misty Doan

Misty Doan grew up surrounded by sewing and quilting. She loves spending time sharing tutorials each week each week, and when she’s not stitching up one of her fun sewing projects for home decor, most likely you’ll find her hanging out with her husband and three awesome kids or working on a house project.

Common Questions

What is covered in Make a "Christmas Celebration Bench Pillow" with Misty Doan on At Home With Misty?

Celebrate the wonders of Christmas with Misty as she shows us how to make a festive bench pillow! These cute Christmas trees are easy to make and will fill your home with holiday cheer! Piece it together like Misty using Kona Cotton solids in all of the main colors of the rain...

How long is the tutorial video?

The tutorial video is 00:33:52.

Are supplies listed for this tutorial?

Yes. The tutorial page includes the supplies and materials connected to this project.

Video Transcript

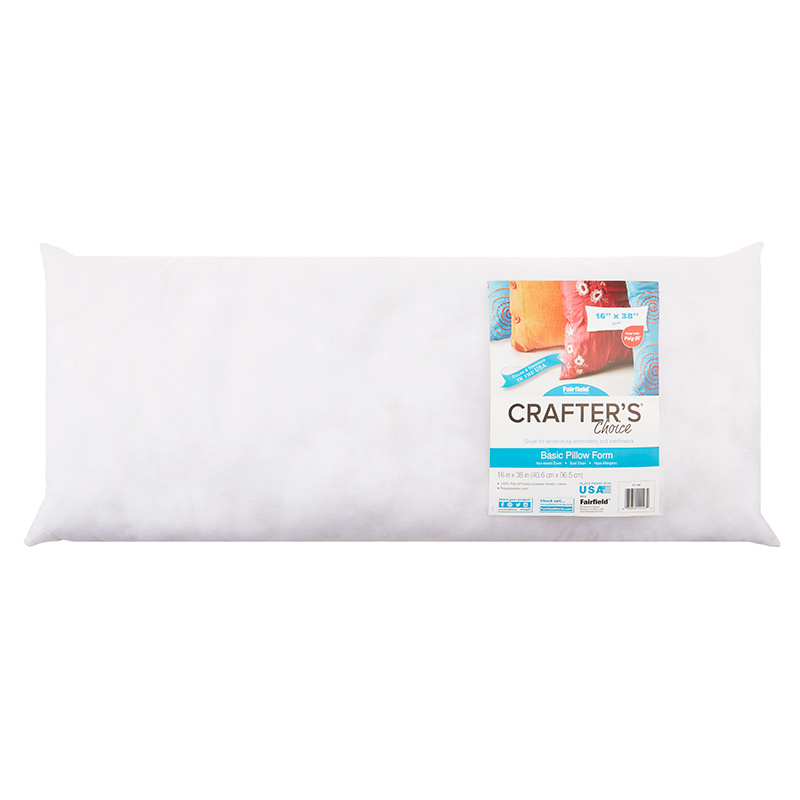
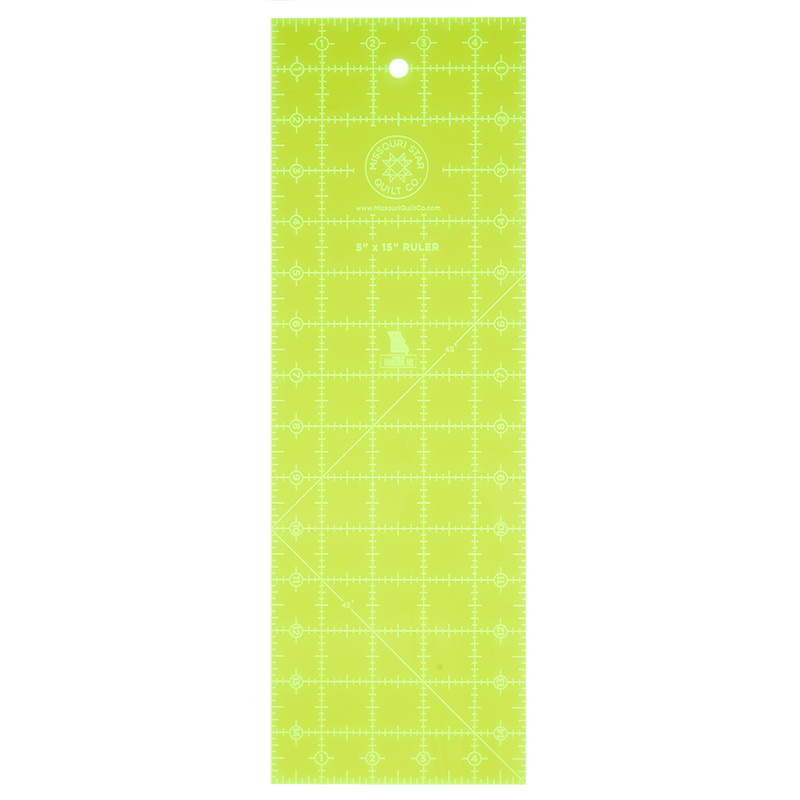
hey everybody it's misty and i've got a really fun christmas in july project for you so let's get started [Music] i am so excited about today's project it is christmas in july and so we are going to be making this adorable little bench pillow it can either be a table runner or a bench pillow however you want to finish it off it's great either way but we are going to do just a little bit of foundation paper piecing to get these awesome three-dimensional prairie point banners that you see on our trees and i think you're really gonna like that so to make this project i am using this kona over the rainbow uh charm pack and it just has such a great variety of colors here you're also going to need a half yard of your background which is the white and a half yard of the green to make your trees you're also going to need basically just a scrap of this gray that i've used for the trunks here these are just three and a quarter inch strips that we'll be cutting for that so if you have something in your stash that would be perfect you're also going to want to use our 10 inch paper piecing squares and our large simple wedge template so let me show you how we're going to do this because it is so much fun so to start off we are going to take one of our 10 inch papers and these are so nice because they're just really thin super simple to sew through and the reason that we're doing this is because it gives us a great foundation to work from when i first uh tried this design i just cut out a wedge and made cuts into it well the problem was then my wedge was no longer the same size as this template and so by working with the papers and doing foundation paper piecing we get to make sure that this all stays the same size so to make this easy i'm just going to line this up along the bottom edge of my paper and i've got a pin here and i'm just going to trace the outside of my template just like so and then i am just going to completely eyeball a couple of lines across here and that's where i'm going to add our little pennant our prairie point banner so there's my first one and i like them to be going opposite directions so i'll put another one in here and that looks good and so from this point i've cut some four inch strips out of my green fabric and i just like to go ahead and cut them in half at the fold so i'm going to do that and you can see this is really free you don't have to be super exact but i found that one half is about what it takes to make a tree so a half of the width of fabric by four inches and on the strip and so i'm just going to start by laying this strip right in line with that first line that i drew i'm going to watch down here at this bottom corner and make sure that this edge is covering all the way out to the point and then i want to look here and do the same thing so see here's my my little uh wedge that i drew you can see that point there and so i'm just gonna fold this back now and grab my scissors and i'm just gonna cut this off you could totally figure out the measurement and cut these into sections beforehand if you wanted i just liked how free this was and so i'm going to go ahead and now put just a little pin down at the bottom here so it's well out of my way you could use glue if you want and honestly the farther i got in this process the less i even bothered with pins but now that we have that first little step done we're going to take some of our five inch squares and i just have some of mine already left here and i'm going to select just kind of a rainbow variety and each one of our trees at least the way that i made it we're going to need five two and a half inch squares so let me just get this one a little more orange nope it's the same there's a yellow we've got this purple back here and this kind of bright blue maybe we'll do that i'm trying to decide if i want anything different this one's a little more orange just so we have some contrast there we go so now i've got five different five inch squares just so i know i'm going to have a good variety and they'll each pop and i'm going to stack these up so they're all in a line because i'm going to cut through these together of course you could cut through them individually if you want but i feel pretty comfortable cutting through five layers that's about the max i will do and so now i'm just going to line this up here on my cutting mat and we are going to cut this in half both directions to give ourselves two and a half inch squares so there's that first cut make sure it stays nice and lined up and then i'll turn my ruler and cut the other direction there we go so now these two and a half inch squares are the pieces that we're going to use to make our prairie points so let's pause for just a second and i'm going to take this over to the iron and show you how we do that so if you're not familiar with prairie points you just start with a square and the idea here is that we're creating this three-dimensional triangle shape where all of our raw edges are still going to be tucked in the seam so let's take this over here to the iron and i'm just going to start by folding this in half point to point and pressing and then we're going to fold it in half again taking this point over to this one and we'll press it again and so you can see here by doing this all of the raw edges of the fabric are all along this line so let's go ahead and do that one more time we're going to press it in half point to point fold it over there we go all right i'm going to finish up the rest of these and i'll meet you right back here all right now that we have all of our prairie points pressed remember it takes five for each of our trees so let's go back to our foundation paper that we have here remember we have our first strip of green on and now we can just lay out our prairie points to start making our banner so i just begin by setting them on here and that same raw edge remember is lining up with the raw edge of our green and i just overlap them a little bit and it's not the same every time it depends on the line that i drew and that looks really good now that i have that done i'm going to take my piece of green again and i just kind of eyeball this the first time because i know i need it to hang over on either side and so there now i know i can just cut right about here and i'm going to sandwich this other piece of green over the prairie points now you can put pins here so let's go ahead and grab those pins and i have them ready but like i said the more i did this the more i found i really just kind of pinched it between my fingers and took it to the machine or i worked on my table right here and took it to the machine from there but let's go ahead and pin through this so you can see what i mean just digging into my mat there there's those first two are pinned and now we'll just slide this red one back in place and pin down here we just want to make sure we're out of the way of where we'll be stitching there we go and you can see it doesn't have to be perfectly lined up this is so forgiving it's one of the things i like most about foundation paper piecing and so now that we have this we are just going to take a normal quarter inch seam on this top edge you do have quite a few layers of fabric here because of those prairie points so just take your time and i'm starting past where i drew my wedge and i'm just gonna sew straight across there there we go now we can take those pins out that we're holding our points in place and we can just fold this back to get an idea of how it looks isn't that so fun let me take that one that was holding our bottom piece and we can go ahead and roll this back and give it a good press so the prairie points automatically want to lay down because of how this seam is done and then we're just going to press our strip up like so and now we can trim it off to prepare it for our next one so to do that you can't see where you drew the line if you're looking from the front side so we're actually going to flip this over and i like to just use my little ruler here and i roll it back and kind of make a crease right on that line that i drew then i'll slide that out my crease is ready for me and then i can just make sure i'm just barely off the paper because we don't want to cut through that paper that's our foundation so i'm going to slide this down to make sure i can get all of my strip and we are going to make a cut so that our green strip is now in line with the line that we drew on our foundation and so now when you open this up you'll see what i mean there's that crease that we cut against and it matches that line exactly so now we're just going to repeat the exact same process and we're just going to put a few more of our prairie points in here i've got this purple and this blue so as you can see we're overlapping the outside edge of the wedge that we drew and for me that's totally fine because it kind of gives this illusion that the pennants are wrapping around the tree so it doesn't bother me if you're worried about that you just want to scoot it in so that you're within a quarter inch so we have those there and then we're going to take our last little piece from our strip and just sandwich it again i'll put one pin in here there we go going through all those layers and we're going to sew that quarter inch seam there we go pull that pin out and i just want to point out how crazy this looks at this point this is completely normal it should look just a little wonky and insane but i kind of like that it's just a little bit freeing so now again we're just pressing this back so everything is laying nice and flat we're going to take this back to our cutting mat and we're going to flip it over again you could try and trim it from the top i found that i liked going back and looking at what i was using as my starting place which was that original wedge that i drew on my paper and so i'm just going to make a few cuts here line this up with that same wedge that i drew we'll cut off that side and then i'm going to rotate it make sure we're all lined up again and cut and then we'll cut off that bottom edge and you can see on every single one of these layers that four inch strip gives us more than enough coverage but i just didn't want to have to fight with it too hard so you're welcome to try it with a little bit narrower strip and then look when we flip it over it's just perfect it's exactly the same size as our wedge template which is what we want and so i do keep the paper on for just a little bit longer because we do have a little bit of bias along these edges so if you want to make sure that your pieces will line up and be easier to work with i recommend that you leave it on just a bit longer and so then now let's look at the project here because you can see in between our trees we have just a solid background wedge and so i have a few of those cut it matches up exactly with our wedge that we used for our trimming and all of this process along the way and so we are just going to set these together just like so so i'm just going to roll this back and line up this edge top to bottom and we're going to sew straight down with a quarter inch seam got a little thread caught there just take care of that there we go now let's go ahead and press this one back just like that and we can add another tree and so you can see just the same way we would bring in our other tree and add it to this side you see here [Music] make sure we're lined up top and bottom so in this case let me move it down here so you can see so because i've taken a quarter inch seam here and press this it's going the opposite direction now and i don't have a bottom point to line up with so i just want that to overhang that quarter inch and then all of my trees are still going to stay in a line and so that's what i'm looking for that little bit of overhang down at the bottom so now we can take this and sew straight down again and we can press it back there we go and you can see how that gives us our seam allowance at the bottom which is what we need when we're going to add the little border to this and we will add a solid strip to the beginning and the end a solid wedge i'm sorry to the beginning and the end to then trim off so that this is square so let's go ahead and add one more and i'll show you how we'll trim that off there's that one and i'm just going to go ahead and do this other side too and we'll just make a smaller version so you can see how easy this would be to customize to whatever size you want to make i'm turning this into a pillow so i decided to make five trees across [Applause] there we go and now let's press that back and one more on this side isn't that so fun i love how it comes together and so now that i've got to this point that's when i would go in and pull out this paper and you can see how easy it is especially because we didn't use any glue we just put a few pins in there you could totally use just a little bit of glue a little goes a long way and this is a great thing to have your kiddos help you with or do while you're watching tv just have a trash can handy because you do have all these little paper pieces but it helps everything stay straight and aligned and gives us some flexibility to design this block that you know wouldn't necessarily work as quickly with traditional piecing so once i get all of those off and out of the way now we can take this and we can trim off our edges so let's just imagine that this is the full length that we're working with and so because i'm right-handed i'm actually going to turn this over have a nice straight edge here to work on and then what i am looking for is you can see this little bit of overhang down here at this bottom corner let me move this stuff out of the way so that you can see what i'm talking about there's just this little bit that's overhanging from the outside edge of our tree and that is what we need to keep so that we keep our quarter inch seam allowance we don't want to cut right on the edge of the tree and so i'm going to give just a little bit watching my quarter inch making sure this is straight down here on this side and we are going to now trim that off and so that's how i want that to look and so then when i add my border i have a nice square edge so let's jump over here and talk about this finished topper that i have because as i said before i put five across and then you can see here we need to add these little tree trunks to it so let me show you how we're going to do that i have cut some three and a quarter inch let me just double check and make sure that's right yes three and a quarter inch background strips and for this little outside piece we're going to need some three and a quarter by three and a half inch rectangles and these are the ones you're going to watch really close because it's only a quarter inch difference and you don't want to make a mistake when you're sewing those on because you know you can tug a quarter inch and get what you want there so now remember it's three and a quarter tall so i want to make this three and a half so one two three and a half okay and then we have i've moved all my pieces one and a half by three and a quarter inch accent strips to be our tree trunks so let's go ahead and sew this to our three and a quarter by three and a half all right now we can press this back and now when you look back at our finished top here you'll notice that this is a wider section here in between our trees and so that measurement is actually six and a quarter so now let's measure on here measure over so that we have our six and a quarter by three and a quarter and so there is that piece and so now for the tree trunks you're just making a strip set so i'm starting with that three and a quarter by three and a half then my one and a half inch trunk and then adding that larger rectangle and until you get to the end you will continue to use this larger rectangle to be in between however many number of trees you've added and so i will add one here just like so then we can open that up again add another one of our trunks because that's what would come next there we go and for this little one i made since there's only two trees now we would finish that off with another one of our three and a quarter by three and a half and on this one we continued with one two three four of those larger rectangles in between so i'm just going to go ahead and add this little one here just to finish off our strip set so you can see that it always starts and ends with that shorter piece and then we can just press that all nice and flat there we go so now let's go ahead and trim this off because i'll just show you how this is going to fit right on top of our tree here with this smaller one that i've made so let me trim off this other side all right so we're going to line this up now and we are just going to trim this off so that our tree piece matches up with our strip set and this should measure if i remember correctly 14 and a half so i just need to make sure that this is going to line up which it will so then i need to just hang off this quarter inch on this side and make sure this is nice and straight which that looks good just adjust this you do want to take your time because you're working with just a little bit different angles so make it as straight as you can there we go that's what i need all right and so now to attach these together i like to go ahead and fold my trees in half and just give myself a little finger press there at the bottom and i'm going to do that on both of them and this is the same thing i did on all five of these when i'm working with the full pattern we're just going to fold it in half it's just a little bit easier to work with just these two to show you guys there we go so now you can see that finger press line and that is going to line up right in the center of my tree trunks and so you can do the same thing if you want you can press a little finger press line there and it just gives you a guide so that you know these are going to match up where you want them and you can see that looks great so now i can just fold this back and i'm going to start by making sure those two points that i pressed are lined up and i'm just going to use some of my little wonder clips for this just to hold those in place line up this one here and now we can take this to the machine i'm actually going to quickly flip these over because it's easier to go through the machine if the clear side is down it's a little bit flatter so now i'm just going to start stitching here right before i get to that place i'm going to slide my wonder clip out of the way now i'm going to go ahead and flip this one over here before i get close and continue down line up our bottom edge [Applause] there we go and now you can see our tree trunks are centered on our trees perfectly which is exactly what we want now let's bounce back to this finished one here so i can show you how i finish this off all i have done here is add an inch and a half inner border to the each side and the top and bottom and then i used just the rest of my five inch squares i had so many extra i just cut them in half so that they're two and a half by five and i added one two three four five six seven eight on the top and the bottom just to add a little bit more pizzazz i didn't feel the need to do a side border here so i just left this plain and once i did that i sandwiched it with some batting just put some plain background and i sent it to our quilting department you could totally quilt this on your own machine but you can see i went ahead and quilted right over these prairie points but it's still fun because you get this little bit of texture and a little bit of lift and you can tell that you've added this little three-dimensional detail and remember if you do this on your domestic machine they're just going to be completely popping out like you see on this one which is so much fun i just love this little detail and so now like i said i want to turn this into a pillow if you wanted this to be a runner from here you would just bind it like normal but let's go ahead and make some uh backing for this to turn it into a pillow remember we've got this great little printable that gives you some cheat sheets i'm planning on using this 16 by 38 rectangle form that we carry here at missouri star and so it tells you the back pieces that it recommends it says here 17 inches tall by 26 inches wide you need to cut two of those the one thing i do want to check is what this finishes out because sometimes you need to adjust that a little bit and so it looks like this actually only finishes out 36 inches wide so i'm going to cut down my back pieces a little bit i'm going to do them 17 by 23 and so i've gone ahead and cut those here 17 inches tall by 23 inches wide and what i've done is i've turned under about a half an inch once and then again and i just pressed that really good and now we're going to take this to the machine and we're just going to stitch just like a top stitch and i like to sew from this side so that i can see and make it as neat as possible just right along that press line [Applause] there we go and now that is all done we've got that stitching it looks great on the top and the bottom and i have the other one already ready to go and so now let me move some of this out of the way so i can get this all lined up i'm just going to open up my little quilt top that we have finished here and i'm going to take the pieces that i made for the back and i'm going to put them right sides together which means i want that little seam that we just stitched to be towards me and i'm going to line up one edge with the edge of my top i'm going to put a few pins in here just to hold that in place and now we'll take the other piece again right sides together and line it up with the opposite side just like so and now we can pin in the middle where it overlaps through both of those layers and on either side here just to hold all of our pieces together so now i'm just going to top stitch all the way around with a little bit wider than my quarter inch seam just because i want to make sure i catch all of my layers so this is just going to be you know a little narrower than a half inch i guess it's a 3 8 inch seam is what i'm looking for [Applause] [Applause] just want to make sure it's staying as straight as possible [Applause] i've sewn right off that end and we're just going to turn and i'm going to finish going all the way around this and i'll meet you back here all right we have made it all the way around i went ahead and clipped the little corners just to get rid of some of that bulk and now we can turn this right sides out for our finished bench pillow and so let's just push this through just like so make sure we get the corners nice and crisp there we go and look at that doesn't that look great it's such a fun project you can come through and give this a press to make sure that your seams lay nice but i just think this is so fun and festive for christmas and you've got plenty of time to whip these up for yourselves or for gifts i decided to make it out of solids just because i thought it was so cheery and bright but this would be adorable in any christmas collection in fact if you make it please tag me because i would love to see it so i hope you enjoyed this tutorial and until next time have a great week hey everyone it's misty thanks for watching at home if you aren't already a part of our missouri star family be sure to subscribe and hit the bell if you want a notification every time we release a new video i'll see you next monday on the newest episode of at home [Music]

More Charm Pack tutorials

See all