
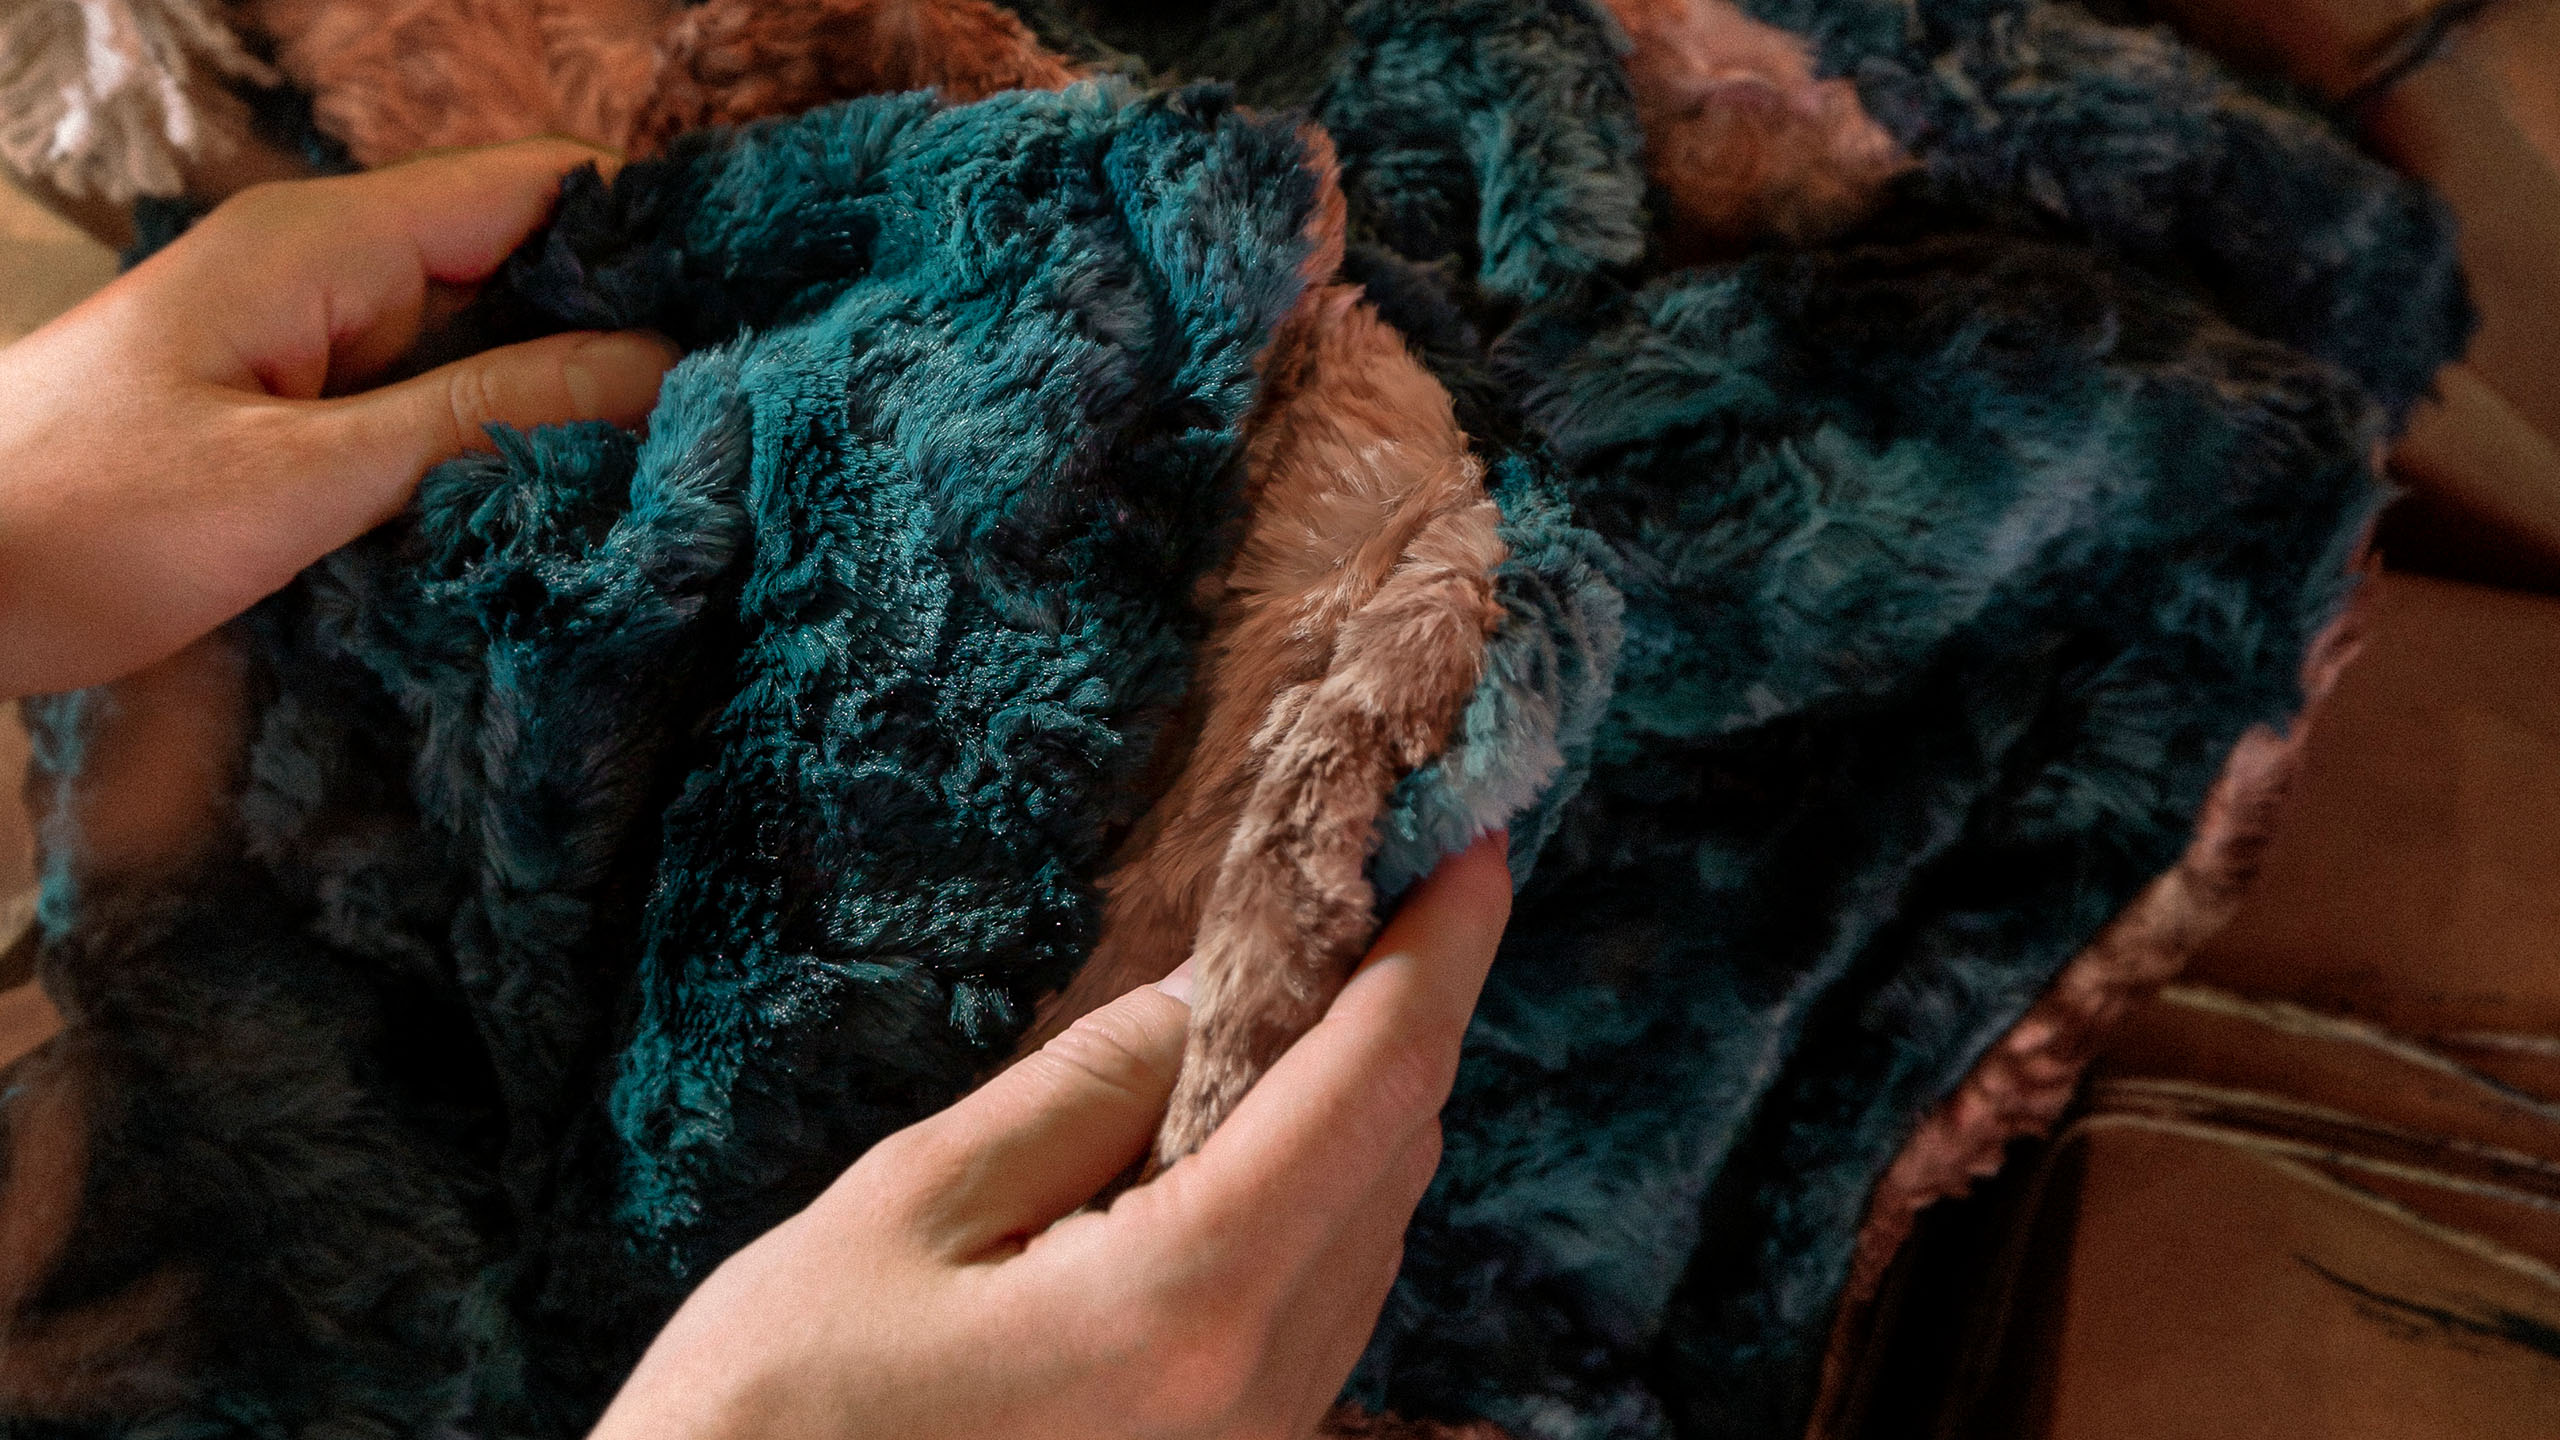
Make a "Christmas Cuddle Blanket" with Jenny Doan of Missouri Star
 Jenny Doan
- Lap / Throw
- Beginner
- Quilt size 59" × 71"
Every Christmas, Jenny chooses a project just for YOU! You've worked so hard making gifts and donations; now it's time to spoil yourself! This quick and cozy Cuddle Blanket is made with Cuddle® Cuts - Minky 2 Yard Cuts for Shannon Fabrics. It's simple, luxurious, and the perfect size for snuggling up for a long winter's nap!
Instructor
Jenny Doan
Jenny Doan is an American quilter, author, and YouTube personality. Jenny started Missouri Star Quilt Company in 2008 and today it is the largest quilting supply vendor in the United States.
Shop this tutorial
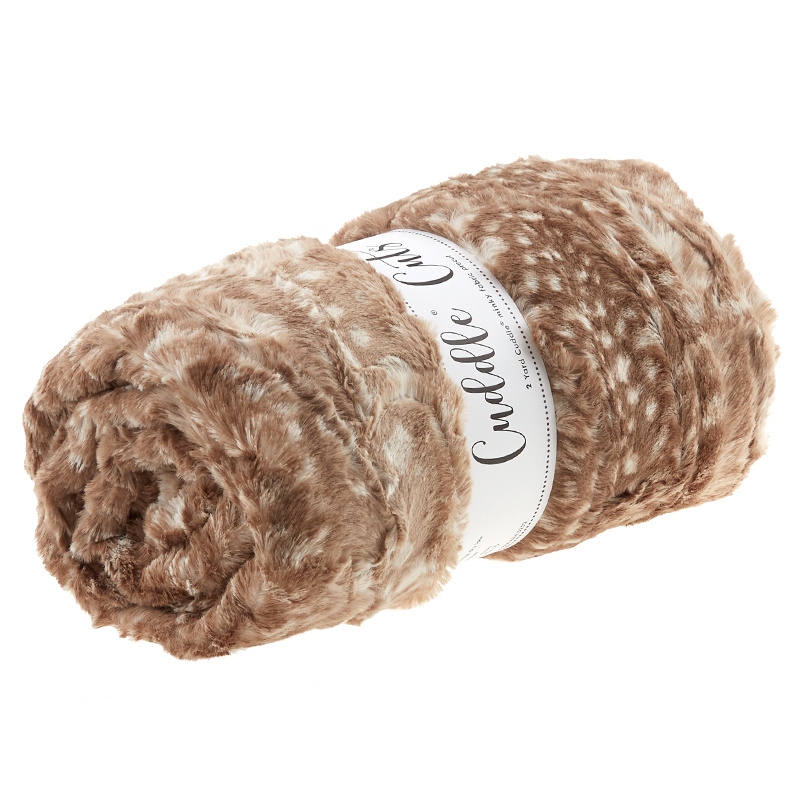 Cuddle® Cuts - Luxe Fawn Cappuccino 60" Minky 2 Yard Cuts$44.95Shop →
 Cuddle® Cuts - Luxe Heather Fog 60" Minky 2 Yard Cuts$44.95Shop →
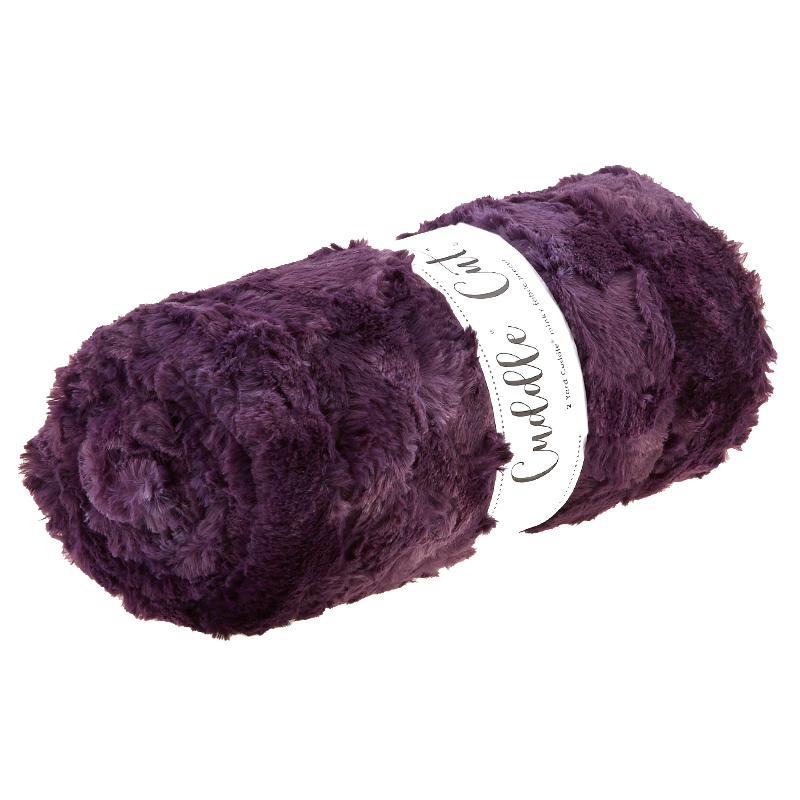 Cuddle® Cuts - Luxe Galaxy Plum 60" Minky 2 Yard Cuts$44.95Shop →
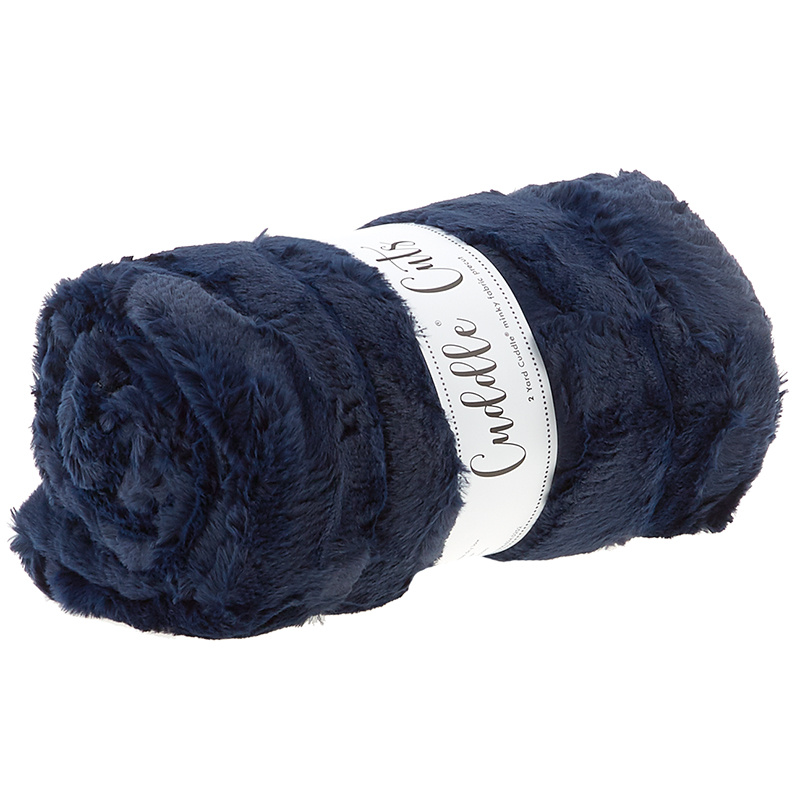 Cuddle® Cuts - Luxe Hide Navy 60" Minky 2 Yard Cuts$39.95Shop →
 Cuddle® Cuts - Luxe Hide Carnation 60" Minky 2 Yard Cuts$39.95Shop →
 Cuddle® Cuts - Luxe Galaxy Mallard 60" Minky 2 Yard Cuts$44.95Shop →
Common Questions
What is covered in Make a "Christmas Cuddle Blanket" with Jenny Doan of Missouri Star?
Every Christmas, Jenny chooses a project just for YOU! You've worked so hard making gifts and donations; now it's time to spoil yourself! This quick and cozy Cuddle Blanket is made with Cuddle® Cuts - Minky 2 Yard Cuts for Shannon Fabrics. It's simple, luxurious, and the perfe...
How long is the tutorial video?
The tutorial video is 00:10:05.
Are supplies listed for this tutorial?
Yes. The tutorial page includes the supplies and materials connected to this project.
Is a transcript available?
Yes. A written transcript is available on the tutorial page.
Video Transcript
So since we have one made of this, I’m going to choose this pink and purple over here. And we’re going to open these up and we’re just going to sew them together right sides. These are so simple you guys. And I just think that you’ll really, this will be really a treat for you to make for yourself. Obviously most of us are givers. You can make one for somebody else. But, you know, this is just such an amazing, luxurious thing to snuggle up in. So I’m going to take these two, the purple, look at this purple. And it’s just like got all shades. It’s so gorgeous. And this pink and we’re going to open those up. And it’s always a good idea, when you’re working with cuddle, it’s always a good idea to pin. And these are cut exactly right so they’re two yards and 60 inches wide. So they’re wide enough for you to wrap up in and just snuggle in. Look at this. This is just gorgeous. Alright now let’s put this pink on top. We want to lay right sides together. And so we’re going to put this on top like here. And basically what I like to do is I’m going to come right down here and I’m going to pin my bottom edge together right here. And just stick a pin in here. And then I’m going to pin the other end because I want it to kind of stay together. Now I’ve sewn about three of these and you know sometimes at the end it’s a little off, you don’t worry about it. You just go right on around the corner making sure you’re catching both layers. And the other trick you can use is a walking foot. So I’m going to pin once in the center here like this, line these up, make sure they’re the same size and put a pin right in the center. Now if you’re unfamiliar with cuddle or you want to, you’re a perfectionist and you want to make sure it’s perfect, you can pin all the way along and do that.
Right now what I’m going to do, over here, I’m going to move these things so you can see what I’m doing as I’m sewing and I’m going to put a walking foot on this sewing machine. And you guys know that I very seldom use a walking foot and it’s already out here. So handy for me. And I very seldom use it because I never remember where it is and I have this sewing machine. And this is the Baby Lock Accomplish. And it has great feed dogs that will take anything through. And so, but some of you have a sewing machine that doesn’t have great feed dogs and it will help if you have a walking foot. So this is what a walking foot looks like. And what walking foot does is it pulls both layers of fabric through at the same rate because normally these feed dogs down here they’ll grab your fabric and pull it through. And so the bottom feed dog generally takes in a little more fabric. But when you have a walking foot that equals everything out. And on mine you have to take this little screw completely out and then we’re going to slide this in here. Now this bar right here, this bar goes over your needle bar. So there’s a screw that holds your needle bar in and it’s just going to go right around that like this. Get it on there. And then this thing comes around from the side and hang on. This one, because it doesn’t have an open side, it’s a little fidgety to get on. But then once you get it going it just goes right in there. And so then I’m going to start my screw here and come on, come on. Lefty loosey, righty tighty. You have to find that little place. Alright so now I’ve got this all screwed on here good and tight. My little bar is over the needle bar. And that’s nice and tight. Make sure my thread is going through, my machine is on.
And I’m just going to start and sew all the way around it. Now if you want to start in the middle on one side and leave an opening because we’re going to reach in and turn this whole thing. And so you want to leave an opening. So I actually think on this first one, because I won’t remember it as I get around to it, I’m going to put two pins so I know to stop when I get right to this place right here. So I’m going to put two pins right next to each other. This is just a little reminder for me because I’ll go, oh that’s weird, how come I have two pins? And then I’ll remember that I have this opening to sew with. So I’m just going to start here. And you can see on cuddle right here it has a bit of a selvedge. The selvedge never shows. But I am going to sew in about a half an inch, a little bit more, just to give me some more room. And take a few stitches. And leave my needle down. Now I’m going to just kind of wrestle this thing. It is a bit like wrestling a bear. But I’m going to wrestle this thing and I’m going to pull it forwards so that it lines up and I can just sew. And I’m telling you, these gifts are so luxurious. Somebody said the other day of me that when I use a walking foot, it isn’t a walking foot, it’s a running foot. I actually thought that was probably pretty true.
And I see my two pins, my reminder pins. I don’t know if you guys have to do those kind of things but I have to do those kind of things to remind myself or I’ll sew the whole thing closed and then end up having to pick it open. Alright so I think I have a good enough space here. And I am just going to turn this now. So now we’re sewn all the way around it. You want to check before you turn. I do a visual, I go all the way around it visually to make sure that I sewed, you know, that all my, both sides caught on all four sides. And then I’m back here to my opening. I’m almost back here to the opening, right over here I think. And now I’m just going to reach inside, this is the best part. You get to feel all that soft. And start pulling my corners out. Look at this. Look how it’s coming.
Alright, now this little opening right here I just hand stitched mine closed which means I folded this in and I just actually whip stitched it. This is so forgiving that you can’t even see the thread. You can’t see where it goes in. So just sew that closed. You can actually sew it on the machine and you won’t see it as well.
So I just want you to take a look at how quickly this went together and how awesome this is. And I know just the person who’s going to love this pink and purple. Look how cool this is. I didn’t do any top stitching. I liked the idea that they were fairly fluid. You can if you want, you know, stitch around it. But I just love the idea of how awesome this looks and how quick it is and how much fun you’re going to have. And I just oh, it feels so nice and I just hope so much that you have a wonderful day. Take time to do something for yourself. And I hope you enjoyed this tutorial from the MSQC
We hope you enjoyed watching this video. If you’re not already part of the Missouri Star quilt family you can hit the subscribe button below so you won’t miss a thing. And if you click that bell it will notify you every time a new tutorial comes out. See you next Friday.


