Skip to content

Free quilting video tutorials from Missouri Star

Quilting Tutorials
Make a Christmas Tree Chevron Quilt with Jenny!

Make a Christmas Tree Chevron Quilt with Jenny!

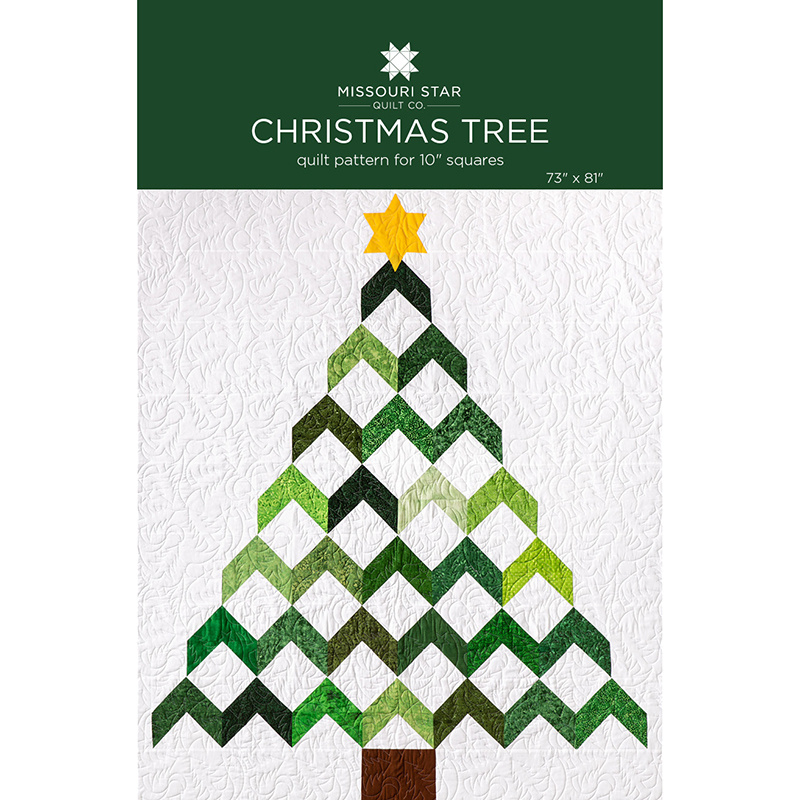
Jenny Doan demonstrates how to make a cute, modern Christmas quilt using 10 inch squares of precut fabric (layer cakes). Jenny chose Wilmington Essentials - Emerald Forest 10 Karat Gems by Wilmington Prints. Jenny shows two different quilt block layouts, one with chevrons and one with pinwheels, and each requires only half a pack of 10 inch squares. That means you can make both quilts with one layer cake stack!

Instructor

Jenny Doan

Jenny Doan is an American quilter, author, and YouTube personality. Jenny started Missouri Star Quilt Company in 2008 and today it is the largest quilting supply vendor in the United States.

Common Questions

What is covered in Make a Christmas Tree Chevron Quilt with Jenny!?

Jenny Doan demonstrates how to make a cute, modern Christmas quilt using 10 inch squares of precut fabric (layer cakes). Jenny chose Wilmington Essentials - Emerald Forest 10 Karat Gems by Wilmington Prints. Jenny shows two different quilt block layouts, one with chevrons and...

How long is the tutorial video?

The tutorial video is 00:12:09.

Are supplies listed for this tutorial?

Yes. The tutorial page includes the supplies and materials connected to this project.

Video Transcript

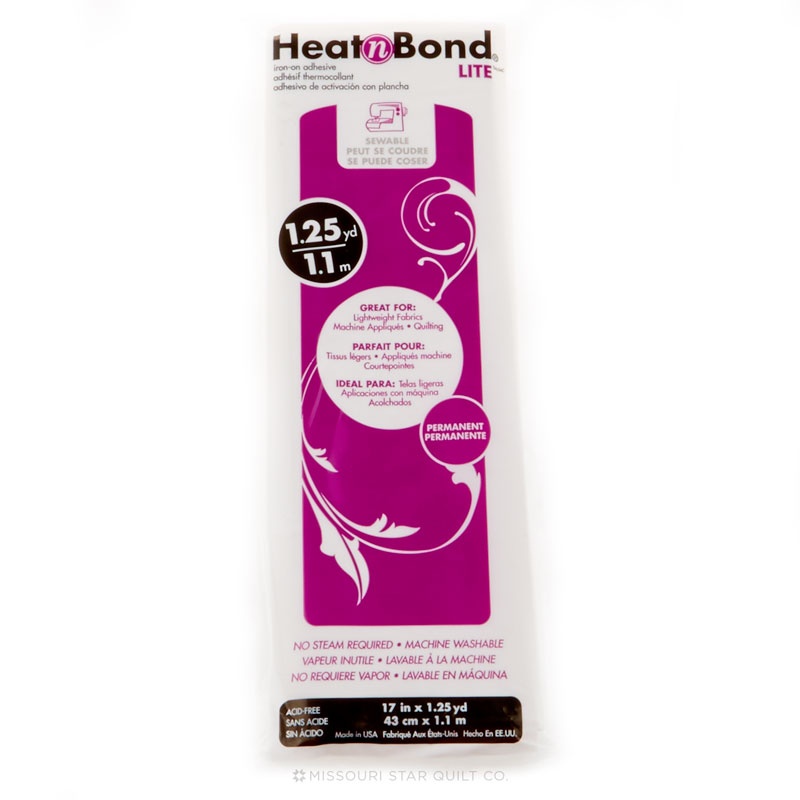
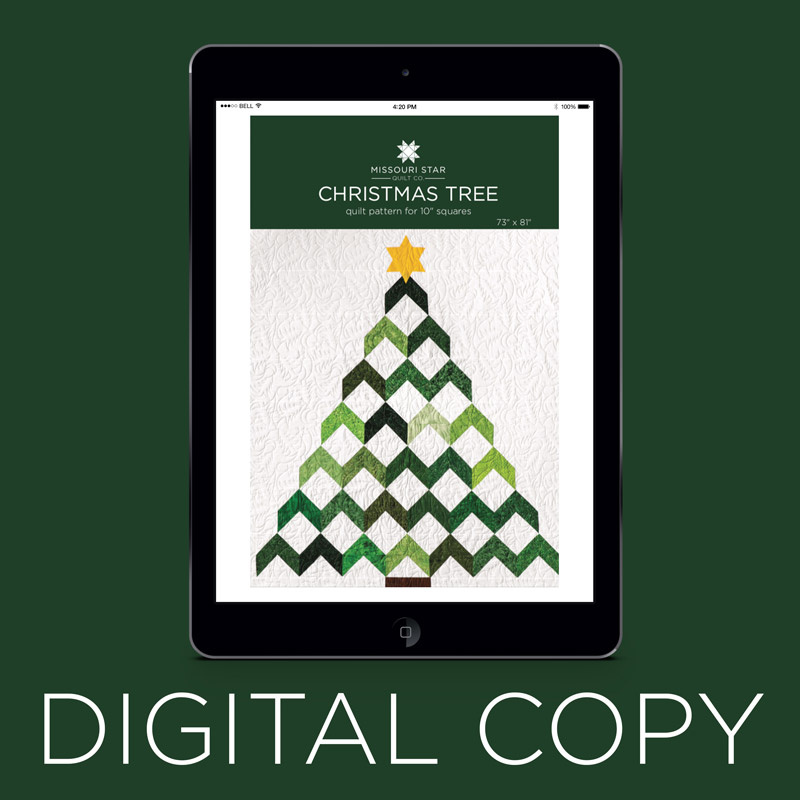
[Music] hi everybody it's Jenny from the Missouri star quilt company and I've got a fun project for you today take a look at this quilt behind me isn't this adorable little Christmas tree quilt this is a quick and easy project and I can hardly wait to show you how to do it so to make this quilt what you're gonna need are 14 squares 10 inch squares of a tree colored fabric and we have used emerald forest for Wilmington and it's just a great mishmash of green colors perfect for this kind of project now you heard me say you only need 14 to make this and that is true I love pre-cut so I buy a creek up but what that means for me is I'm gonna make two quilts out of that pre-cut because it only takes 14 we're gonna need some background fabric that's all this white in here you can see there's a lot of background in there and well you're going to need three and a half yards you're going to need a little tiny piece actually eight and a half inch square brown for the trunk and yellow for the star and I just use an extra 10 inch square I had laying around and eight and a half inch square of brown now if you're buying those and you ordered you probably have to buy quarter yards which are is plenty of plenty big your outer border is going to be one in a quarter yards and this is a five inch outer border five inch unfinished so it'll be four and a half inch finished your binding is three quarters of a yard and your backing is five yards and we did vertical seams on this so you're going to need five yards for that and you're also going to need a little tiny piece of heat and bond this is heating bond light and we have a little little square that we cut out to make our star because our star is just ironed on so it makes it quick and easy this quilt you'll notice the Christmas tree blocks are actually made out of Chevron blocks and so that's half square triangles so let me show you how to do that we're going to do the easy eight for this project because we'll get two blocks out of each square and basically we're going to take our two ten inch squares right here and we're going to draw a line cord at a quarter corner to corner like this and did you notice how fast if I am I'm using red red pen on my green Christmas tree so festive all right here we go draw on my line now what I'm going to do is I'm in a cut I mean I'm sorry I'm going to sew on either side of these lines both of them right here so we'll come over here and sew a quarter of an inch on either side of the line there we go now I'm just going to sail down this side when I get to the end I'm just going to pivot just like that turn around and go down the other side all right then we're going to do the same thing on the other side and one more pivot and we are over here all right now the trick to the easy 8 is all in the cutting so we've sewn on either side of those lines and now we're going to cut it four times the first cut is going to be in half both directions and so you want to make sure that your ruler this is our five inch ruler so it works great with the pre cuts but it should go right through that crisscross right there and we're going to turn it this way as well and then we are going to cut diagonally both directions so lay your ruler corner to corner and over here hope if they move just get them back as close as you can if it's if they're too far gone then you can just cut them one at a time all right so now we have eight of these you're going to want to square these two four and a half and so I have my little trimmer right here I'm going to match my four and a half inch stitch line right on the edge and it looks like these have come out perfectly so I'm home free my quarter in it of an inch worked and they're just perfect nothing to trim so I'm just going to iron all these back like this now as I mentioned before there are it takes four of these to make each block so you'll get two blocks every time you so do the easy eight you'll get two separate blocks out of them all right couple more to iron and we're good to go and then I'll show you how to make that chevron block all right the chevron block this is what it looks like right here and it's super easy you're going to sew to half square triangles together with the color and to half square triangles together where the white comes together in the middle so just like that we're going to put two together where the color comes together like this and then two right here where the white comes together and that makes your chevron block right there and you're just going to sew these two and these two and then sew the entire block together now I have a bunch of these made so let me show you how this go together we're gonna take a look at the quilt because our first top peek right out here this one move this chair a little bit this one right here there's one the next one is two then three four five six seven it goes seven pieces of crop across and so what we're going to do is when you put this whole block together this whole block ends up being eight and a half so we're going to cut eight and a half inch strips to put out from the sides on these so big long strips they change in four inch increments and so this one down here is just going to be a tiny little four inch piece or four and a half inch I'm sorry four and a half inch increments this is going to be a tiny little piece and then it goes four inches more or four inches more and so I I can give you some of those measurements we're gonna go with they're gonna be twelve and a half sixteen and a half 20 and a half twenty-eight and a half and so it just you're gonna put a big strip on either side of this one Chevron then it's time to add our little star on top you're gonna you're going to put a big 8 inch border all the way across here we're going to add our little star so to make this little star we've provided a printout for you that you'll be able to you'll be able to trace what we're going to want to do is we're going to want to take our heat and bond fabric and on the side that's shiny and sticky you're going to put that on the wrong side of your fabric now on a yellow solid there's no right or wrong so it won't matter then we're going to iron that on so let's let me come over here and we'll just iron this on right here you want to make sure that your piece is just slightly smaller than your square and I'm just going to press this you hold it about I don't know two or three seconds you're going to want to go over it make sure that it holds on the instructions are all on the paper so it's you'll know just what to do and then the little the little printout that we give you is a half a star so let me show you where that is right here so what I did was I folded my little star in half like this I mean my pick my fabric in half and then I just traced the star around it so let's do that so I've got this you're just going to trace the legs nope hope I keep wanting to slide off that line alright so now what we're going to do is we're just going to cut this out I'll get my scissors here and just leave it folded in half and go ahead and make your cuts and it'll make just the perfect sized star and one of the trip tricks for cutting out a star like this is you want to look at your points see where your points going to end up because you don't want to go cut cut cut cut cut you want to do one long cut so you're gonna put it on there aim it where the point is and then just do one long cut and that will help keep your star much more crisp looking see now I had to go in there and cut one more but I'm hoping it's good there we go so then when you open it up you have this great little star to sew on the top which you are then gonna peel off the back and iron it on to your quilt see all the sticky stuff from the peel is now on our fabric and we'll just iron that onto our quilt right here and then you're going to sew around it with a buttonhole stitch or a applique stitch little zigzag whatever you want to do to do that for the trunk you're going to take an 8 inch square 8 and 1/2 I mean which is just the same size as all of our other squares we try to keep all these sizes really similar so everything lines up really well eight and a half inch brown square for the trunk and we've put again two long strips along either side so that so that the trunk is just right at the bottom it's perfect right there and we're going to put a long strip on either side so that makes it perfect now I thought this was really fun and really a cute little project but I started wondering what would this look like if I didn't do Chevron blocks so here's my Chevron block right here and I've got my two my two colors sewn together and my two white Sun together and I thought what if I turned to these like this and made a pinwheel what if I did a pinwheel tree what would that look like and since I had way enough in my 10 inch pack to do that I decided to find out so I made this a second one with pinwheels so this is what it looks like it's right here misty if you'll help me hold this up here we go so take a look at this one how cute is that with the pinwheels so you know there's a million things you can do with half square triangles and just by changing out how you lay them out you get a whole different look so I thought it was really fun actually helped me hold up the trunk here so they get a good look at this trunk and again everything is just eight inch square with these long strips this has a little the little strip by it and they grow bigger and bigger by four inch increments I mean four and a half so it just is really quick way and fun way to make a really darling holiday tree so we hope you enjoyed this tutorial from the Missouri star quilt company [Music]

More Charm Pack tutorials

See all