

Make a Constellation Quilt with Jenny Doan of Missouri Star
 Jenny Doan
- Jelly Roll
- Modern
- Double
- Beginner
- Quilt size 68" × 84"
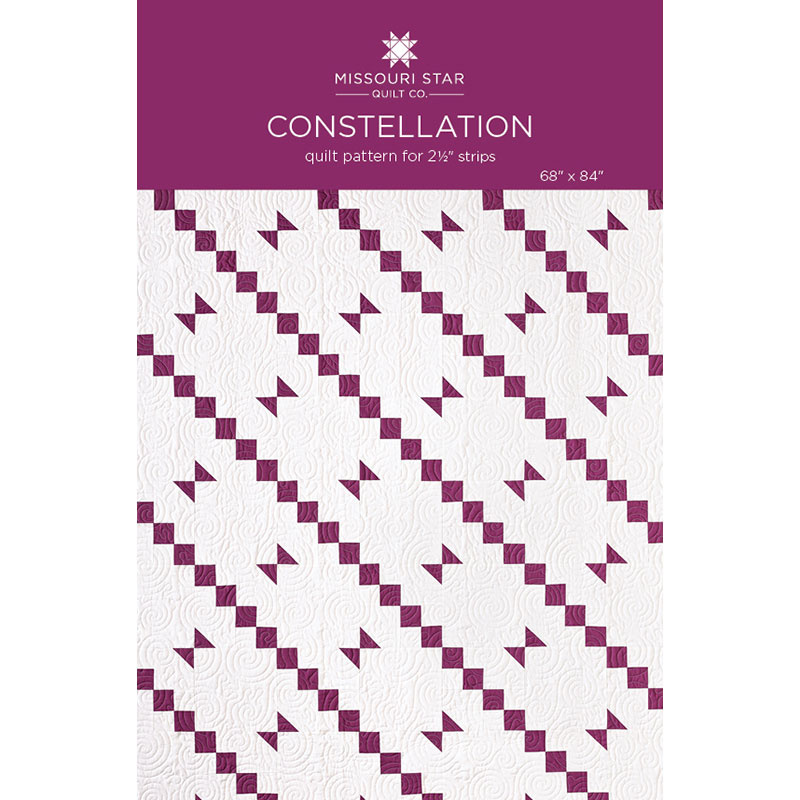
Jenny uses Kona Cotton's 2022 Color of the Year to whip up an out-of-this-world jelly roll quilt. Cosmos is a stellar shade of purple that will ONLY be available this year. Jenny pairs it with white and stitches together quick and easy strip sets, 4 patches, and snowballed corners. Constellation is a sweet and simple pattern that is perfect for beginners and seasoned quilters alike.
Instructor
Jenny Doan
Jenny Doan is an American quilter, author, and YouTube personality. Jenny started Missouri Star Quilt Company in 2008 and today it is the largest quilting supply vendor in the United States.
Shop this tutorial
 Constellation Quilt Pattern by Missouri Star$5.95Shop →
 Digital Download - Constellation Quilt Pattern by Missouri Star$4.95Shop →
 Kona Cotton Cosmos Color of the Year 2022 Roll Up$30.95Shop →
 Kona Cotton - White Yardage$7.28Shop →
 Kona Cotton - Cosmos Color of the Year 2022 Yardage$6.76Shop →
 Missouri Star Quilter’s Best Blend Full Batting$32.45Shop →
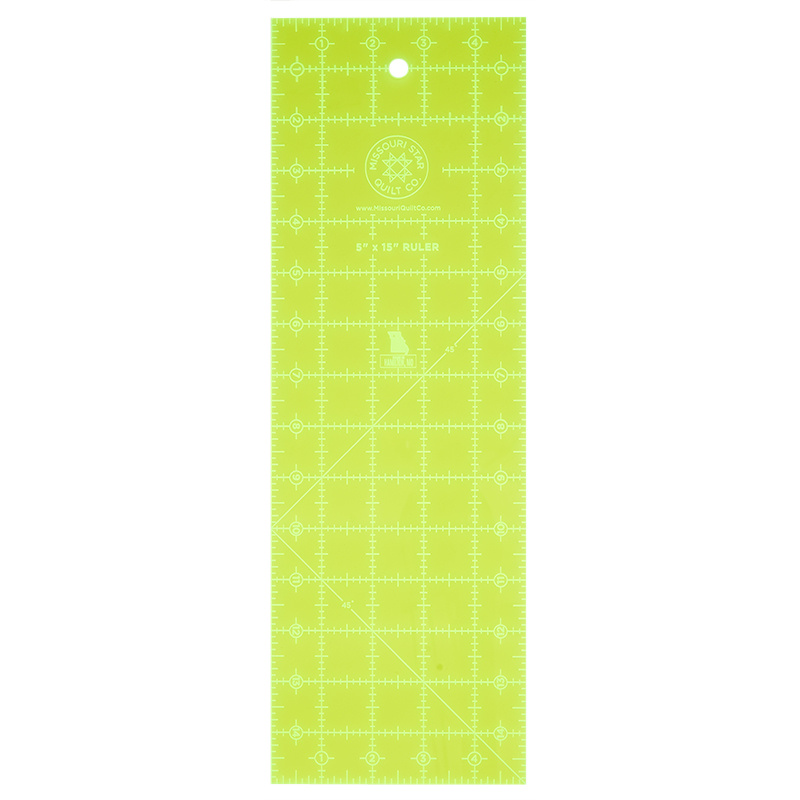 Missouri Star 5" x 15" Ruler$14.95Shop →
 Missouri Star 2.5" x 8" Ruler$10.95Shop →
Common Questions
What is covered in Make a Constellation Quilt with Jenny Doan of Missouri Star?
Jenny uses Kona Cotton's 2022 Color of the Year to whip up an out-of-this-world jelly roll quilt. Cosmos is a stellar shade of purple that will ONLY be available this year. Jenny pairs it with white and stitches together quick and easy strip sets, 4 patches, and snowballed cor...
How long is the tutorial video?
The tutorial video is 00:13:07.
Are supplies listed for this tutorial?
Yes. The tutorial page includes the supplies and materials connected to this project.
Is a transcript available?
Yes. A written transcript is available on the tutorial page.
Video Transcript
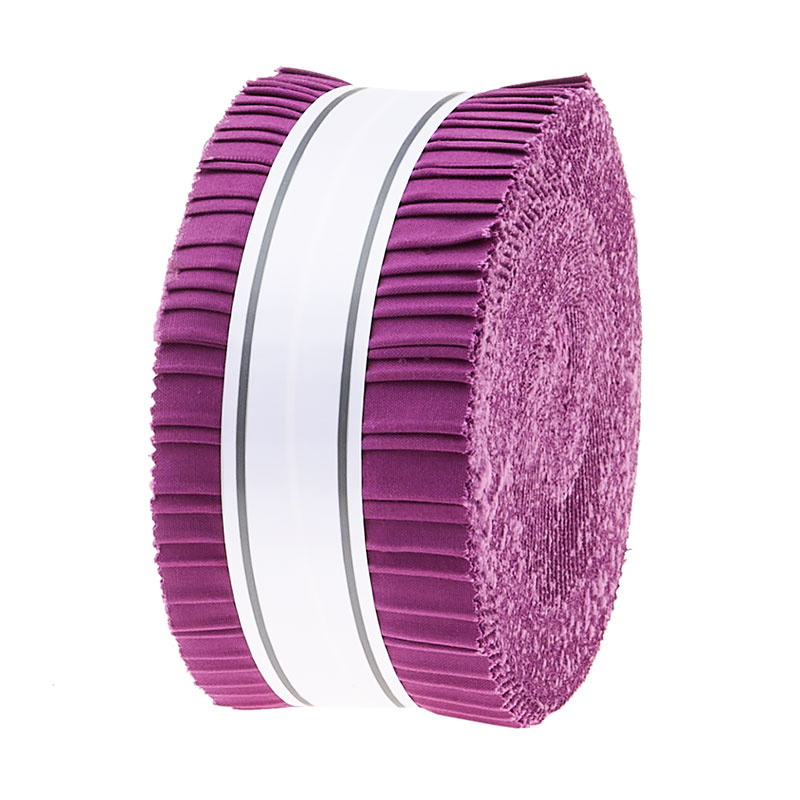
So to make this quilt, you're going to need one roll of two and a half inch strips. And we have used Cosmos, Kona's color of the year. Really a beautiful color. You're going to need some background, three and three quarter yards. For your border, you're going to need a yard and a half. We also use the same fabric on the backing and for your backing, you're going to need five and a quarter yards or two and three quarter yards of a 108. Now obviously I've made it in these colors, but you can make it in any color you want, even use a different brighter background. Just let yourself play and have some fun with this and I'll show you how to make it.
So to make this quilt, we're going to need to start with cutting some strips from our background fabric. And so I'm going to open that up here and show you how I do that. And you're going to cut some two and a half inch strips, and I'm going to lay this on my mat and fold it up here. I like making shorter cuts. Make sure it lines up exactly with the dots. So I'm going to make a two and a half inch cut right here. Actually, I'm going to clean up this edge right here so it's just perfect. There we go. And then I'm going to scoot this over so I can lay it perfectly, match it up on my mat. That helps me keep it straight. And I'm going to cut some two and a half inch strips. I'm going to cut eight two and a half inch strips, but for now, I'm just going to cut one to show you, then I'm going to cut some four and a half inch strips. You will need eight of those also. And so there we go.
And then you're also going to need some eight and a half inch strips, and we are going to subcut these eight and a half inch ones into squares. And I'm going to come over here, 5, 6, 7, 8, and a half. And you'll also need to cut eight of those because we're looking at 32 squares that we're going to get. And so what I do is I leave my fabric folded and I'm going to come along here and I'm just going to trim off my salvage like this and the fold. And then I'm going to come over here and I'm going to come to the eight and a half line and I'm going to count to make sure I'm in the right place. 1, 2, 3, 4, 5, 6, 7, 8, and a half.
Good thing I counted. All right, let me count again, just to be sure. 1, 2, 3, 4, 5, 6, 7, 8 and a half. So we need some eight and a half inch squares and we're going to need some four and a half inch squares. So let me just trim this off. Oh, line that up straight. There we go. And then we're going to cut some four and a halfs just like this. We'll set these aside.
And then out of your two and a half inch strips, we're going to sew those to a two and a half inch Cosmo strip. So we'll take these, we're going to line them up and we're going to sit down at the sewing machine and we're going to sew eight sets of these. We're going to sew these together like this.
And I like to just kind of sit back a little bit, line up my strip and then just sail through. When I start noticing that it's not exactly lined up, I'm going to come back and adjust. All right. And then one more time. And a little bit more. All right.
Now the first thing we're going to do, this is the block we're talking about right here. So our four and a half inch squares that we've cut are here and we are going to make four patches. All right. So we are going to make some four patches and you are going to need two for each block that you make. And right now, this is personal preference, but I like to cut mine before I press them. And you can do it either way. So I'm just going to come across here and trim my salvage edge off. And I'm going to cut two and a half inch segments. I have my strip folded in half right here. So every time I cut two, I mean, I cut one, I get two, which is enough for one block. So see how that is right there. That's what we're making. So I'm going to cut a few of those.
And this just goes really quick and easy. And then I actually like to sew them again before I press them. So what I'm going to do is I'm going to lay this like this, make sure that my purple and white are opposite, I'm going to nest these seams right here in the middle. And so I'll start on the top and just sew straight down the side like this. And then...
And once you get a bunch of these, you can literally just chain piece them and keep going and going. You need 64 four patches for your quilt, but you need two for each block. So I'm going to do two here and then I'm going to press them open. And I think I'll press from the back just to make sure my seams are going the way I want them to, because I've already started. And then I'll flip it over to the front and make sure that I have no pleats or folds. So I'm going to look at the back on this one. So this seam wants to go this way. I like to let the seams go the way they want. All right.
So here's my two four patches and here are two four and a half inch squares. And we're going to make a little block out of this. This is our block right here. And so we're going to make sure, the one thing we want to make sure, is that our little colored squares line up in a row like this. So our four and a half inch background squares are going to go here. And so we're going to sew this together as a four patch.
So here's this one. And then this one should look different. It should be the patch on top. And then when you open them and put them together like this, all your little squares are going in a row. And so now we're going to sew this four patch together. We're making a four patch in a four patch, if you will.
All righty then, we're going to press this open. Make sure these seams are laying down nice, how we want them. And now the only thing left to do here is to snowball our corners like this one out here. And for that, we're going to take another strip and we're going to cut two and a half inch squares. And I'm just going to take one strip here and I'm going to fold it in half and in half again. So now I'm cutting four at a time. You only need two for each block. And I love this little ruler because I can just lay it right along the edge. All right. So now I'm just going to take this one and put a color patch here and a color patch here. We're going to sew right on the line, diagonally right down the center for this one. And so I'll lay it right here in the corner, snug it right up into my corner. And then I'm going to follow my diagonal seam tape, which is just right here on my sewing machine.
And then we'll do one on this side like this, and then we will trim these off and press them open. And we've sewn exactly right on that line, the imaginary line.
So once you get your blocks done, you'll need 32 of these, and now is when our big eight and a half inch squares come in. I'm going to press this just a little bit, but how we're going to lay them out. Let's look at the quilt back here. So we've got the color coming right off the border, chaining down, all the way down the quilt like this. And so that means we're going to start with our color in the corner and then add a solid block and lay our blocks the exact same direction. So we're going to go this way and then we're going to put an eight inch plain block like this and this way. And then an eight inch plain block. And we have across the top here, we have 1, 2, 3, 4, 5, 6, 7, and then we have 1, 2, 3, 4, 5, 6, 7, 8, 9 down. So it makes a great size quilt. And we're just going to keep doing that.
So our next row will start with a solid and then just again, make sure that your blocks keep chaining and then we'll have another solid and another chain block. Now I thought this was really fun and fascinating. Whoops, this one is wrong. Oh, I almost let that go. All your chains go the same direction. So make sure whew, that would've been a big mistake. I would've had the quilt finished and gone "what is wrong with that one corner?" So anyway, make sure they're all going the same direction and your quilt will come out perfect.
Now I thought this was really fun. And since I had a jelly roll to work with, that's what I did. But once I got ahold of some yardage, I want to show you, I did it differently. I did it with the yardage as the background and the white as the pop. And so I want to show you what this looks like, because it's just fun to change it around a little bit. And you guys can do anything you want with your quilts. So I'm just clearing off some space and making some room here. And so what we're going to do here is now our white becomes our chaining. And so we're going to do white and I'm going to put it up here so you can get a really good look at it. And then our purple is the background and then our white chains and then our purple.
And then over here, we start with the purple and we've got the white chain and we start with the white chain here and we've got the purple and the white chain and then a purple and the white chain right here. And just like that, this is the exact same quilt, but it looks completely different. And I love how just turning it around or making a different, using a different color, completely changes the look of the quilt. So this is a really easy project. I would call it a hundred percent a beginner's project. And I think that as you play with this and have some fun with this, you're really going to enjoy this quilt. So let me take you back to the quilt one more time. Nice big six and a half inch border back here. This is our backing. The quilt pattern we use is called sticky buns. And it's just a really fun circular pattern and anytime I have anything that's kind of angle-y, I like to kind of go round with my quilting pattern, I'm not sure why.
It makes a quilt that is 68 by 84. So it's a great size quilt. And of course you can make it as big as you want to. So we hope you enjoyed this tutorial on the constellation quilt using the color of the year, Cosmos, from the Missouri Star Quilt Company.
Hi everybody. It's Jenny from the Missouri Star Quilt Company. We hope you enjoyed watching this video. If you aren't already part of the Missouri Star Quilt Company family, be sure to subscribe so you won't miss a thing. And if you click that bell, it'll notify you every time a new tutorial comes out. See you next Friday.


