

Make a "Hattie's Sunflowers" Quilt with Jenny Doan of Missouri Star
 Jenny Doan
- Jelly Roll
- Heirloom
- Double
- Beginner
- Quilt size 71" × 91"
This week, Jenny is making a cheery sunflower quilt inspired by an antique block called Hattie’s Sunflowers. The quilt features colorful sunflower petals perch on long, slender stems. It comes together quickly with jelly roll strip sets, half-square triangles, and the sweetest gingham prints you’ve ever seen!
Instructor
Jenny Doan
Jenny Doan is an American quilter, author, and YouTube personality. Jenny started Missouri Star Quilt Company in 2008 and today it is the largest quilting supply vendor in the United States.
Shop this tutorial
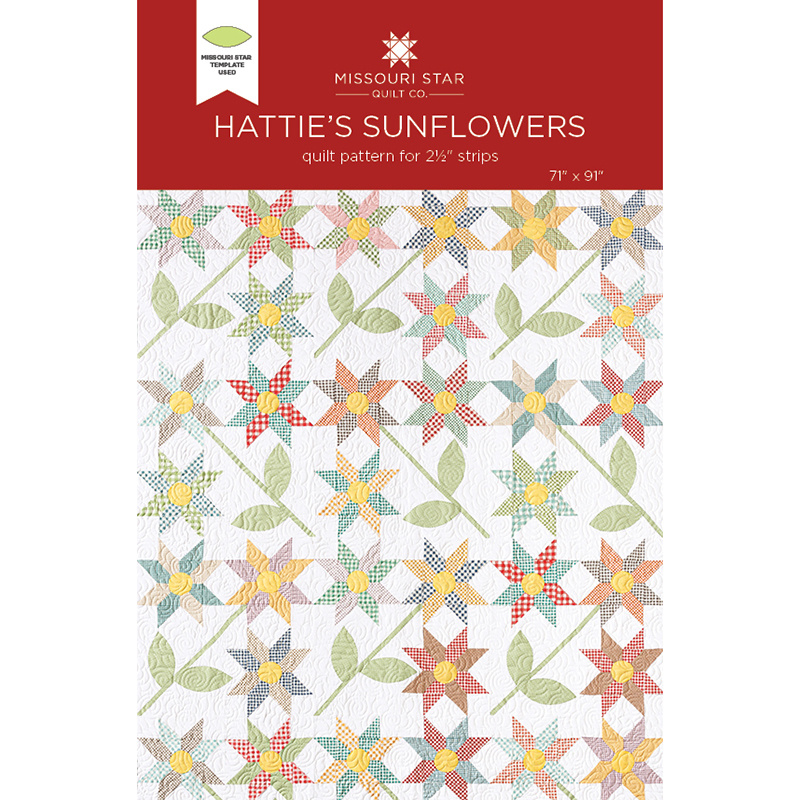 Hattie's Sunflowers Quilt Pattern by Missouri Star$6.95Shop →
 Digital Download - Hattie's Sunflowers Quilt Pattern by Missouri Star$4.95Shop →
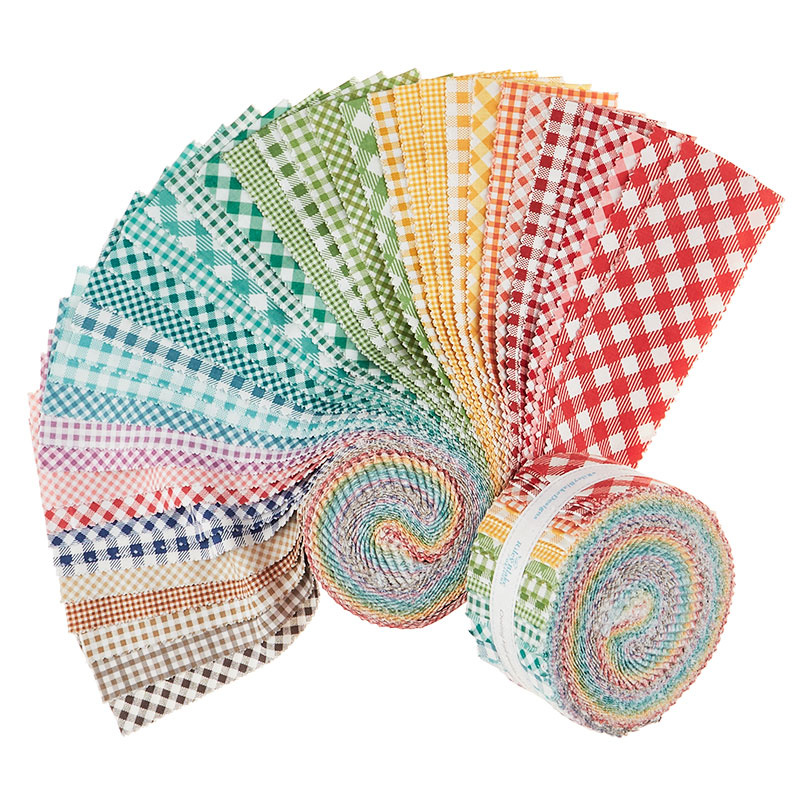 Bee Ginghams Rolie Polie$37.95Shop →
 Kona Cotton - Duckling Yardage$7.28Shop →
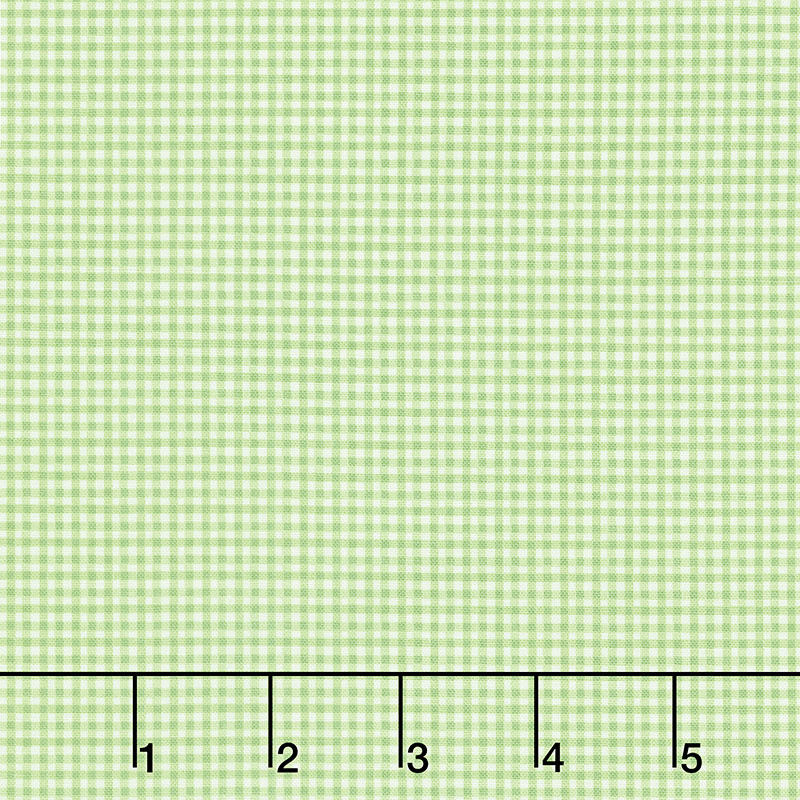 Bee Ginghams - Melanie Basil Yardage$11.96Shop →
 Kona Cotton - White Yardage$7.28Shop →
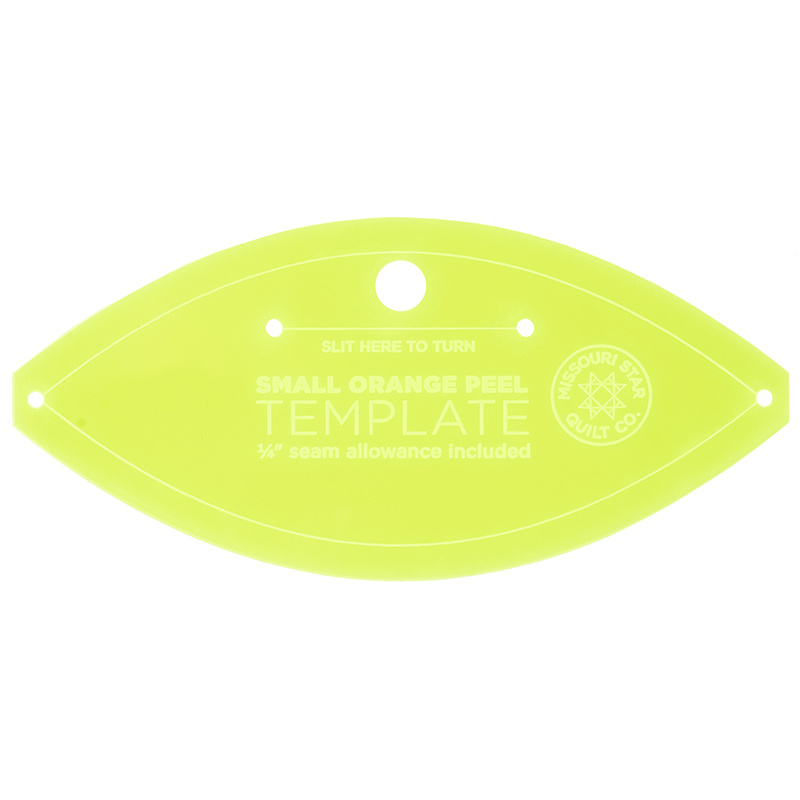 Missouri Star Small Orange Peel Template for 5" Charm Packs$7.95Shop →
 Missouri Star Sew Light Fusible Adhesive - 17" x 2 yards$4.95Shop →
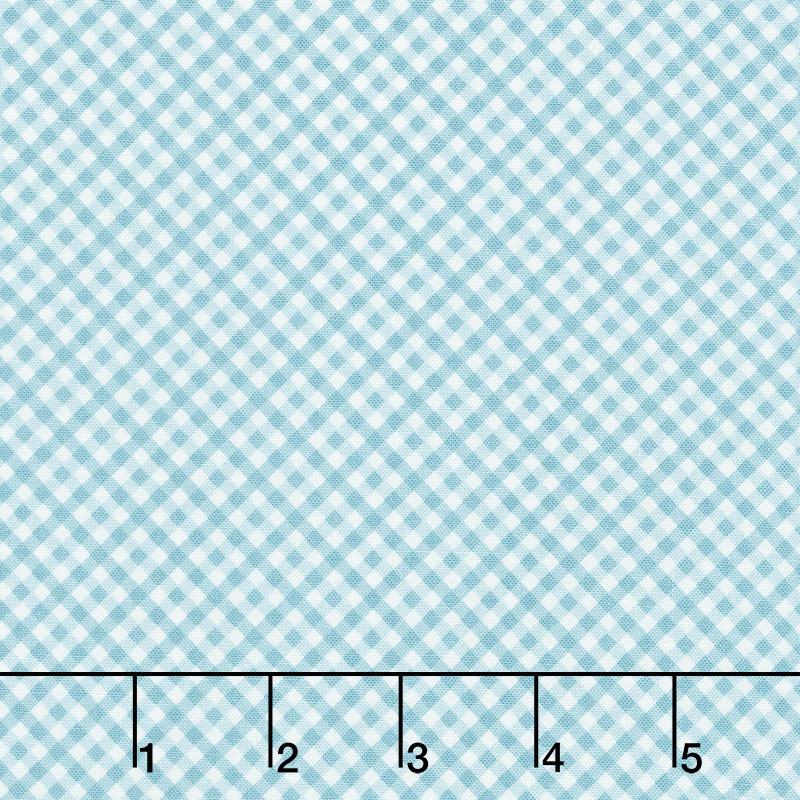 Bee Ginghams - Rebecca Dream Yardage$11.24Shop →
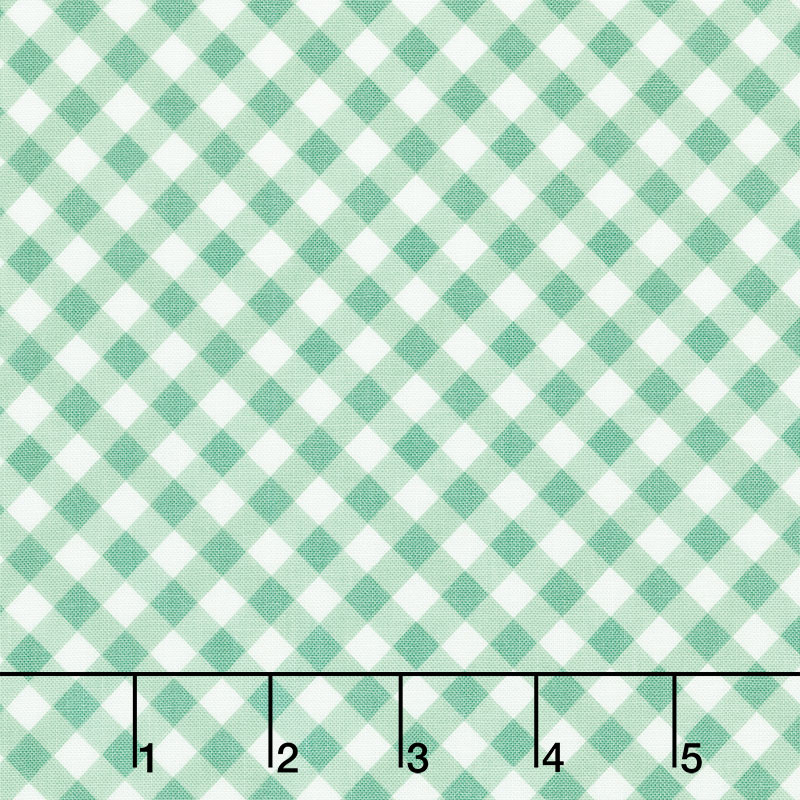 Bee Ginghams - Tammy Alpine Yardage$11.24Shop →
Common Questions
What is covered in Make a "Hattie's Sunflowers" Quilt with Jenny Doan of Missouri Star?
This week, Jenny is making a cheery sunflower quilt inspired by an antique block called Hattie’s Sunflowers. The quilt features colorful sunflower petals perch on long, slender stems. It comes together quickly with jelly roll strip sets, half-square triangles, and the sweetest...
How long is the tutorial video?
The tutorial video is 00:33:26.
Are supplies listed for this tutorial?
Yes. The tutorial page includes the supplies and materials connected to this project.
Is a transcript available?
Yes. A written transcript is available on the tutorial page.
Video Transcript
So to make this quilt, you're going to need one roll of two and a half inch strips, and I have used Bee Ginghams by Lori Holt for Riley Blake. And it's just all different sizes of these ginghams. It's really a fun line. You're going to need some background, about three and a half yards of background. You're going to need a half a yard of your yellow solid for your little centers on your flower. Here's our little centers. And you're going to need, again, a half a yard of yellow. You're going to need three quarters of a yard of a coordinating green. And I just used this tiny gingham that was in the line, and that makes your leaves and your stems. For your border out here, we have a nice big six inch border, and you're going to need a yard and a half for your border. And for your backing back here, we used a tiny gingham.
And isn't that just the sweetest thing? It's that blue tiny gingham, and you're going to need five and a half yards for that backing. So this makes a quilt that is 71 by 91. It's a pretty good size quilt. And the quilting pattern we used on it is curly twirly flowers. So you can see it's got the little flower here, the little swirls here, and I thought it was just perfect for this quilt. It will also be helpful if you have the small orange peel template. That's what we used for making our leaves. If you have the clearly perfect slotted trimmer B for cutting our half square triangles. Some coordinating thread will be great. We also need some Missouri Star sew light fusible, and this we put on our stems and our leaves and our little flower centers. So this is the block we're talking about.
Obviously I'm missing a stem and some leaves, but it's made out of three lemoyne stars. And by putting this circle in the center, it changes the whole look of a block from a star to a flower. And so I think that is very cool. So I will show you how to make this block. This is the single block that we're talking about, and it is pretty fun. So you're going to choose two strips out of here that are contrasting colors. And so I've got a red here, and let me go with this. Oh, this smaller teal. Well, I have just destroyed that jelly roll, but that's all right. They don't stay in good shape around my place very often. I'm going to set these aside because to make these, we're going to need a white strip, so you'll want to cut off a two and a half inch strip to match our two and a half inch strips of color.
And so let's start with that. We'll get into the other different colors in a minute, but we'll start with this now. So the first thing I'm going to do is I'm going to cut these at the fold. So let me grab my scissors. Here we go. And I'm just going to cut these right at the fold right here. Now, this is the same way you make a lemoyne star anytime you make it, because you have... It's made of half square triangles and you have a yellow and a white, a green and a white, and then you're green and yellow together.
And so it's easy to do it when we do it like this. So I'm going to take these half strips and I'm going to sew my green and my red together. There we go. Just like this on both sides. So let's do that. And we're just going to line them up, line your edges right up together, and we're going to sew a quarter of an inch down the side. And these are short enough, you can almost do it in one run. Ooh, maybe I can. Nope, I had to reline. I'm sewing on both sides of this strip set.
There we go. And then we're going to take a red with a background strip. So this is our white strip right here, and I'm going to cut it on the fold, and I'm going to do the same thing. I'm going to sew on both sides of my red with my white, and then I'm going to pair my green with my white and sew it on both sides as well. So let's go ahead and line these up. And we shall just go down the side, and straighten up. And then we're going to come down the other side of this one as well. So both sides of all three strips. And you might be able to just take out some of this endless sewing. Now we're going to sew the green and the white one together. Make sure we're still lined up here, and then we're going to come down the other side.
So now we have our strips all cut, and actually out of these three strip sets, you're going to get two blocks. And so that's a fun little trick and a quick way to do it. One of the things that I love about making half square triangles this way is that you can get, this is a two and a half inch strip, but we are going to make three inch, half square triangles. By putting our clearly perfect slotted trimmer and lining up on the three inch seam, their line with ours, we are going to get three inch, half square triangles. And so that is pretty cool. So we're just going to rotate these back and forth. And for each flower, you need four of these. So I'm going to do four. 1, 2, 3, and four, just like this.
So you can see already that you can cut four more out of this for another block, but I'm going to go onto my red and white, and cut four, and my green and white, and cut four. So we're going to cut this one. And I would not suggest stacking these up. I tried it. If they're not perfect, they don't work quite right. And our goal is to not have to square and things like that. So we don't want to have to do it over and over is what I'm trying to say.
So there's four on this one. There we go. And now we just have to cut our green. And again, when I get to making this quilt, I will literally cut the whole strip, all of its pieces. Now, watch on this one, you want to watch, we have a salvage on this one, so we don't want to get that into our block. And so we're just going to trim that off. There's one of those, and here's the next, and another. So again, four greens, four reds, four green and reds. All right, there's this. Now we're going to press these open. Let me move this up here.
So I am going to start pressing, and I'm going to leave my colored one on the top. And you may find on this that you have a stitch right here at the top, but it comes apart so easily. So don't worry about that. And we are just going to go ahead and open these up like this. Pop those two stitches. Now let's do our red ones.
Now, some of these, if they don't look quite square to you, it is possible that they aren't. And so you can go back and check those with a block lock. We have a block lock right here, and if you go back and check those, you'll see this is pretty close to three, and so we don't worry about it. But some people, sometimes you want to check and make sure. There were a couple as I was sewing them together where I was, this doesn't look quite right. And to be honest, my cutting has never been perfect. That's not one of the things that I find myself super good at, so I do my best. It's where I am in my journey, right? Let me get this open. I can't seem to get them open without licking my finger. And I know that isn't very tidy, but sorry for all of you anti finger lickers. I am a finger licker. I can't help it. Here we go. So now let me show you how this goes together.
Here's all your pieces. You're going to put your green and reds in the center like this, and you're going to arrange them like a pinwheel. And you want to make sure that your blocks go the same direction. You want to make sure that your greens are all going the same direction so that your pinwheel will spin. Now we have the green and whites and the red and whites, and we're going to make the legs of the star with this. And so wherever there's a red, you want to put that facing to the outside. This one, they're going to go this way, this is going to go that way, and this red one over here. And it often helps me, when I'm putting it together, because I know the whites are going to meet in the middle like this. And so it helps me when I lay them out sometimes to lay the red and the green together.
There we go. That one. And here is this one. So this is the lemoyne star. The only thing we're lacking are some corner squares, because these are three inches, our corner squares also have to be three inches. And we'll set those in right there. So you'll want to cut a three inch strip and cut some squares out of that for your corners. And then you're going to sew this all together. And then we're going to put our yellow center in. Now I think it's really fascinating when you see somebody does something like this, they put a middle in a traditional block, it just changes the whole look of it. I mean, look how cool this is, right? They put that little middle in there. And so when I do circles, right away what I do, because I'm kind of a lazy sewer, is I look around for something that is the size of the circle I want.
And so I used the bottom of my pin thing right here. You just put it right here and you trim that around. Now when you do that, the pattern team usually says, but what size is that? Well, this is actually a two and a half inch circle. So once this whole block is sewn together, then you'll put your circle in the middle and you'll stitch around it. And I would use yellow thread because you want that to just blend in. So do all that first.
So let's go ahead and sew this block together, and then we'll add that middle circle. So what I'm going to do is I'm going to put mine like this and I'm going to sew this whole column just like this. And as long as I pick them up, just as they're laid down, they'll go together just perfectly. So I'm going to go ahead and sew this down the side, and on the next one I'll show you a little shortcut because when I start making a pattern, I do it and I figure out all the little shortcut cuts along the way. And so this is the traditional way to do it. You sew them together by rows like this.
And then we're going to do the same thing on this one. We're going to fold them over, put the right sides together the way they go. And I'll pick up this one. And I'm just going to chain piece these down below. I'm going to cut my thread in between because I know that's one side of my block. And then I'm just going to go ahead and sew down here and line these up, quarter of an inch.
Now what we want to do is we want to take these two sets of blocks and we are going to open them up and make sure they are in the right places, so that we do not sew anything in the wrong spot. And just like this, I can tell this one is not in the right place. So I'm glad I checked that before. So I'm going to take this little one out here, and somehow that got turned, in between the time I picked it up and when I sewed it. So we're just going to pick this out real quick, and if I slide my cutter in here, it should go right across.
So this one is going to go up here like this, and then this one is going to go this way. So let's sew this one right back. Now we'll set this in here. There we go. That looks more like a star leg. And then we're going to set this other one again and open it up to make sure. So there's our middle, and there's our other middle leg, and there's this leg. And again, you can see this one isn't quite right.
So two mistakes in one block. Now you know the real Jenny, but we all do it, so it's no big deal. We just want to change it around and get those in now. Now I'm just sliding my cutter. This is another different way to rip. I know all the ways to rip and this you just be able to lift it off because you've taken about every sixth stitch and it should just come right apart.
So then we're going to look at this and this one turns this way and this one's going to go this way. That's going to be right. On the second way to sew these together, I will show you because I perfected, because I made mistakes doing it this way, I looked at it another way. And I'll show you how I did that as soon as we get this block together. So let's make sure this is right, and it is. So now what I'm going to do is I'm going to sew all these together in this whole side. So I'll lay these on top of each other like this, and I'm going to line up my middle seams. So one will go one way, the other will go the other. Nest them.
Then I'm going to open this up and I'm going to add this piece right here, make sure that's right where I want it. And you see this renegade block over here that got out of the bunch because I had to cut him. I'm going to have to make sure he's really going right. So I'm going to have to really look at him. He's a little wild guy. Here we go. Yep, that's going to be right. So we're going to lay this on here and nest your seams.
So now this side of our block is done, and we're going to do the same thing to this other side. We're going to sew it together, and we have a cut block on this one too. So we're just going to do this nice and slow and make sure we got it right, because checking is better than picking. Now I'm going to look at this and this is going to go right here. And one more little block on the bottom. Make sure it's going the right direction, and it is. Now what we're going to do is we're going to sew these two halves together, just like this. Nest your seams. As every little block comes together, there's a place for you to nest, and that keeps your block lined up so nice, all your little seams match up.
And then you can press this block right here. And now that looks pretty good, even if I do say so after a couple of ripping. A little bit of ripping, and look how cute that is. So then you're going to put your yellow circle on. Now the yellow circle, what we did, was we took some fabric, put it on, ironed our adhesive to it, and then traced circles the size we wanted, the bottom of my pin cushion cup to make the size we wanted. Now if you do a bigger circle, it changes the whole look of your fabric. So don't be afraid to play with those as well. I'm going to go ahead and roll this off. I find that's the easiest way to do it. If you fold it toward the paper, this'll lift off. I can put my circle here in the center, and you can eyeball that, or you can fold it in fourths and make sure it fits.
And then just hold your iron on it for a few seconds and it will hold it down. Now you want to do this to your blocks before you start putting them together, because otherwise you're dealing with this big thing here. Instead, you can do these little ones at a time. So you can do a little tiny applique stitch, a little zigzag stitch, or something like that, and you're going to stitch right around that middle.
We're going to put together one more block, and I'm going to show you, I have red and yellow right here. And we're going to make our pinwheel in the center like this. And I'm going to go ahead and sew this pinwheel together. So this is my trick for my easy way. So I'm going to sew my pinwheel together, and we all have different brains, so different things are going to work for all of us. And this is one of those where for me, this works the best. So open it back up, make sure your pinwheel is still there. Put them right sides together and sew across. Then I'm going to press this open, move this over here, make it nice and flat, because that's where our little circle's going to go.
And then what I'm going to do is I'm going to sew these together, my red and whites and my yellow and whites. So I'm going to grab four of each of those. One, two. So this one I cut the whole strip on, you can see I have enough for two flowers. So 1, 2, 3, 4, and 1, 2, 3, 4. Now all these side pieces, they become flying geese units. So you're going to have a red and you're going to have a yellow, and it's going to work the same on all four sides. Do you see? And so what I'm going to do is I'm going to take my red and my yellow, I'm going to put my yellow on top and I'm going to sew down the sides and I'm going to do four sets of these. And so just make sure that your same color always goes on the top and you're sewing your whites together.
So red and yellow like this, and our whites are going together and the yellow comes on the top. Now do whatever little mantra works for you. If it works for you to have, whatever, I don't know, red on the bottom or whatever, but you just have to do what works for you. And these all need to be identical. And so you just remember that your whites come together in the middle, your background, and then for me, yellow ends up on the top,
Just like that. So let's clip these apart and we'll press these open like this. There's that one. And when you're pressing them, notice and make sure that they're all going the same direction. So these are all going the same direction. Now we should be able to just lay them around our block like this. And so two of these, we are going to sew to this middle section right here. And so we've got our two flying geese units. We're going to sew those to the sides of our pinwheel. And then we're going to flip that around and sew our other one on there.
And while it may not always be an actual shortcut, for my brain, it works like a shortcut. It's, oh, that's so much easier. Now these are our sides. These are going to require a white square on either end. So I'm going to give two white squares to each piece, and I'm going to sew a white square on the yellow and a white square on the red. And what I'm going to do... Oh, I came unthreaded. I'm going to chain piece these through. So I will start here and I will sew down the side, and then I'll lay my other one in and put a square on that like this.
And then we're going to flip these around and we're going to put a square on the other side like this. Here we go. Now we'll take these apart and then we're just sewing on this piece right here and this piece right there. So let's do that. And then we will add a little circle to our center because you need three blocks, three of these flower blocks, to make your flower on each square. Again, nest your seams. At every little seam I sew until I get to the next seam, and then I stop and nest. Let me make sure this doesn't come out. Then we're going to come right here and this one. Nest, and nest, and there we go. Now we can press this.
So they always say there's more than one way to skin a cat. And to be honest, I don't know why they say that because that sounds horrible in my opinion. But there's lots of ways to do things and this is just my way. But when you find a way that works and makes sense to your brain, that's how you want to sew. So now I've got my next circle on there, and I'm going to press that down so that it stays on there. I will stitch around it. So this machine only goes straight, and so while I could sew a straight stitch around it, and that might be kind of cute, I like doing that little applique stitch.
So these blocks measure 10 and a half when you finish them. So when you go to put them out in your block, you're going to put this one here, and this one here, and this one here. And then you're going to a block for this corner. So that's going to be a 10 and a half inch block right here, just like this. And it will fit right in there. And this becomes your giant four patch. Now I have one of these already sewn together. So let's look at this. And what I did was I took a little piece of... Let me press this, everything looks so much better when it's pressed.
So here's our block, and I need a stem. And I looked at the stem on this. Now the stem on this, obviously it's hand stitched on, and I do love her stitching because it's a little bit bigger, which I think anytime you're going to quilt all over the top of something, your stitches don't have to be tiny. So I love that. This would have to be a biased strip to have that curve in it, and of course her little leaves.
But I am always looking for an easy way to do things. So I went with the straight stem. My pieces are a half inch, so this is a little half inch strip. So what I did was I ironed the adhesive to a piece of fabric and then just cut straight long strips off the side. I didn't really worry about how long they were, as long as they were longer. So then you can put it right here. I did it corner to corner right here, and you can come up to this corner. Let me see what I did. Oh, I did, I went all the way up here to this corner, and then you can put your leaves in. Now our leaves were the small orange peel template, and I think they worked great for leaves. And so, of course, you can do whatever you want, but these make fun leaves. And so we put them in like this.
And our template has a little flat side, so I just laid that side under the stem like that. And you'll notice my leaves are in different places. I wasn't exact about that. I just put them in different places. And so this one comes down here, and then you need to top stitch these. Now whatever fabric you use, you either want to match the fabric exactly or match your background. So what I do is I take a couple of spools of thread and you lay it on there to see if it disappears. Now if you want to outline your leaves, then you're looking for a contrasting color. I'm looking for mine to blend in. And so you look on there and you see how that looks. And then you see how this looks and you see which color you want to go with or if you want to look for another color entirely, and then you can stitch it down with that.
Whenever I'm doing top stitching, I'm looking for a thread that matches. And so then what you're going to do is you're going to iron this on. Now I'm going to move some of this stuff off here so you can actually see what I'm doing, because this is important. Don't iron this spot right here. Right here. Don't iron that. You can iron these down here and make sure it lines up in the corner. So we're just going to iron and you want to kind of press, so lift and move your iron like this, and then this right here. Don't iron all the way to the top. Because what I do here at the top, because I want to make my stars, I will actually go in the back here and I will take out a few little stitches and I'll pop that stem through to the back and then res stitch that down.
And so that my flower, my block, this is tucked in. Now you can actually trim this. You can trim this so it comes this way and this way. And top stitch right over the top of that, which works perfectly. And then you can just iron that down and do that. So it's whichever way that you want to do. And then your block is like this. Now you're going to trim this off down here and then we're going to go back to the quilt and take a look at that.
There we go. So here's our block. Now I decided when I did this, I wanted to do my stems, each row, they run this way, the next row, they run that way, just like that. And so here's how our block goes in here like this. And you put three, 1, 2, 3 of these big blocks, across and then this one comes down here and goes like this. And so that's how that works. And it just comes together so cute and so quick. Now when I saw that I was working with gingham, I thought about gingham was very popular when I was a teenager. Gingham was everywhere. We had gingham dresses, gingham shirts, gingham pants suits. I mean gingham was everywhere. And one of the things that I remembered was chicken scratch. Who remembers chicken scratch? So chicken scratch is actually cross stitching on gingham.
And I happened to be in an antique store and I found this same lemoyne star that we just made, that somebody cross stitched onto gingham with. Now for a million ideas, google chicken scratch and go to images. And you'll see loads and loads of ways to do this. And I think it's so fun because my mom did it on big one inch squares of gingham. These are little quarter inch squares of gingham and it has a whole different look. And I just thought that was so fun. So we gave you a free downloadable printable where you could actually do cross stitch on the gingham squares and make your own design. And so be sure and check this out and give it a try. Lots of people are cross stitching, but I think that chicken scratch is one of those things that we've forgotten about. And yet here I had this gorgeous gingham line and I was able to find this gorgeous star and we are giving you a free printable to try your hand at it.
So grab a piece of gingham and just start following the diagram. So it was so fun for me to recreate this old antique block called Heady Sunflowers for you today. There's so much history in it. There's history in this block, there's history in this block, and because this quilt is going to outlive you by generations, there's going to be history in this block. So I hope you have fun making it, and I hope you enjoyed this tutorial on heady sunflowers from the Missouri Star Quilt Company.
Hi everybody, it's Jenny from the Missouri Star Quilt Company. We hope you enjoyed watching this video. If you aren't already part of the Missouri Star Quilt Company family, be sure to subscribe so you won't miss a thing. And if you click that bell, it'll notify you every time a new tutorial comes out. See you next Friday.


