
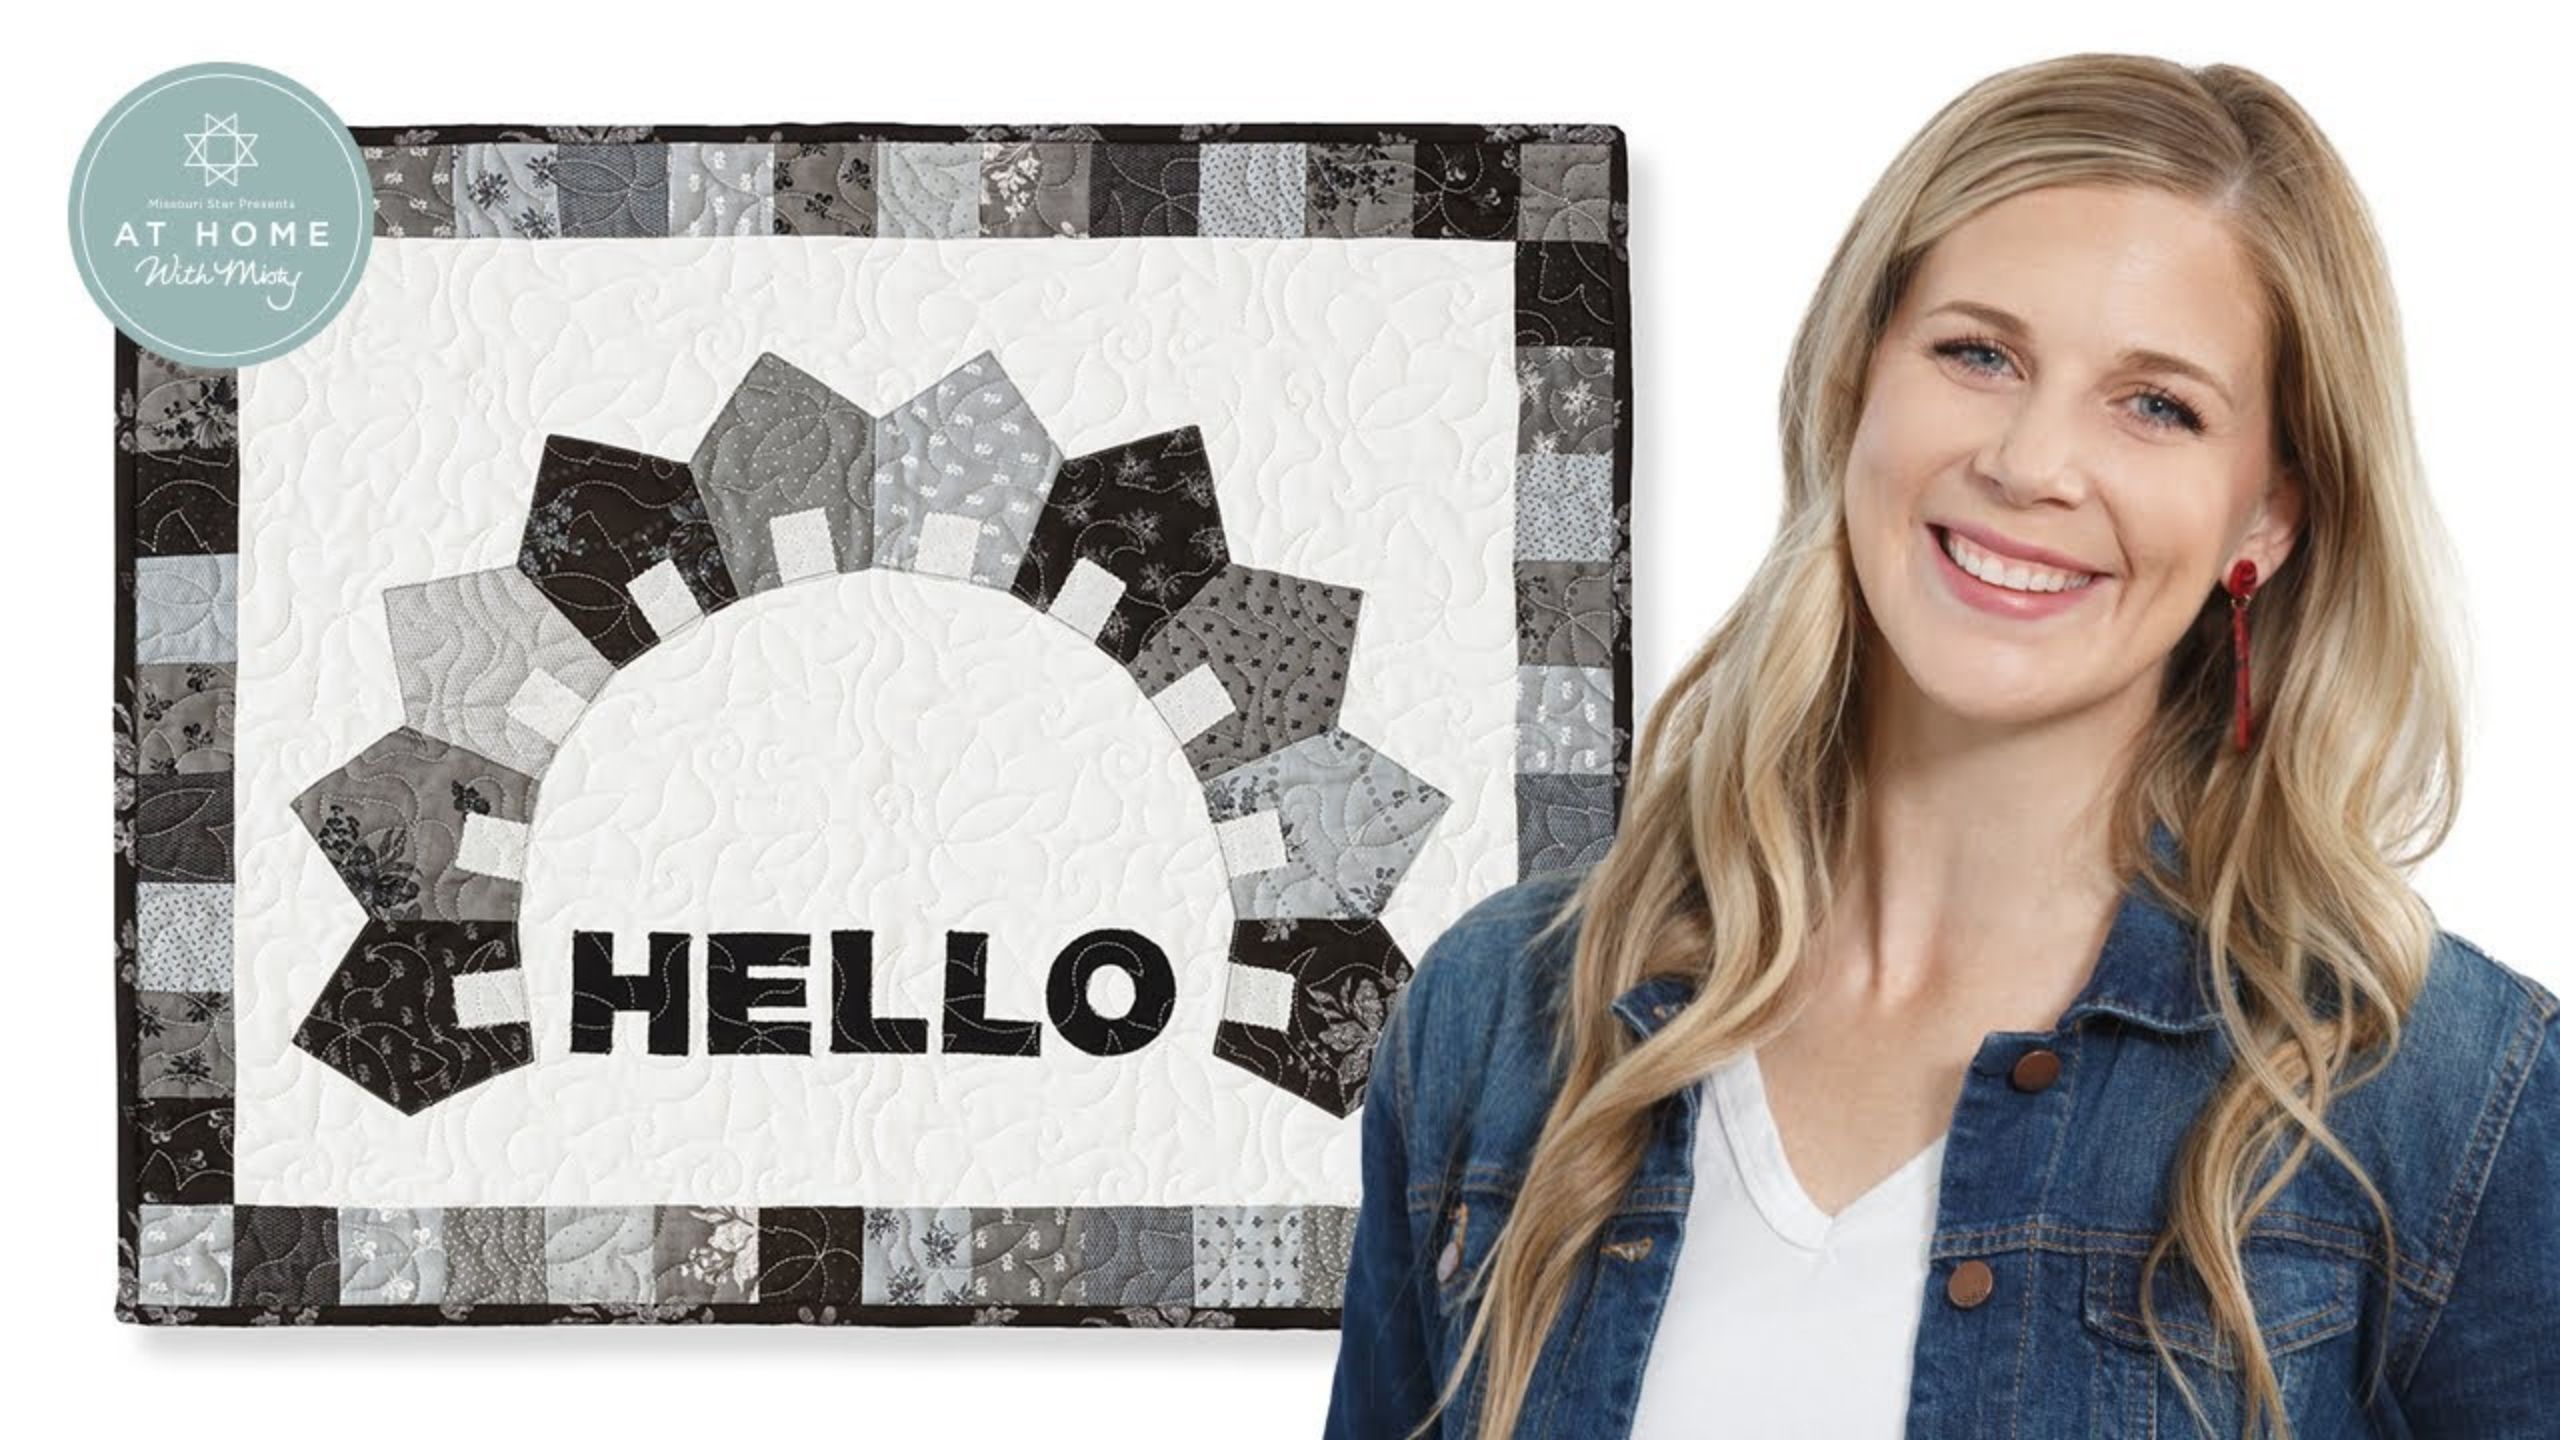
Make a "Hello Wall Hanging" with Misty Doan on At Home With Misty
 Misty Doan
- Charm Pack
- Modern
- Wall Hanging
- Intermediate
- Quilt size 22" × 28"
Misty Doan debuts her new series, At Home With Misty, by demonstrating how to create an adorable, modern "Hello Wall Hanging" using 5" squares of precut quilting fabric (charm packs). For this project, Misty selected the Urban Farmhouse Gatherings II Charm Pack for a striking modern touch.
Instructor
Misty Doan
Misty Doan grew up surrounded by sewing and quilting. She loves spending time sharing tutorials each week each week, and when she’s not stitching up one of her fun sewing projects for home decor, most likely you’ll find her hanging out with her husband and three awesome kids or working on a house project.
Shop this tutorial
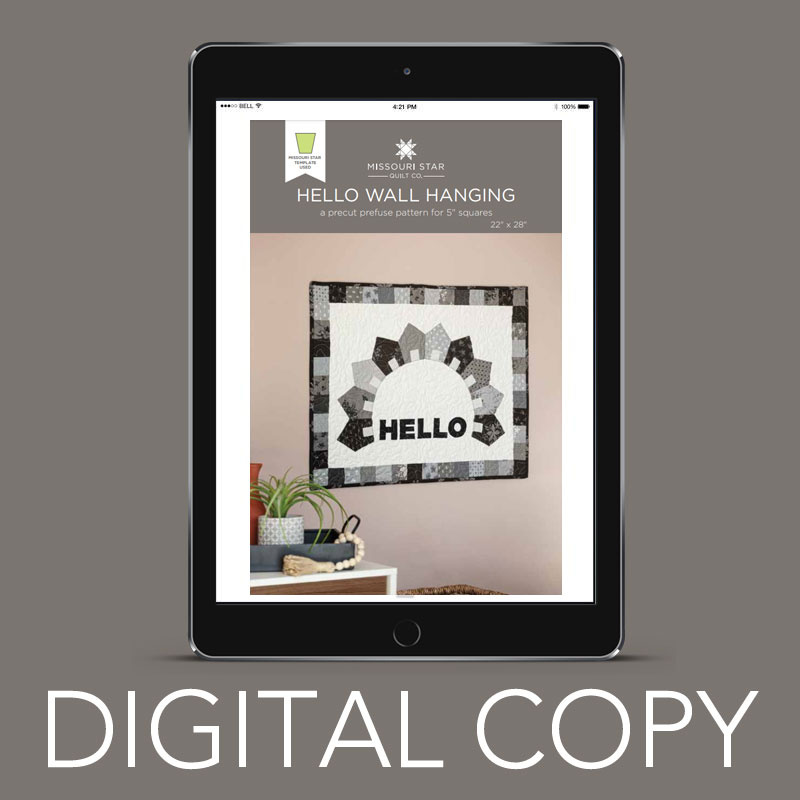 Digital Download - Hello Wall Hanging Pattern by Missouri Star$4.95Shop →
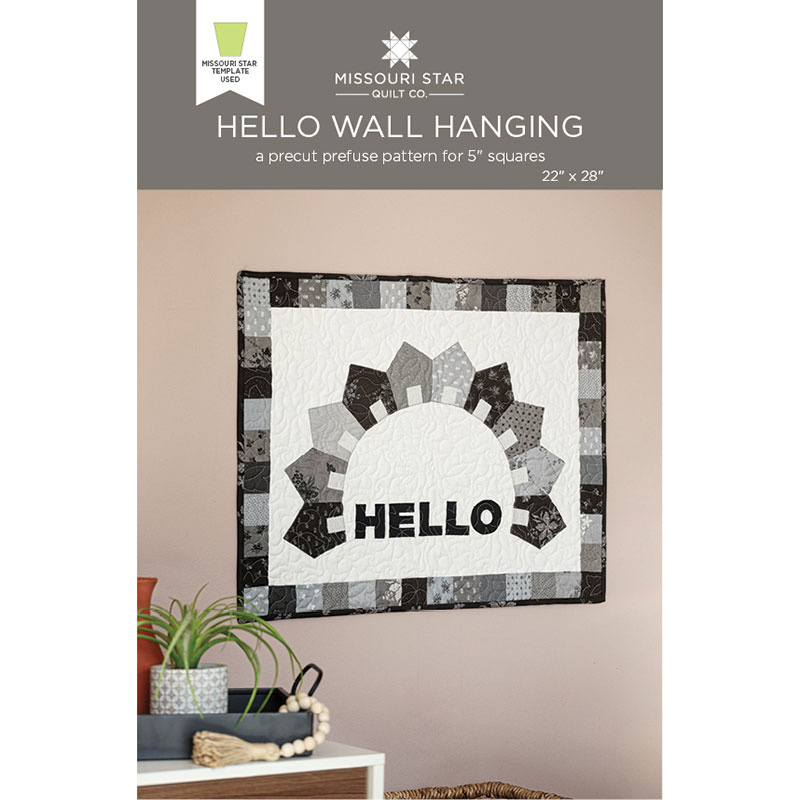 Hello Wall Hanging Pattern by Missouri Star$6.95Shop →
 Bella Solids - White Bleached Yardage$8.24Shop →
 Missouri Star Hello Precut Fused Appliqué Pack$5.95Shop →
 Missouri Star Quilter’s Best Blend Crib Batting$14.45Shop →
 Missouri Star Small Tumbler Template for 5" Charm Packs$7.95Shop →
 Missouri Star 2.5" x 8" Ruler$10.95Shop →
 Missouri Star 5" x 15" Ruler$15.95Shop →
 Missouri Star 50 WT Cotton Thread White$6.95Shop →
 Olfa Splash Aqua 45mm Rotary Cutter$18.75Shop →
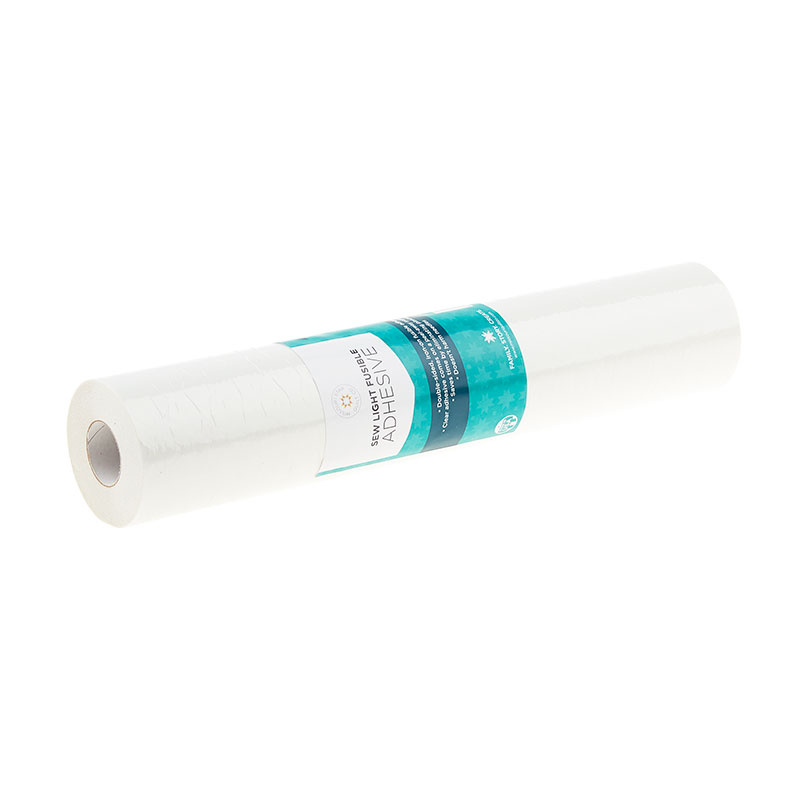 Missouri Star Sew Light Fusible Adhesive - 12" x 15 yards$28.95Shop →
 Diagonal Seam Tape$7.25Shop →
 Olfa Splash 24" x 36" Cutting Mat Navy$68.95Shop →
 Exclusive Missouri Star Jenny TG1600 ProPlus Oliso Smart Iron$199.99Shop →
 Missouri Star Wooly Betty Board - 17.5" x 17.5" Aqua Border$88.95Shop →
Common Questions
What is covered in Make a "Hello Wall Hanging" with Misty Doan on At Home With Misty (Video Tutorial)?
Misty Doan debuts her new series, At Home With Misty, by demonstrating how to create an adorable, modern "Hello Wall Hanging" using 5" squares of precut quilting fabric (charm packs). For this project, Misty selected the Urban Farmhouse Gatherings II Charm Pack for a striking...
How long is the tutorial video?
The tutorial video is 00:27:23.
Are supplies listed for this tutorial?
Yes. The tutorial page includes the supplies and materials connected to this project.
Is a transcript available?
Yes. A written transcript is available on the tutorial page.
Video Transcript
So we're gonna make this really cute Hello wall hanging. It's perfect for your entryway or even on your front door and it's quick and easy so let me show you how we're gonna do it.
Okay, so let's go over supplies first. To get you started, for your background you're going to need an 18 and a half by 24 and a half piece of background material. I just use this beautiful cream yardage. You're going to need one package of five inch squares. I used Urban Farmhouse Gatherings II by Primitive Gatherings for Moda. It's this beautiful black, gray and cream collection that's perfect for that kind of modern farmhouse style.
You're also going to need, of course, some binding and backing and I chose this pretty floral print. In addition to that you're going to need our Missouri Star Tumbler template. This is made to fit on five inch squares. This is the small size. You're going to need a little bit of lightweight fusible - we actually have our new Missouri Star solid fusible adhesive. It comes in both this size which is 2 yards by 17 inches wide or you can actually get this big roll of 15 yards by 12 inches. And I have to show you this really cool little trick with this roll. So I don't know if you guys have seen these cute plastic wrap containers that we have. They're adorable! I switched out the plastic wrap and I put the fusible in mine so that I can get to my lightweight fusible quick and easy and then I can just use this built-in slicer to trim it off when I need it. I recommend going for this one - it's super handy.
And we also made a pre-cut pre-fuse option of the “Hello” letters that you'll see on this project. Obviously if you don't want to purchase the pre-cut option, the letters will be in the pattern for you to trace so you can get those there as well. But this makes it so easy and so accurate. So I think that's it - let's go ahead and get started!
I'm going to show you how to make these adorable houses that you see arcing over the hello. So we're going to take our tumbler template and our five inch squares. I'm using just the grays and blacks for the houses just because I really wanted them to pop. So I've got a stack of a few different shades here and I'm just going to lay my tumbler template right on there
and trim this side. And if you have a rotating mat, you can use that or you can just carefully rotate your fabric. Make sure you're being safe when you're trimming, cutting away from yourself.
Now we're going to add the doors to them. So to do that we're going to take one of our light five inch squares, and a five inch square of that lightweight fusible that we have and we're going to press the wrong side to the bumpy side of that fusible. Make sure our iron is nice and hot and that it fuses all the way across. So now I'm just going to take my little ruler. For this I do like to go ahead and trim off the peaked edges just because I want these to be nice and straight. So now that I have a straight line, I'm going to measure over an inch and a half and make a cut, and then I'm going to go back and trim off these little pinked edges. If I'd been thinking. I would have done all of these at first, but that's all right. Just going to trim those off of both of these so we have nice straight lines on the sides.
So now that I have some one and a half inch rectangles, I'm going to measure over one inch and I should get five out of each of these strips. If one is just slightly short, that's all right. It's okay for these to be a little wonky - these are what is going to become the doors on all of our houses. So we can just keep cutting across here and we're going to make 10 houses total because I decided just to have that kind of half circle shape. I'm just going to have all of these ready for me so when I get to it, they're ready to go. Like I said, you're going to need 10 total. I've only cut about four or five here, but you'll cut 10 from your charm pack to make the houses.
We're going to go ahead and fuse our doors on a few of these. So I've just picked a couple different prints here. We can peel off the backing, you can always kind of crease that paper or you can score it with a pin, and we're going to center it on the skinny side of our tumbler. So I'm going to take this over to my pressing mat and I'm just going to eyeball that. That's in the center there and we're going to fuse that together. I'm going to do the same thing on these other ones. You're going to do this for all 10 of your tumblers.
There we go, here's one more. Like I said, it doesn't have to be perfect. I'm just eyeballing the center and maybe you want to put one off to the side. All houses are different, right? So you can see I'm just kind of creasing this and that causes the corner to lift up and makes it really easy to peel. We'll just do one more here.
So now the trick to getting the top of our houses, is we're going to treat this just like we would say a Dresden plate and we're going to fold this right sides together and sew directly across the top here. So let's go ahead and take these to the machine and we can just do one after the other. And fold those right sides together so they line up nicely, and one more. And you would just keep doing this until you have 10 exactly like this. You can go ahead and chain piece it - it makes it quick and easy.
Okay, now I'm going to cut those apart. And this is a place where I like to go ahead and take out some of the bulk where the fabric is folding because that's going to be the peak of our house, the top of our roof. So I'm going to trim just a little bit of this. I don't want to go more than halfway into that seam allowance because I want to make sure there's still pretty plenty of fabric and we don't have the stitching come out. So you can see I'm just going to cut off that little wedge there. To be extra safe you could always
backstitch on these also. Then now you can use either a pin or a pencil or if you have sharp nails like me. You can see now there's the little tops of our houses so we can lay this here and I just kind of try and center it up as best as I can. By taking out that bulk it makes that top lay really nice. We're just going to press this flat. Let me show you that one more time. So I've trimmed off that little excess and I'm just going to push that corner so it forms this peak of our house and we're going to press this nice and flat.
Now let's start sewing some of these together. I have some that I've already made. Actually, before I forget, I want to show you on these I've gone ahead and done a blanket stitch around the door. I'm not sure you can see it so actually let me show you over here. This little blanket stitch I just did with cream thread just to finish off that edge so that I won't have as much fraying or anything like that. I did that on all of my little houses before I sew them together because it just makes it easier to maneuver when you just have the individual houses as opposed to your whole strip sewn together.
All right so let's just sew a few of these. And so we're just going to place them right sides together. It's more important when you're lining these up to line up the top of our houses than this bottom edge. You might be able to see - this is just slightly off, less than an eighth of an inch, but I'm going
to focus on the top because I can correct all of that when I finish this
at the end. We want the top to line up. So I am going to back stitch here at the top just to keep that nice and secure, and then we're just going to sew a quarter inch seam and then I'm going to add one more…oh this one really shows you. You can see this is just a little bit off and sometimes that just happens when we're doing this kind of Dresden process, but just focus on the top every time and it will work out. It's really forgiving. Back stitch again and a quarter inch seam. I have some of these already sewn together, so let's just go ahead and add this to the rest of the group so that we have 10 sewn together end to end. By having that slight angle from the tumbler template that's how we're going to get our half circle of houses to create our little neighborhood.
So here we go - here's 10 all sewn together. So let's give this a nice press so it will lay super flat. You just kind of have to circle around like so. All right, now let's get this ready to add to our background. There's a couple extra steps we need to take. I'm going to flip this over and I'm going to actually turn under each end of the houses a quarter inch so that we don't have raw edges there. Just make sure your iron's nice and hot. If you need to add a little bit of starch there to hold it, but for me I'm going to pin this in place later anyway, so I just want to kind of remind myself and remind the fabric that it needs to go under. Just pressing the other side and then now we're going to carefully do the same thing all along that bottom edge. That's why it's less important to line up that bottom side because we're going to flip all of this up a little bit anyway. It will kind of naturally arc, which is what we're looking for. So just take your time and roll all of those edges up because we don't want any raw edges in this finished project.
So we have all of the bottom edge and the two sides turned under a quarter of an inch and so now we need to add a little bit more fusible to the backs of this so that we can secure it to our background and not have a bunch of shifting when we go to top stitch it. So to do that, I actually just used some scraps that I had of my from my roll of fusible and I just cut like inch and a half by three inches. Just enough that I can fit it here on the back of the house. And I gave myself ten pieces so I'm going to quickly go ahead and press a piece of this to the back of each one of these houses and I'll meet you right back here.
So now that all of those are on we can start laying out our project on our background piece. So let's go ahead and take this over to the cutting table to do that. Let me clear some of this out of the way. So remember our background is 18 and a half by 24 and a half, so I'm just going to go ahead and I do want to kind of give myself some orientation lines so I'm just going to finger press the middle this way and then the middle this way. Just so I have a reference point when I'm going to lay these out. It's not really going to line up with the center so it's not a huge deal. You can totally eyeball this whole project but I just always find these kind of orientation lines to be helpful.
So now let's go ahead and peel all of the paper backing off of our houses. We'll get that out of the way, throw those in the trash, and you can see all that's being left behind is that shiny adhesive. And when we hit this with an iron again it will fuse this to our background. So we know because there's 10, that the center should line up right on that center line that we pressed in place. And then it's going to arc out in both directions. So I am just going to eyeball that. A couple of these little spots on the bottom aren't wanting to stay turned under, but we can again just kind of finger press those in place and once we get the houses themselves pressed down. When we take this to the machine it will be much easier to keep those down when we are top stitching.
So I'm going to grab some pins, have a few here, and I'm just going to put in some pins. I'm going to work from the center out. I'm just going to put some pins right here in the tips of these houses and about every other one is plenty, because I just want this to be close to where it needs to end up. There we go, one more at this end and a couple more on this side. By putting our pins along the top, I don't have to worry about it getting in the way of the fusible that we put behind this. So now that I've got this pinned in place and I'm happy with that, I'm going to go ahead and hit this with
an iron so that that fusible will then act as the pins and I can take this and
top stitch this whole thing.
So let's go ahead and press this down now. Remember you don't need to worry because we didn't cover the whole back with fusible. You don't need to worry about the edges that are going to be turned under at this point because it's not in the way of the fusible at all and we can handle all of that when we go to top stitch. So we're just going to press this, make sure it fuses. Just work your way across. Perfect, just a little bit more here.
So now let's take these pins out and we can top stitch all the way along
the edge. We'll start by making sure our ends are turned under and then as we get to this bottom edge we can just still get in there and tuck the fabric as we're going to make sure that we aren't losing that seam from being where we want it to be. So I'm going to go ahead and start, like I said, on this straight edge here. Now I'm using cream thread just so you guys can see, but I would recommend using like a dark charcoal or a medium gray. I think it would blend nicely for all of the fabrics that we're working with here.
I'm going to back stitch and I'm just sewing close to the edge and keep my needle down and pivot, and pivot. I'm going to make my way all the way across the top and I'll come back here to show you how we're going to
tackle the bottom and turning under that edge. Okay we're almost to the bottom edge. You can see I've sewn all the way across the peaks of our roof. So now that I'm approaching this bottom corner here, I've got my side folded under and I've made my way almost all the way down. I'm just going to make sure that that first corner piece is the fabric is tucked under, so that as I approach it I can still keep my needle down just like I've done all the way around. And I can just pivot my project, and I can just slowly keep this fabric turned under as I go. I'm just going to kind of work one house at a time.
You can see I've turned that first house under and now I'm getting close to that end, so I'm going to move on to the next house. Before I get all the way over, I'm just going to tuck all of that part under and I can just keep on stitching. Just do a little bit at a time, but I think it's worth taking the time
to do this because then you won't have any raw edges or fraying in the finished product. Just turn in a few stitches at a time. All right, I'll meet you back here when it's all done.
All right we're coming into the final home stretch to approach that other
corner and back stitch and there we go. Our houses are sewn on - doesn't that look so nice? You can see how just by fusing those little sections it allows everything to lay so nicely. And then we can turn under all of our edges and top stitch that beautifully.
So now that we have this part done let's grab our letters. Remember you can either trace them out of the pattern or you can pick up these awesome pre-cut prefuse shapes. They come just like this and then you just trim them apart which is what I've done here. So we're going to lay this out on the pressing mat itself so that I don't have to try and move this again. Once I have my letters in place… so I've got my letters here. Remember I just trimmed them apart and just like our fusible it has the paper on the back. So I'm going to go ahead and remove it as well and then we can line them up here inside our houses. This is such a great little wall hanging for your front door or right inside the front door to just welcome people to your home.
So I've got those on there, but I do want to…sometimes my eye is tricking me and I'll trust that it's straight but it's actually going uphill or downhill. So I like to take some time and just measure up from the bottom and make sure that they're nice and straight. I'm actually just going to scoot these up a hair so that I have a nice round number. I'm measuring up four and a half inches from the bottom of my background fabric. So we can just scoot that…oops! I'm going to have to measure that one again. Nut you can see why we want to do this on our pressing mat so that we can move this as little as possible. We really just kind of want to let it be where it needs to be.
Okay I think that looks pretty good. So now we're just going to very carefully lift our iron and we're going to press straight down. You really want to be careful not to slide your iron when you're working with things like this because it could move your letters before they're fused and we just don't want that to happen after we've gone to all that trouble to make sure they're where they need to be. So there we go, that is done. Isn't that so great?
So now just like we did the blanket stitch on the little houses… I mean the little doors to the houses…I would go back and blanket stitch with black thread around each of the letters to just finish off that edge. You can see
that's what I've done in the project here. So let's go ahead and look at that
so I can show you how I did that border as well.
Okay so again here's the little blanket stitches that are on the doors of our
houses and I've done the exact same thing only with black thread so it's
almost completely invisible to the naked eye, but it will just finish off the
edges of all of those letters. Now the background size that I gave you the 18 and a half by 24 and a half makes it work out just perfect where if you add two and a half inch squares for your border, you get this great little border going around your project. So I just used the leftover five inch squares from our pack. I cut them in fours so I had four two and a half inch squares from each of them and created this little border. It's such a wonderful little project. It turns out just great - it's perfect for your house.


