Skip to content

Free quilting video tutorials from Missouri Star

Quilting Tutorials
Jacob's Ladder Quilt

Jacob's Ladder Quilt

Jenny Doan shows how to make the Jacob's Ladder quilt the easy way! Using Jenny's tips and pre-cut fabrics, you can make this beautiful quilt. Layer Cakes (best selection on the internet). 9.5" Cutting Edge Ruler. Rotary Cutters and Blades.
Instructor

Jenny Doan

Jenny Doan is an American quilter, author, and YouTube personality. Jenny started Missouri Star Quilt Company in 2008 and today it is the largest quilting supply vendor in the United States.

Common Questions

What is covered in Jacob's Ladder Quilt?

Jenny Doan shows how to make the Jacob's Ladder quilt the easy way! Using Jenny's tips and pre-cut fabrics, you can make this beautiful quilt. Layer Cakes (best selection on the internet). 9.5" Cutting Edge Ruler. Rotary Cutters and Blades.

How long is the tutorial video?

The tutorial video is 00:09:48.

Are supplies listed for this tutorial?

Yes. The tutorial page includes the supplies and materials connected to this project.

Video Transcript

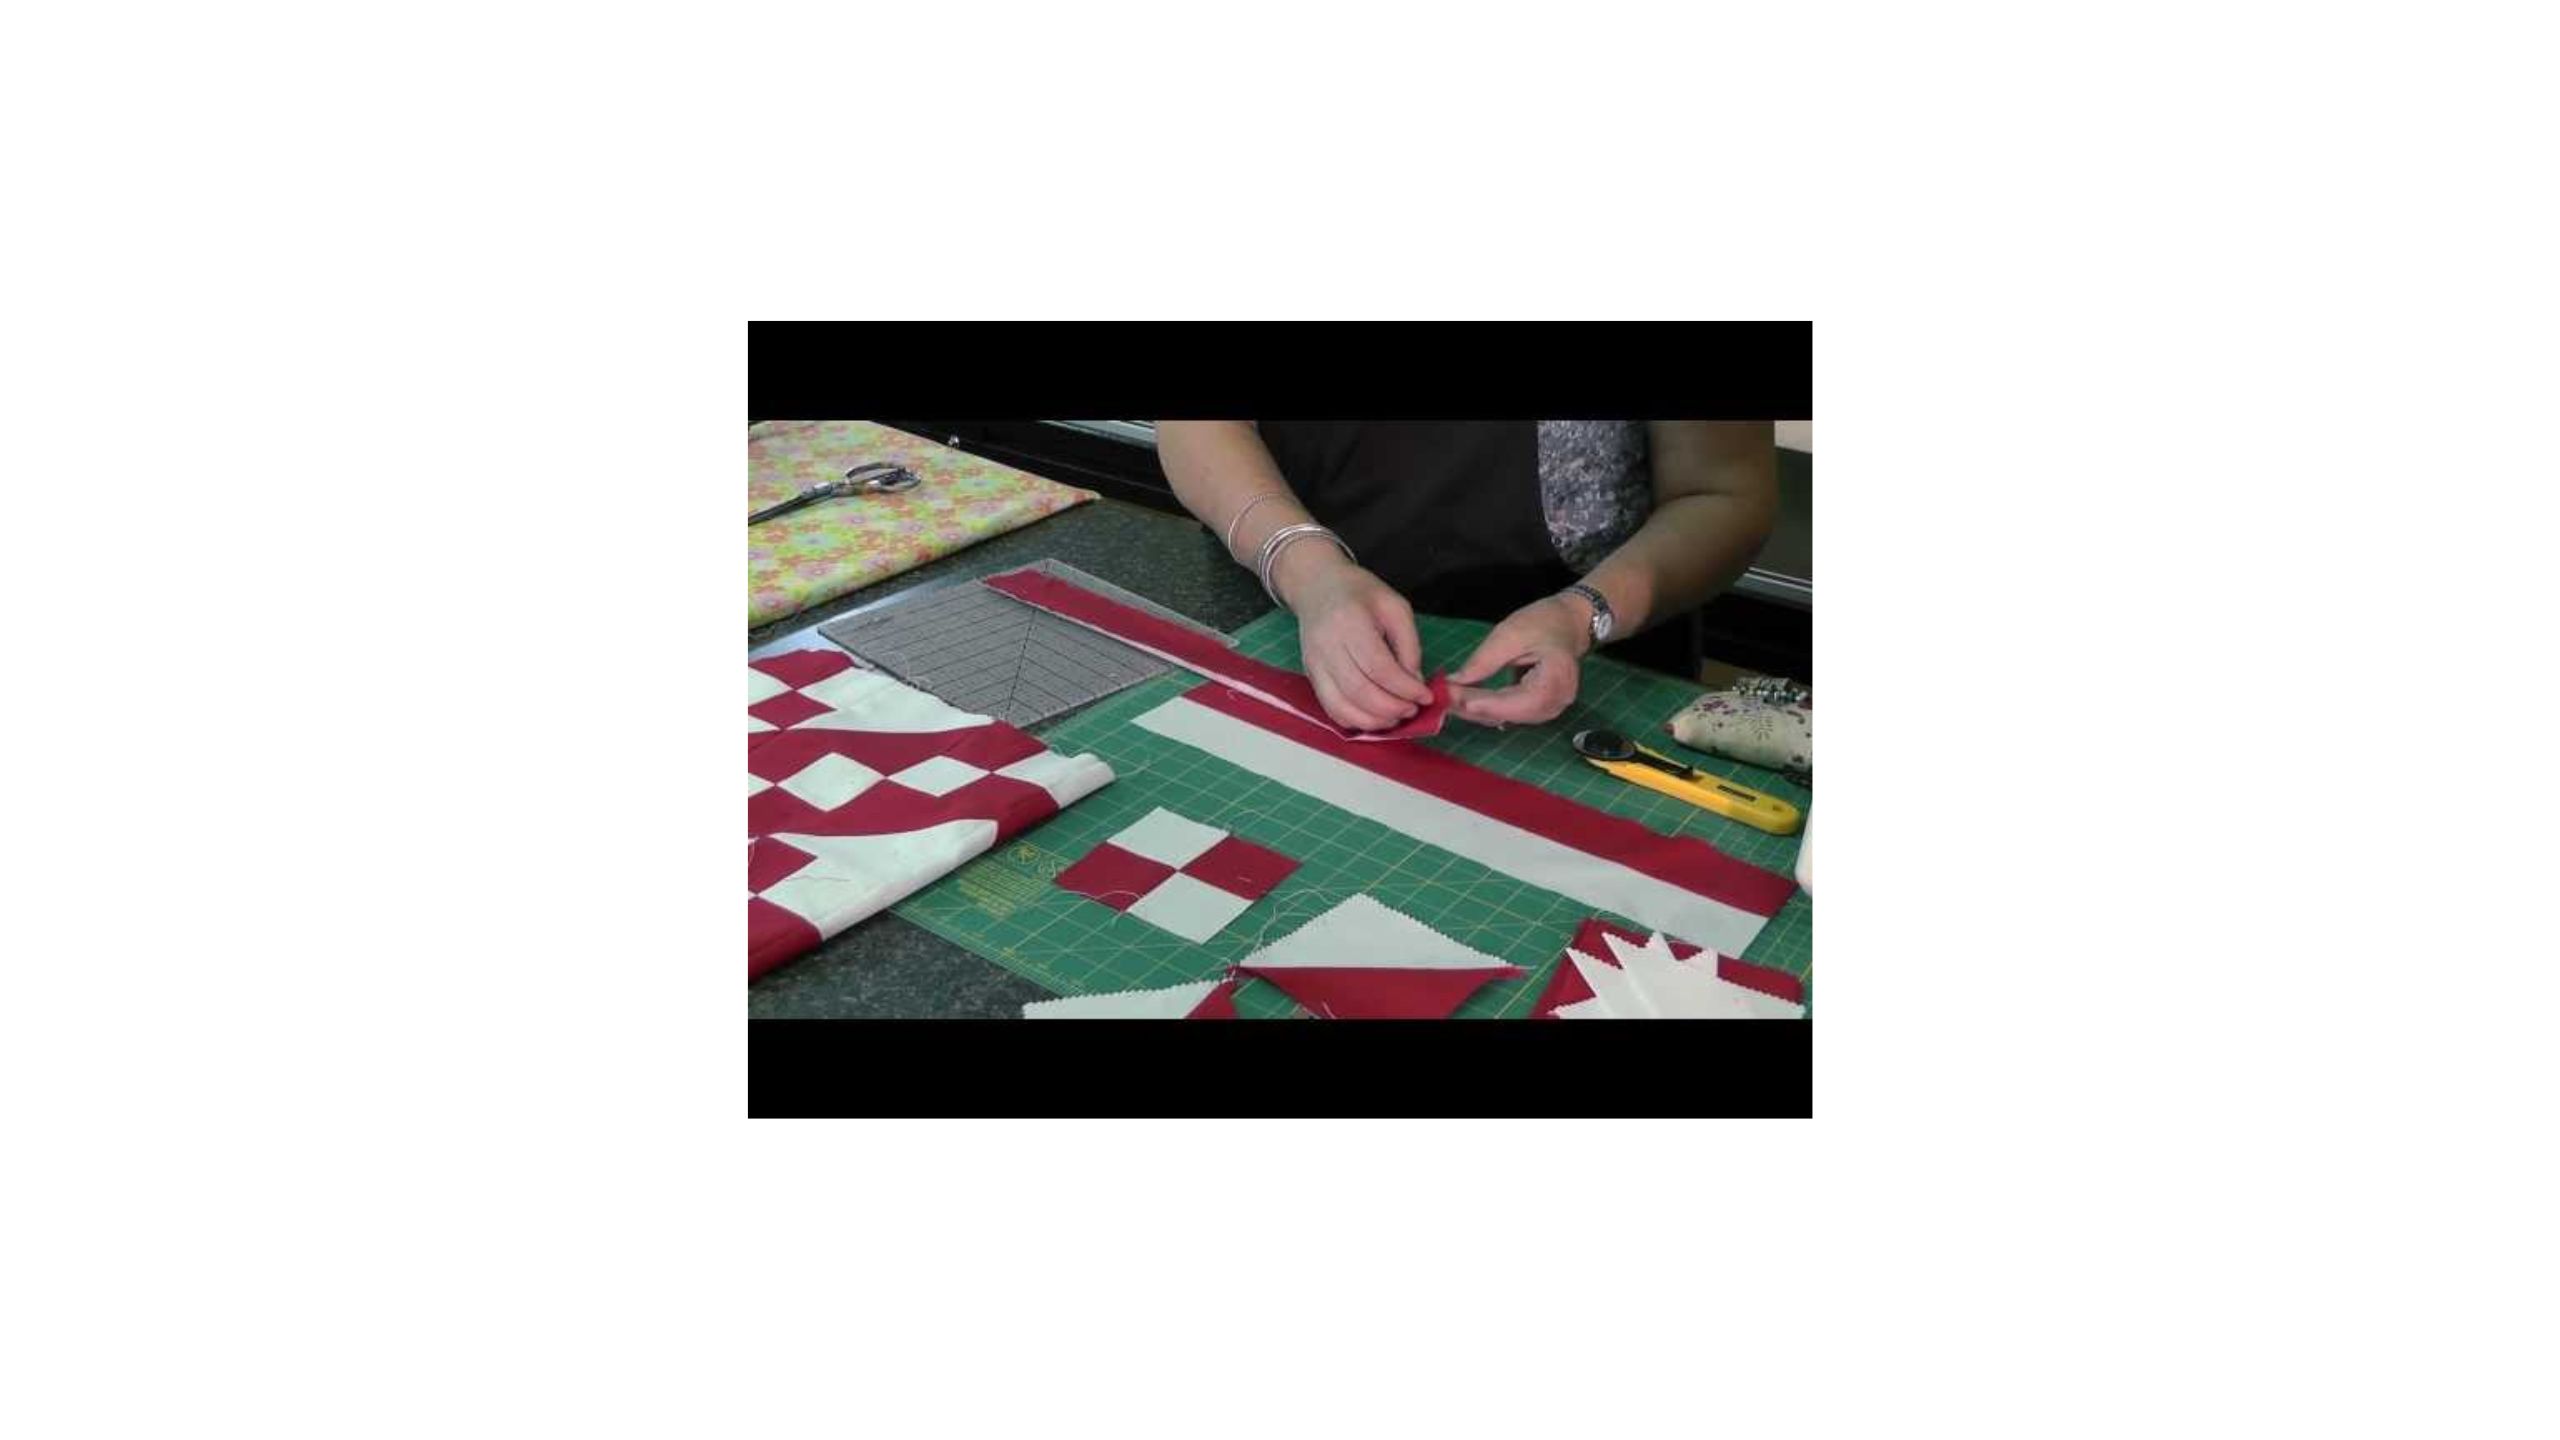
[Music] hi i'm jenny from the missouri star quilt company i want you to take a look at this quilt behind me this is a great little quilt and a fun block it's called the jacob's ladder and i made it with one layer cake this little gatherings layer cake now the jacobs ladder is an old block one of those traditional ones that we make and i've been coming up with ways to make those old blocks out of the pre-cuts so this is really fun because you you need a pre-cut that has good contrast to it darks and lights and i thought that this pre-cut did this little gathering layer cake did that and so i thought what i would do is to show you this i would make it in red and white i mean that's about the biggest contrast you can have and traditionally the two color quilts were really big i mean that was a that they were doing that all the time and so i want to show you this quilt what i've got together so far i mean this looks like a lot of work you'll have to forgive my strings i'm pretty i get so excited when i'm making things that i you know i mean i don't even have this top pressed really and i have lots of strings so i apologize for that however this is a really fun block and it's so easy so let me show you how we do this i'm going to bring one block over here so you can see what it this is made of here this is one block and it's made of the four patch and a half square triangle that is the whole block i mean this is going to be so easy and quick for you so really what you need is five four patches and four half square triangles so let's go ahead and make those hat those four patches right now i have one made here and we need four more for this one block and so what i've done is i've taken jelly roll strips i keep jelly roll strips laying around because i i like to use them for sashing and for bindings and things like that so i had some red and white jelly roll strips it can be done with a charm pack but i'm going to show you with the jelly roll strip and what i did was i sewed the red and white jelly swirl strip to itself quarter of an inch you know then i pressed it open and i have two strips and of course yours will be a bit longer because you know you're using the whole strip or not you only need two and a half inches anyway so what i'm going to do is i'm going to lay these down here so they're opposite of each other so i've got the red on the white and the white on the red and you can feel where this this these two seams match up you've got one seam going north and one seam going south and they nest right up there together so then what we're going to do to make these is we are going to cut two and a half inch squares i mean strips this actually makes a block that is four and a half inches so what we want to do is we want to trim these and we're going to go ahead and cut four of these so that we can finish our block up so here's there's two and you'll notice that i'm keeping those together because i can take those right over to the sewing machine just how they lay they're all lined up it actually is a really time efficient way to make four patches all right there's four of them so now i want you to notice you can see the little seams are nested together right here and i'm going to sew these with this white part pointing upward when i get it to the machine it's going to be the one that's folded up because what that'll do when you sew through is it'll it'll pull on that bottom piece and it'll lock that seam in there really tight and you'll get perfect four patches so let's come over here and move this a little bit get set up and and now we're just going to chain piece these through so we'll be finished with these all at once so i'm just going to make sure those seams are nested nice and tight and i'm going to sew a quarter of an inch and then i'm just going to lay my next one up there again make sure it's nice and tight this just is really a fun block i get so excited when i figure out how to do some of these old blocks these are some of my favorites of course most of you know i have a jacob and so i love making jacob's ladder and have made him one it's just a fun block for me all right so here's the last one i'll get it started yep it feels nice and tight now we'll bring these over to the to the ironing board and i'll clip them apart there we go there's one two three four and we're going to set that seam and then we're just going to roll this over it and look how perfect these come out because you've nested those seams in there and laid those i mean you know the whole preparation it just makes them it just makes them come out so nice all right so now we have our five four patches for here and now we need to make the half square triangles so i have some over here ready this is a five inch charm pack and we need four of these for the block so here's a here's the five inch square i'm going to press it so it'll lay nice and flat and normally when you make a half square triangle you draw the line and sew on either side what i did was i just pressed it in half because it's quicker and so then i'm going to lay my red fabric on here match them up nice and then i'm just going to flip this over and i can see my crease goes diagonally side to side and what i'm going to do is i'm going to run my presser foot right along the edge of that crease and so i will be sewing a quarter of an inch out from that crease so let's go ahead and do that all right so i'm lining up my presser foot right there we're just going to start sewing and work the presser foot is right on the edge of that crease or line if you want to draw the line draw the line it's just right along that edge and so when i get to the end i'm going to sew off pick up my presser foot and just whip it around and then i'm going to sew down the other side just like that just quick as that you've got two of them done i'm going to cut these in half now and i'll cut right on this line you can use your rotary cutter if you want either way is fine and then we're going to come over here and press them open and we're going to press them with the red side to the top and then we'll just pick up that red side and roll the iron back so there's one and there's two now one of the things that's important when you put this block together so that doesn't get wonky is that you want to make sure that these are pretty square and so really your blocks should come out pretty square so to square them up what we're going to do is we're going to put this on the four and a half inch line we're going to use the 45 inch line and put it right on the seam to make sure that it's square now these are really nice and square and so they came out very well we really don't even need to trim them let me check this guy and these rulers are just so handy because you can really see you know the lines are right there and so we're going to put this on here line up that seam line line up our make sure we're on our four and a half inch line and we're good so now let me show you how we lay this out it really helps me when i lay out this block to have a a block a master block you know right there where i can see it because i literally have to go you know red to the top left and then this red goes down i really have to put them out like that i get um i don't see patterns as well as some and so i really have to just follow the directions so we've got four patch half square triangle and four patch then we're going to do half square triangle here and that red points into the middle this makes the ladder part and then we want to keep our red squares lined up so that all of our red comes through the quilt and all of the white comes through the quilt so then this one goes up there and then the last row and what i do when i put these together is i just sew each each these pieces together to make rows and then i sew the three rows together so here is this one and then my last two little half square triangles and this way how cool is that that's all it is half square triangles and four patches and you can make this great quilt let me show you this red quilt one more time i have another row to put on it but again i couldn't even wait to quilt it because i wanted to show you guys you can clearly see the pattern on this here i'll hold it up high there so you can see it i mean it just makes a great quick quilt anyway i hope you enjoyed this tutorial on the jacobs ladder from the missouri star quilt company [Music]

More Layer Cake tutorials

See all