
Make a Jacob's Ladder Quilt with Jenny Doan of Missouri Star
 Jenny Doan
- Charm Pack
- Heirloom
- Twin
- Beginner
- Quilt size 77" × 89"
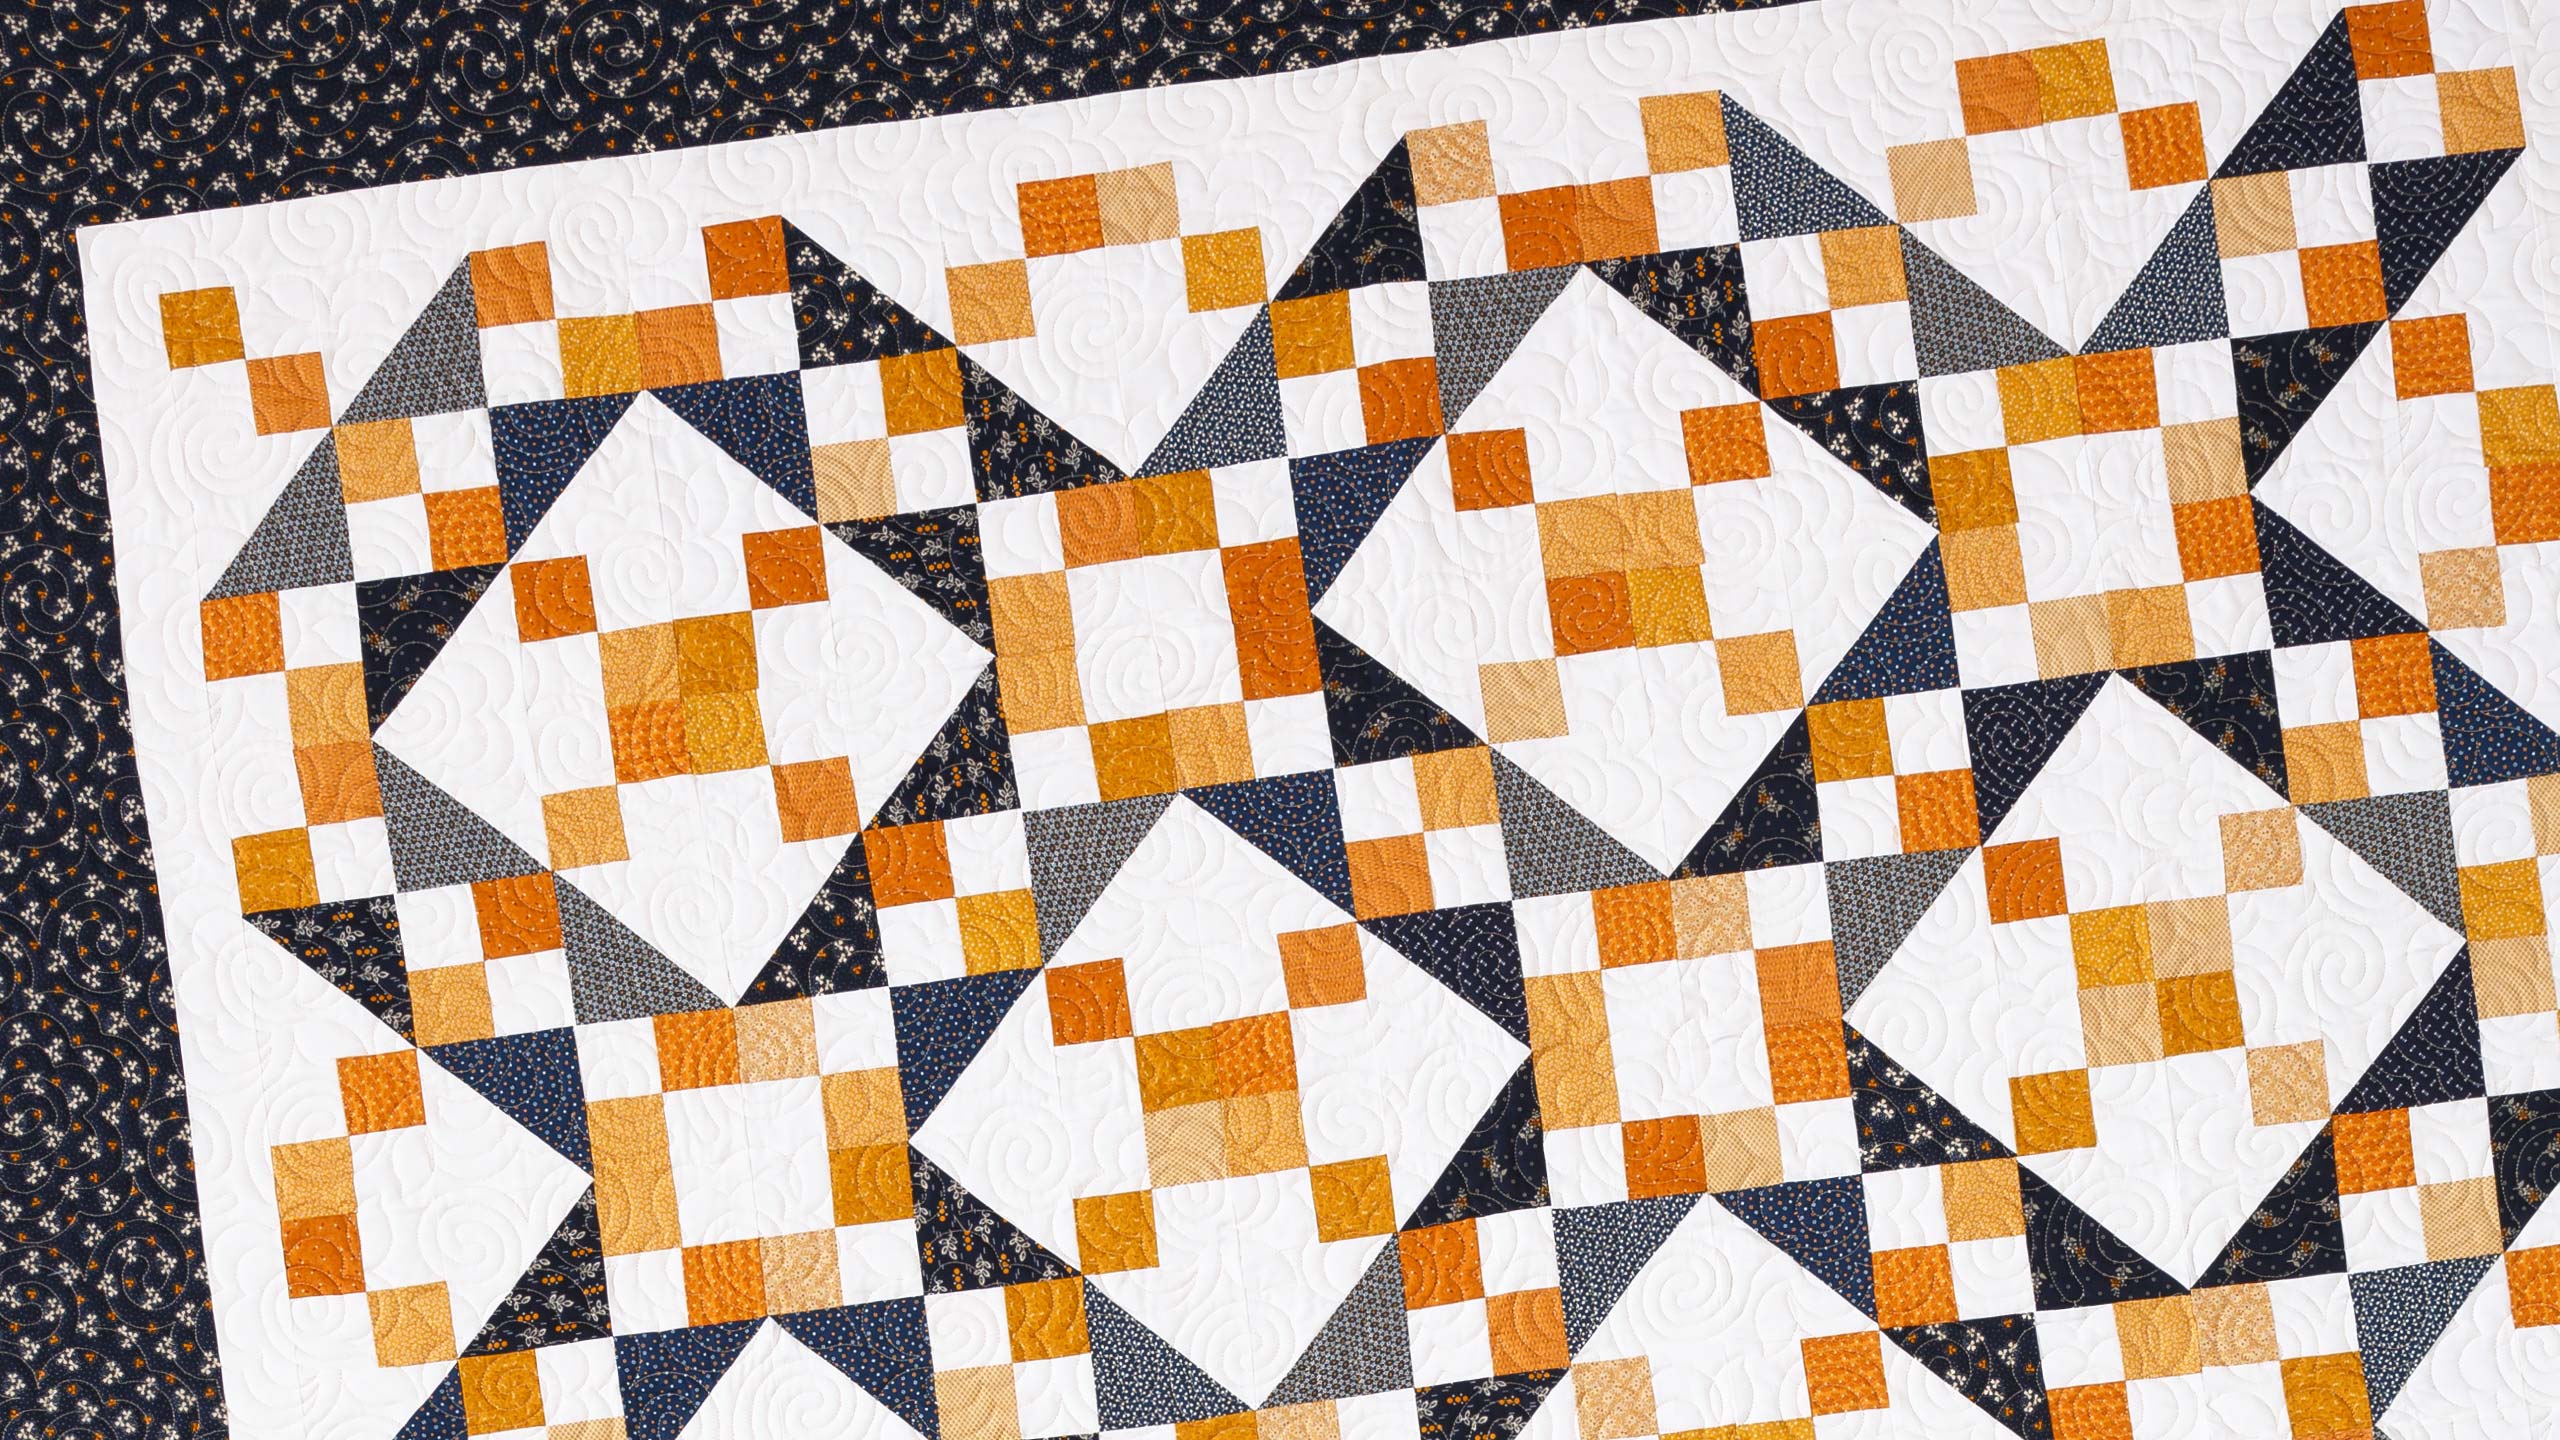
Jenny Doan demonstrates how to make a traditional Jacob's Ladder quilt using 5 inch squares of precut fabric. To celebrate the 15th birthday of Missouri Star, Jenny is revisiting 15 favorite tutorials and is remaking this classic old quilt block with charm packs in trendy new colors: cheddar and navy. Her fabric is Indigo Cheddar Single Scoops by Andover Fabrics. This timeless pattern comes together like a dream with easy half-square triangles and 4-patches.
Instructor
Jenny Doan
Jenny Doan is an American quilter, author, and YouTube personality. Jenny started Missouri Star Quilt Company in 2008 and today it is the largest quilting supply vendor in the United States.
Shop this tutorial
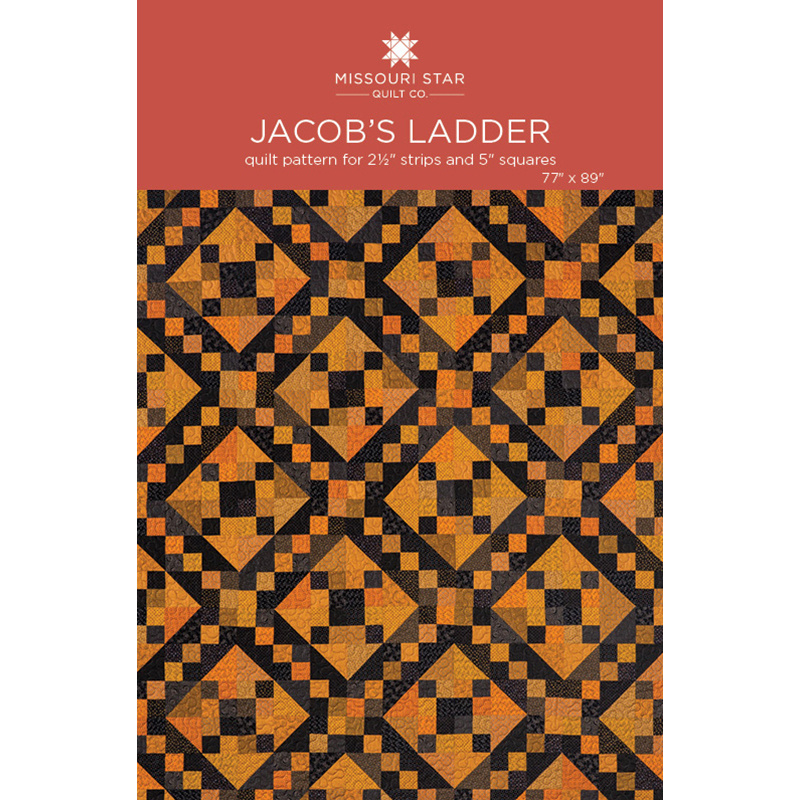 Jacob's Ladder for Jelly Rolls and Charm Packs by Missouri Star$6.95Shop →
 Digital Download - Jacob's Ladder for Jelly Rolls and Charm Packs Quilt Pattern by Missouri Star$4.95Shop →
 Indigo Cheddar Single Scoops$10.95Shop →
 Bella Solids - White Bleached Yardage$8.24Shop →
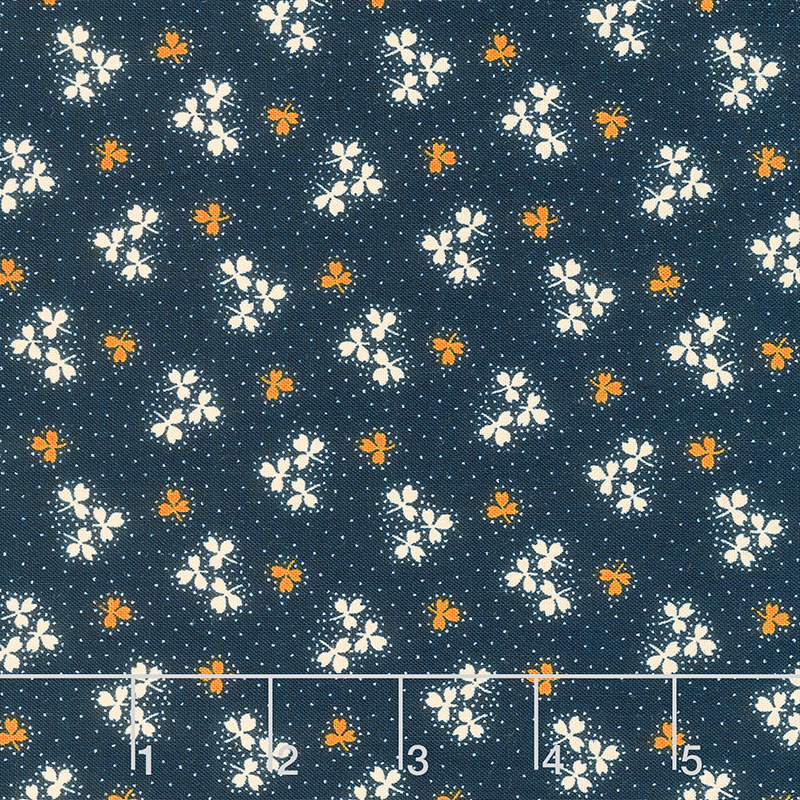 Indigo Cheddar - Shamrocks Indigo Yardage$11.96Shop →
 Indigo Cheddar - Flashlight Cheddar Yardage$11.96Shop →
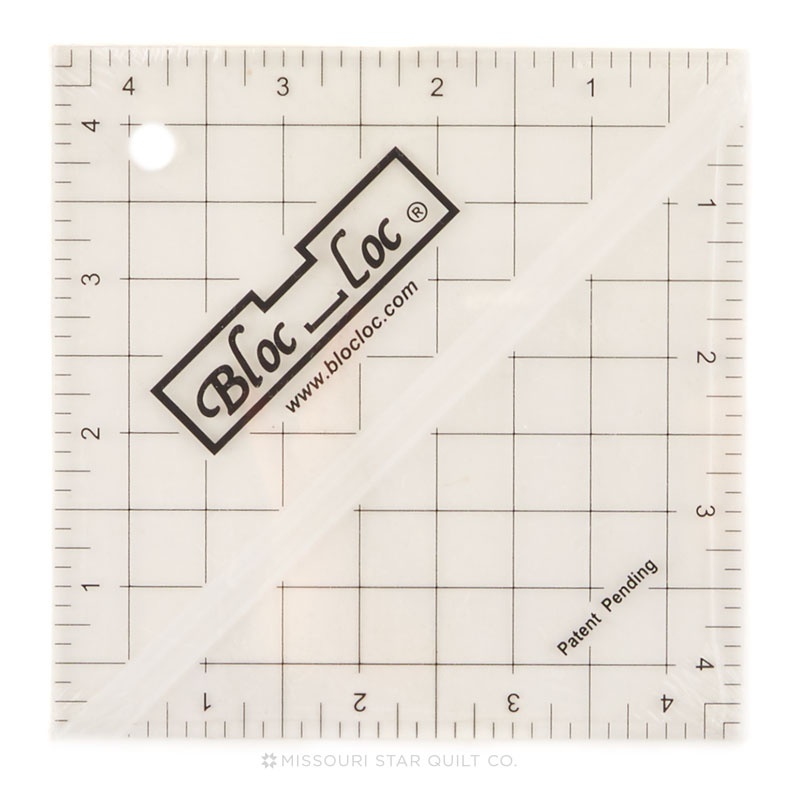 Bloc Loc 4 1/2" Square Up Ruler$23.60Shop →
Common Questions
What is covered in Make a Jacob's Ladder Quilt with Jenny Doan of Missouri Star (Video Tutorial)?
Jenny Doan demonstrates how to make a traditional Jacob's Ladder quilt using 5 inch squares of precut fabric. To celebrate the 15th birthday of Missouri Star, Jenny is revisiting 15 favorite tutorials and is remaking this classic old quilt block with charm packs in trendy new...
How long is the tutorial video?
The tutorial video is 00:14:00.
Are supplies listed for this tutorial?
Yes. The tutorial page includes the supplies and materials connected to this project.
Is a transcript available?
Yes. A written transcript is available on the tutorial page.
Video Transcript
So, to make this quilts, you're going to need four packs of five inch squares. And I have used indigo cheddar by Andover Fabrics for Andover. You could also use a layer cake, but we're making four patches, so you could actually use a jelly roll as well. You're going to need some background fabric, two and a half yards, that's all the white that's in here, for this inner border, which I use the same fabric for. It's an additional three quarters of a yard. This outer border out here is a nice big seven inch border, and you're going to need one in three quarter yards for that. And our backing out here is five and a half yards, and I'll show you that. I also use the same fabric for the binding, but isn't that gorgeous cheddar backing?
My quilting motif on this one is the curly twirly flowers. I thought that went very well with this line. And the size of this quilt is 77 by 89, so it's a great sized quilt. Now, it will also be helpful to have a squaring tool because we are making half square triangles. And I have used the block lock to square with, you can also use the colluded perfect slotted trimmer, or any ruler that has a 45 degree line on it. So, let me show you how to make this. This is the block we're talking about right here. And one of the things you'll notice right away is its four patches and half square triangles. And our four patches are all just running. The color runs the same way. And that's how I set these up. And so, we have four patches here and we have half square triangles, and let me show you how I did that.
So, what we're going to do is I used all the navies for the half square triangles and I used all the cheddar for my four patches. And in the original pattern, I did use a jelly roll, which you can easily make four patches with the jelly roll, but I am going to use five-inch squares. It's good to know that just about any of the pre-cuts will work for most of these blocks. So, what I'm going to do is I'm going to put a background square on top of my cheddar square, right sides together, and we're going to sew a quarter of an inch down both sides. And so, let's do that here. And then we're going to come back and we're going to come down this side as well.
And then I'm going to do it on another square as well, a little bit lighter, maybe. And because we want our four patches, I wanted mine to be scrappy. So, I'm just going to grab one of these squares right here. And we're going to do the same thing, right sides together. And we're going to sew a quarter of an inch right down the side and a quarter of an inch down this side as well. All right. So, now what we're going to do is we are going to cut these in half. And I'm going to use my little ruler, because from the edge it's going to be right directly in half. I just love how that works. I don't even have to think. So, we're going to cut this one in half like this, and then I'm going to cut it in half again like this. So, lay my ruler on here and cut it in half this way.
And then I'm going to do the same thing with this and cut it in half again. And then what we're going to do is we're going to press these open and this will make two different blocks. So, we've got this one, a dark one and a light one. And I'm just always going to press to the dark side, and then we're going to nest these together like this. And I see over here, I said it would make two blocks, but you know what? It's going to make four blocks. So, that's kind of handy. And we're going to come down here and we're just going to make sure these two are nest up nice and tight. And just like that, you've got your four patch right here. So, let me trim, I got that thread on there.
Let me walk you through that one more time. I've got these two pieces right here and I'm going to put a dark with a light, press to the dark side. We're going to turn these this way, snug them up right there in the center. You can feel when there's no fabric in between them. And then we are going to sew down the side. Now, with the four patches, you're going to need five for every block. And you only need four half square triangles. So, I'm going to press this open again like this. And of course, I have enough to make two more blocks here, but we are onto the half square triangles. Half square triangles are super simple. We are going to draw the line right down the center on these. Here's my pen. We're going to lay our ruler diagonally corner-to-corner. You can use your diagonal seam tape, you can press a line, whatever you'd like, but we're going to draw this line on here.
We're going to put this right sides together on our block right here and we're going to sew on both sides of that line, quarter inch from the middle. I always do kind of a scamp quarter because I have a narrow presser foot on this sewing machine. And so, mine always works out pretty scampish, but it should work out just about quarter of an inch. And then what we're going to do is we're going to trim this in half like this, and then we're going to press these open to the dark side like this, and one more here. And then we're going to square them up just to make sure that they'll match up with our four patches. And so, what I'm going to do is I'm going to lay my writing on the background. And if I can get this close enough, I might only have to trim two sides. It looks like I'm going to have to trim three sides.
But these block lock rulers are nice because they snug up to that seam, but you can use any squaring tool that you'd like. So, that is now squared exactly to four and a half inches, because this is a four and a half inch ruler. So, we're going to trim this off here like this, and then I'm going to turn it. Again, my words go on the background. And it looks like I'm just pretty close here. I'm just going to trim off that little tail that's sticking out right there. So, then what I did when I went to put these together, this is a little tip that really helped me, was I got all of my four patches done, all of my half square triangles done, and I just laid them out in stacks like this. So, this is the block we're talking about. And my block wasn't sewn together, but what I did was I took my half square triangles and I laid it out the way the block would go.
So, let me see here. I'm going to turn this one. So, my Jacob's ladder part goes this way, which means this goes in, and this goes in. And it's basically a nine patch. So, these go over here like this, this one's going to turn this way. They all go the same direction. And so, you have to watch that, because for me, that's one of those things where I'm like, I have to be careful. So, then we've got this. And then down here, again, they all run the same way. I wanted to scrap them up, so I made sure there were different ones in each block like this. Then when I got all the rest of my pieces done, I literally just stacked these up like this. I made piles of them going the right direction so I could just sew. These were probably 10 deep, and I could just sew all these two rows together and then add my third row on. And it made my blocks go together very quickly.
But let me show you how we did that. So, the first thing I did was I'm going to take these two right here on this whole column over here. I hope that wasn't too confusing, because it really helped me. I had all my blocks laid out the way I wanted to put the block together, and it kept me from actually turning. Because when you stop and do each block, you're worried about where they're going. And this way, they were all in there perfectly the way I wanted them. And the good part about that is that if you get it right, you're doing it right every time. If you get it wrong, you've now made 40 mistakes. So, for me, it was super helpful. All right. So, then I'm going to take these right here and just sew together three in a row. And then I'm going to not cut my threads and I'm going to bring this back to the first block, open it up and add my last block over here.
And because I have my block laid out, I know exactly which one goes there. And then this one goes in here like this. And if you're ever worried, if you get that gut feeling that I wonder if this is right, check it because those gut feelings are pretty good for us quilters. This one goes this way just like this. All right. So, now we have, basically, we open it up and it's our block. And all we have to do is lay this piece on top of here. We've used our threads as pins, if you will. We're going to start this on here, take a few anchoring stitches, then come down to that next seam and make sure those are nested well. Here we go.
Now we're going to come to the top one, check it, make sure it's right, fold these over. I love that cheddar and navy is trending again. It was so big a few years ago. And I love this combination, and I'm just happy it's back. Happy it's back. Let me go over there. I kind of swerved in a little bit, so I'm going to go over that seam one more time, make sure it's nice and straight, and then we can come over and press this. And then I'm going to flip this over and make my seams go the way I want them to so that things line up nice and straight. And then this is our block right here. Now, when you're ready to put these together, basically what we're going to do is we are going to put them together, so they all should go exactly the same way.
And when you go to put them together, we're going to turn these so that it lines up where the color blocks come together, and your white blocks come together. So, let's look at the quilt right here. So this is the first block right here, and it comes together like this. But the second block, it forms a star. And so, every block, you're just going to turn it so that the color blocks come together and it makes this cool secondary block out here. I love the Jacob's Ladder. First of all, we did a whole triple play on the Jacob's Ladder, and there's loads of ways to set it and loads of things you can do with it. And this is just the original block that we did. This is the original Jacob's Ladder.
But literally, I mean, if you just turn these and run them all the same direction, it's a whole different quilt. And so, it's fun to play with. I love it when a layout can just be changed just by moving a block. It just makes it so much fun. So, I hope you enjoyed this remake on our Jacob's Ladder Quilt from the Missouri Star Quilt Company. Hi, everybody, it's Jenny from the Missouri Star Quilt Company. We hope you enjoyed watching this video. If you aren't already part of the Missouri Star Quilt Company family, be sure to subscribe so you won't miss a thing. And if you click that bell, it'll notify you every time a new tutorial comes out. See you next Friday.


