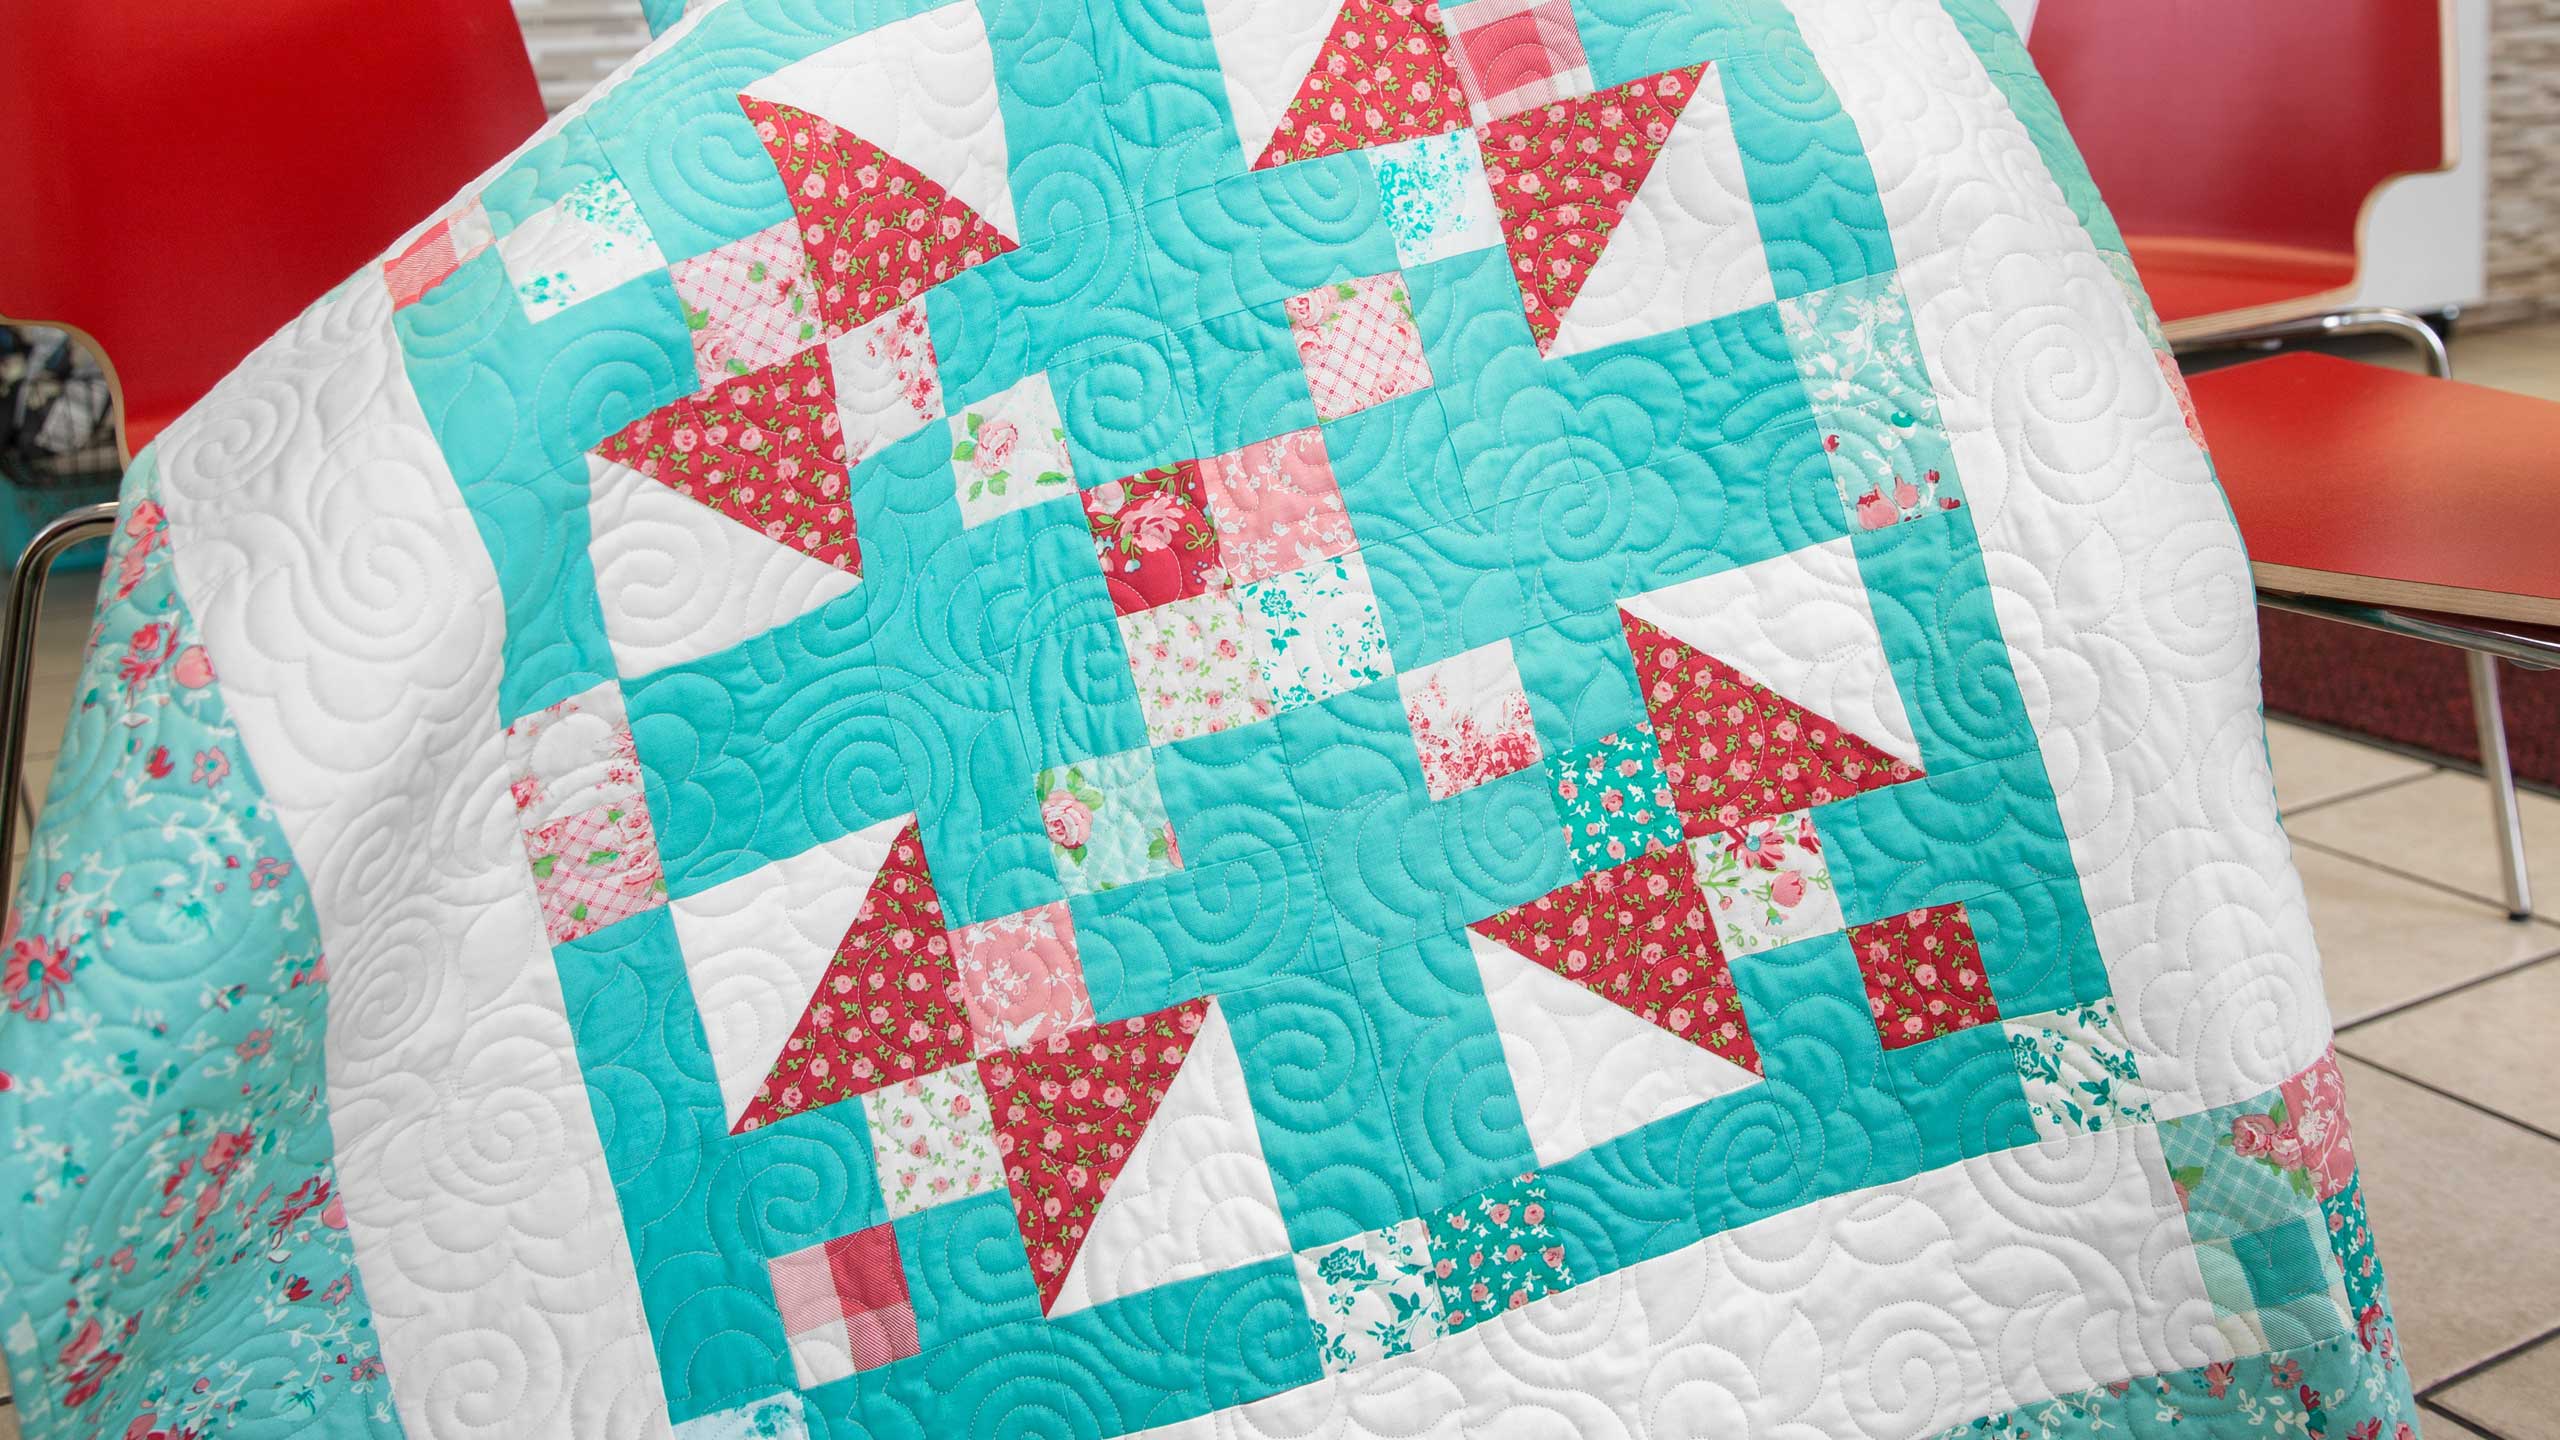
Make a Jitterbug Quilt with Jenny!
 Jenny Doan
- Mini Charms
- Modern
- Lap / Throw
- Beginner
- Quilt size 71" × 71"
Jenny demonstrates how to turn simple 4-patches and half-square triangles into a beautiful star quilt. She used charm packs from The Elm Park Collection by Laura Ashley for Camelot Fabrics.
Instructor
Jenny Doan
Jenny Doan is an American quilter, author, and YouTube personality. Jenny started Missouri Star Quilt Company in 2008 and today it is the largest quilting supply vendor in the United States.
Shop this tutorial
 Digital Download - Jitterbug Quilt Pattern by Missouri Star$4.95Shop →
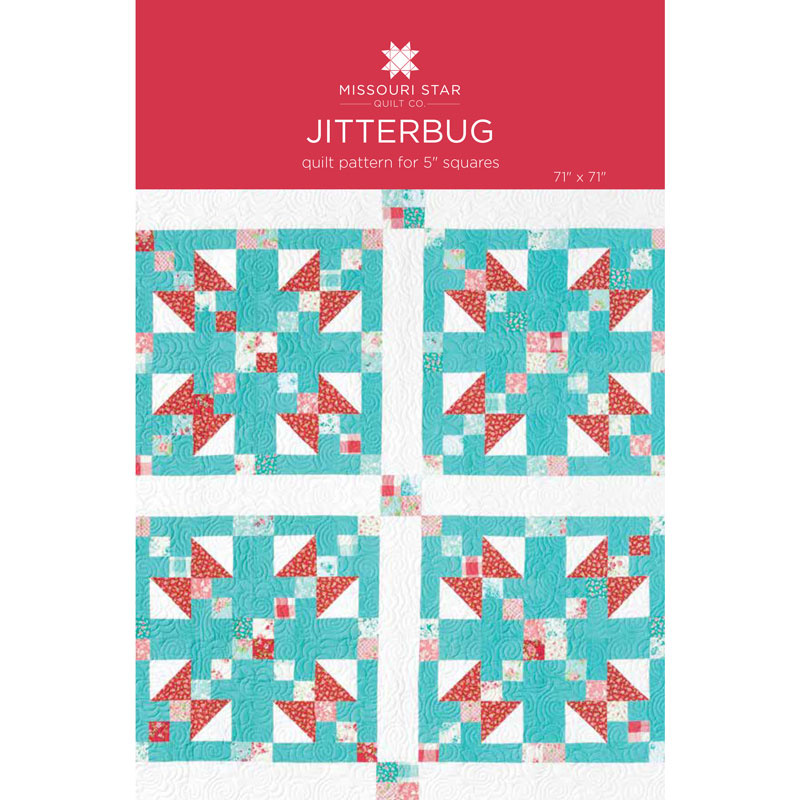 Jitterbug Quilt Pattern by Missouri Star$6.95Shop →
 Olfa Splash Aqua 45mm Rotary Cutter$18.75Shop →
 Olfa Splash 24" x 36" Cutting Mat Navy$68.95Shop →
 Missouri Star 2.5" x 8" Ruler$10.95Shop →
 Missouri Star 5" x 15" Ruler$15.95Shop →
 Extra Long Ball Point Pins (100ct) - 1 1/4" (32 mm) Size 20$3.95Shop →
 White Seam Ripper from Clover$5.45Shop →
Common Questions
What is covered in Make a Jitterbug Quilt with Jenny!?
Jenny demonstrates how to turn simple 4-patches and half-square triangles into a beautiful star quilt. She used charm packs from The Elm Park Collection by Laura Ashley for Camelot Fabrics.
How long is the tutorial video?
The tutorial video is 00:14:30.
Are supplies listed for this tutorial?
Yes. The tutorial page includes the supplies and materials connected to this project.
Is a transcript available?
Yes. A written transcript is available on the tutorial page.
Video Transcript
Now I want to share something with you. When I start designing a block and things like that I make it up and I make it up in baby fabric because I try to give a baby quilt to anybody at Missouri Star who’s having a baby. So I make these practice quilts first. So I actually did that with this fabric for a boy quilt. And I tried this gingham on the edge and you can see over here I kind of lost the gingham a little. So that helps me when I’m designing the quilt because it makes me look at things differently and how to do it. And when we actually started putting this together we actually tried several different fabrics so we could make this pop. So you kind of want to watch that when you’re picking fabrics for your quilt.
So this is based on a half square triangle and a four patch. And both of them are bordered. So let’s go ahead and make our half square triangles. We’re going to need five inch squares for that. And I’m just going to take my yardage here. This is the half yard that I chose for my legs. And I wanted a color that would pop. You know something that would be bright and show up. And so I’ve got five inches here. And I’m just going to, I’m just going to cut this into charm pack size, into five inch square size. And so, and so I’m going to cut my five inch strip. And then I’m going to come along and cut five inch squares, just like this. And then those will match my five inch squares of background fabric. So what I’m going to do is I’m going to take one of these. And I’m going to draw the line corner to corner right here so I have a sew line. We want our blocks to end up the same size. That means, and our size is going to be 4 ½. So I’ve got this, I’ve got this five inch square here. I’m going to place it right sides together on this five inch square. And we’re going to sew on either side of this line. By doing that we should end up with a block that’s pretty close to 4 ½. So I’m going to come here and we’re just going to sew down one side and up the other. Alright now we’re going to flip this around and come up the other side. Alright. Now I’m going to go ahead and cut on this line right here and press these open. I’m looking for a 4 ½ inch square and so I’m going to have to measure to make sure that it’s that size. And if it’s not we’ll just square it up. Anytime you’re putting two blocks together they’ve got to be the same size. Alright so I’m going to lay my ruler on here. And it looks like I need to trim just a hair on there. So I’m going to slide this. These are really nice because they have little shaved edge right there in the middle that helps you get right to the center of that. And you can see I’m not cutting off much. But I’m going to cut that side and one more little side here. See these little shavings, that’s all we’re getting there. Alright, line that up, trim that off. Alright now let me do my other one. Now you’re going to need four of these for each of your big squares. One more side. There we go. Alright. So ya you know that’s pretty good right there. Alright so you’re going to need four of these for each block. Now when I’m talking about a block I’m talking about the big block here. So I’m actually talking about this big block right here. So you’re going to need, you’re going to need to cut two, four, six, eight which is going to come out of four charms because you get two out of each block.
So right now we’re going to make quarter blocks and this is the block we’re talking about. And it’s going to fit in here just like this. And so what we want to do now that we have our half square triangles done is we want to make four patches. So we’re going to take most of our charm squares and cut them into 2 ½ inch squares like this. And just take a little stack of them. You can probably do about four maybe. Lay your ruler, your 2 ½ inch ruler right along the edge. It gets you right to the edge of the middle of that square. And then you’re just going to cut them into fourths. And there’s lots of ways to make four patches. But we also need some of these blocks for our cornerstones so that’s why I’m doing it this way. Alright so we’re going to take our background square and we’re going to cut some 2 ½ inch, I’m sorry our turquoise color. And we’re going to cut some 2 ½ inch squares off of there. And then we’re going to take two of these squares as well. And you want to mix them up. And we’re going to put them together like this. Let me move some of this out of the way here. We’re going to put them together like this to make the four patch. So we’re going to go to the sewing machine. We’ll lay these on top of each other. We’ll sew these a quarter of an inch , this a quarter of an inch and then sew that center line to make a four patch.So let me come here. And I’m just going to line mine up. This is called chain piecing when you attach one to the next. And you can do whole long rows of those. And you’ll need to do that because you’re going to need a few four patches for this. Alright now this is ready to go. I’m just finger pressing it here to the dark so that I can sit and do this before I go to my iron. And I’m just going to lay that on here. I always take a few stitches and then I want to check to make sure that my seams are laying down, are nesting up nicely. Opposite sides of each other. And then we’re going to come over here and we’re going to press this nice and flat. Oh that lined up nice. Alright, so there’s our four patch and here is our half square triangle.
What we’re going to do now is we’re going to border each of those so this is what we’re talking about. Let me see if I have one done right here. This is what I’m talking about right here. So we’re going to take our half square triangle and we’re going to cut our turquoise fabric into 2 ½ by 4 ½ inch pieces. You’re going to need two for each block. And then we’re going to put one of our 2 ½ inch squares in the corner. So let’s go ahead and do that. Now remember you want to border on the background side of the fabric. So we’re going to put these on here like this, take one of our little squares and put it over here in this center like that. Alright so let’s go to the sewing machine and I’m going to sew this one on here like this. And then I’m going to attach to this side and sew it down and then I can attach that to that whole side. So first we’re going to sew on our little 2 ½ by 4 ½ inch rectangle on the side of our, on the background side of our half square triangle. I’m going to finger press that back. And then we’re going to sew this one down as well. A 2 ½ inch square on a 2 ½ by 4 ½ inch rectangle. And that should fit nicely on that other side. Right here, perfect. There we go. And then we’re going to press this open. And there we have that one. And you’re going to need two of these for each of your quarter blocks.
Now we’re going to do the same thing to our four patch. So put a border on either side and a square in the corner. And this one you just want to make sure that your colors are all going to line out the same direction. So we’re going to go this way. And then our corner square I’m going to put a lighter one out here like that. See how that’s going to work. And so I’m going to put my piece on here. And again just sew this one to that one. And as you start doing this you’ll be able to sew like a whole bunch of these on one side of the four patch and a whole bunch of these together at the same time. You’ll be able to do all of that at once and it will, it will, it will go faster for you. I’m one of those people that likes to do, you know, 40 of the same thing at a time. Of course the bad part about that is if you make a mistake you’re going to make it 40 times. So make sure you’ve got it where you want it to go. Alright so now this one is going to go on the top so that the squares are going to line up one, two, three. And we’re going to press that back. Alrighty. Alright.
So now we should have two of these . And what we’re going to do, where’s my other one, here we go. So what we’re going to do is we’re going to put this together in quarter blocks. You’re going to make four of these to make a big block. And these are going to go so the little squares come toward the corner like this. See how that goes like that. And that’s our little quarter square. We’re going to sew that together like a four patch. Let me do that real quick here. And I’m just lining up this edge. Sewing a quarter of an inch down. Lining up this edge. And then we’ll put these two together, making sure that our half square triangles are on either side. And I’m going to make sure these middles are nested nicely together. And then we are ready to go. So let’s press this out. I’m going to make my seams go the way I want them to here. And open this up. Give it a shot of steam.
So this is, this is the block you’re going to get with your two four patches and your two half square triangles that are bordered. And we’re going to put this together in a large quadrant. And so let’s go ahead, I’ve got two together right here, just like that. And I’ve got these two like this that we’re going to sew together. And you want to make sure that all your legs are going in the right direction. So it makes that star look. Now because we had to tweak this a little bit with all the different colors of the fabric to make this work I wanted to see what it would look like in a solid fabric. So follow me on over here to this quilt right here. So we did this one out of red, white, and blue. Just solids so that, just to see the different look. And look how fun that is. It’s just completely different. So when you get your quadrant together right here, these four blocks. You’re just going to put those together in four big blocks on the quilt. And we’re going to have a big, the four inch big wide sashing. And then we’ve used this little four patch right in here in between the sashing. And we did that all the way around the quilt. Every time that sashing comes together we put a little four patch in there. So because this quilt, you know, we had to tweak it a few times to get it just right for you guys. We called it the Jitterbug quilt. So we hope you enjoyed this tutorial on the Jitterbug quilt from the MSQC.