Skip to content

Free quilting video tutorials from Missouri Star

Quilting Tutorials
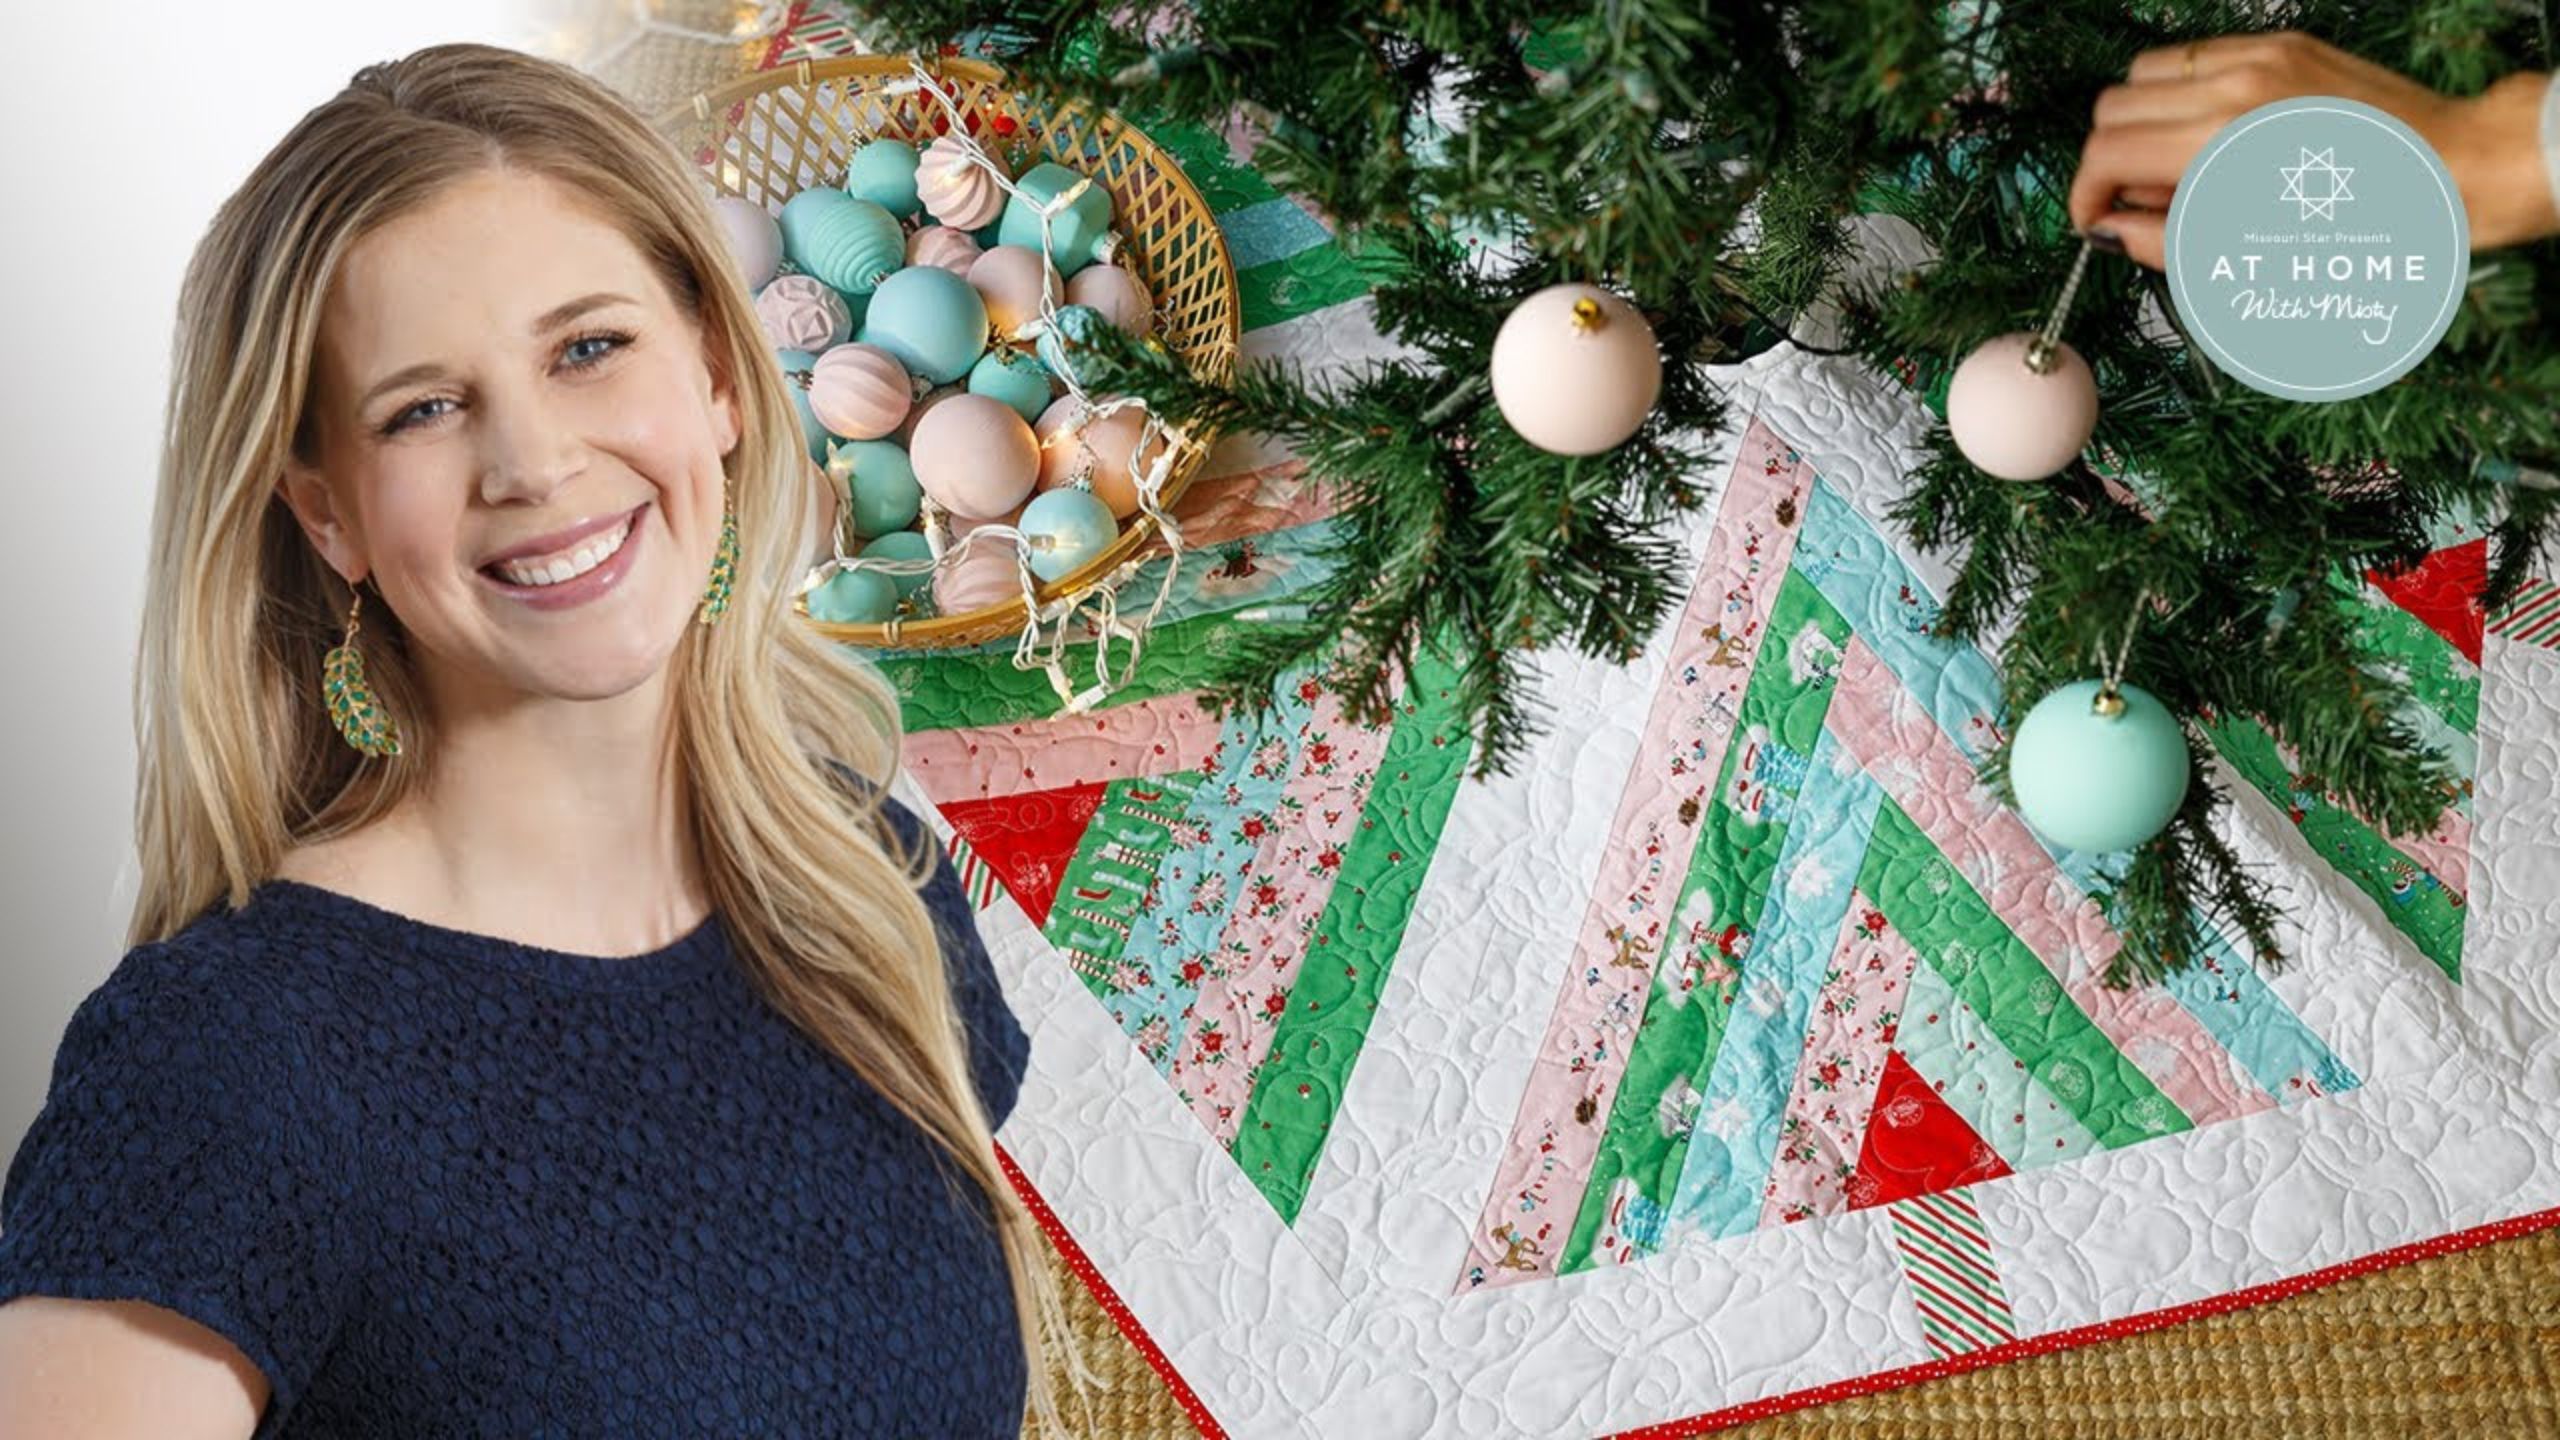
Make a "Log Cabin Tree Skirt" with Misty Doan on At Home with Misty!

Make a "Log Cabin Tree Skirt" with Misty Doan on At Home with Misty!

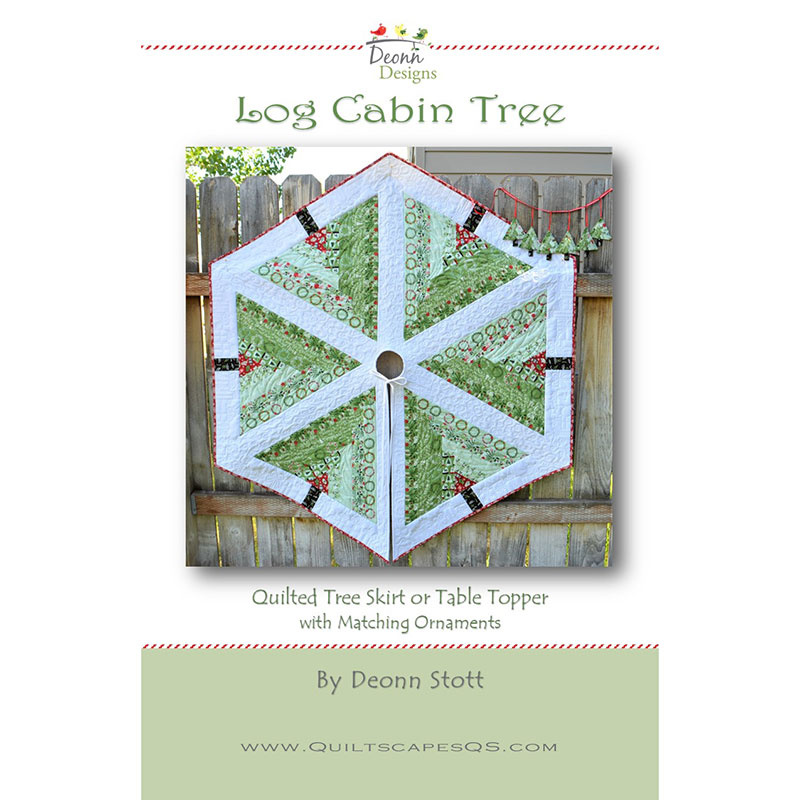
Sew the classic log cabin block with a Christmas twist! Using the whimsical Pixie Noel collection from Tasha Noel, Misty shows you how to spruce up your holiday decor with the Log Cabin Tree pattern by Deonn Stott. This versatile project doubles as a quilted table topper or tree skirt. Don't miss this tree-mendous tutorial, perfect for beginners!

Instructor

Misty Doan

Misty Doan grew up surrounded by sewing and quilting. She loves spending time sharing tutorials each week each week, and when she’s not stitching up one of her fun sewing projects for home decor, most likely you’ll find her hanging out with her husband and three awesome kids or working on a house project.

Common Questions

What is covered in Make a "Log Cabin Tree Skirt" with Misty Doan on At Home with Misty!?

Sew the classic log cabin block with a Christmas twist! Using the whimsical Pixie Noel collection from Tasha Noel, Misty shows you how to spruce up your holiday decor with the Log Cabin Tree pattern by Deonn Stott. This versatile project doubles as a quilted table topper or tr...

How long is the tutorial video?

The tutorial video is 00:21:55.

Are supplies listed for this tutorial?

Yes. The tutorial page includes the supplies and materials connected to this project.

Video Transcript

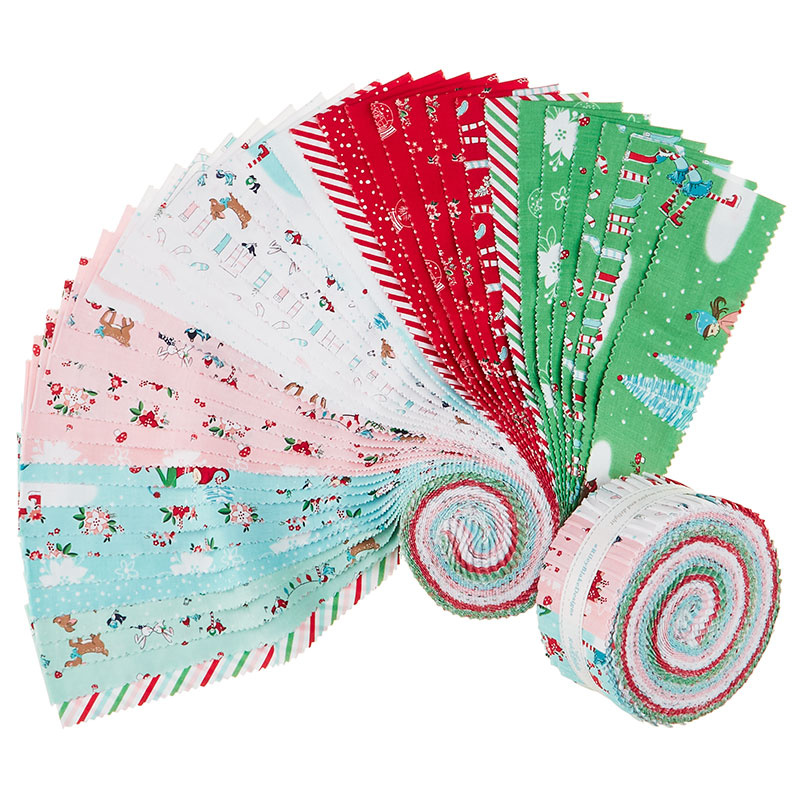
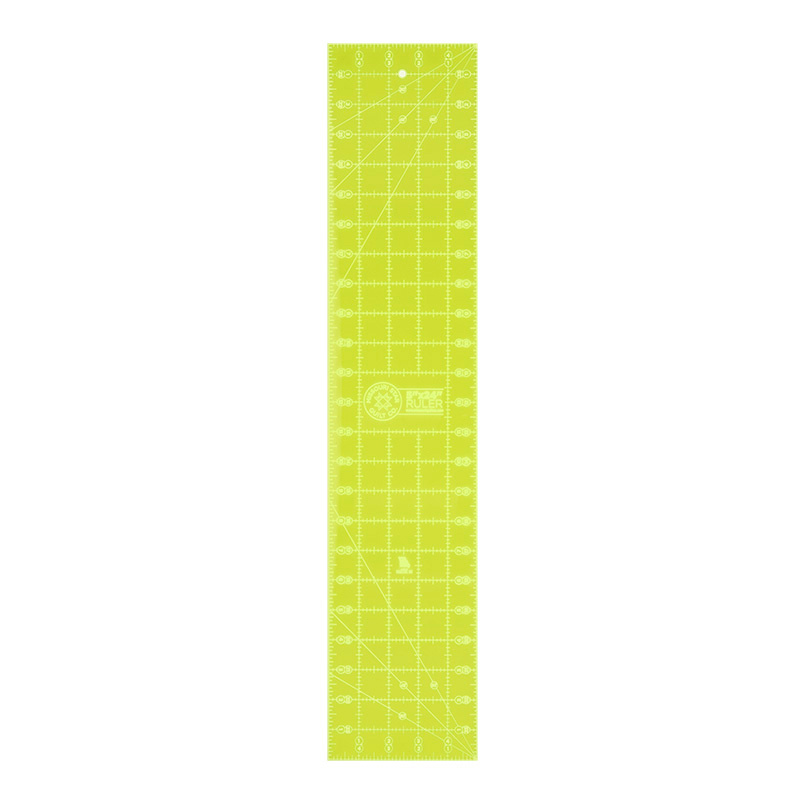
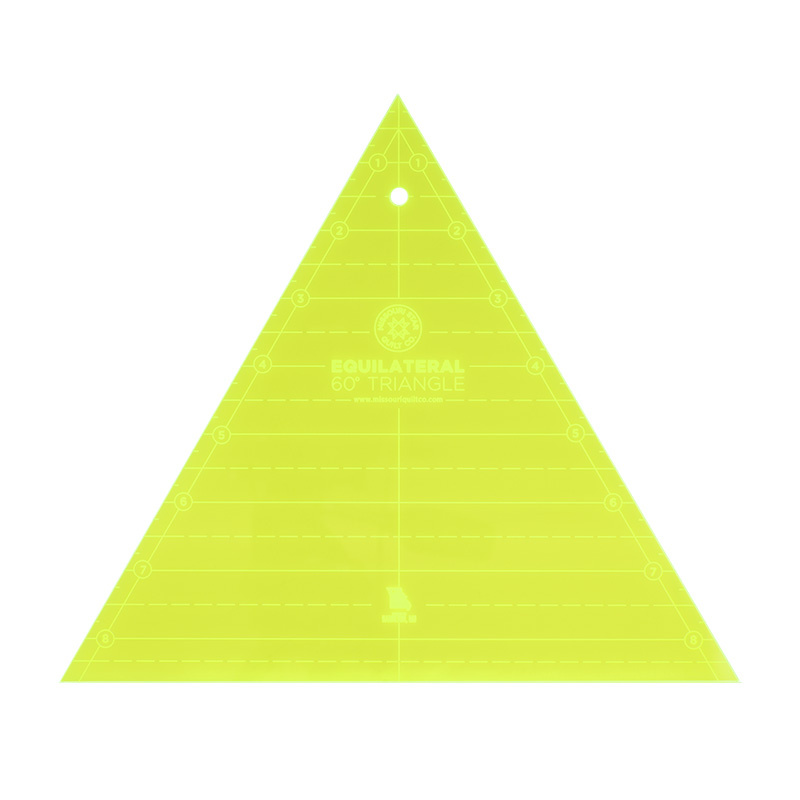
this week I'm really excited to share with you the log cabin tree skirt pattern by dionstott [Music] this tree skirt is so fun and it's jelly roll friendly so let me tell you everything you're going to need to make this I have used the pixie Noel 2 Jelly Roll it's a really fun Whimsical Christmas line so you're going to need that you're also going to need a quarter yard of accent fabric for the center of your log cabin trees and then you're going to need two and a half yards of background a quarter yard for your tree trunks as well as three and a half yards for your backing and a half a yard for your binding a couple of helpful tools if you have an equilateral 60 degree triangle ruler that comes in really handy as well as a nice long ruler with a 60 degree mark on it so I have both of those here that will just make it all go together nicely so let me show you how we are going to build this out so I'm going to some of this out of the way and we'll dive right into it so to begin we're going to take our accent fabric for our tree centers and we're going to cut that into a 4 and 3 8 inch strip if you don't want to mess with the 3 8 you can just do four and a half and it will still work out I promise it's just going to alter some of your measurements along the way but I cut mine at four and three eighths and then we're going to use our equilateral triangle and we are going to cut out our centers and so we're just going to line that up this doesn't have the 3 8 line but I can eyeball and see it it's exactly between the quarter and the half inch Mark and so I am good with that and so I will make a cut and then turn and move my body out of the way and make another cut and what's so great about this ruler is then you can just turn and make a cut the other direction there we go and so you're going to need six of these for the centers of your trees so you'll just keep cutting until you have all six ready to go and then we are going to begin building our log cabin tree around this Center and so I have my fabric sorted into piles here so I have fabric a b c and d and e f g and H in this pile so I'm going to begin by grabbing fabric a and that's going to go on the right side and I am just going to kind of Center this on here if you want to be nice and sure you can press this in half and just give it a finger press and do the same thing with your Center because we're using these angles we have to have a little bit of overhang on the top and the bottom and so now I'm going to take this to the machine and we are going to stitch this down thank you there we go now we can press this back oops got a little Rumple in there I want everything to lay nice all right and so now I can keep using my triangle tool and I will just slide this up until I get to the edge of my jelly roll strip and hold that in place and then I can cut this angle just like so and then I can slide this up this way I'm going to rotate it so it's easier to make that cut just to make sure we're all lined up and trim there we go so there is the first round so now I'm going to move to my fabric e and do the exact same thing I'm going to find that Center Point press it find the center point here lay those together so that I have that overlap and Stitch It Down there we go now we can press this one back all right now that we have that all pressed down we can go ahead and trim this off as well you'll notice that we're starting to already get to the size of our triangle ruler so we can just set this aside it's really just to make it easier to find our centers and then we can use our big straight ruler to trim this off now my ruler has both a 30 degree and a 60 degree Mark and so what I found is I line up my straight edge with the side I'm wanting to cut and the other side of my tree that I'm building lines up with that 30 degree line and so that's kind of what I'm watching for so I'm going to make this cut and then we can turn this and do the same thing except on this side the 30 degree is going to line up with my Straight side over here and now I'm going to cut on this side and so there we go we have our little triangle and so now I'm going to repeat this and do three more rounds around my tree and add the sashing pieces as well and I'll meet you back here all right we made it all the way around so that is one two three four rounds using our jelly roll and then we added our sashing strips which are just two and a half inch white strips as well and so now the only thing that we have left to do is to add our tree trunk and so this is a two and a half by four and a half inch rectangle that's going to be the trunk of our tree and then I have two four and a half by 18 inch background rectangles so I'm going to go ahead and just sew this in between both of these larger rectangles to start with so we'll put these right sides together so this side open it up and add this one onto the other side make sure it's all nice and straight my end is fighting with me a little bit there we go all right and now we can press those back and since I'm already here at the ironing board I am going to fold this in half and I'm going to press a line right here in the middle of my tree trunk so that I have a reference point and I'm going to grab my big log cabin tree and do the same thing on that little Center area so I know that the red just has to meet up like that and I'll give a little press in there and so now that I have that done I can open this up and I'm going to match up those two press lines right in the middle and we'll put a clip or a pin in there whatever you have handy and then I'm going to sew this straight along the bottom edge of our log cabin tree so let me just line this up and sew it down [Applause] all right there we go now we can press this back and our tree trunk will be centered on our log cabin tree that's what we're hoping for you could have a Crooked Tree if you really wanted but I think it'll look nicer if it's all lined up there we go just a little bit more here all right and so now we can go ahead and trim off our last little pieces here along the bottom to match up with our angle so let me get my nice long ruler here so I can make sure this is running straight sometimes as we press it gets a little bit wonky so I just like to kind of find the center and balance it out there we go and that can trim off there and then we need to turn and do the same thing on the other side lay this along here and there we go all right so that is our completed log cabin tree Block it's a triangle block and we're going to make six of these to make our tree skirt so I have the rest of those ready to go so I'm going to begin by sewing them in sets of three so we'll put two together and add one more and then that will make kind of a half and then we'll put the two halves together so let's go ahead and lay two of these together right sides together and we're going to sew all the way down this long side there's really only one seam to match up and it's down at the bottom where our background for our tree trunks is and then match up my bottom corners there we go and now I'm going to go ahead and press that just because if we don't press in between it gets to be a little bit big and cumbersome so I'm just going to open that up and roll those seams back that we just stitched so it lays nice and flat looks great a little bit more here all right and so now we're going to add one more triangle to this half got this guy right here so same thing we're just going to fold it over and Stitch It Down foreign [Music] give this a press then I have the other half already sewn together and we can sew our entire top we are so close to being done there we go all right here is our nice big half and I'm actually going to lay this out over here just so you guys can see what I'm talking about because I kind of want to match up the center here so I'm going to open up my other half which I have completed and sewn together and I'm actually going to line this up because you'll see where the jelly roll strip comes through here it comes out here those two seams actually want to kind of Nest I want those to intersect so it's kind of kind of make this swirl in the middle and so I'm going to grab my clip and put that right there I found I didn't need very many Clips or pins for this but if I as long as I have my Center lined up and that looks like it's matching perfect and so we're going to take this to the machine and we're going to sew all the way down this long straight side foreign away we go foreign approaching that middle so I'm just going to kind of hold my finger there to keep it together remove the clip out of my way there we go keep it all lined up foreign top is done this would be an amazing table topper for a round table or a giant Square table but we are going to quilt this and we're going to come back and turn it into a tree skirt all right doesn't that look great it is all quilted I did an edge to edge pattern that we have here in Missouri Star it's called Mitten Meander and it's just perfect for this wintery Christmas project that we're working on and so now we are ready to turn this into a tree skirt so let me show you how we're going to do that we are going to cut through our quilt which is the scariest part but first off I am going to mark my Center so let me move this out of the way and pull this over here I had a pin there it is and so in the pattern she recommends about a four and a half inch circle for the center of your tree skirt I am like Jenny I just find the closest circular thing and so I'm going to use my thimble Cup right here and I'm going to plop that right down in the middle of my project eyeballed up make sure it looks good I think that looks pretty nice looks close enough to me and now I am going to mark all the way around the outside of this because I'm going to cut on this marked line which I know is so scary now that we've quilted this beautiful quilt top so I'm just going to run my PIN right along that edge there you go there it is we have a circle in the middle let me put all my my doohickeys back in their container and put them back on the Shelf and now we are going to make our cuts to our Center Circle and so you can cut this with a scissor if you like I'm going to use a rotary cutter and my ruler just to keep it as straight as possible and we are just going to follow along right next to this seam Edge so I'm just going to come about a quarter inch from the seam and use my ruler and I'm going to cut all the way to that Circle so I actually need to slide this up so I'm on the mat there we go the moment of truth we are going to make a cut there we go look at that ah so nerve-wracking all right and then we're gonna finish this off make sure it lines up with where I stopped then I'm going to stop at that Circle and grab my scissors to finish this off so let's just pull this over and I'm going to cut right on that Circle that I drew you guys have no idea how scary this is to do on camera there's no do-overs once you cut into this thing you know but that's all right finish is better than perfect right this is the real deal okay there is our middle circle so the scariest part of our tree skirt is done and so now it just comes down to The Binding I have three different bindings prepared here so let me explain those to you to begin I have just some white regular binding I did make it a little bit narrower according to the pattern instructions it's cut at two and a quarter instead of two and a half and so you'll bind this straight edge of either side first and then you'll come back with some bias binding so we can do this inside Circle but you're going to want to leave some tails at the start and the Finish because that's how you're going to tie and so you'll use your bias binding of the white to do this circle so it'll make that curve nicely and lay flat and then I decided I wanted a pop of color for the outside edge so I use this cute little kind of snowfall Dot and this is just a regular binding but again we're going to leave a tail here at the end remember this will have the straight white binding so it'll still be a finished Edge and we'll just leave an end that we can top Stitch or whip Stitch close so we have a tie here at the center and here at the end and we will just bind all the way around the edge isn't that so fun I just love this project I think it's so clever and cute and she even has instructions for a little bonus ornament in her pattern so be sure to pick that up and I think this would make a really cute little Garland to hang on a Christmas tree as well and then it would match your beautiful tree skirt that you've worked so hard on so I hope you guys enjoyed this log cabin tree skirt thank you so much to Dion for letting me share it with you and I hope you all have a wonderful week I'll see you soon hey everyone it's Misty thanks for watching at home if you aren't already a part of our Missouri Star Family be sure to subscribe and hit the Bell if you want a notification every time we release a new video I'll see you next Monday on the newest episode of at home [Music]

More Jelly Roll tutorials

See all