

Make a Lone Star quilt with Courtenay of Missouri Star!
Follow along as Courtenay Hughes teaches you how to master the evasive Lone Star and make it one of your favorite quilt patterns—we promise! With a few simple tips and tricks, this beautiful star block becomes a joy to create. In this in-depth, totally FREE online tutorial, you’ll learn how to choose just the right fabrics to make your Lone Star shine, cut fabric accurately, piece the quilt together without one single Y-seam (seriously!), and feel confident as you assemble your quilt top!

Instructor
Courtenay Hughes
Courtenay Hughes is a talented instructor of quilting, embroidery, and appliqué classes. She teaches at Missouri Star Academy, in both online and in-person classes.
Shop this tutorial
 Olfa Splash Aqua 45mm Rotary Cutter$18.75Shop →
 Missouri Star 2.5" x 8" Ruler$10.95Shop →
 Olfa Splash 24" x 36" Cutting Mat Navy$68.95Shop →
 Creative Grids Quilting Ruler 6 1/2 x 24 1/2in$31.99Shop →
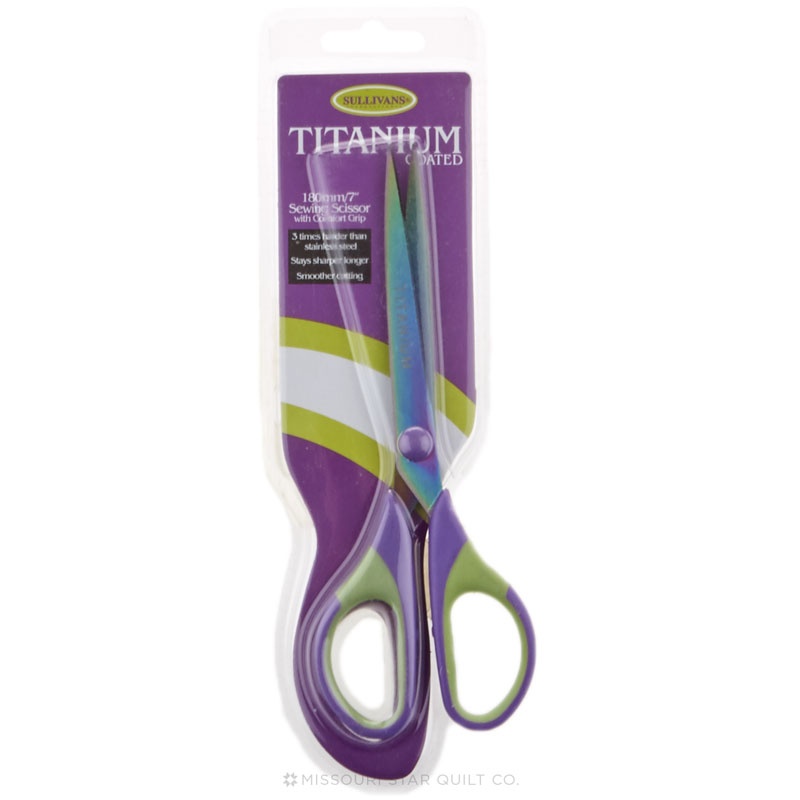 7" Sewing Titanium Coated Scissors$4.75Shop →
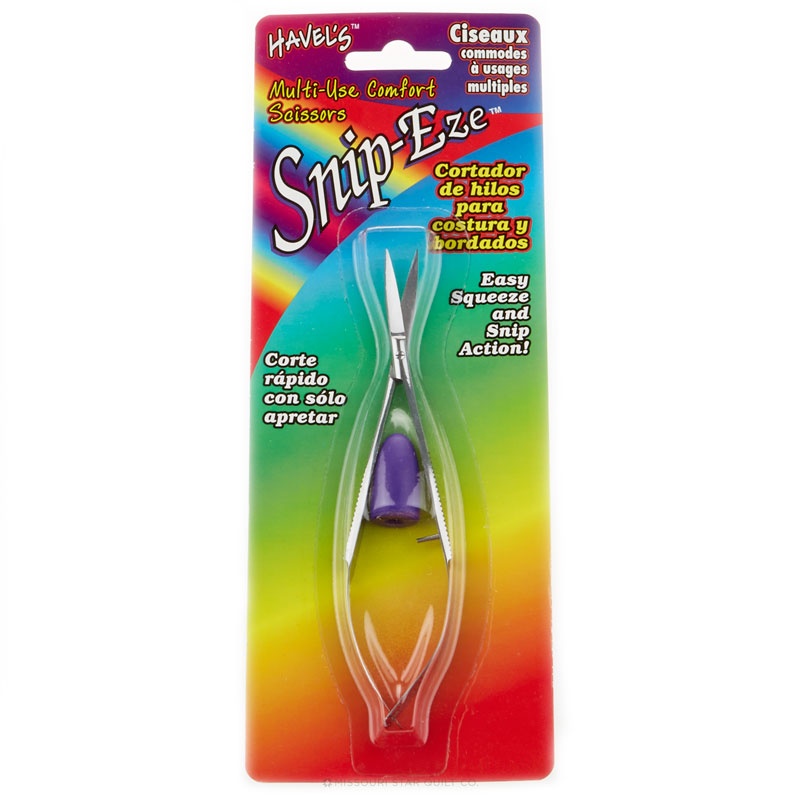 Havel's Snip-Eze Embroidery Snips - 4 3/4 inches$18.95Shop →
 Magic Pins™ Appliqué Extra Fine Pins - 100 count$18.75Shop →
 Magic Quilting & Crafting Aerosol Spray$8.75Shop →
 Black Fabric Mechanical Pencil$13.75Shop →
 Exclusive Missouri Star Jenny TG1600 ProPlus Oliso Smart Iron$199.99Shop →
 Missouri Star Wooly Betty Board - 17.25" x 25.5" Orange Border$98.95Shop →
Common Questions
What is covered in Make a Lone Star quilt with Courtenay of Missouri Star! (Tutorial Video)?
Follow along as Courtenay Hughes teaches you how to master the evasive Lone Star and make it one of your favorite quilt patterns—we promise! With a few simple tips and tricks, this beautiful star block becomes a joy to create. In this in-depth, totally FREE online tutorial, yo...
How long is the tutorial video?
The tutorial video is 00:54:33.
Are supplies listed for this tutorial?
Yes. The tutorial page includes the supplies and materials connected to this project.
Is a transcript available?
Yes. A written transcript is available on the tutorial page.
Video Transcript
Fabric Selection: You may wish to keep your fabric selections within a single line so they coordinate and contrast each other well. Start with your border print and then choose other fabrics that will be fun in your burst. Vary between large and small scale prints and keep your eye out for a "zinger" fabric that will add an unexpected pop to your burst.
Preparation: You want to starch your fabrics as you've never starched before. You'll be cutting and assembling diamonds on the bias, and you really don't want them to stretch. You'll get a much more accurate quilt if your fabric is a little more rigid. So spray your fabric and iron dry. Make sure the fabric is really dry before you start cutting.
Piecing: To start piecing, cut your four fabrics into 2.5" in strips (8 - 20" strips per fabric). Lay your fabrics out and use markers to keep track of which fabric is A, B, C, D. Use a slightly shorter stitch length since you'll be sub-cutting fabrics, and an accurate 1/4" seam. When you're heading to the machine, grab your fabric by the corner you want to start sewing with. Press all of your strip sets (up or down) in the same direction.
Cutting diamond shapes: Use any ruler with a 45 degree line on it. You're always going to line up your 45 degree line with a line on the mat, and you'll be cutting 2.5" wide diamond shapes. If you have sewn everything together correctly, the vertical line on the ruler will line up with the diagonal on your strips. You'll cut 4 diamond shapes from each strip set.
Pinning: Do not eyeball this! Use the pin and marking method described in the video to keep things precise. Remember to take small bites when pinning.
Background fabric: You may want to wait to choose this one until you assemble some of your points to see what will make them pop. You will also be cutting the background pieces slightly oversized. This will give you a little wiggle room so you don't lose those gorgeous points.


