

Make a "Milestones" Quilt with Jenny!
 Jenny Doan
- Jelly Roll
- Traditional
- Double
- Quilt size 69" × 69"
Jenny demonstrates how to make a beautiful Milestones quilt using 2.5 inch strips of precut fabric (jelly roll). For this project, Jenny chose a "Milestones" jelly roll by Kansas Troubles Quilters for Moda Fabrics.
Instructor
Jenny Doan
Jenny Doan is an American quilter, author, and YouTube personality. Jenny started Missouri Star Quilt Company in 2008 and today it is the largest quilting supply vendor in the United States.
Shop this tutorial
Common Questions
What is covered in Make a "Milestones" Quilt with Jenny!?
Jenny demonstrates how to make a beautiful Milestones quilt using 2.5 inch strips of precut fabric (jelly roll). For this project, Jenny chose a "Milestones" jelly roll by Kansas Troubles Quilters for Moda Fabrics.
How long is the tutorial video?
The tutorial video is 00:13:22.
Are supplies listed for this tutorial?
Yes. The tutorial page includes the supplies and materials connected to this project.
Is a transcript available?
Yes. A written transcript is available on the tutorial page.
Video Transcript
Lynne: I’m good.
Jenny: I’m so glad you came. And I don’t know if you’ve noticed but there is a quilt behind us that is amazing. What can you tell us about this quilt?
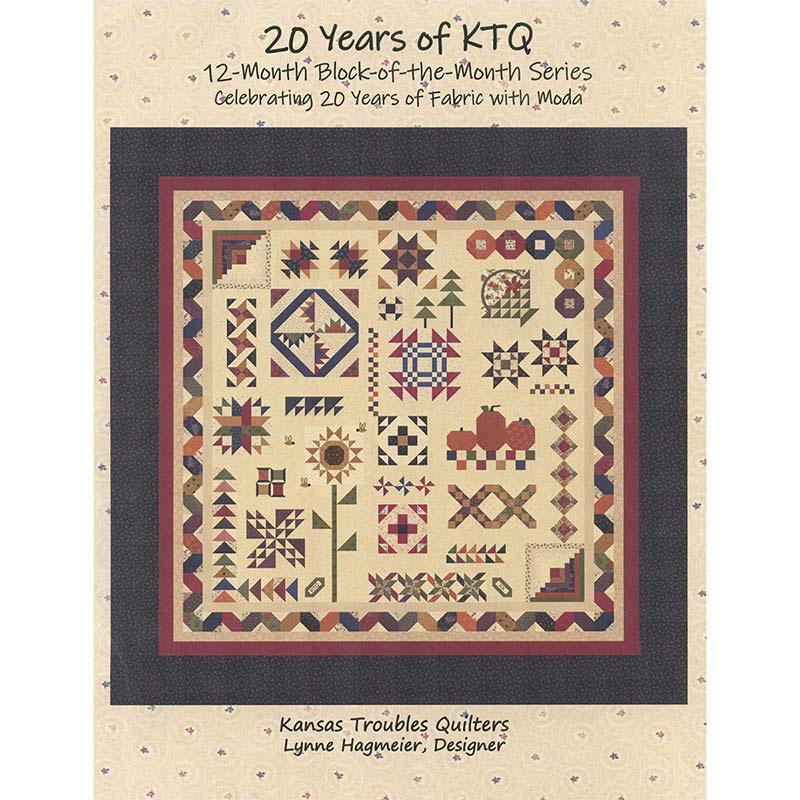
Lynne: This quilt actually celebrates 20 years of Kansas Troubles fabric with Moda. I am so excited to be able to introduce to all of you 20 years of KTQ.
Jenny: So 20 years, how many lines of fabric is that?
Lynne: That’s 65 so far.
Jenny: 65. Oh my gosh. That’s a lot of work right there. So
Lynne: Well it’s been great fun.
Jenny: So this is a great quilt. It’s huge isn’t it?
Lynne: It is. It’s a king size. It’s 118 square. This is one of those quilts that I made entirely traditionally pieced for my own bed. I don’t know who long it will take before I could get it on my bed. But I wanted it big enough to have a really nice drop over the sides so
Jenny: That’s about the size I make them
Lynne: A lot of blocks. There are 20 blocks, one for each year of designing fabric.
Jenny: Perfect. Perfect. And I love them. And there’s blocks you can’t see here so Lynn help me lift this up.
Lynne: Ok
Jenny: Because there are, there are a lot of blocks down here. We’re just going to pick it up, kind of fold it. Look at these other blocks. Look at that sunflower. It’s so darling. So 20 blocks on here
Lynne: 20 different blocks. 20 years. I went back through all the different fabric lines I’ve done and all the different patterns and picked my favorites and just put them all together in this collage of wonderful Kansas Troubles.
Jenny: So is this made out of all the fabrics over the years or is this a line?
Lynne: It is two lines combined.
Jenny: Two lines. Ok
Lynne: Kansas Troubles Favorites Three. Every few years I get to pick a few fabrics that are my absolute favorites that are great blenders and stash builders. And then the new fabric line that’s just coming out is called Milestones. And we mixed those two lines together so you have 80 different prints.
Jenny: And so we are going to do a tutorial with the Milestones fabric because it’s just beautiful and I just loved it. And so that’s coming up. We have this pattern, Missouri Star has this pattern. And it’s really, it’s an amazing quilt and I just love it very much. Anyway, I’m picking a block off of here to do a tutorial for you that’s coming up next. So stay tuned for that. And Lynn thank you so much for coming today.
Lynne: Oh thanks for having me.
Jenny: Oh it’s such a great pleasure.
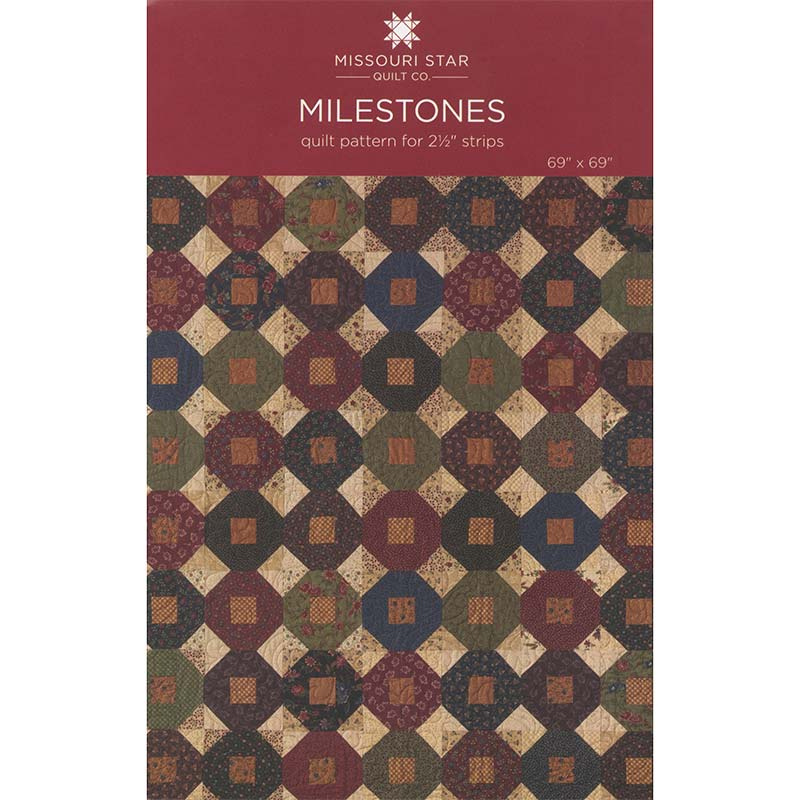
Hi everybody, it’s Jenny from the Missouri Star Quilt Company. And it is always so much fun when my friend Lynne is in town. So let’s talk about this quilt we’re making. She showed us the one that was 20 years of all the different things that she’s made. And this little block right here was the one I spied. Now the fabric line is called Milestones. And I thought this looked like a little stone so we are calling our quilt Milestones as well. So let’s take a look at this quilt. Isn’t this great? This is really fun. Now there was some real strategic stuff that we did on this. You’ll notice most of the centers are a medium, for us it was that orange. We had enough left over to make this first border out here. And most of our lights we put in the corners to snowball it. And then all of these saturated beautiful colors we made for our stones. So to make this quilt what you’re going to need is one roll of 2 ½ inch strips right here. And again this is Lynne Hagemeir’s line called Milestones from Moda. Beautiful line. And this took care of all of the fabric except for the border fabric. So for your outer border, this is 1 ¼ yards and we made a nice six inch border out here. The backing on this, we used that same nice blue that we used on the border. And we used 4 ½ yards of backing for that. And so it just makes a beautiful quilt. The quilt is 69 by 69 and so it’s just a great size as well. So let me show you how to make this because this is really fun. Super easy, super quick.
Alright so what we’re going to do is again we separated our colors. So right here we’ve got our lights for the corners. Those are 2 ½ inch squares. I’ve got some strips here to show you how I cut them. So we can cut one and sew one together. Excuse me. So this center strip right here we are going to cut a 2 ½ inch square for the center of our block. Now when I’m doing this, when I’m making these blocks, I’m going to stack a whole bunch of those centers and cut them all at once. But for this one I”m just going to take my little 2 ½ inch ruler, lay it along the edge and I’m just going to cut a 2 ½ inch square. Out of our light fabric we’re going to need four 2 ½ inch squares. And that’s going to snowball the corner and give it that stone look. For the outside, we’re going to cut our pieces several different sizes. So here’s the way they go. We’re going to need a 2 ½ inch square right here. And I just lay my ruler along the edge like that and go 2 ½. We’re going to need two 4 ½ inch pieces. So when I do a 4 ½ with a 2 ½ inch ruler I like to turn it like this. And I’m going to do 4 ½, 4 ½ one more. Right there at my half mark. Make sure my ruler is lined up along the edge of that strip. So two 4 ½ and then one 6 ½. Alright so one of the things you want to make sure when you’re doing this is that your numbers are going the right direction because if you’re cutting from the seven end it won’t work. But I’m cutting from one to 6 ½ right here. And so that’s what you need for each one of these stones. You need 6 ½, two 4 ½ and a 2 ½.
So the first thing we’re going to do is we’re going to sew our center middle block and our first round around. It’s kind of like making a log cabin but we’re circling with the same color all the way around the block. So we’re going to start with this 2 ½ inch square. We’re going to lay them right next to each other and sew a quarter of an inch seam right down the side just like this. There we go. Alright. So now we a little 2 ½ inch, two 2 ½ inch blocks sewn together. I”m going to press them. And then we’re going to put our 4 ½, one 4 ½ on this way and one 4 ½ on that way. So let’s put this one on here first. And this is where you want to make sure that your, your quarter inch seams are fairly accurate because you want your blocks to come out the same size. Alright. So now I’ve got this side. I’m just going to kind of finger press this back. Now in my sewing room I have a little ironing pad that I keep right next to me so I can just reach over and iron. But for this I”m just going to sew this back and then I’m going to add this other piece on this other side right here. So we’ve made a, we’re going around that center block. And then we’re going to go over here and press this. So let me clip off this thread right here. So it kind of looks like at this point we’ve got half a block.
Alright so then what we’re going to do is we’re going to put this 6 ½ on this side. Put them right sides together and put it on there, right along this edge. Now we’re going to go to the ironing board and press it open. And we have basically a bordered square in a square. To make this a stone we’ve got to round the corners which means we’re going to take this piece right here. Actually I’m going to use these over here. These are lights as well and then have the line already drawn on them. So you can draw the line. You can iron the line, whatever it takes. We’re going to add one to each corner like this. We call it snowballing the corner. We’re going to sew right on the line. And we’re going to add one to each corner. So let’s come to the sewing machine. We’re going to sew straight across. Now this is a little trick to make this go a little bit faster. You make sure it’s lined up in the corner. And then rather than clipping your thread you just lift up your presser foot and turn your block so that you can slide in another one right here. And you don’t have to clip those threads and move on. We’re just going to start again and sew right on the line. Lift our presser foot. When you lift your presser foot it opens the tension plates and it lets the thread come through much more easily. So again right down the side. Lift your presser foot, turn your block and then put this little square in there in the corner. Line up your corners. Make sure you’re sewing on the line and just like that your little block is snowballed on all four corners.
So now what I like to do to test myself is just kind of fold these back and make sure they match up. If they don’t match up, I know I’m going to need to square this a little bit. But this all looks pretty good. So we’re going to go ahead and trim off these corners like this. And I’m just going to turn, turn and keep turning. You can do this with a scissor. You can do it with a rotary cutter, either way works. And then we’re going to press out these corners like this. And that just rounds out our block and makes it look like a cute little milestone. And then look at the quilt right here. What we’ve done. We’ve just sewn them right together to make a row. So I have some done over here. The rows go together so easily. So here’s one right here. And what we’re going to do is we’re just going to put these together like this, sew it together to make a row. And I’ll show you how that’s done. Everything just a quarter of an inch again. And make sure that those, you want to kind of check your points to make sure they line up because you’re taking a quarter of an inch seam it won’t really matter but you know, the closer we are the more helpful it is. So then we’re going to open this up. And that looks pretty dandy. Alright, there we go. So then you’re going to sew them together in rows like this. Let’s see how many we have in a row back here. We’ve got one, two, three, four, five, six, seven, eight, nine by one, two, three, four, five, six, seven, eight, nine. So 81 blocks for this. And we’re going to just keep doing it. We’re going to get our row done like this and then we’ll sew another row to it. You’re just going to match up the rows here. Let me flip that so it looks better. You’re just going to match up at every junction and just keep sewing your rows together. This goes together really quickly.
Now because we did the orange, this medium color in the centers, so all of our centers have that medium color. Now you obviously don’t have to do that. But because we did that, it gave us left over medium strips so when you sew two blocks together this piece right here is 12 ½ so we cut, once we cut all of our centers we cut those little pieces 12 ½ and made a scrappy border that showed all the different fabric on the outside. I think that looks really fun and then just added our border out of here. One of the things Lynne does is she often uses a border that is fairly, it’s just, you know, fairly I don’t want to say plain because that makes it sound. But you know, like she’ll use a navy border or a green border. And I just love that look. It just frames the whole quilt. So just by doing that you get an awesome quilt. And we hope you enjoyed this tutorial on the Milestones quilt from the Missouri Star Quilt Company.


