

Make a Moonbeam Pillow with Misty Doan and Ezra on At Home With Misty
 Misty Doan
- Jelly Roll
- Modern
- Pillows & Cushions
- Beginner
- Quilt size 16" × 16"
Misty has a project that you will love to the moon and back today! Follow along with her as she shows you how to make the adorable and huggable Moonbeam Pillow from Latifah Saafir Studios. Jelly roll friendly and a perfect project to do with the kids, the Moonbeam Pillow measures 16" and is a great way to practice your quarter inch piecing skills!
Instructor
Misty Doan
Misty Doan grew up surrounded by sewing and quilting. She loves spending time sharing tutorials each week each week, and when she’s not stitching up one of her fun sewing projects for home decor, most likely you’ll find her hanging out with her husband and three awesome kids or working on a house project.
Shop this tutorial
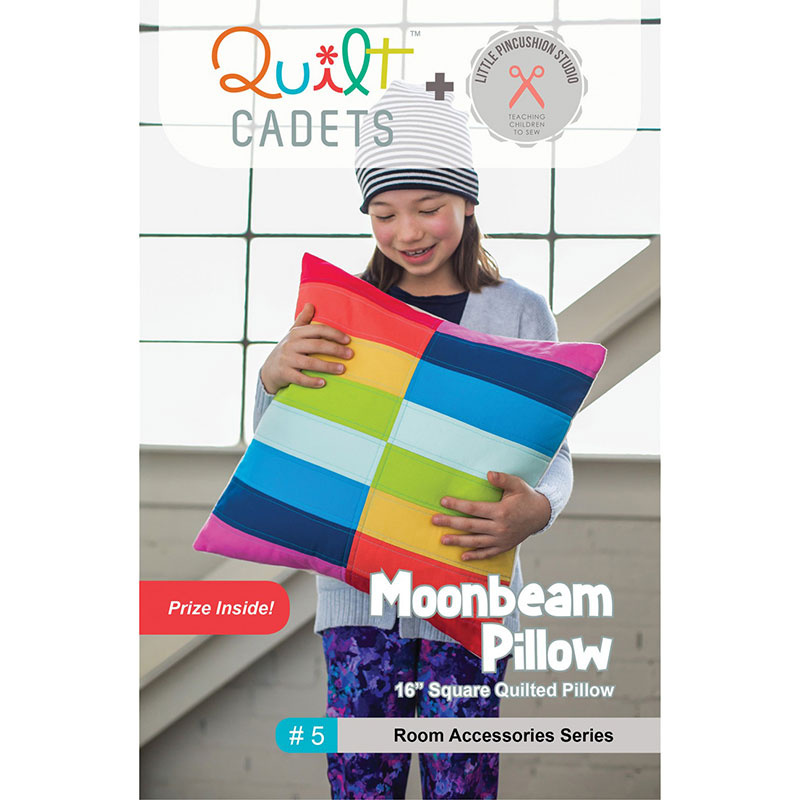 Moonbeam Pillow Pattern$12.75Shop →
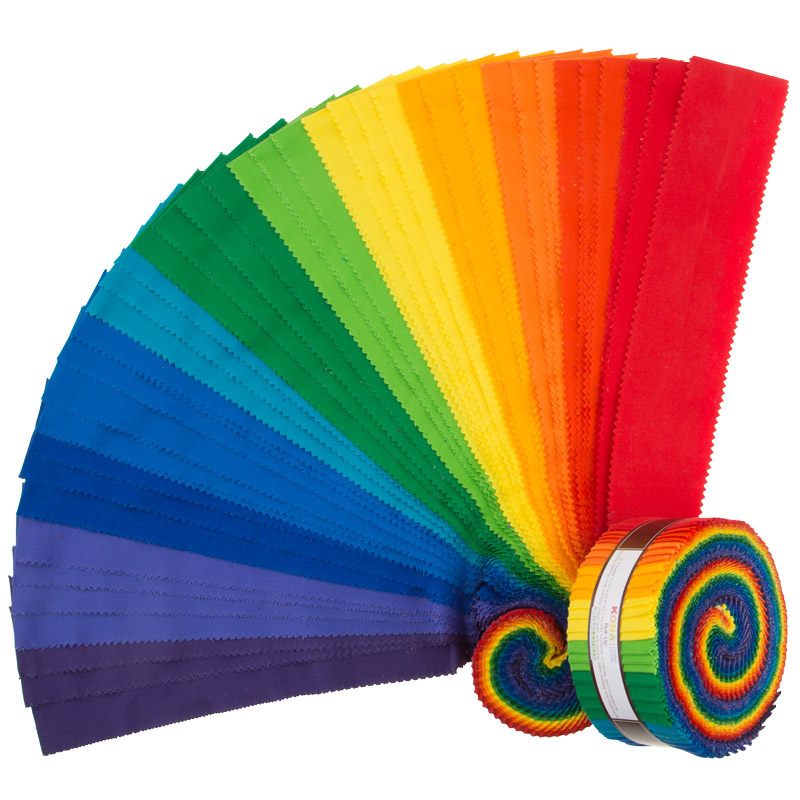 Kona Cotton - Bright Rainbow Palette Roll Up$30.95Shop →
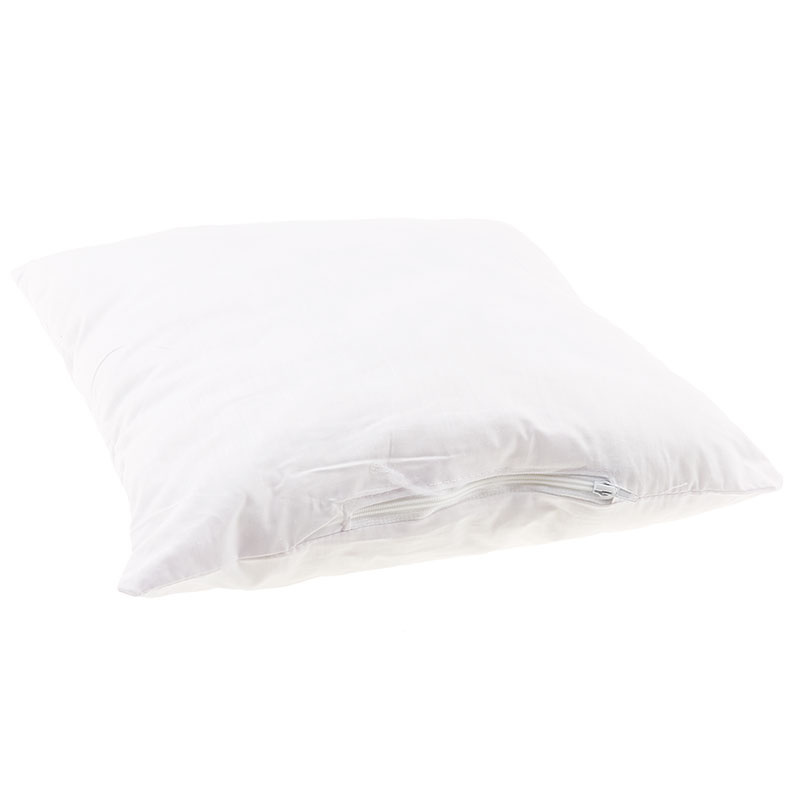 Poly-Fil Premier Ultra Plush Pillow Form - 16" x 16"$16.45Shop →
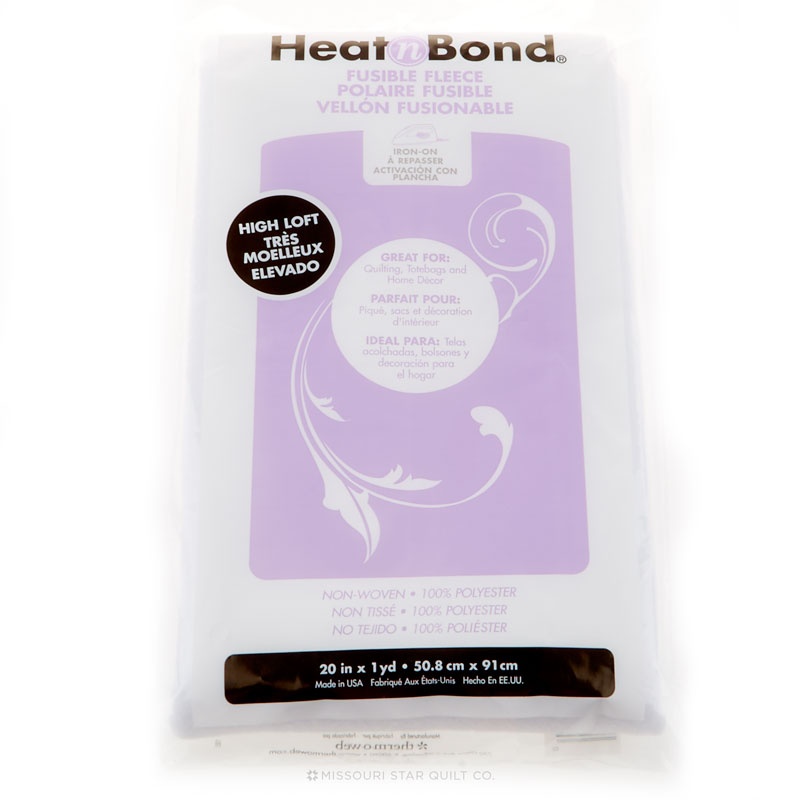 Heat N Bond Fusible Fleece 20" x 1yd$6.25Shop →
 Missouri Star 2.5" x 8" Ruler$10.95Shop →
 Missouri Star 5" x 15" Ruler$15.95Shop →
 Missouri Star 50 WT Cotton Thread White$6.95Shop →
 Olfa Splash Aqua 45mm Rotary Cutter$18.75Shop →
 Olfa Splash 24" x 36" Cutting Mat Navy$68.95Shop →
 Exclusive Missouri Star Jenny TG1600 ProPlus Oliso Smart Iron$199.99Shop →
 Missouri Star Wooly Betty Board - 17.25" x 25.5" Orange Border$98.95Shop →
 Elan 8" Dressmaker Scissors$20.95Shop →
 Missouri Star Colorful Quilting Clips - Pack of 12$5.95Shop →
Common Questions
What is covered in Make a Moonbeam Pillow with Misty Doan and Ezra on At Home With Misty (Video Tutorial)?
Misty has a project that you will love to the moon and back today! Follow along with her as she shows you how to make the adorable and huggable Moonbeam Pillow from Latifah Saafir Studios. Jelly roll friendly and a perfect project to do with the kids, the Moonbeam Pillow measu...
How long is the tutorial video?
The tutorial video is 00:39:44.
Are supplies listed for this tutorial?
Yes. The tutorial page includes the supplies and materials connected to this project.
Is a transcript available?
Yes. A written transcript is available on the tutorial page.
Video Transcript
You'll only need a few jelly roll strips so you could buy one jelly roll and make a bunch of pillows - perhaps a kid's party or sewing afternoon?
To start, select the 8 jelly roll strips that you'd like to use. Then cut them in half.
Then take your strips and put them together in pairs and sew a 1/4" seam (Misty is using the Diagonal Seam Tape to easily sew a straight line). She also reduced the speed of her machine.
Once you have the pairs of strips sewn together, you'll press the seams open. Then repeat, and sew the pairs together (you'll end up with 4 strip wide units). Press and sew the last seam.
Press the final unit so all the seams are going the same direction. Now it's time to trim!
Trim a clean edge and then cut two 10" wide sections of your strip set (keep your strips horizontal.
Flip one set the opposite direction and join at the center, nesting your seams together. You can pin or clip those together at the seams so remind you to nest the seam at each junction. Press the seam so it's nice and flat.
Next take a piece of fusible fleece and add it to the fabric. You may wish to use a piece of fusible fleece that's slightly larger than your fabric, but take care not to let the iron touch the glue.
At this point you might want to switch to a walking foot, but this isn't so thick that it can't be done with your standard foot either. Misty and Ezra choose to quilt in straight lines that echo the strip seams.
Now trim the square down to size - your pillow top should be 16.5" square.
Now it's time for the envelope back! Cut two pieces at 16.5" x 11" and turn one side of each approximately 1/2," pressing to hold in place. Then turn again, and press a second time. Then sew that edge down using a 1/4" seam.
Place your pillow top, and two back pieces right sides together and clip together to hold in place. Now sew with a 1/4" seam all the way around. Flip right size out and your pillow is ready for a pillow form!


